Editor’s Note: This guest post is courtesy of the Car Care Council, which is dedicated to educating vehicle owners about the benefits of regular vehicle maintenance through its “Be Car Care Aware” program.

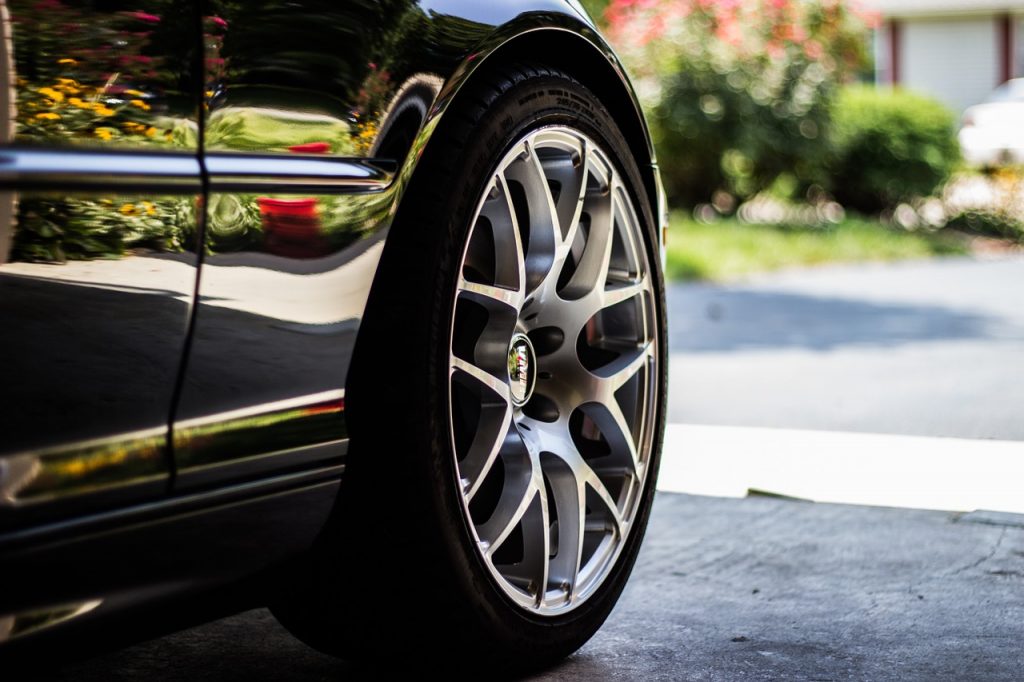
Scratched your wheels? We know exactly how annoying that can be. There are many tips on sprucing up your car’s finish or preventing the interior from looking worn in the first place, but the wheels need attention too – especially since they usually take the brunt of urban driving; parallel parking and curbside drop-offs are a rim’s worst nightmare. If your painted metal is looking the worse for wear, here’s how to repair it yourself without spending a fortune.
First, you’ll need the following materials:
Scratch filling primer
Wheel paint (to match your specific wheel color)
Step 1: Remove the wheel from the car. If you choose to keep it on, make sure to fully cover the car with a cloth and tape it down so as to seal it from the spray of the paint.
Step 2: Clean the wheel. Soap-up, scrub and shine that puppy. Then use paint thinner to specifically clean just the damaged area and nothing more. You want to remove all polishes and waxes from the surface in order to properly repair it, which means you’ll need to really rub the area, wipe it down and repeat.
Step 3: Once the damaged area is completely clean, you’ll need to prepare the wheel for sanding. If the tire is still on, use the masking tape to cover the area underneath where the wheel meets the tire. You can use this time to completely cover the tire to protect it from paint as well. It may be a pain, but scraping paint spray off the rubber is much more tiresome.
Step 4: Gently sand the damaged area using 240-grit sandpaper. Once you’ve sanded it down a bit, wipe the area clean and apply the putty to the scrape. Just cover the specific area and don’t worry about getting it flat and smooth because you’ll be sanding it down. Let the putty completely dry before attempting to sand it smooth using the 400-grit sandpaper. You want to make sure it feels flush to the original wheel surface – a flat block will help to create the desired effect.
Step 5: Once again, if the wheel has not been removed from the car and tire you’ll need to fully protect any exposed areas you don’t want flakes of paint to stick to. It’ll happen, trust us.This is where the scratch filling primer comes in. Spray it on the repair area, let dry and then sand it down with 400-grit or finer sandpaper. Add more putty if there are any uneven areas and repeat. It’s very important to clean off the overspray with a rag immediately after spraying the primer and paint. There’s no reason to get paint anywhere but the area on which you’re working.
Step 6: Now comes the painting. You’ll want to read the instructions on the spray can for the most correct application techniques. We’d recommend testing the spray paint out on some scrap metal before applying it to something you actually care about. After you spray it, don’t forget to wipe away the areas surrounding the former scrape.
Unless you’re a DIY junkie, be sure to let the paint fully dry before attempting the next step, otherwise the paint will lift and you’ll have to start again.
Step 7: Apply the clearcoat after the paint is completely dry. No need to wipe away the overspray from this.
You’re done! Considering the estimated $50-60 material costs, you’ve saved quite a bit of money by not taking your wheels to a body shop. You’ve also ensured you’ll never have another freakout over a scraped wheel again.

Comments