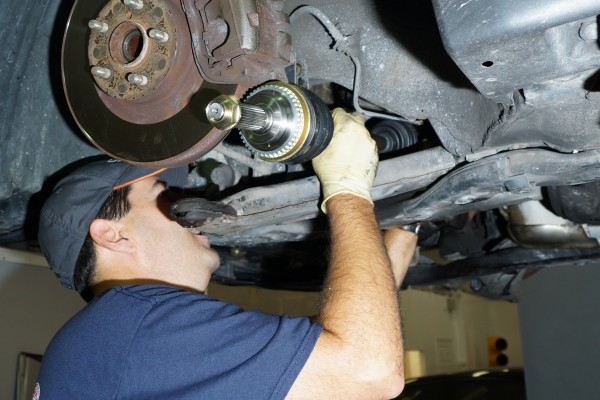
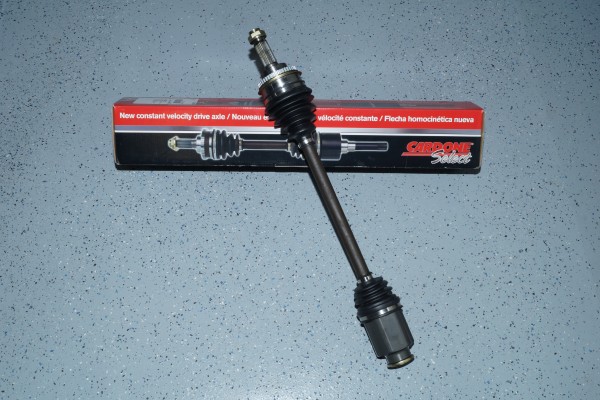
Since the dawn of front-wheel-drive automobiles, the front drive axles have become a weak link and are often in need of replacement on high-mileage vehicles. If you’re more familiar with rear-wheel-drive muscle machines, well, fear not as the CV axle replacement is fairly simple and something most any gearhead with a few years of wrenching can handle. In this article, we’re going to show you how to replace the front axles on an all-wheel-drive Subaru Impreza WRX.
Unlike traditional solid rear axles, the axle shaft of a front-wheel-drive or all-wheel-drive vehicle utilizes a constant velocity joint (CV) to allow it to steer the car in addition to driving it forward. Due to the stresses of performing double duty, the CV joints eventually wear out, and they can produce a clicking sound that indicates the joint is failing. Additionally, the protective boots that encapsulate them often break open, exposing the joint to the elements and ejecting the grease that keeps it lubricated. Often times this break in the boot leads to premature failure of the joint.
On our 2003 subject vehicle, both inner boots on the front CV axles were split and allowing the grease to be slung all over the underside of the car and in the engine bay. There was no audible indication of joint failure, but it’s not far away once the boot is open. And considering we are looking to install a shiny, stainless steel exhaust next, we certainly wanted to take care of the grease issue.
For many car models, owners and repair shops have the option of rebuilding the CV joint, and these kits usually come with new boots as well. If your car is a high-miler like our subject vehicle is, for just a few bucks more, a new replacement is a better option. For our new replacements, we turned to Summit Racing Equipment. Despite what the name might imply, you can go to Summit Racing for just about any stock replacement part on your vehicle.
The instructions below will work for most CV axle removal/installations; read the captions to see how easy it is to swap in new CV axles in your WRX. Be sure to check back, as we make a few performance modifications to this WRX as well!
[All images/Steve Baur]


I thought the reason you take apart the ball-joint was so that you didn’t need to take out the strut bolts and avoid changing the camber and needing a realignment. However, I see you do both. Also, when striking the control arm (my 2006 WRX wagon doesn’t have aluminum ones, but I guess the 2006 WRX sedan does?), what direction do you strike it to get it to pop loose? Looks like you just strike it parallel to the ground. Guess I’ll just go whack on it and see what happens. Thanks!
just need to disconnect the sway bar from mount points in front and lower ball joint and prevent need for realignment. Also, Subaru recommends not using impact wrenches on the axle nut as you can damage the bearing seals and such.
Really bad tutorial.
Removes BJ then proceeds to remove strut, the whole point of doing BJ is so you can avoid removing strut and having to do an alignment again.
Doesn’t mention that you have to push the pin out of the non chamfered side, and back in chamfered side first.
This is critical!!