Q: Electrical is not my strong suit, but the time has come for me to complete the wiring on my latest project. Electrical systems can be extremely complex, but are there any basic tips you can share to get me going in the right direction? I am particularly concerned about establishing a good, solid ground to avoid any persistent electrical gremlins down the road. Thanks for any help!

A: Without question, modern automotive electrical systems have become extremely complex, and now more than ever, the health of your vehicle’s direct-current (DC) electrical system is dependent on solid electrical grounding.
In its simplest form, the flow of DC current starts at the positive terminal of your battery, moving in one direction through a wire to a device, returning to the battery’s negative terminal via a system of chassis, body, and engine grounds. If the grounds are faulty or non-existent, the circuit is incomplete and current cannot easily (if at all) return to the battery. The current will look for a new path to ground, and this can lead to a host of electrical performance issues.
When you wire up your project vehicle, it’s best to run a cable from the battery’s negative terminal and attach it directly to the engine block. Next ground the frame to the engine, the body to the frame, and the body back to the engine.
Whenever possible, grounding connections should be made to metal surfaces that are free from rust, dirt, chrome plating, powdercoat, and paint. Adding dielectric grease to your connections can stave off corrosion.
You should also know, painted, powdercoated, or chrome brackets can interrupt the ground connection between the alternator and the engine. It’s a good idea to run a supplemental wire from your alternator case to a central grounding location. Some alternators even come with dedicated grounding points.
Additionally, accessories that draw a large amount of current, like electric fans and auxiliary lights, should be individually grounded with a wire matching the size of the electrical supply wire. A Ron Francis Wiring grounding terminal strip is a great choice for organizing supplemental wiring.
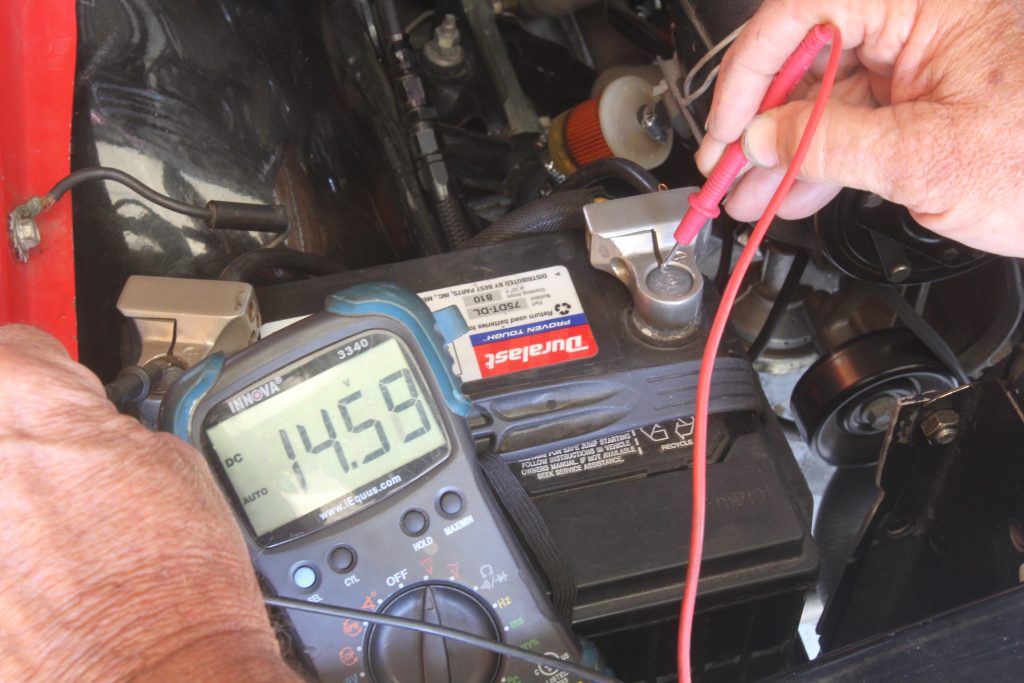
Whether you’re planning the electrical system for your project or troubleshooting your existing wiring, it’s important to identify the source of the electricity and ensure there is an unimpeded path to ground. A multimeter that reads DC voltage and resistance and can identify low amp draw is an essential tool for diagnosing just about any electrical gremlin lurking in your vehicle’s wiring system.
For more tips, see our original post on automotive wiring basics.
…

not an electric question but i have a 2002 4.6 l v8 f150 and want to put a super charger but cant find one for it, can someone tell what i can put on it
Dont
Just purchased a new starter for my 66 chevy. When the key is turned, the starter begins to engage but never disengages. Is this normal? I don’t want to keep trying to start the car for fear of messing something else up. When I test it outside of the car it does the same thing. Engages, turns the flywheel just a touch, but then never disengages. The ones I have installed before always disengage once the fly wheel begins to turn. This is driving me crazy. Any assistance would be appreciated.
Sounds like you may need to shim the starter. The instructions included with your starter should have information on how to do it.
[…] already made two posts on troubleshooting grounds (you can read a quick grounding guide here, and a more detailed grounding diagnostic guide here)—but if you’re a more visual learner, […]
Should you attach the grounds around a large area , from one side of engine around the other side ? Example battery negative to front of block,back of block to frame , frame to fire wall , firewall to engine opposite side of battery
Ground everything to everything: battery-to-engine, engine-to-body, engine-to-frame, body-to-frame, frame-to core-support, core-support-to battery.