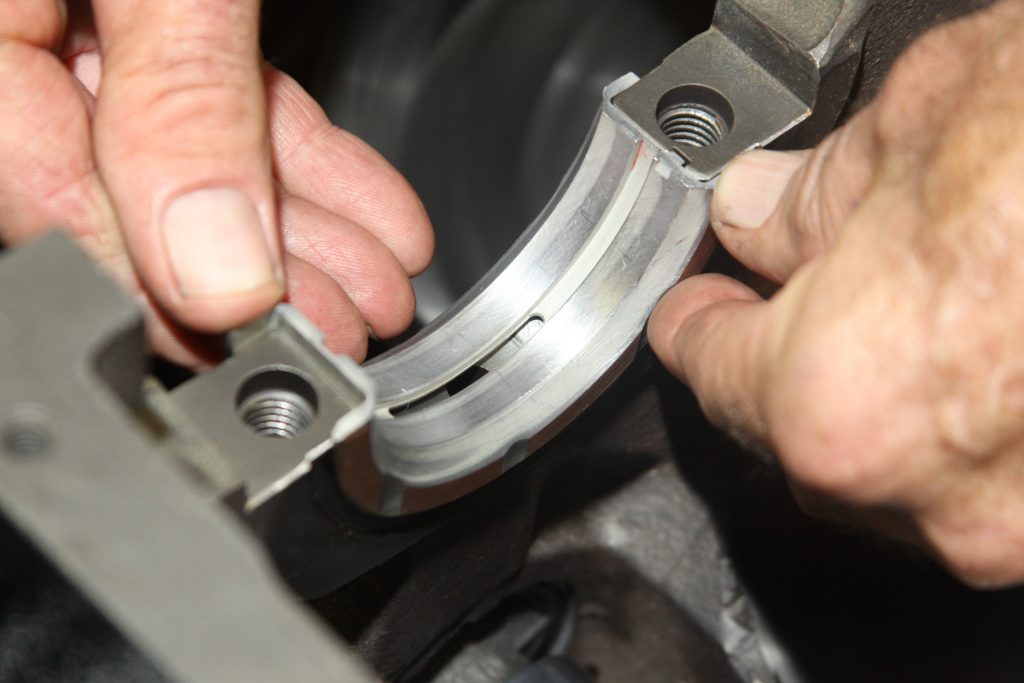
We asked the bearing brainiacs at Mahle for some tips on fitting engine bearings.
The first thing they emphasized was the importance of getting an accurate measurement.
“When measuring bearing measurements, they should always be taken at 90-degrees to the parting line to determine the minimum clearance. If measuring the bearing wall thickness, use a special micrometer with a ball anvil to fit the curvature of the bearing ID. The best way to determine bearing clearance is to measure the bearing ID with the bearings installed in the housing and the bolts torqued to the specified assembly torque.
“Use a dial bore gauge to measure the bearing ID at 90-degrees to the parting line, then subtract shaft size from bearing ID to determine the clearance. If the dial bore gauge is zeroed at the actual diameter of the crankshaft journal to be installed, the dial bore gauge will then read clearance directly and the subtraction calculation can be eliminated. About .001″ clearance per inch of shaft diameter is a good rule of thumb. Increasing that by about .0005″ will add a little margin of safety when starting out, especially for rods. Example: .001″ X 2.100 = .0021″ then add .0005″, so starting out set clearance at .0026″ for a 2.100 shaft.”
If you need to make clearance adjustments, Mahle says you can use under- or over-sized clearance parts to accommodate. Mixing sizes is only okay if you need less than 0.001″ of adjustment. Mahle also pointed out that you shouldn’t mix parts with more than a 0.0005″ difference in wall size. You should also make sure to use the thickest wall shell in the upper position for rod bearings, or in the lower position if you’re installing a main bearing.
Mahle gave us some more measuring pointers too:
“When measuring a bearing ID or wall thickness, avoid measuring at the parting line. There is a parting line relief machined into nearly all bearing shells. This relief is to allow for any mismatch between upper and lower shells due to tolerance differences, or possibly resulting from cap shift or twist during assembly. To determine bearing wall eccentricity or assembled bearing ID ovality, measure at a point at least 3/8″ away from the parting line.”
Mahle mentioned that your brand-new high-performance bearings may feel rough to the touch. That’s the result of the electroplating process used on the thin overlay layer. Once installed, that rough surface will be harmlessly flattened out.
The Mahle folks stressed that you shouldn’t try to remove the roughness by polishing the bearing with any sort of abrasive, like sandpaper. A light burnishing with mild solvent and a paper towel is all the surface prep you should do.
Mahle’s got several more how-tos, tips, and tutorials on bearings, crankshafts, and camshafts on its support page here.

Comments