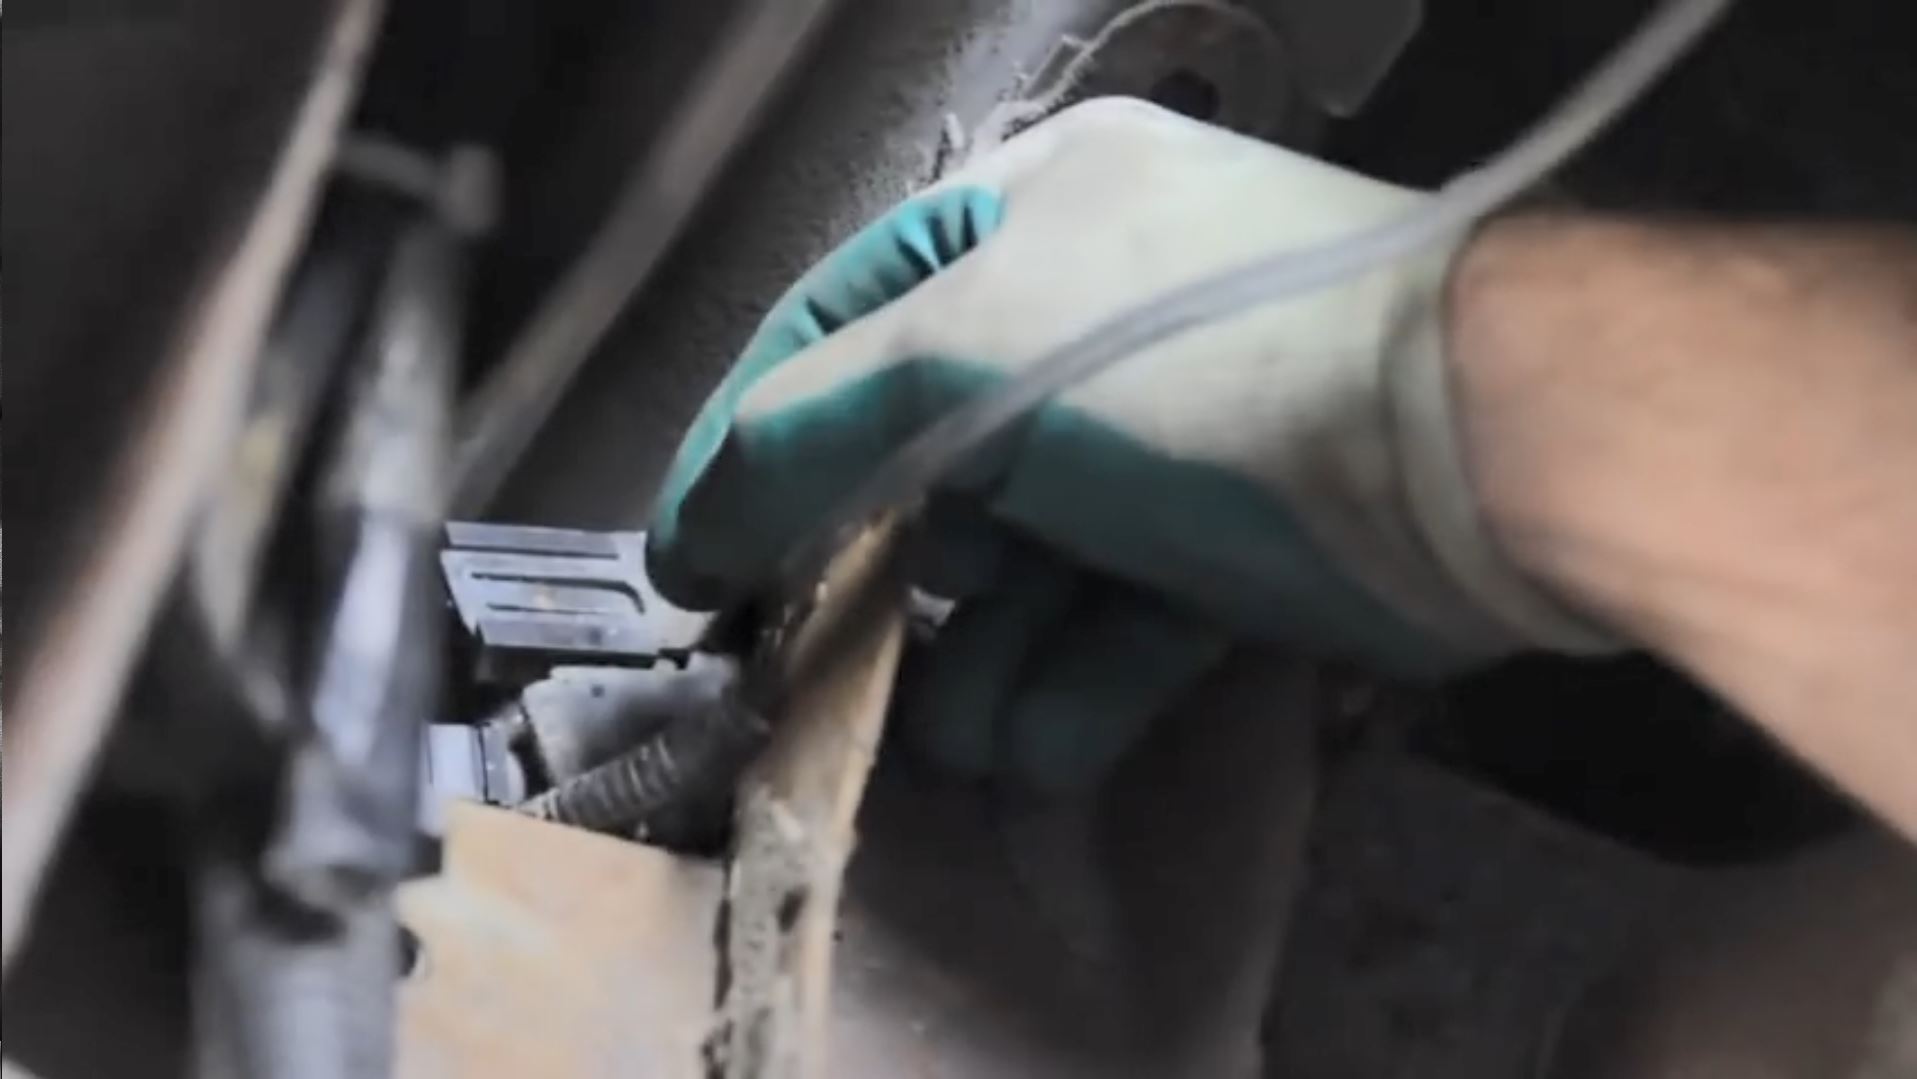
Bad electrical grounds are one of the most common causes of electrical component problems.
Bad grounds can cause intermittent performance, weak/dim lights, poor starting, bad sensor feedback, weak ignition, and a host of other electrical gremlins.
We’ve already made two posts on troubleshooting grounds (you can read a quick grounding guide here, and a more detailed grounding diagnostic guide here)—but if you’re a more visual learner, then you should check out this grounding video that Airtex put together.
Note: This video assumes that you already know how to perform a “voltage drop test.” Though it’s a relatively easy measurement, if you’re unfamiliar with the procedure, Airtex has a Voltage Drop Test explainer video here.
The key to a good vehicle electrical ground is a solid, clean contact between the metal of the vehicle’s frame/body and the electrical connector’s ground lug or ring terminal.
The video covers how to find the vehicle ground and what you should do to ensure that it’s making a reliable ground connection with the rest of your car or truck.
Though the Airtex video is specifically talking about a ground connection for a fuel pump, the process is virtually identical for any electrical grounding contact you’ll come across on your vehicle.
The best news is that the process is straightforward and requires little more than a wire brush and some elbow grease,
See for yourself here:


The Airtex video on proper grounds is in my opinion a half crock of crap. You MUST get to good non oxidized metal on all of the elements concerned, wire brushes most often do not count. What you use will be dictated by accessibility to the area. Once reassembled and checked it MUST be preserved for lasting performance. FLUID FILM has been my choice for the past 15+ years. Works great in salt air. Find the agent that works for you and share it with others. The success of GOOD grounds is both Prep and Preservation.
I agree. If you can, you should get down to non-oxidized metal, and that is best done with fine sand paper. Clean: the mounting surface. The bolt head where it contacts the washer. Both sides of the washer. Clamp it down. Use electrical conductor cleaner on the threads of the bolt, and run the bolt down and back out again before reassembly. Seal with a good sealant whenever possible. Also: Open and close all positive side connectors to scrape the contact points, and to inspect for green corrosion. Do this where ever you can. Clean, clean, clean like a madman, and eventually your voltage and current will rise to factory level again for every component in the car.