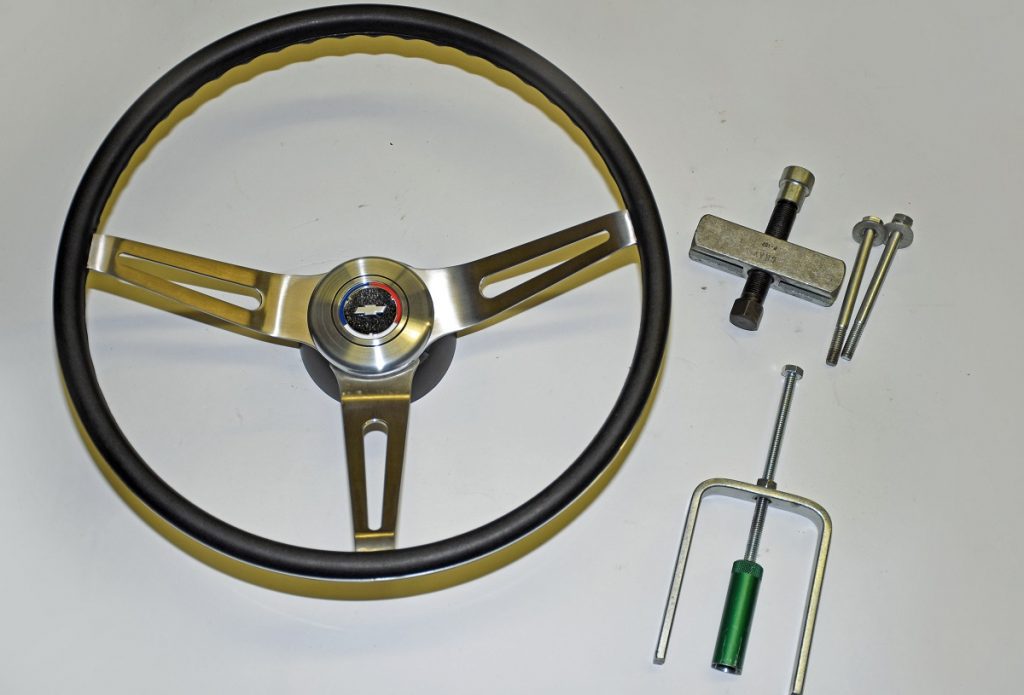
Steering wheel swaps are popular, particularly in pre-air bag vehicles (which we’ll focus on here—we’ll leave air bag applications for another time).
Summit Racing offers more than 1,300 different choices for universal steering wheel applications. Whew! As a result, the sky is pretty much the limit when it comes to steering wheel choice.
When that cool, shiny new steering wheel and installation kit arrives, how do you get it on?
First, the old wheel must come off, and that’s often the most difficult part of the equation.
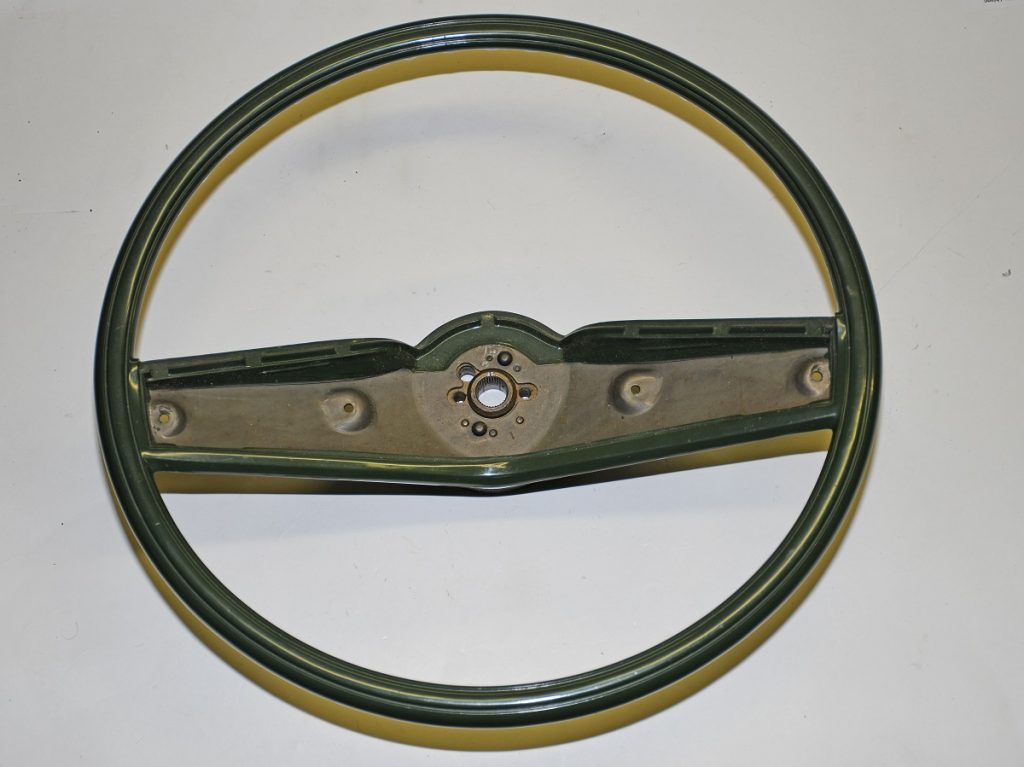
You might be able to cobble up a mix of pullers and parts in an attempt to remove it, but if you look closely at many stock pre-air bag steering wheels, you’ll find they’re setup so that they can be pulled easily. The provisions become evident once the horn shroud is removed (typically, this comes off from the backside).
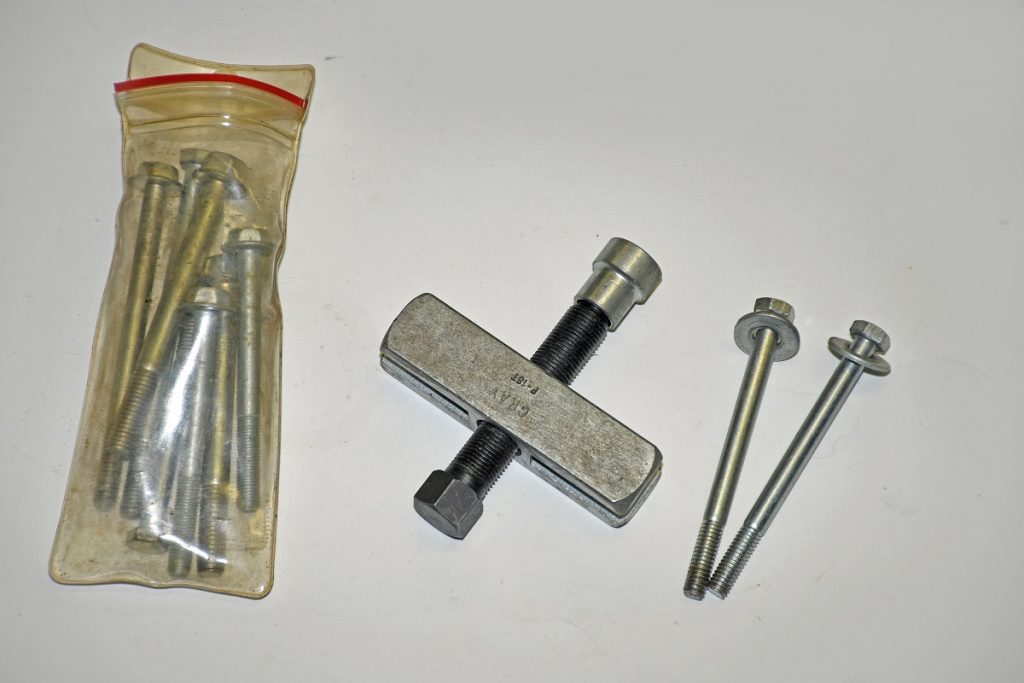
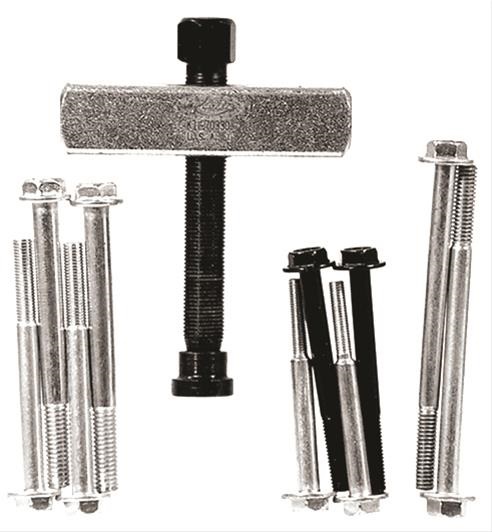
The actual steering wheel body will have a pair of holes on either side of the main nut that fastens it to the column. Those threaded holes are designed so that a pair of long bolts can pass through the puller body, effectively anchoring the puller to the steering wheel body.
In practice, you remove the main nut, then lightly thread one of puller bolts into the wheel and install the puller over the column shaft. Then you install the second bolt. Tighten both of the side bolts evenly (usually until they’re threaded all the way in). Next, tighten the main bolt on the puller. It won’t take much and the steering wheel will become loose on the splines.
Steering wheel pullers range in price from $8 or so and up to almost $100 for a full range pro kit. Typically, examples such as the puller in my toolbox (and shown in the accompanying photos) sell for $20 or so.
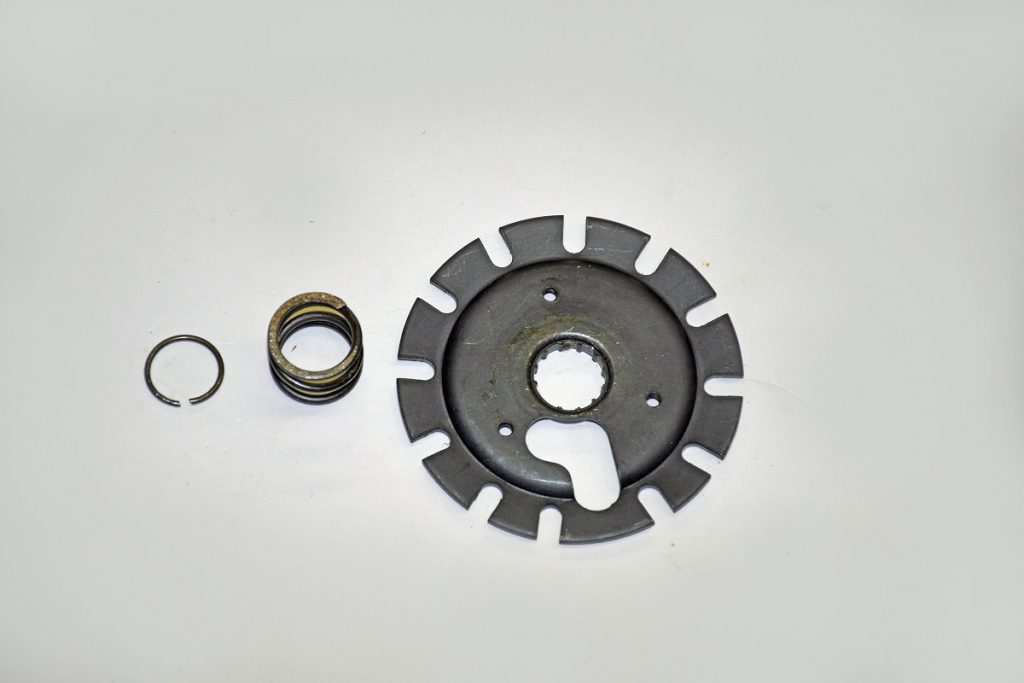
With the steering wheel removed, you’re still faced with a major dilemma for many applications—the lock plate found on many Saginaw columns. You must remove this plate in order to access the horn mechanism.
Many steering wheel installation kits mandate a change in the horn components.
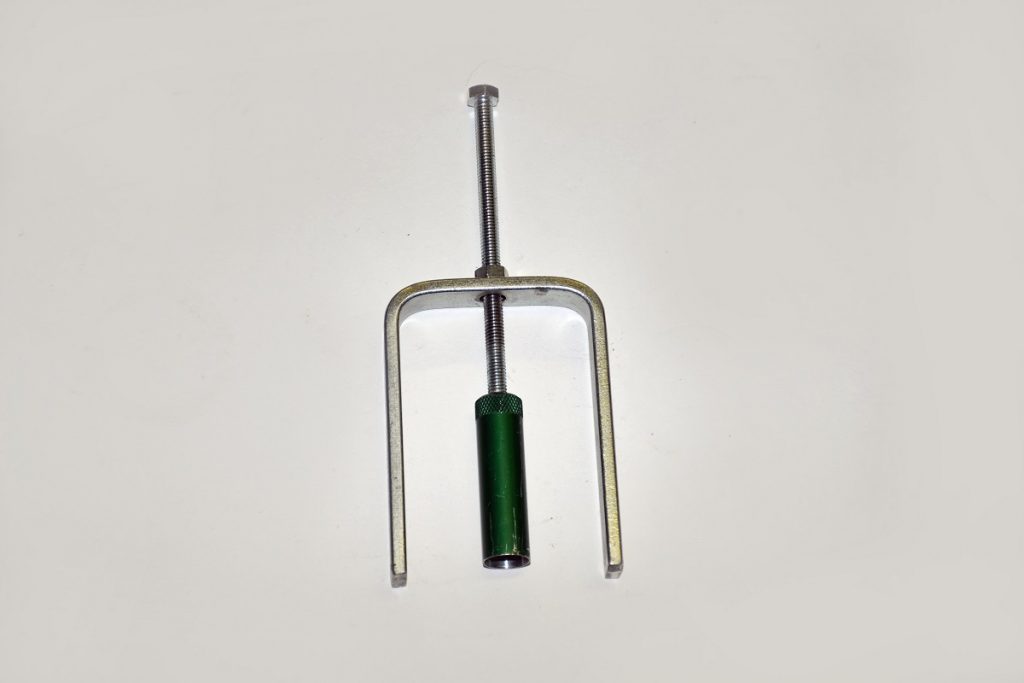
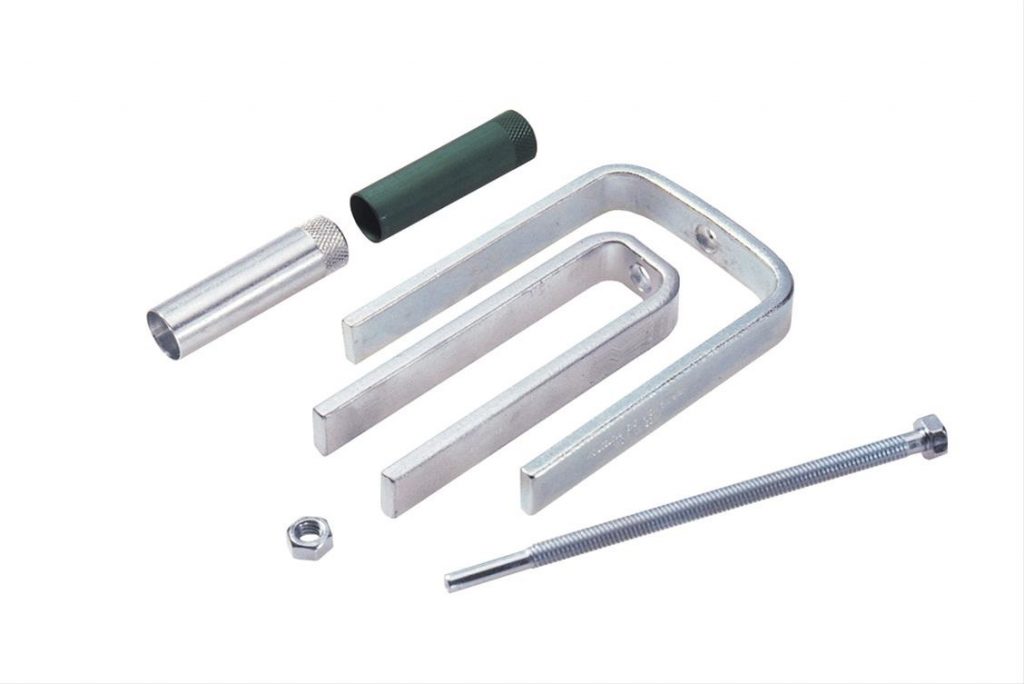
Here, you’ll need a steering wheel lock plate removal tool.
This tool mounts onto (and over) the threads on the column shaft. In turn, it presses down on the lock plate. This compresses a heavy spring found under the lock plate and also allows access to the round wire retainer clip on the steering column shaft.
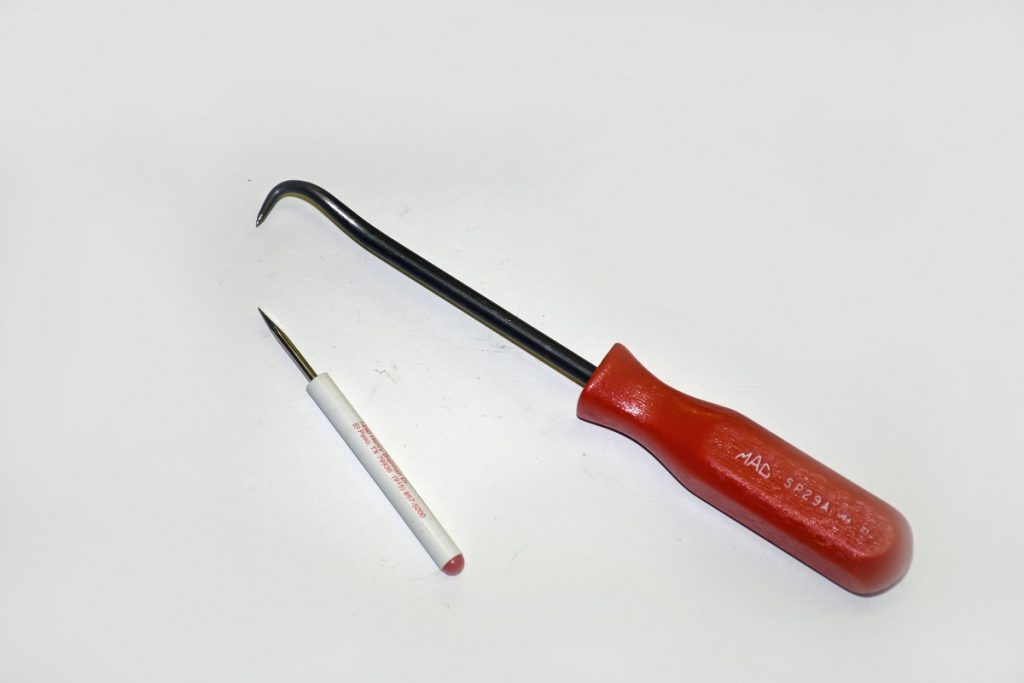
To remove the wire retainer (think round wire wrist pin retainer), you’ll need a very small flat-blade screwdriver and perhaps a pick to pry it out. If you work carefully, you won’t damage the clip. The idea is to roll it upward so that it slips over the smooth center shaft of the lock plate tool.
It often takes a few tries to roll the clip out of the groove, but be patient and don’t try to force it, else you’ll mangle the retainer clip. With the retainer and clip removed, you gain complete access to the horn and other steering column components (for example, the signal lamp switch).
Lock plate tools range in price from $9-$46.
When installing the new steering wheel, you’ll need the lock plate tool again (the round wire retainer ring must be installed), but you won’t need the puller.
New steering wheel installation is pretty straightforward. Simply follow the manufacturer’s directions.
The bottom line here is, proper steering wheel tools are an absolute necessity when it comes time to swap a steering wheel or to service a steering column.
For a closer look at the tools, check out these photos:

Comments