The cost of even mild high performance engines is escalating—along with everything else in this post-Covid world. Even the traditional small block Chevy crate engines are no longer as kind to your bank statement as they once were. But that doesn’t mean you have to give up on the idea of fresh power for your next hot rod. This just presents the opportunity to build it yourself.
To set the example, we’re going to resurrect a simple 350ci small block Chevy and run through all the classic procedures of boring and torque plate honing a block for a set of stock cast aluminum pistons. Unlike the typical magazine builds that ignore the reality of life’s other demands on your weekly paycheck, our focus will be on keeping the cost as affordable as possible without short-cutting quality. This is not a race engine. It doesn’t even pretend to be a race engine. Our goal is to build a simple and efficient pump gas small block Chevy enhanced with a few performance touches to make a little more power than a traditional 290hp Chevy crate engine.
Crate Engine vs. Building It Yourself
In the time before the pandemic, Summit Racing carried a very affordable and attractive brand new, two-piece rear main seal 350ci crate engine first under the Targetmaster name that later became the Goodwrench engine. Due to the cost of replacing the old tooling, this engine is no longer available.
But we still needed an engine. This drove us to compile a complete parts list after which we realized we could build a comparable engine with better heads and camshaft for a competitive price.
We discovered that combining a set of Summit Racing Vortec iron heads with a Summit Racing flat tappet cam would dramatically improve this engine’s torque and horsepower but not drastically increase the cost.
We’ll be honest. It’s much easier just to lay down the cash for a completely assembled engine than it is to build it yourself. But we think this engine has the potential to make more power than the Goodwrench crate engine because of the better heads, cam, and most importantly because our engine will enjoy 1.5 points higher compression at 9.9:1.
Plus we have the knowledge that we built this engine with our own two hands. That’s worth something.
Our plan includes all the parts necessary for a complete long block along with a dual plane intake, HEI distributor, spark plugs, wires, oil, filter, and everything except a carburetor and exhaust to complete the engine. With all these parts the price comes in slightly over $3,400 in 2022 dollars. To be fair, Summit Racing does sell 355ci crate engines that make similar power, albeit at higher price tags (which offsets the effort of building an engine).
But given the options, we decided to build our own.
Starting the Engine Build
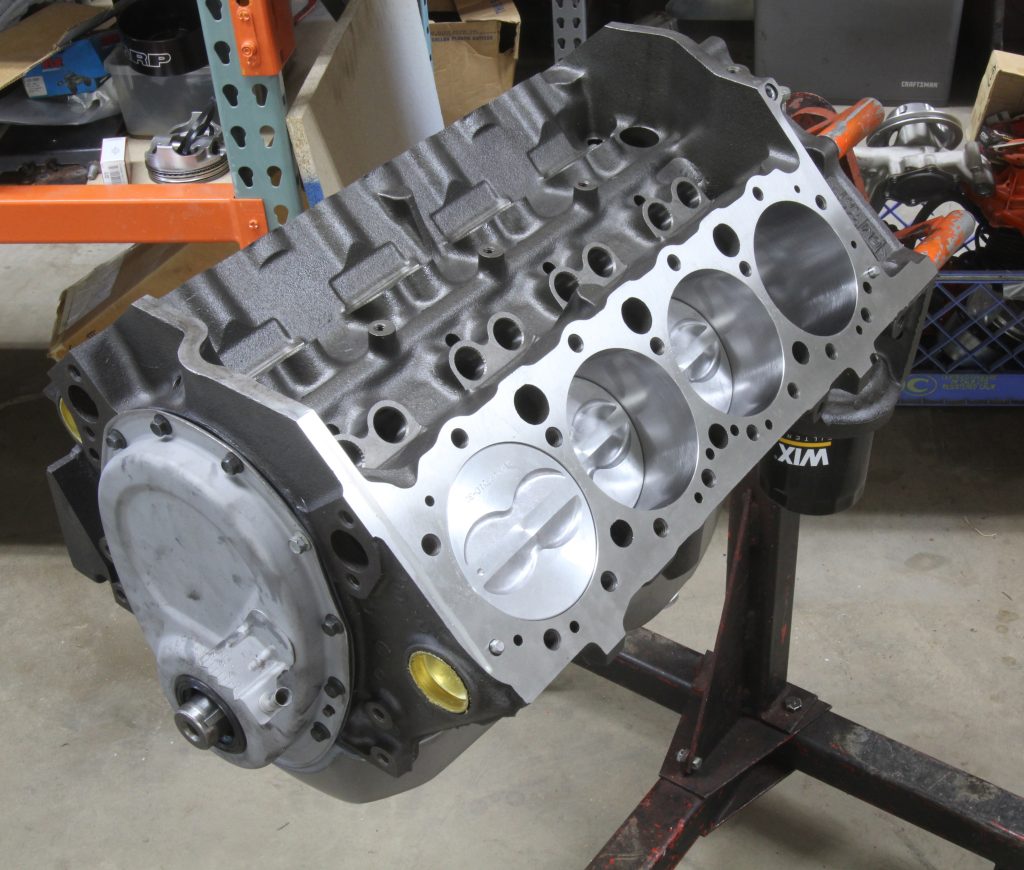
We began with a 1990 350 one-piece rear main seal short block that we bought from a friend for $200. We chose this engine because of the better one-piece rear main seal and one-piece oil pan gasket that will minimize oil leaks. Plus, at a later date we can update this engine to a roller cam since the block is machined to accept a factory style hydraulic roller cam which is far less expensive than retro-fitting a two-piece rear main seal block.
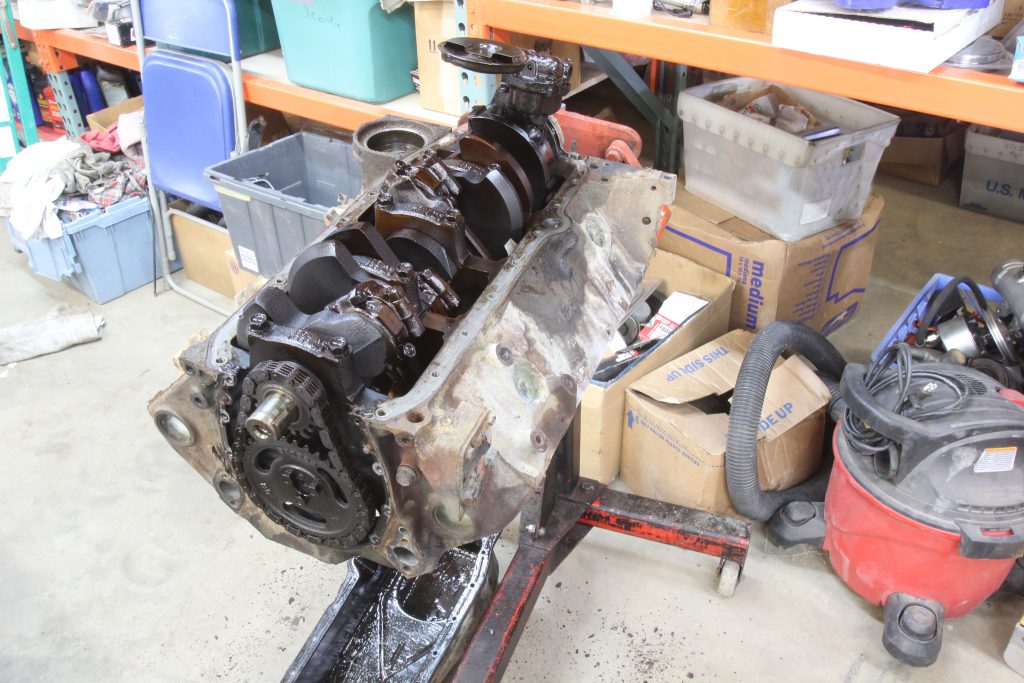
Our engine was in decent shape and we were tempted to re-use the rod and main bearings because they looked very good. Disassembly went easily and we made a point to number stamp both sides of the rods as well as numbering the main caps to ensure they did not get mixed up during re-assembly.
The crank measured a little more than 0.0005 inch smaller than the standard main and rod journal sizes which saved us some money by not grinding the crank. Our first step was to take the block to a local machine shop, Williams Machine in Lacona, Iowa to have it cleaned, bored, torque plate honed, and aligned honed the mains. Williams also installed the new ARP rod bolts, resized the big ends of the rods, pressed them on the pistons, and then installed the cam bearings. It’s also a good idea to balance the entire assembly since the new pistons are larger and heavier. We also included a new flexplate to the system so it could be accurately balanced since the stock offset weight (for the one-piece rear main seal flange) on these replacement flexplates tend to vary wildly.
There’s a complete parts list at the bottom of this article.
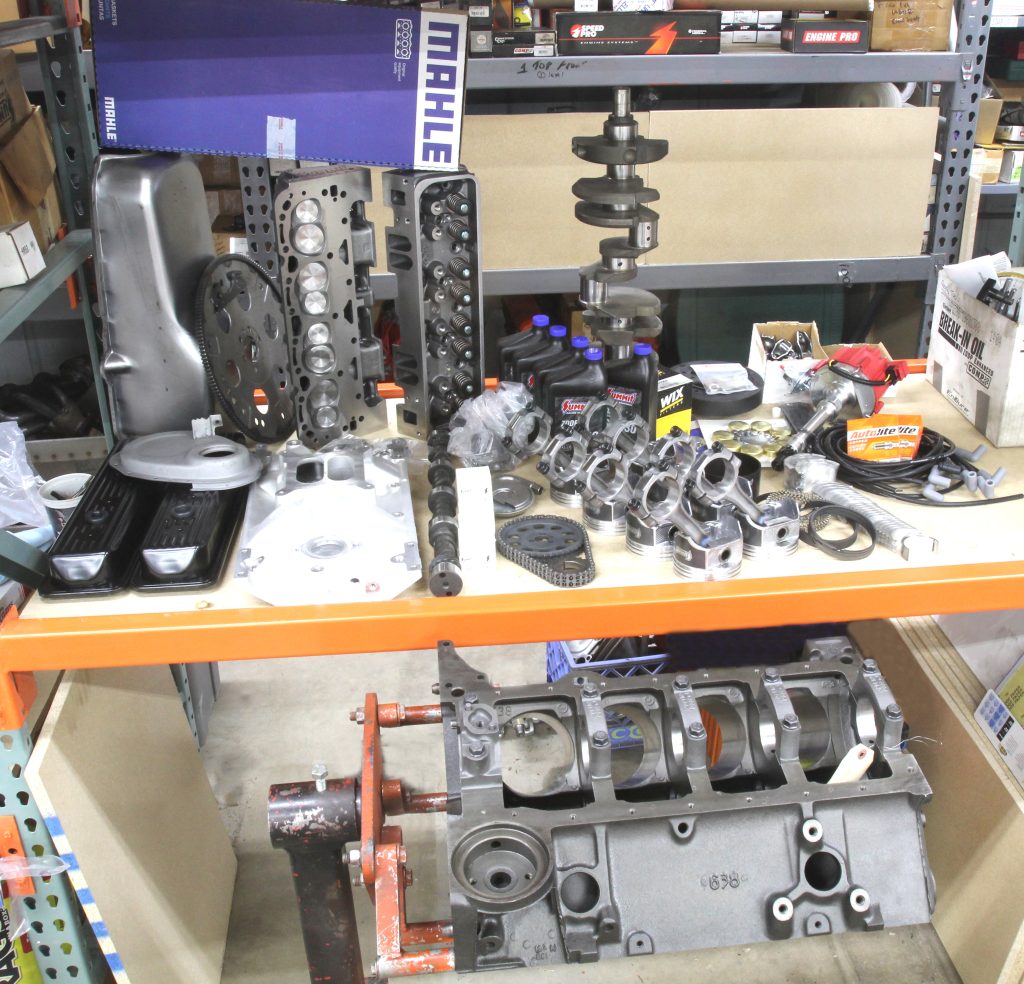
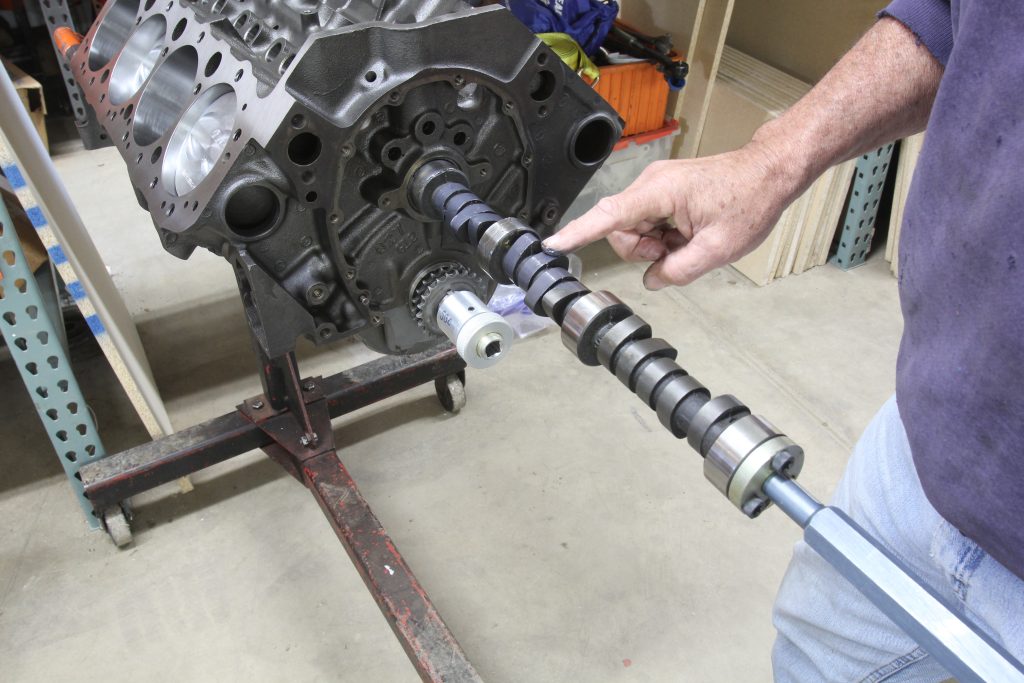
With all the parts returned from the machine shop, we laid all the parts on a bench just to organize everything. Our first step is always to pre-install the cam before any other parts. This is important because sometimes there can be a tight cam bearing that won’t allow the cam past the bearing. It’s better to know this before assembling the rotating assembly because it’s easier to access the offending cam bearing with an empty block.
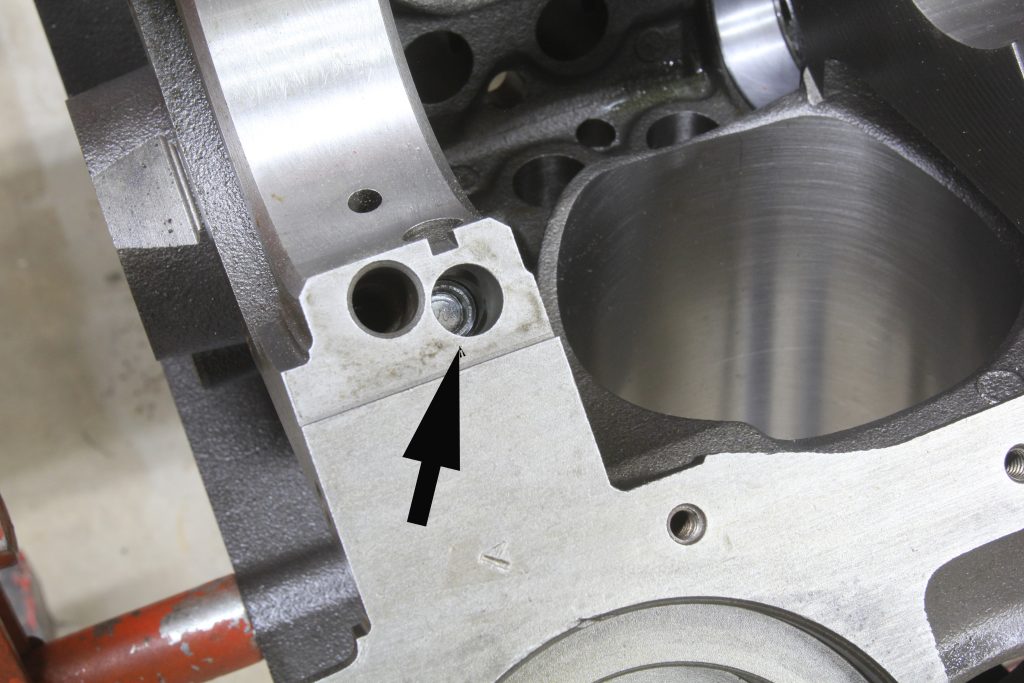
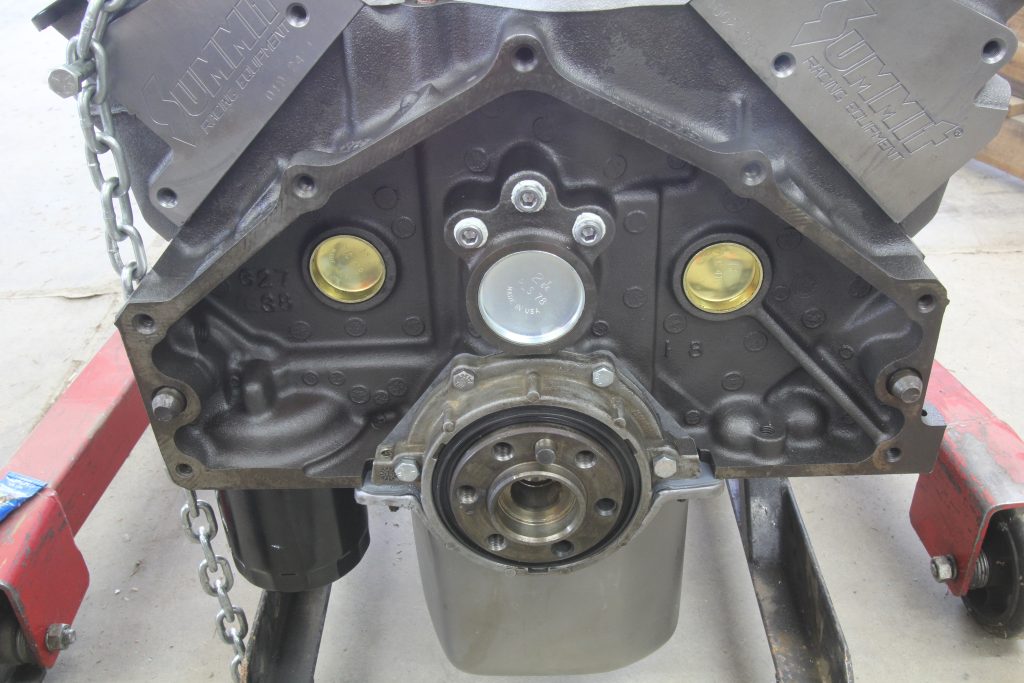
This is also a good time to install the three press-in plugs in the front of the block that straddle the cam. If you forget these plugs, the engine will not produce any oil pressure. We also stake them in place with a chisel strike to ensure they don’t push out. The threaded rear galley plugs must also be installed and coated with thread sealer.
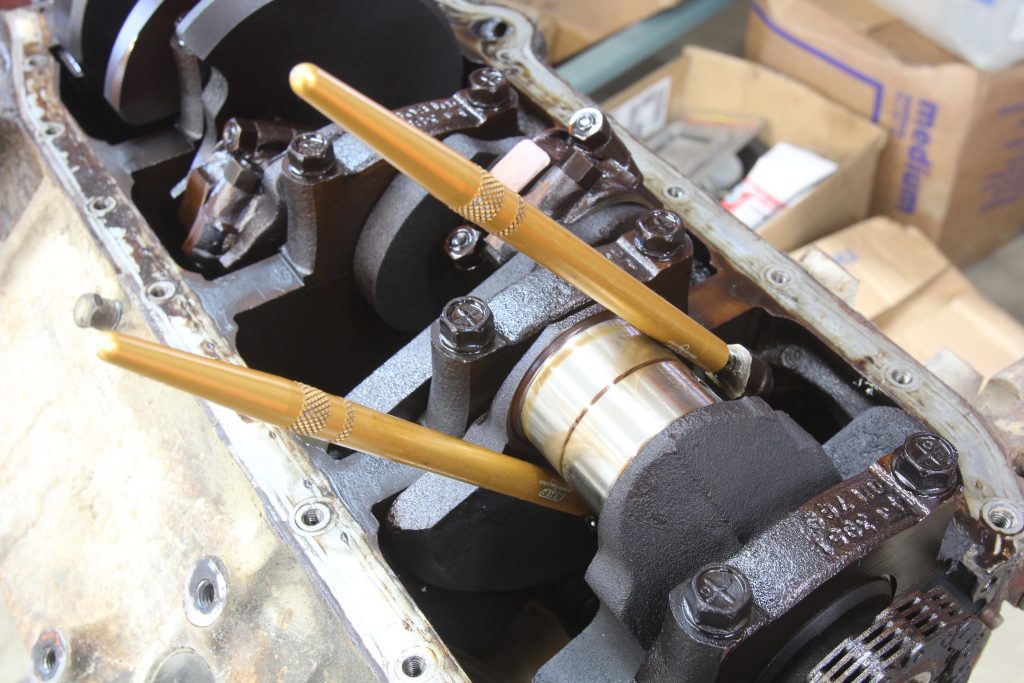
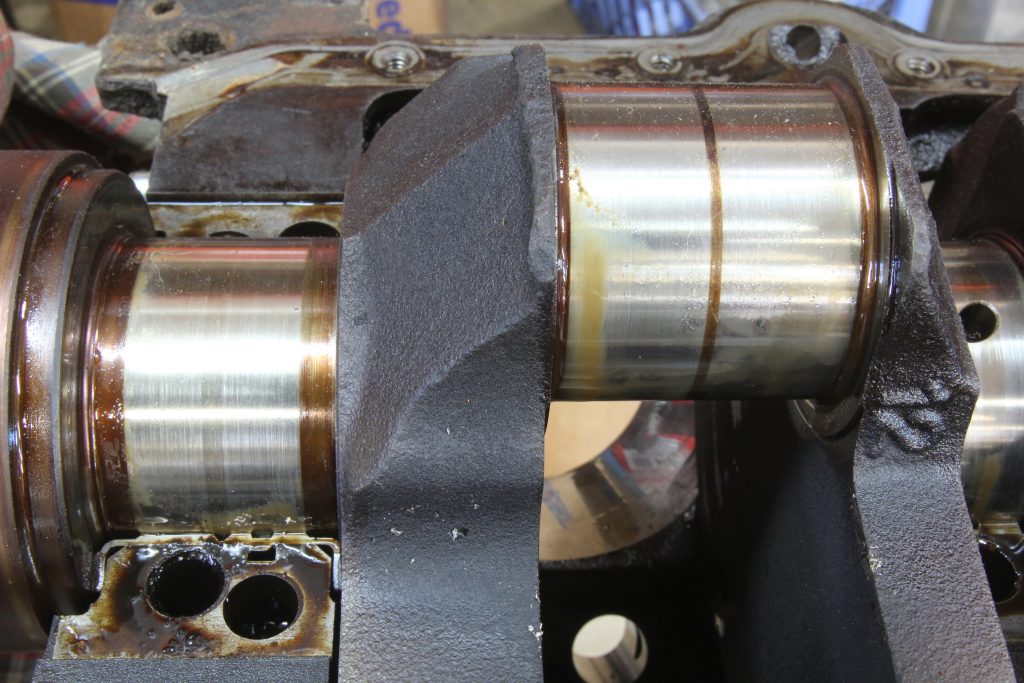
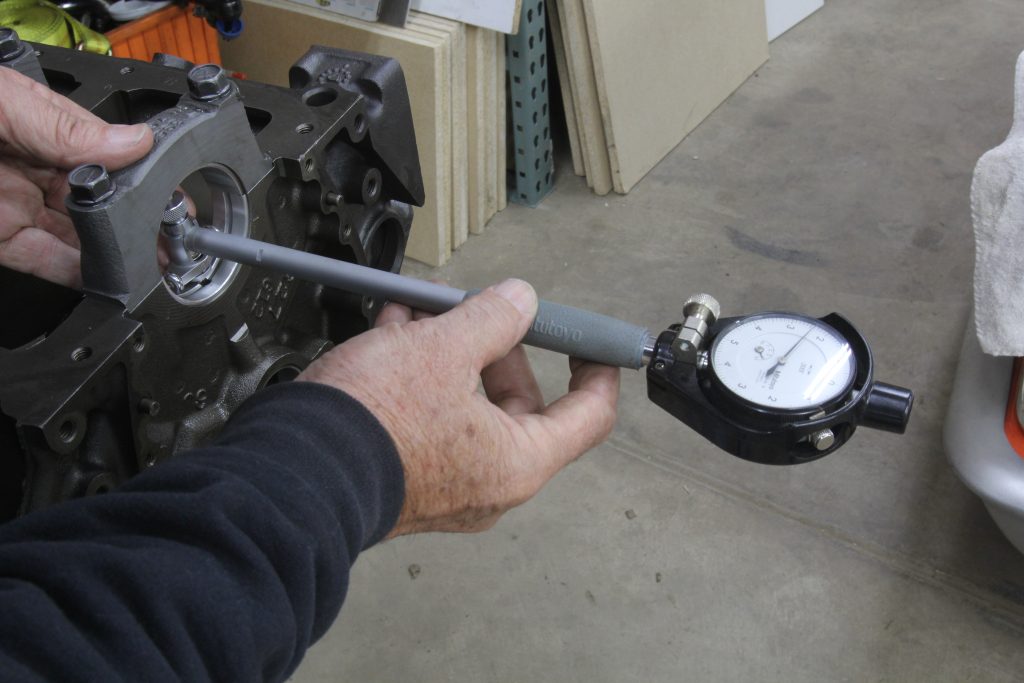
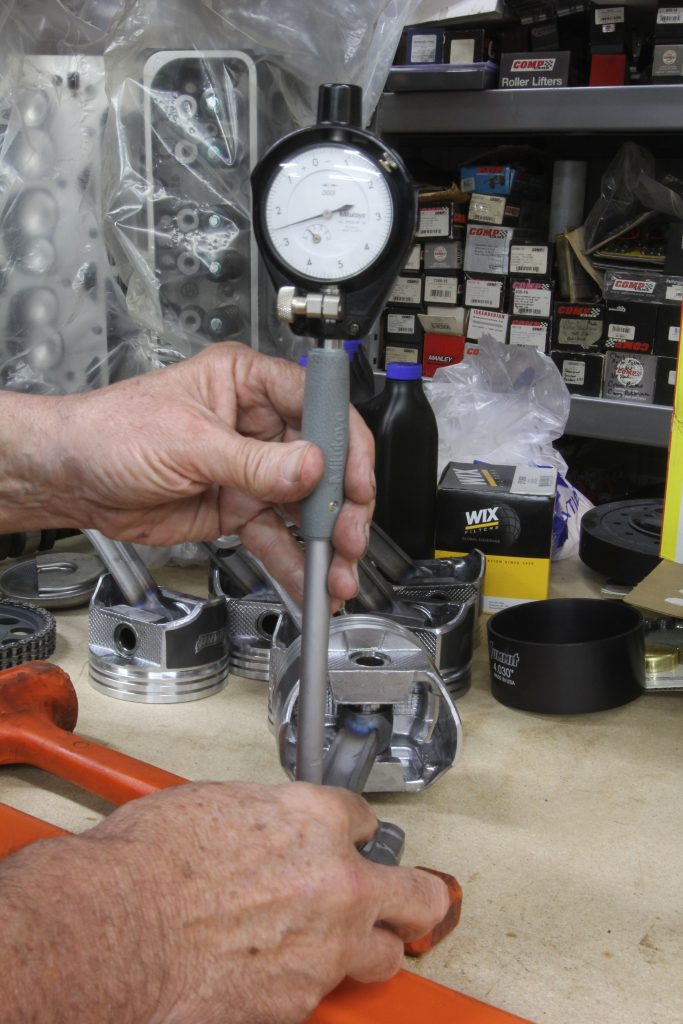
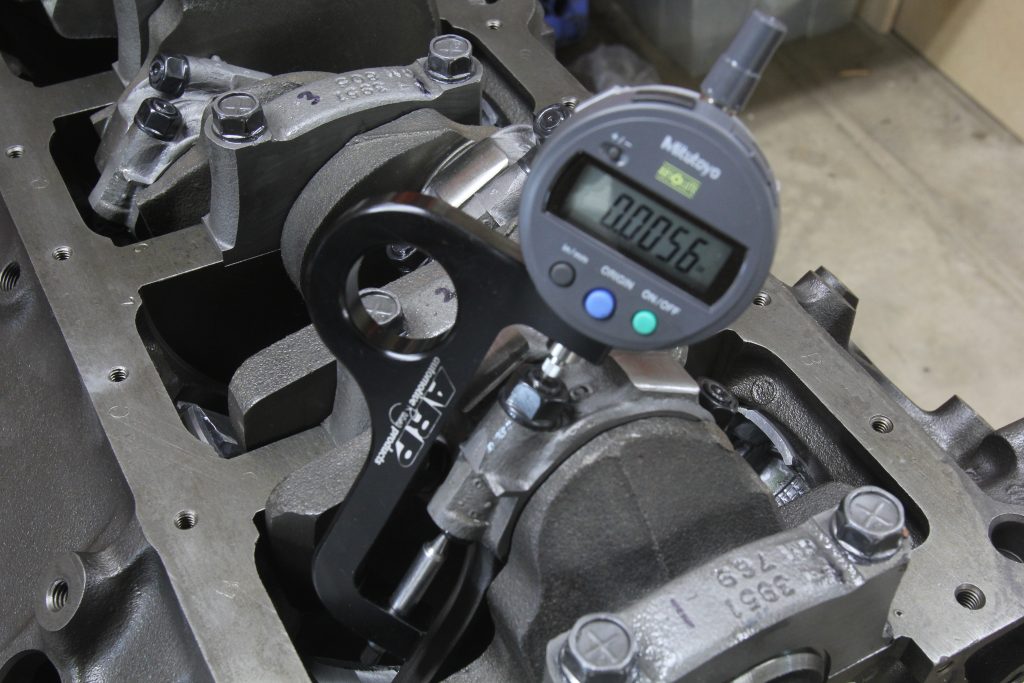
Next we checked the rods and main bearings for clearance because the rods had been resized and the block was align honed. We prefer to run our rod and main clearance on street small blocks as near to 0.0025-inch as possible. The bearings we chose are from Summit Racing and are the bi-metal design which means they are aluminum with a steel backing. These are stock replacement bearings that are somewhat harder than performance bearings. We chose the stock replacement versions to maintain the budget.
While the main bearings were available in 0.001 inch undersize, the bi-metal rod bearings are not. Our engine did not need undersize rod bearings, but they are available in 0.001 inch undersize from companies like Clevite, King, and Speed-Pro. While softer, they will work fine for a street engine and it’s always better to establish a proper clearance even if you have to use different bearings.
Several main bearings were closer to 0.0030 inch so we added a 0.001 inch undersize upper half shell that reduced the clearance to 0.0023 to 0.0028 inch, which is near ideal. The Number five main required using both halves of the 0.001 inch under main bearing to create a 0.0026 inch clearance. Often the thrust will have a slightly looser clearance to ensure the vertical thrust portion of the bearing is properly lubricated.
Assembling the Engine
Before we began the assembly, we performed a final wash of the block with laundry soap and brushes and immediately dried the block with high pressure air. Then we used white paper towels and Marvel Mystery Oil to clean the cylinders. We changed to fresh paper until the red oil stain on the towels remained red. This usually involves four or more passes to get each cylinder as clean as possible. We’ve tried other methods but Marvel Mystery Oil does a surprisingly better job than even lacquer thinner at removing cylinder wall honing residue.
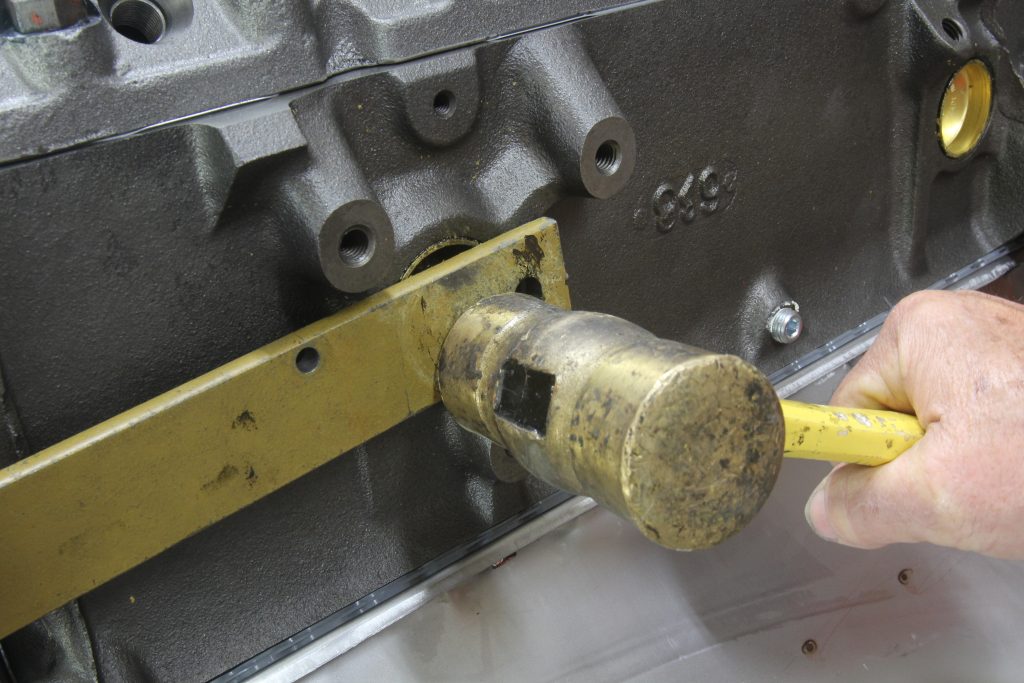
We then installed the crankshaft and measured the thrust clearance to make sure it was within spec at 0.005 inch. In our case, we had almost zero clearance which required sanding the forward portion of the thrust bearing with a sheet of 400 grit wet and dry sandpaper lightly coated with Marvel Mystery oil on a flat glass surface. We combined the two thrust halves with a large hose clamp and lightly sand the forward facing portion of the bearing until we achieved a proper clearance. We then thoroughly cleaned the thrust bearings before checking the endplay that produced 0.004 inch. One trick is to lightly tap the crankshaft from behind with a soft mallet to align the thrust bearings. This can improve the clearance slightly if the clearance is tight.
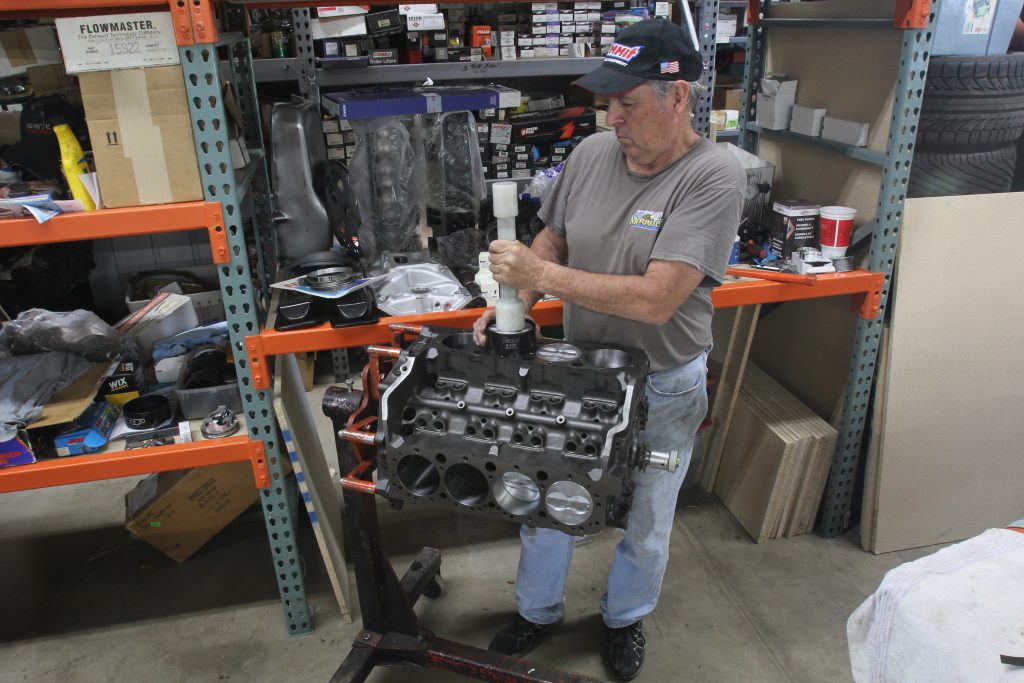
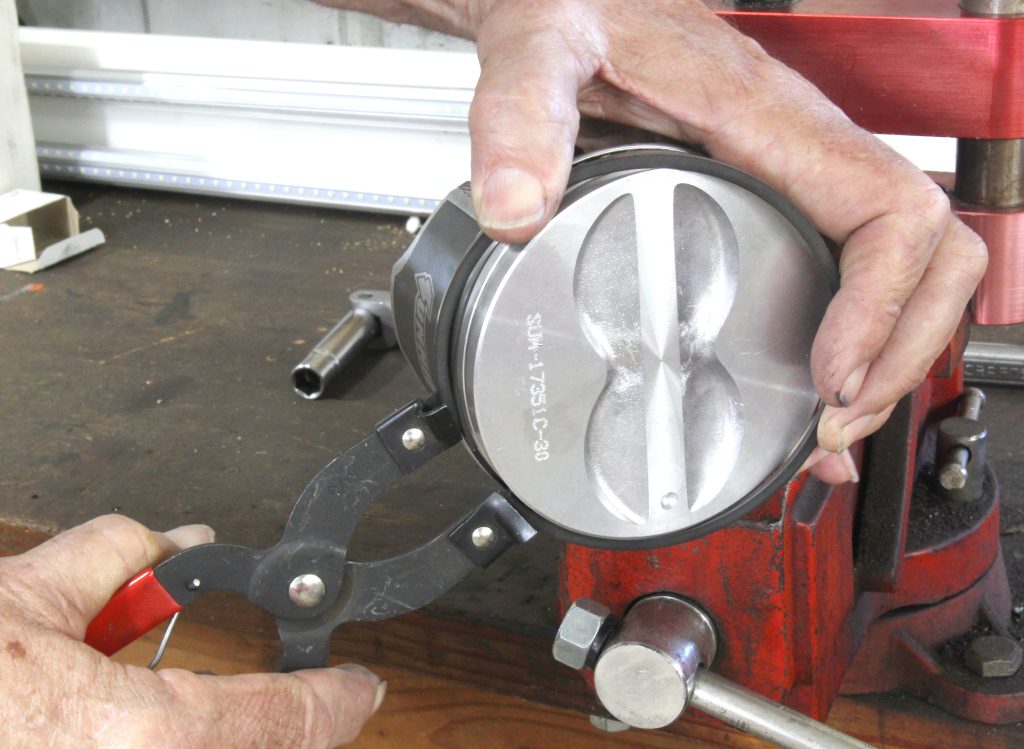
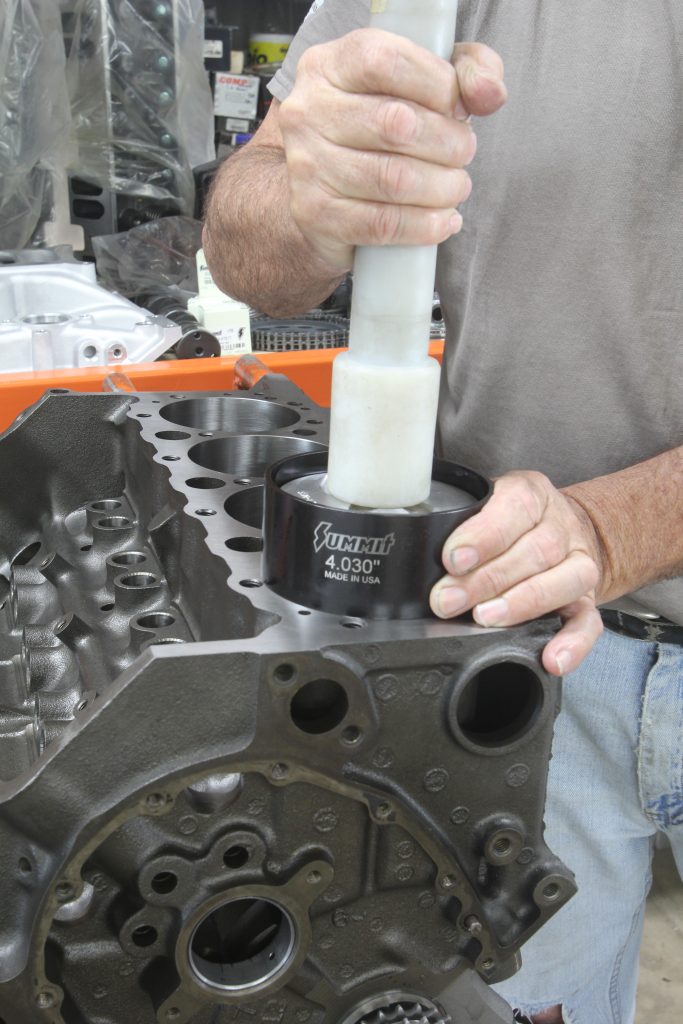
We loaded the pistons with the rings using a ring expander instead of the spiral technique. We oriented the rings as indicated on the instructions with the top and second rings opposite each other on the piston. It’s not as critical where the two top ring gaps are placed as long as they are 180 degrees opposite each other. Our rings were pre-gapped so we did not have to file them for clearance.
With all the pistons in place, we also decided to check deck height to finalize our static compression ratio. The below deck clearances varied a few thousandths but averaged 0.025 inch. This was more than we had planned and also lowered the static compression ratio far below our desired to 9.7:1. We could have had the block decked another 0.015 inch but that would have increased our cost so we decided we’d leave it as it is. To compensate, we substituted a thinner steel shim gasket for the composition version.
This deeper deck height allowed us to add a metal shim gasket’s 0.016 inch to the 0.025 inch of piston deck clearance for a total of 0.041 inch. This actually pushed our compression ratio up to 9.9:1.
This will certainly make our small block a little more power, improve fuel mileage slightly, and make it snappier with the throttle.
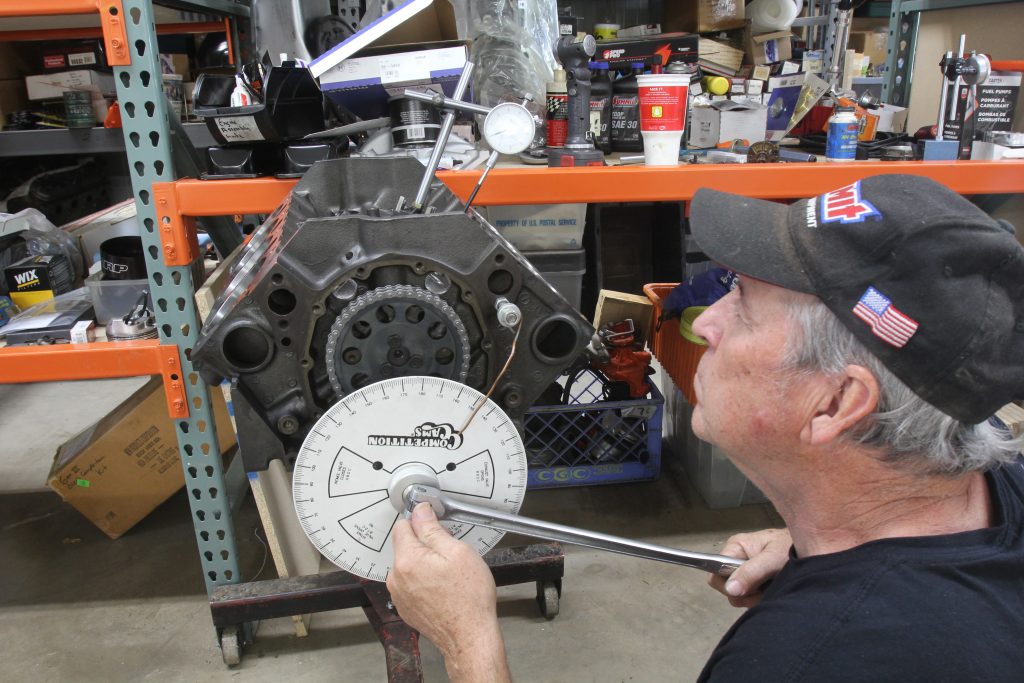
With the pistons in place, we next moved to installing the Cloyes double roller timing set. This timing set offers three different keyways on the crank gear to advance or retard the cam timing. We chose the zero setting and then ran through the cam degreeing process. We won’t go into how to do that here but we discovered the cam positioned at a 106 degrees After Top Dead Center (ATDC) for the intake centerline. The cam card calls for 107 degrees, so we decided to leave this since this is within one degree of the spec.
With the cam properly timed, we added thread locking compound to the cam bolts, torqued them in place and we were about to install the front timing cover when we discovered our gasket set did not include a timing cover gasket. This is because some of the later one-piece rear main seal engines came with plastic timing covers that must be replaced. So we had to purchase a separate timing cover gasket before we could finalize the cover install.
Now we could turn our attention to the oil pump. You may notice that we selected a standard pressure, standard volume oil pump since most street small blocks do not need either high oil pressure or volume. We did check the pickup position relative to the oil pan and found it a touch higher at 1/2 inch compared to the 3/8 inch spec. We also tack-welded the pickup to the pump to ensure it does not vibrate out and leave us stranded with no oil pressure.
All one-piece rear main seal small blocks also use a one-piece oil pan gasket that makes the installation much easier compared to the traditional four-piece sets. This completed our short block assembly for our budget small block.
Almost Finished…
The Part II story will finalize the assembly with the cylinder heads and the remainder of the upper end and fire this rascal up on our Summit Racing engine test stand. We’re looking forward to that day when we can make a little noise to prove our assembly technique and break-in procedure.
We’ll save that bit of excitement for Part II.



***
Summit Racing Classic Cam Specs (SUM-K1103)
| Advertised Duration | Duration at 0.050" | Lift | Lobe Sep. Angle (LSA) | Intake Centerline |
|
|---|---|---|---|---|---|
| Intake | 288° | 214° | 0.444" | 112° | 107° |
| Exhaust | 298° | 224° | 0.466" | — | — |
***
| Jeff Smith's 355 SBC Budget Build Engine Specs | |
|---|---|
| Compression Ratio | 9.85:1 |
| Bore | 4.030" |
| Stroke | 3.480" |
| Combustion Chamber Volume | 67cc |
| Deck Height | 0.025" |
| Piston Valve Reliefs | 6cc |
| Head Gasket Thickness | 0.016" |
***
| Jeff Smith's 355 SBC Budget Build Recommended Clearances | |
|---|---|
| Main Bearings | 0.0025" (optimal) |
| Rod Bearings | 0.0022" to 0.0025" (optimal) |
| Crank Endplay | 0.003" to 0.011" |
| Top Ring Gap* | 0.0045" per inch of bore minimum (0.018") |
| 2nd Ring Gap* | 0.0050" per inch of bore minimum (0.020") |
| Piston-to-Head | 0.035" to 0.040" (minimum) |
| Piston-to-Valve | 0.100" (minimum) intake & exhaust |
| Oil Pickup to Pan | 0.375" to 0.400" |
| *These values are for normally aspirated engines on gasoline with cast pistons. | |
***
| Jeff Smith's 355 SBC Budget Build Parts List | |
|---|---|
| Engine Short Block | |
| Summit Racing Coated Hypereutectic Pistons, 4.030" Bore | SUM-17351C-30 |
| Summit Racing Piston Ring Set, 5/64" | SUM-133-M139-30 |
| Summit Racing Main Bearings (Standard) | SUM-172000 |
| Summit Racing Main Bearings (Undersize, 0.001") | SUM-172001 |
| Summit Racing Connecting Rod Bearings | SUM-171000 |
| Dura-Bond Standard Cam Bearings | DUR-CH-8 |
| Summit Racing Oil Pump (Standard Volume/Pressure) | SUM-121155SV |
| Melling Oil Pump Pickup/Screen Assembly | MEL-55-S1 |
| ARP High Performance Series Connecting Rod Bolt Kit | ARP-134-6003 |
| Summit Racing Classic Cam and Lifter Kit | SUM-K1103 |
| Cloyes Heavy-Duty Timing Set | CLO-C-3023X |
| Fel-Pro Timing Cover Gasket | FEL-TCS51241 |
| Summit Racing Freeze Plug Kit | SUM-G1581 |
| Summit Racing Dowel Pin Kit | SUM-150122 |
| Dorman Harmonic Balancer | RNB-594-121 |
| Summit Racing Harmonic Balancer Bolt | SUM-G1677 |
| Summit Racing Stock Replacement Oil Pan | SUM-G3503X |
| Engine Top End | |
| Summit Racing Vortec Cylinder Head (x2) | SUM-151124 |
| Summit Racing Chromoly Pushrods | SUM-1457800 |
| Mahle Original Engine Gasket Set | MAH-95-3488 |
| Summit Racing Stage 1 Intake Manifold | SUM-226018 |
| Melling Rocker Arm (x16) | MEL-MRK-651 |
| WIX Oil Filter | WIX-51069 |
| Summit Racing ZDDP Performance Motor Oil | SUM-1-SAE30 |
| Autolite Copper Core Spark Plug (x8) | ATL-605 |
| Summit Racing Blueprinted HEI Distributor | SUM-850001-1 |
| Summit Racing 8.5mm Ignition Wire Set | SUM-881020 |
| Summit Racing Valve Covers | SUM-G3319B |
| Special Engine Assembly Tools | |
| Clevite Rod Bolt Sleeves | CLE-2800B1 |
| Summit Racing Cam Degree Wheel | SUM-G1057-16 |

Unable to read due to the dark background.
OMG who tried to weld that pick up tube? Get someone who can run a TIG and weld a small bead with some 309 S.S>
I just found it a little bit confusing on the cam timing when one section, (the top part stated), “we discovered the cam positioned at a 108 degrees After Top Dead Center (ATDC) for the intake centerline. The cam card calls for 107 degrees” while later in the article it stated “We discovered the cam was at 106 degrees, within one degree of the 107 degree intake centerline”. Please note that until I discovered the oversite, I was certain I was imagining things! I was surprised that it was not proof read before going to print is all. I was otherwise very interested since I am getting ready to do my SBC engine here in a couple of weeks.. Thank you Jeff, for the tips and the insight.
Raymond
Good catch on your part! Yes, the information is in error. The real information is that the cam checked in at 106 as stated in the caption but somehow that number became 108 in the body copy. That was all my fault and I failed to catch the error in copy editing. But you caught it – perhaps we should hire you as a copy editor! We’ve fixed it in the article above.
…
Clearly you were paying close attention when reading the story – exactly the kind of reader that keeps me honest and improves the product for everybody!
Jeff…despite those guys proof reading for errors its a great little article.Perfect for a young man interested in the basics from 1955 ! I don’t who will carry the torch after our generation is gone?.
Probably all LS and LT and what ever comes next in the way of engine technology.The gen 1 are still hanging in there..crate engine business still booming.Never saw anything like this.Blueprint engines is a good example.I am blown away by the amount of engine builders there are and the companies that have star wars machinery like Rottler..an article by you on the inroads of new engine equipment would be awesome.
Keep up the good work Jeff!
I will buy that engine for my sons 68 C10 if you want to sell it!
How is that flat tappet holding up?…..such a wasted opportunity with that factory roller block. I hunted down a factory roller block just to avoid the current flat tappet nightmare. I figured its worth the money to not have to build the engine a second time after it eats the cam.
Enjoyed all your tips, but something’s off on the deck height figures. The summit 17351C-30 pistons you chose have a compression height of 1.540”, .020 shorter than factory 1.560”. Add 1.540 to 1.74 (1/2 stroke), plus 5.7 (rod length)= 8.98”. Subtract from 9.017 (.008 removed from factory 9.025” block deck height), and pistons are actually .037 below deck, resulting in a poor .053” quench with .016 head gaskets. The only way I see to achieve a proper .035 quench, is to use summit 17350C-30 pistons with a 1.560” compression height, plus Fel Pro 7733SH1 .016” UNCOATED steel gaskets, only $10.99 each, painted with copper or aluminum paint. Jeff, can you explain please?
And something important to add to my above figures, only .004-005” can be removed from block when using 1.560” compression height pistons, or quench will be less than .035”, something to definitely avoid.
I’ve found that everyone has different ways and parts that’s actually working all. It’s nice to get different points of view in building engines. I take all information as a valuable asset. Thanks for the information, it will help in my next build. Summit is a great company and has great help if you have problems.
Awesome article , very much appreciate the time invested passing on knowledge like this! While working in shops and reading articles I’ve noticed a lot of guys looking at retirement concerned the younger generation isn’t learning these skills. Tuning carbs, building motors and burning tires is alive and well with my mid 30’s group so nothing to fear fellas! One thing i cannot seem to find how to do is measure the CC of a unknown piston. In the middle of rebuilding a modified 355 that has parts from unknown.
Hey Kyle – glad you liked the article. Jeff Smith has a pair of other posts that can help you measure the piston in the bore and calculate cylinder/combustion chamber volume. You can check them out here:
***
* How to Figure Out Compression Ratio On an Engine with Unknown Dished Pistons
***
* Calculating Compression Ratio on an Unknown Engine with Domed Pistons
***
Thanks again for reading – hope this helps.
Am I missing something? It looks like the distrubutor You list is for a 7.4L
Hey Monte – Thanks for reading. SUM-85001-1 is compatible with both big and small block Chevy motors.
what would be ideal range of cranking pressure for 355 sbc and can you determine this by parts your installing?