Andrew Schenk sent us a story about swapping the intake manifold on his twin supercharged 1986 Mustang GT. It has a lot of good information on planning and executing a major engine upgrade.
Growing up, my dad often reminded me that changing one thing can significantly impact another. This wisdom became clear when I decided to swap out the dual plane intake manifold on my twin-supercharged small block Ford for a single plane intake. The process wasn’t just about a simple upgrade; it involved careful planning, precise adjustments, and unexpected challenges along the way.
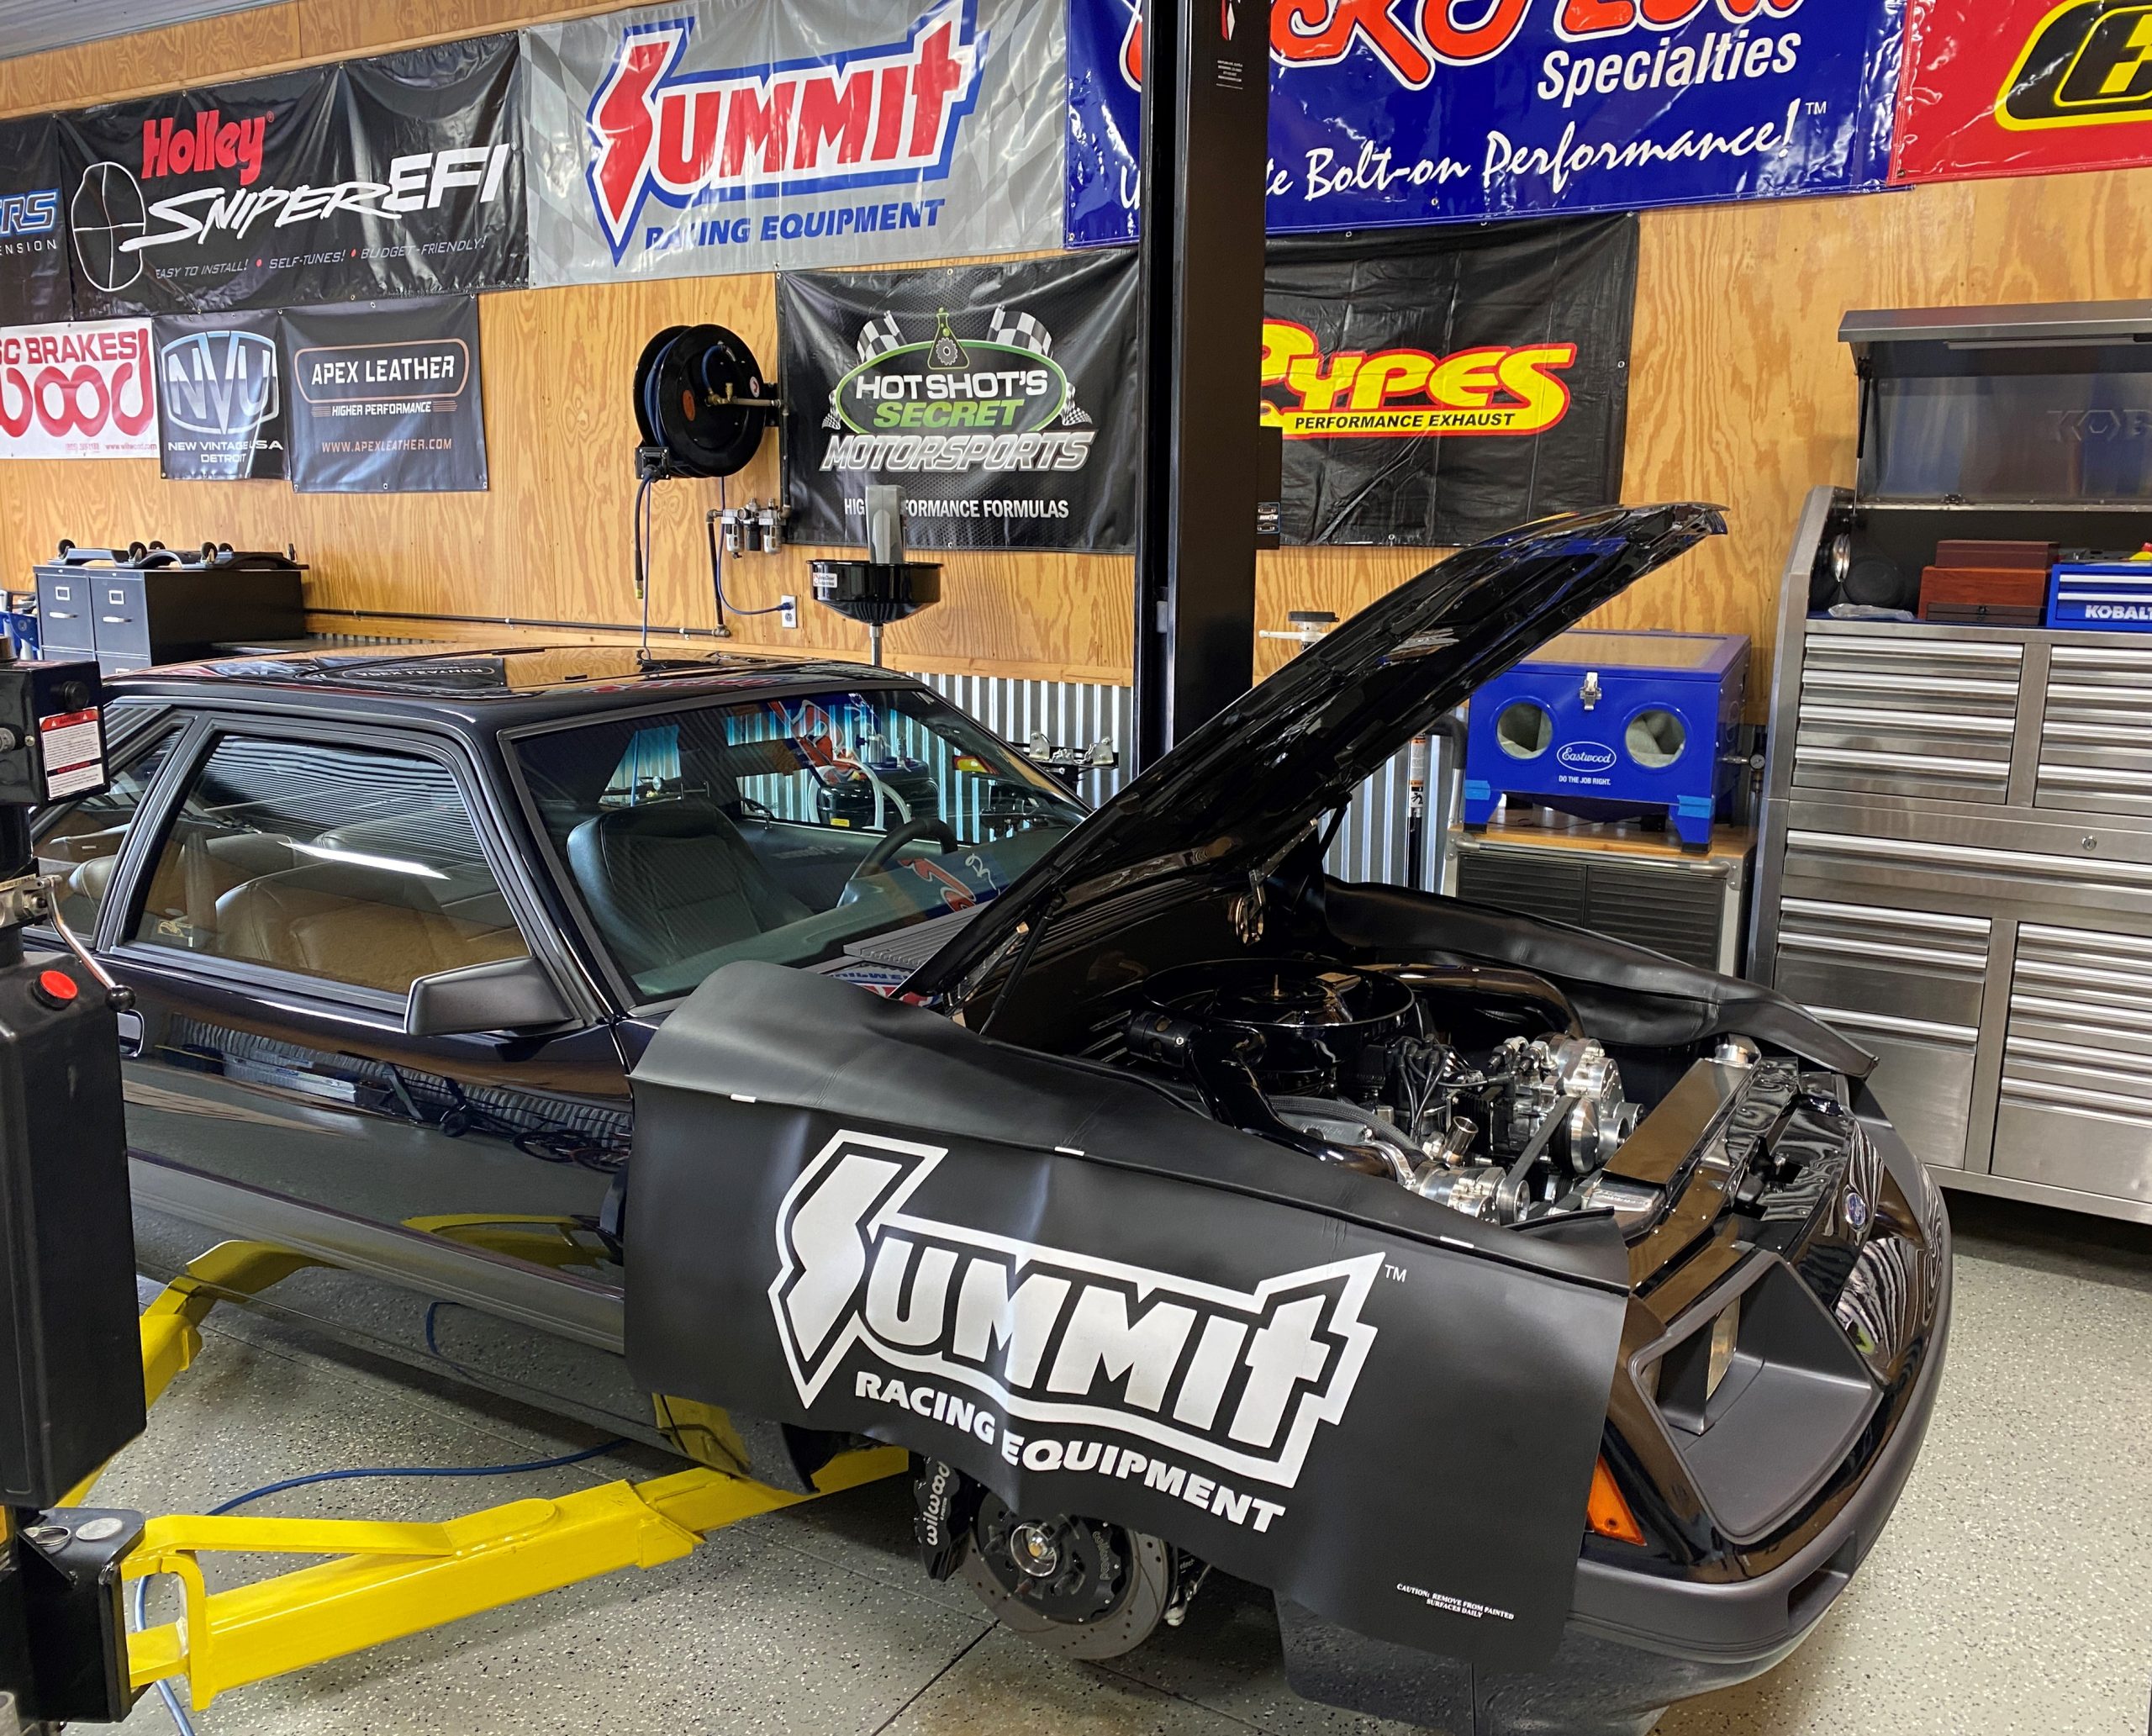
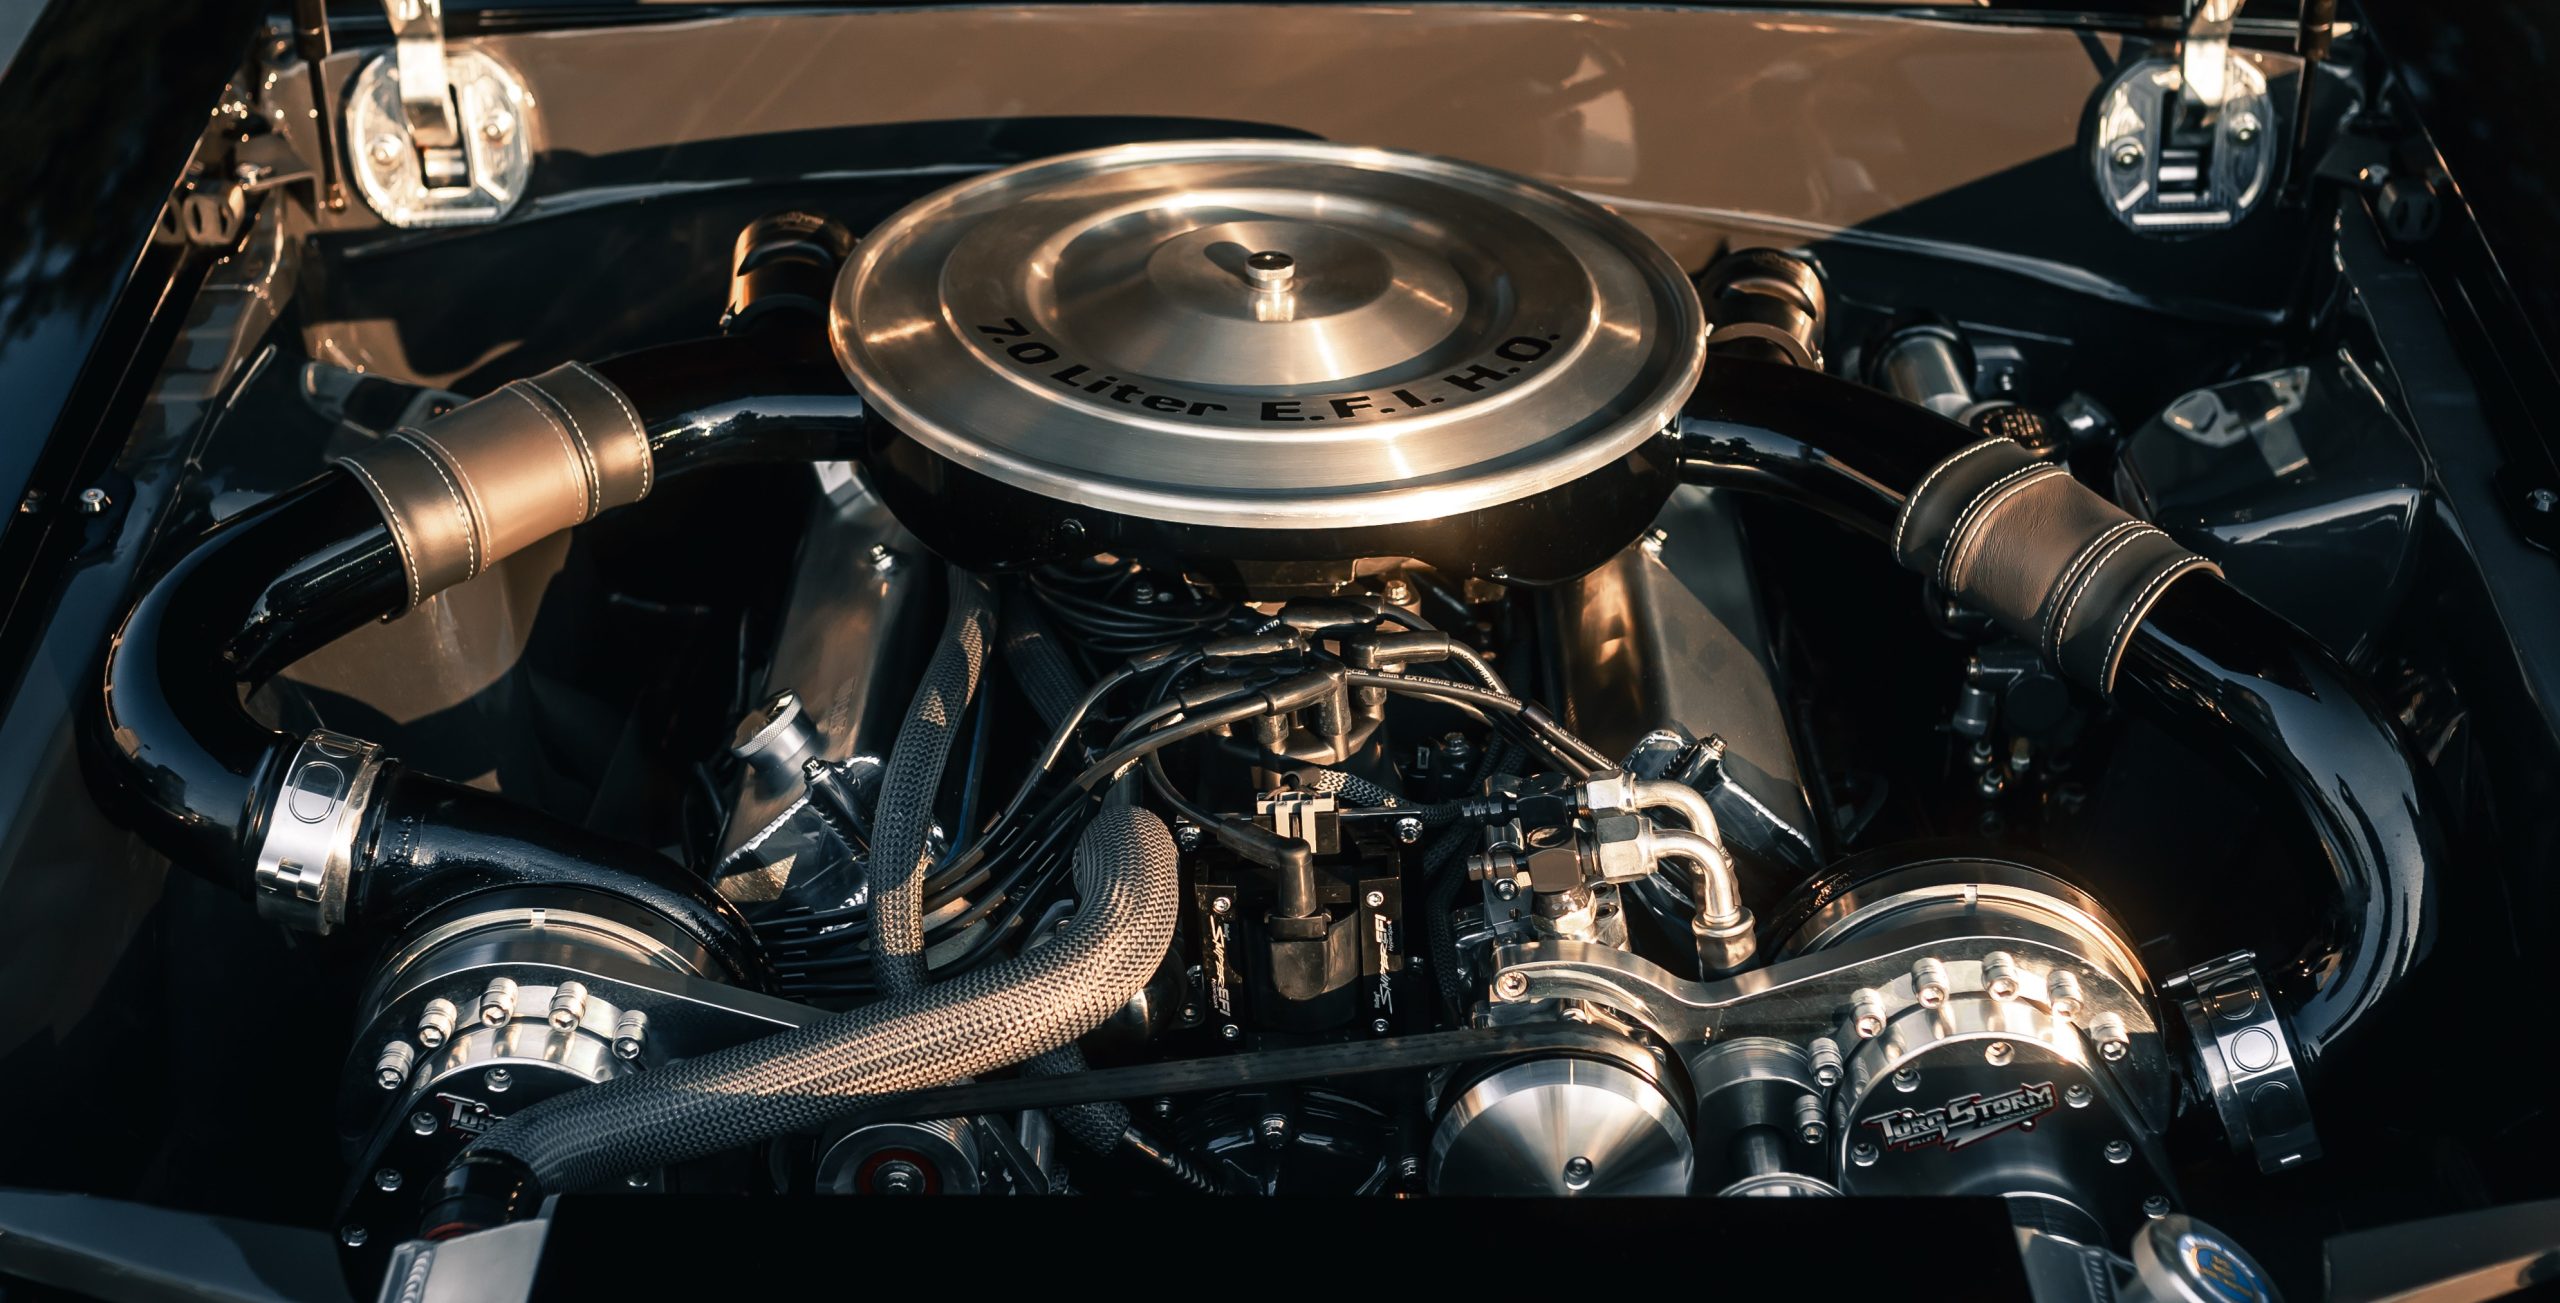
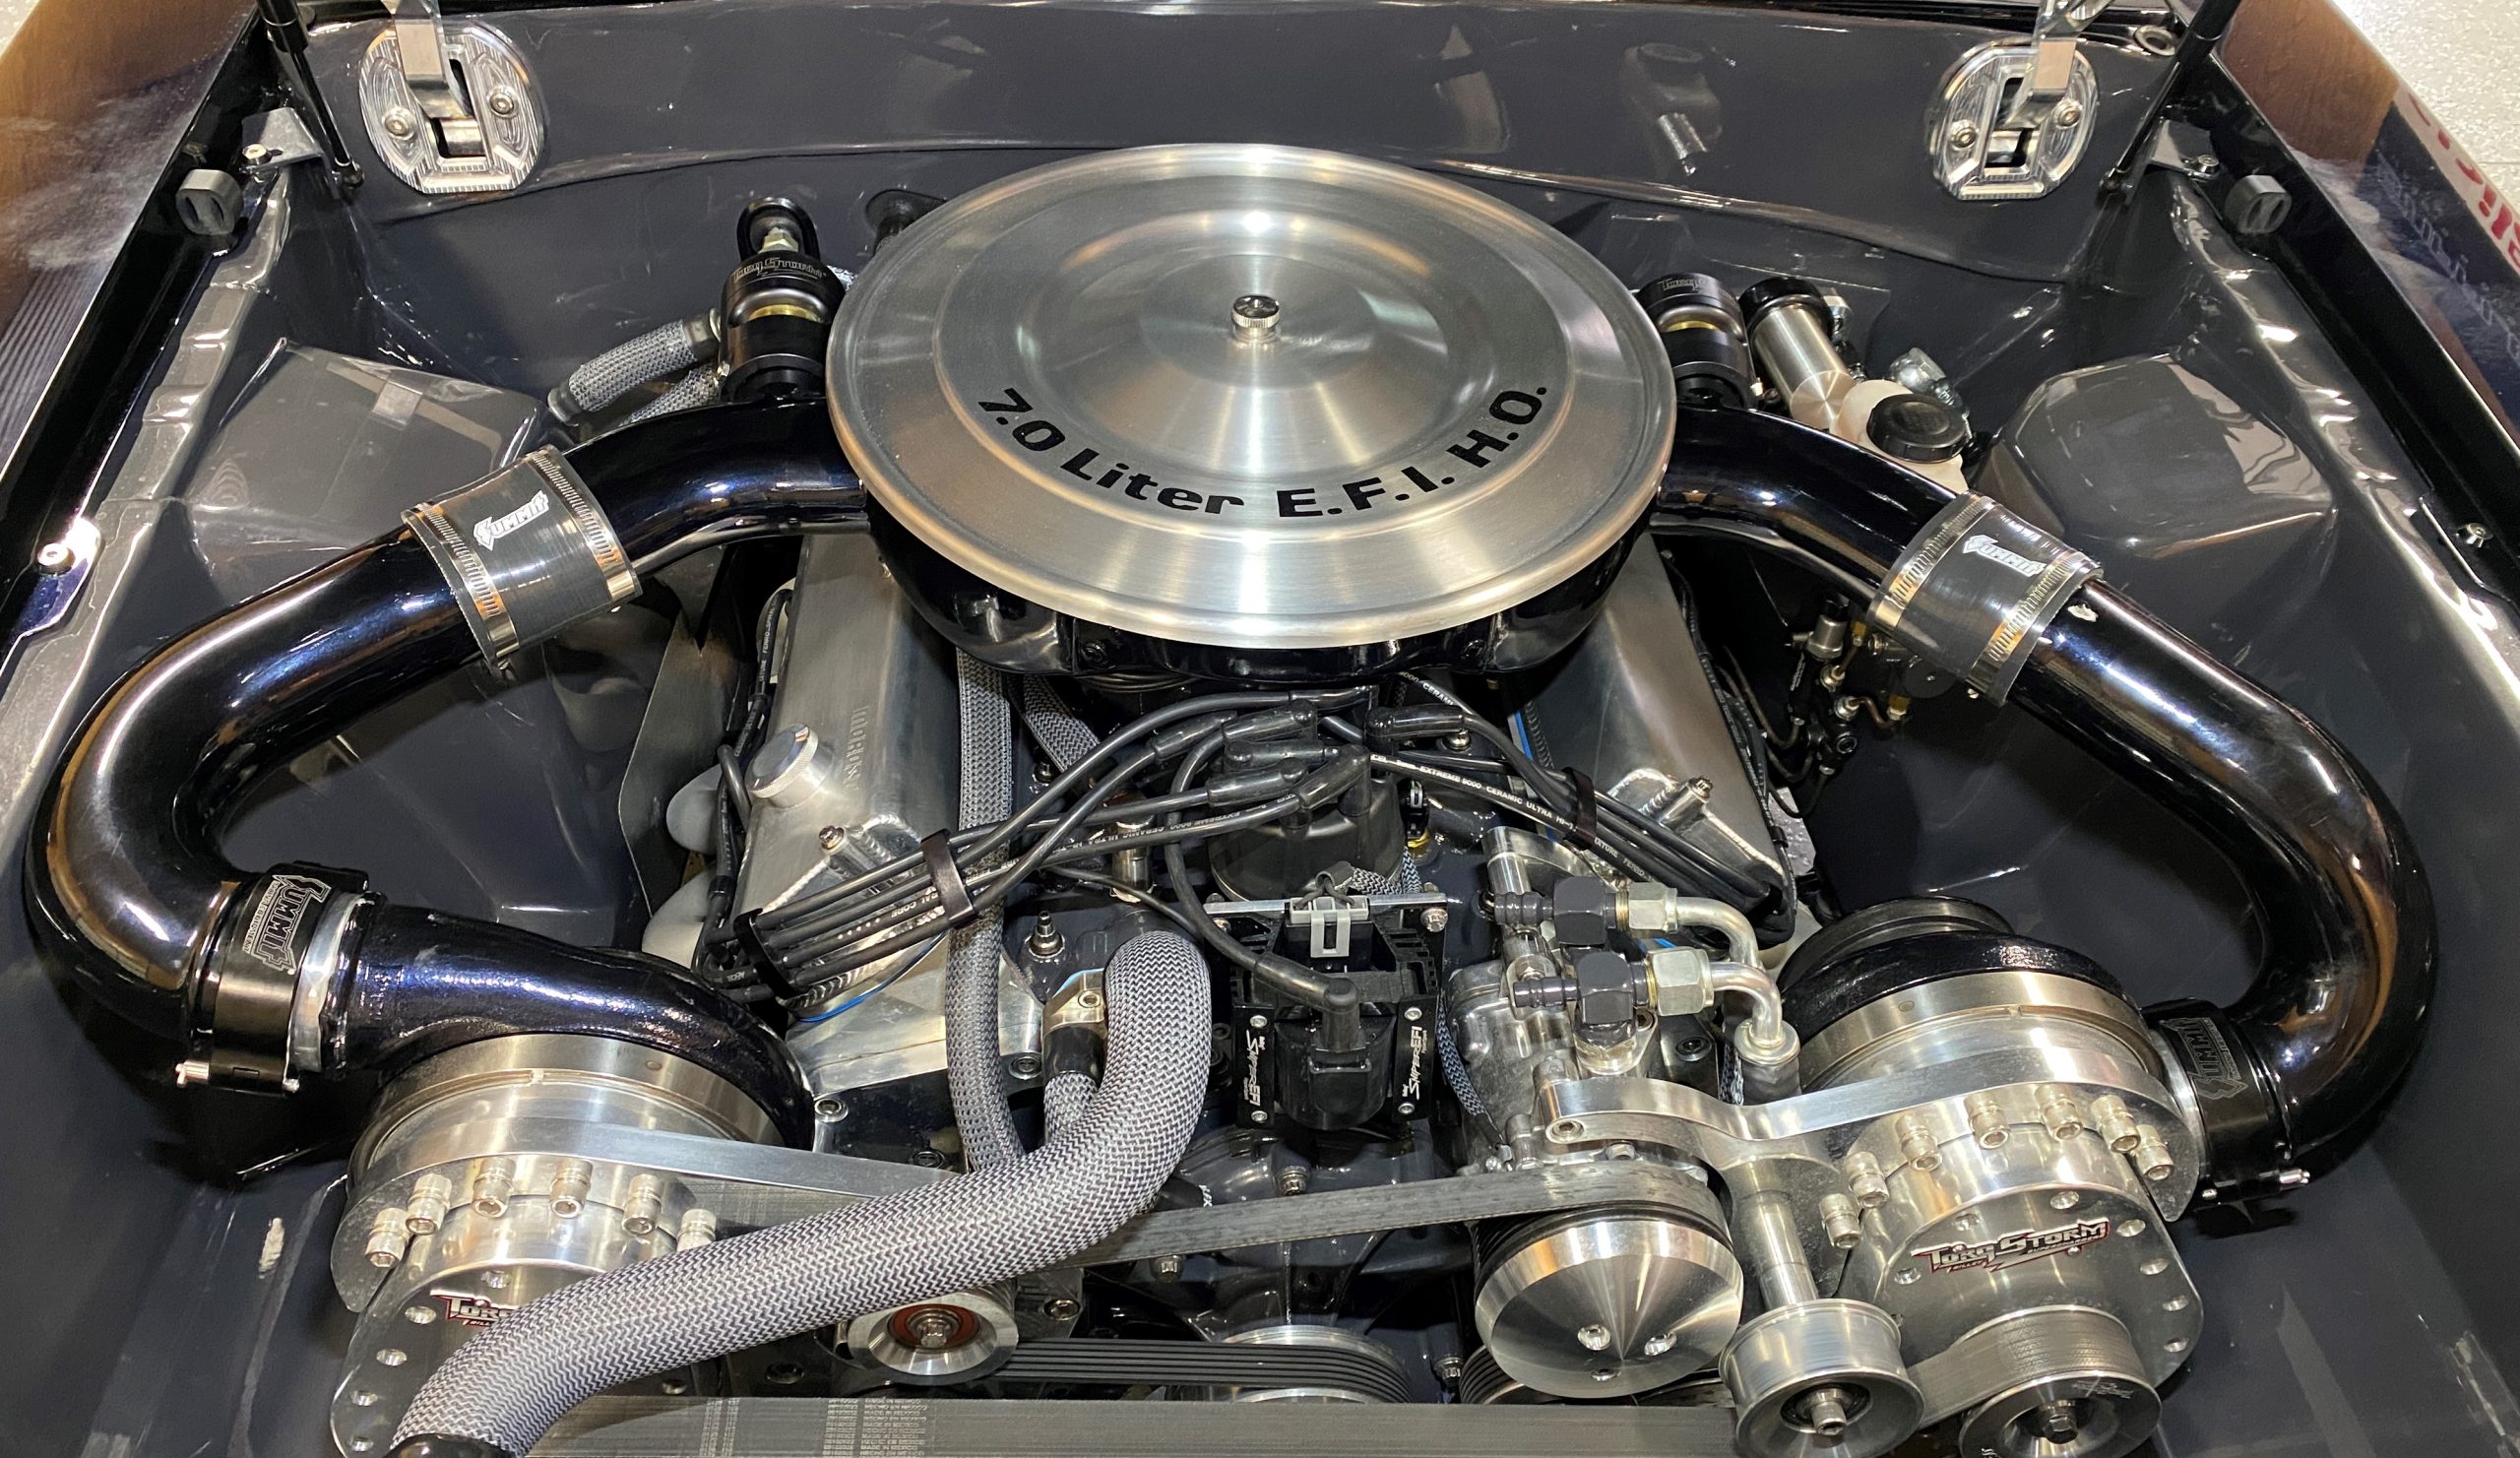
Let me share a little about the engine and car. The car is a 1986 Mustang GT. When I started the project, Coyote engine swaps in Fox Body Mustangs were in high gear. I wanted to do something different, so I opted to build a 427 cubic inch small block for this car. FordStrokers of Elburn, Illinois put together the short block and I finished the build at home.
The 427 is based on a 351 CID World Products Man O’ War block fitted with Trick Flow 225 High Port cylinder heads, a Holley Sniper EFI system, and an Edelbrock Performer RPM dual plane intake. The icing on the horsepower cake is a Torqstorm twin-centrifugal supercharger setup and front accessory drive.
(Learn more about Andrew’s GT in the SEMA Vehicle Feature: 1986 Ford Mustang Fox Body with a Twin-Supercharged 7.0L Stroker story. You can also check out the parts list in the Andrew Schenk Pro Touring Fox 1986 Mustang Parts Combos at SummitRacing.com)
Understanding the Switch from Dual Plane to Single Plane Intake
The Mustang was not planned to be an all-out race car, so I chose the Edelbrock Performer RPM manifold for drivability. The decision to switch from a dual plane intake to a single plane wasn’t made lightly. The main reason for the change was a very rough stuttering at idle, followed by the car stalling out completely around 2,500 RPM. After researching and consulting with fellow enthusiasts, I settled on a single plane intake manifold to resolve the issue. Here’s why:
• Single-plane intake manifolds typically have longer, larger runners that allow for better airflow at higher RPM. This is important considering the massive amounts of air the twin superchargers push into the engine
• Due to their open plenum and runners, single-plane manifolds create a more direct path for airflow into the cylinders. This can reduce turbulence and improve cylinder filling efficiency at high RPM
• Single-plane intakes can be easier to tune for, especially when paired with other performance modifications. Again, twin superchargers can be finicky to dial in, so anything that makes that easier is welcome
It is important to note that single-plane intake manifolds may sacrifice low-end torque and throttle response compared to dual-plane designs, which are optimized for low to mid-range RPM performance. Therefore, the choice between single-plane and dual-plane intake manifolds depends on the specific requirements of your engine and intended use.
Choosing a Single Plane Manifold
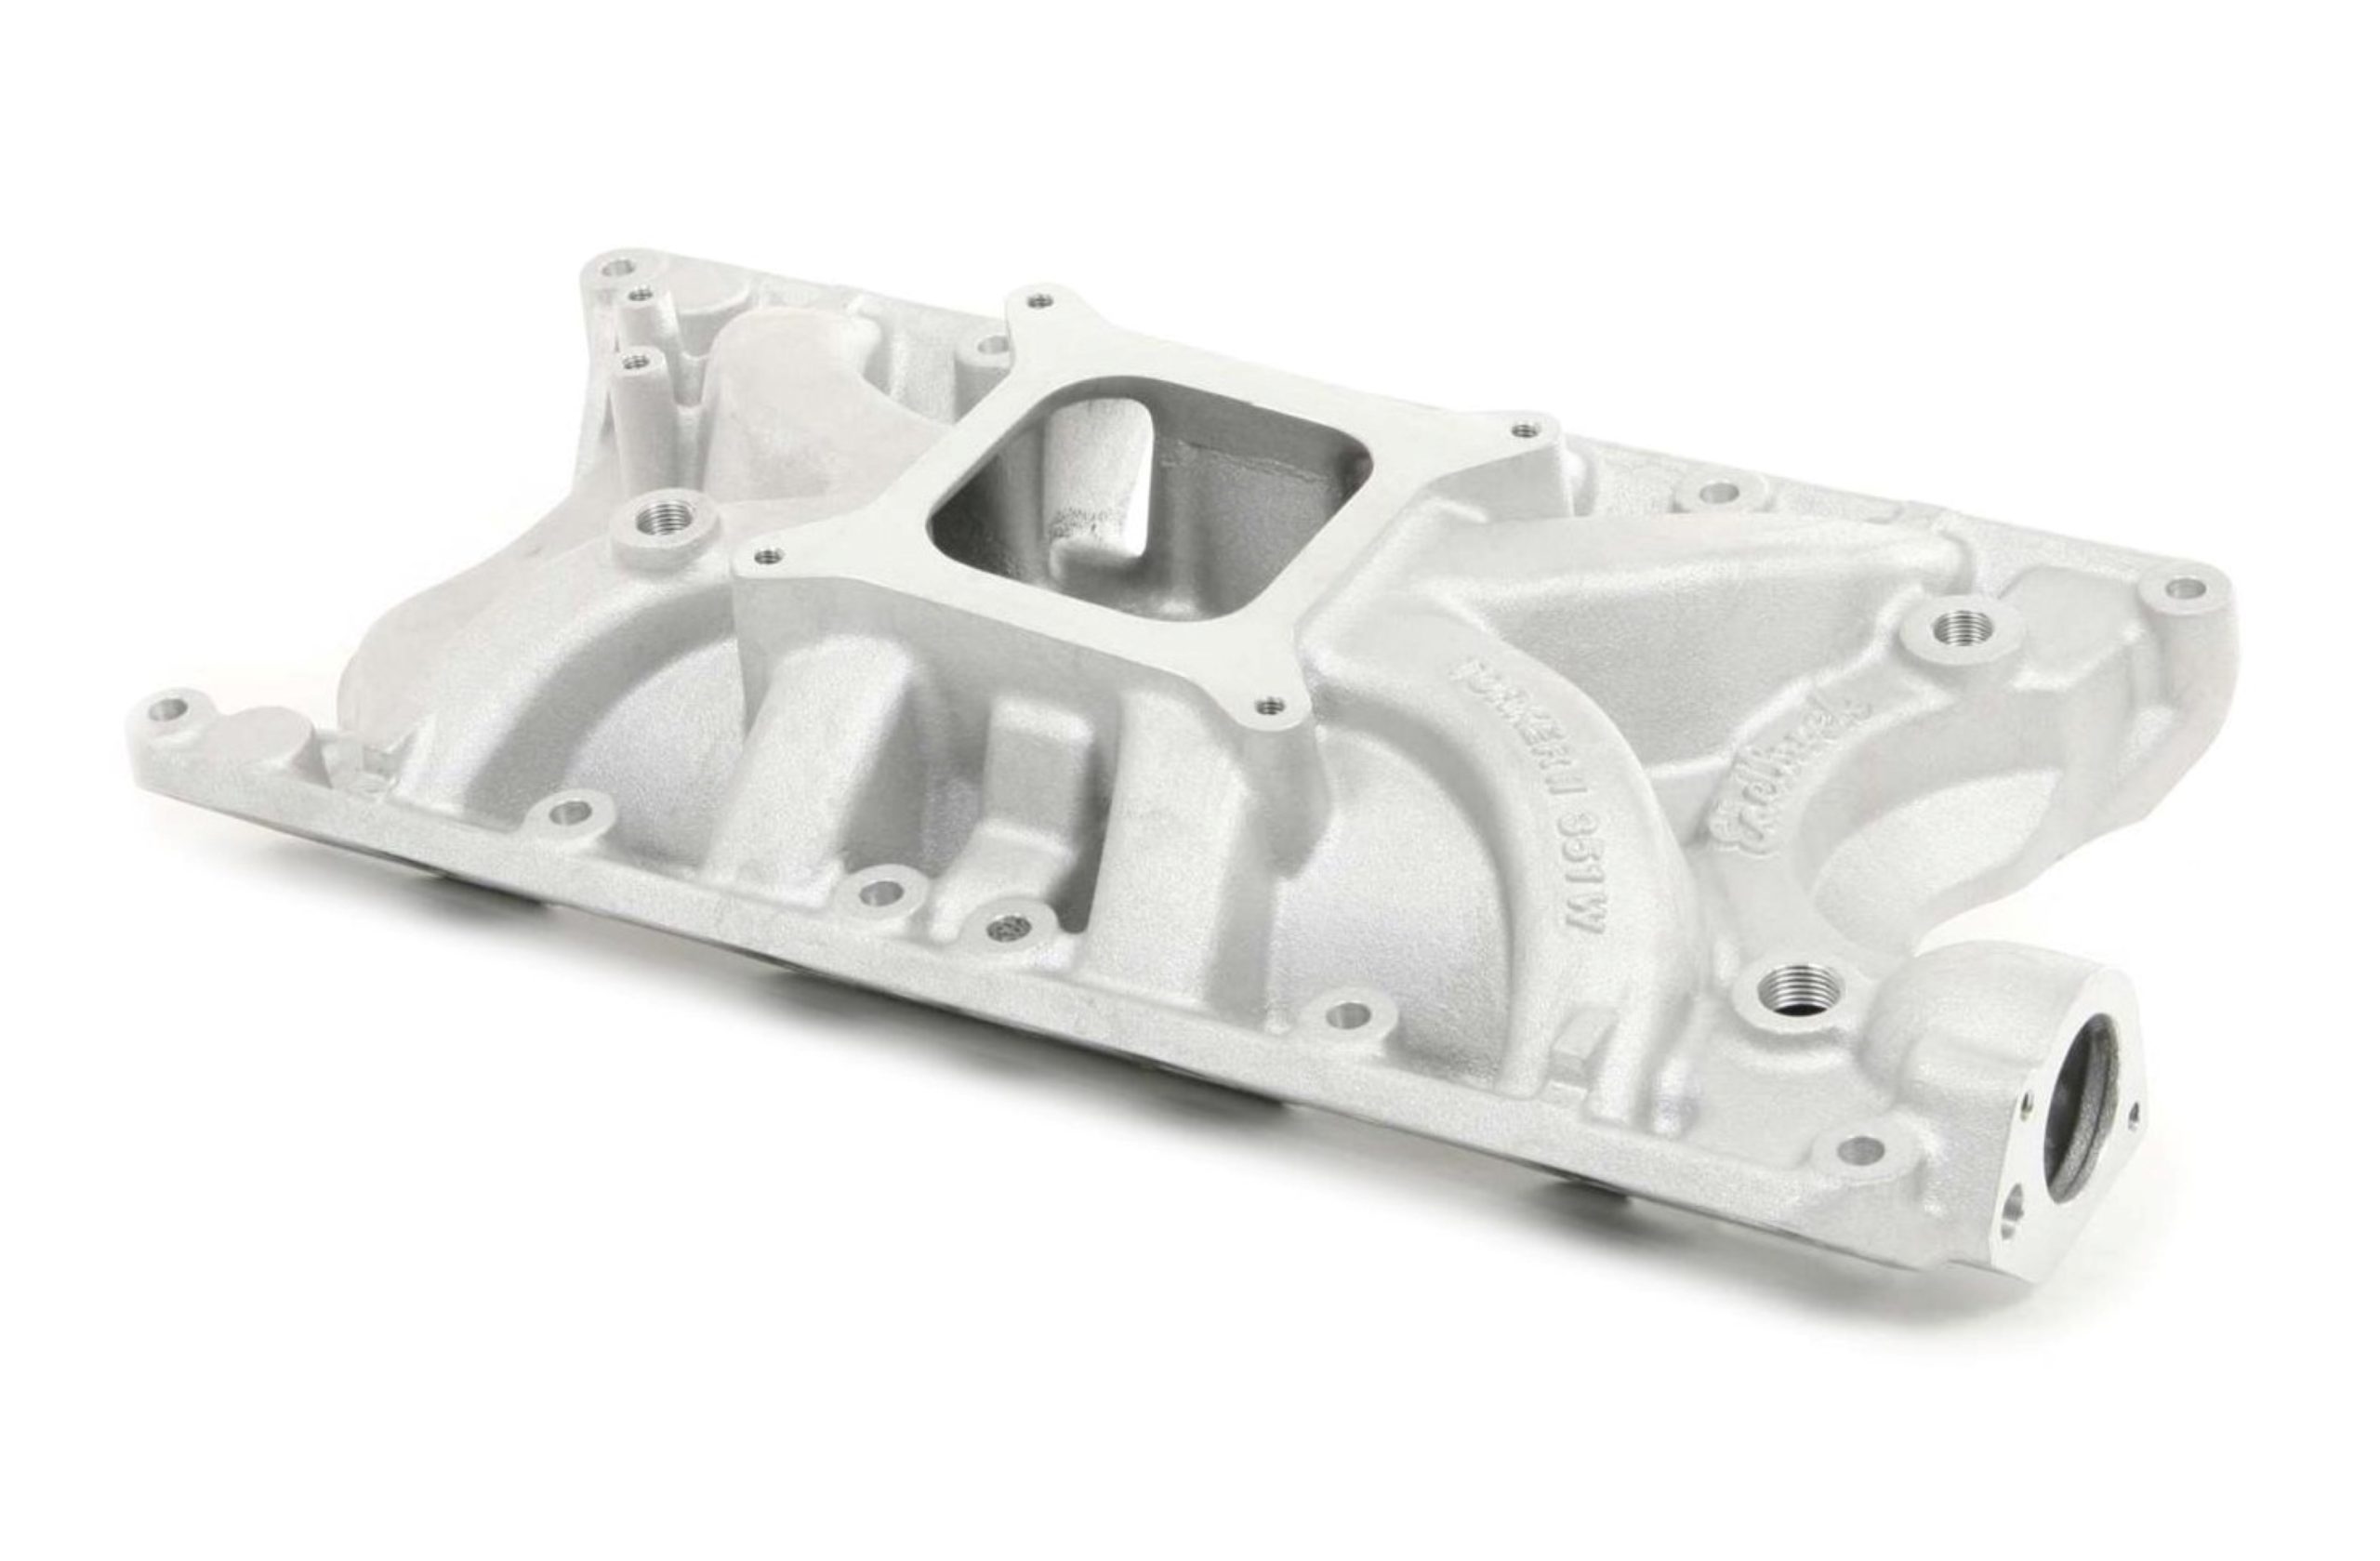
I wanted to keep the Mustang’s stock hood, so I needed a low-height manifold. This meant the usual performance suspects like the Edelbrock Victor Jr. and the Trick Flow R-Series intake manifolds were out. The winner was the Edelbrock Torker II 351W. It’s actually lower than the Performer RPM dual plane intake so hood clearance wasn’t an issue.
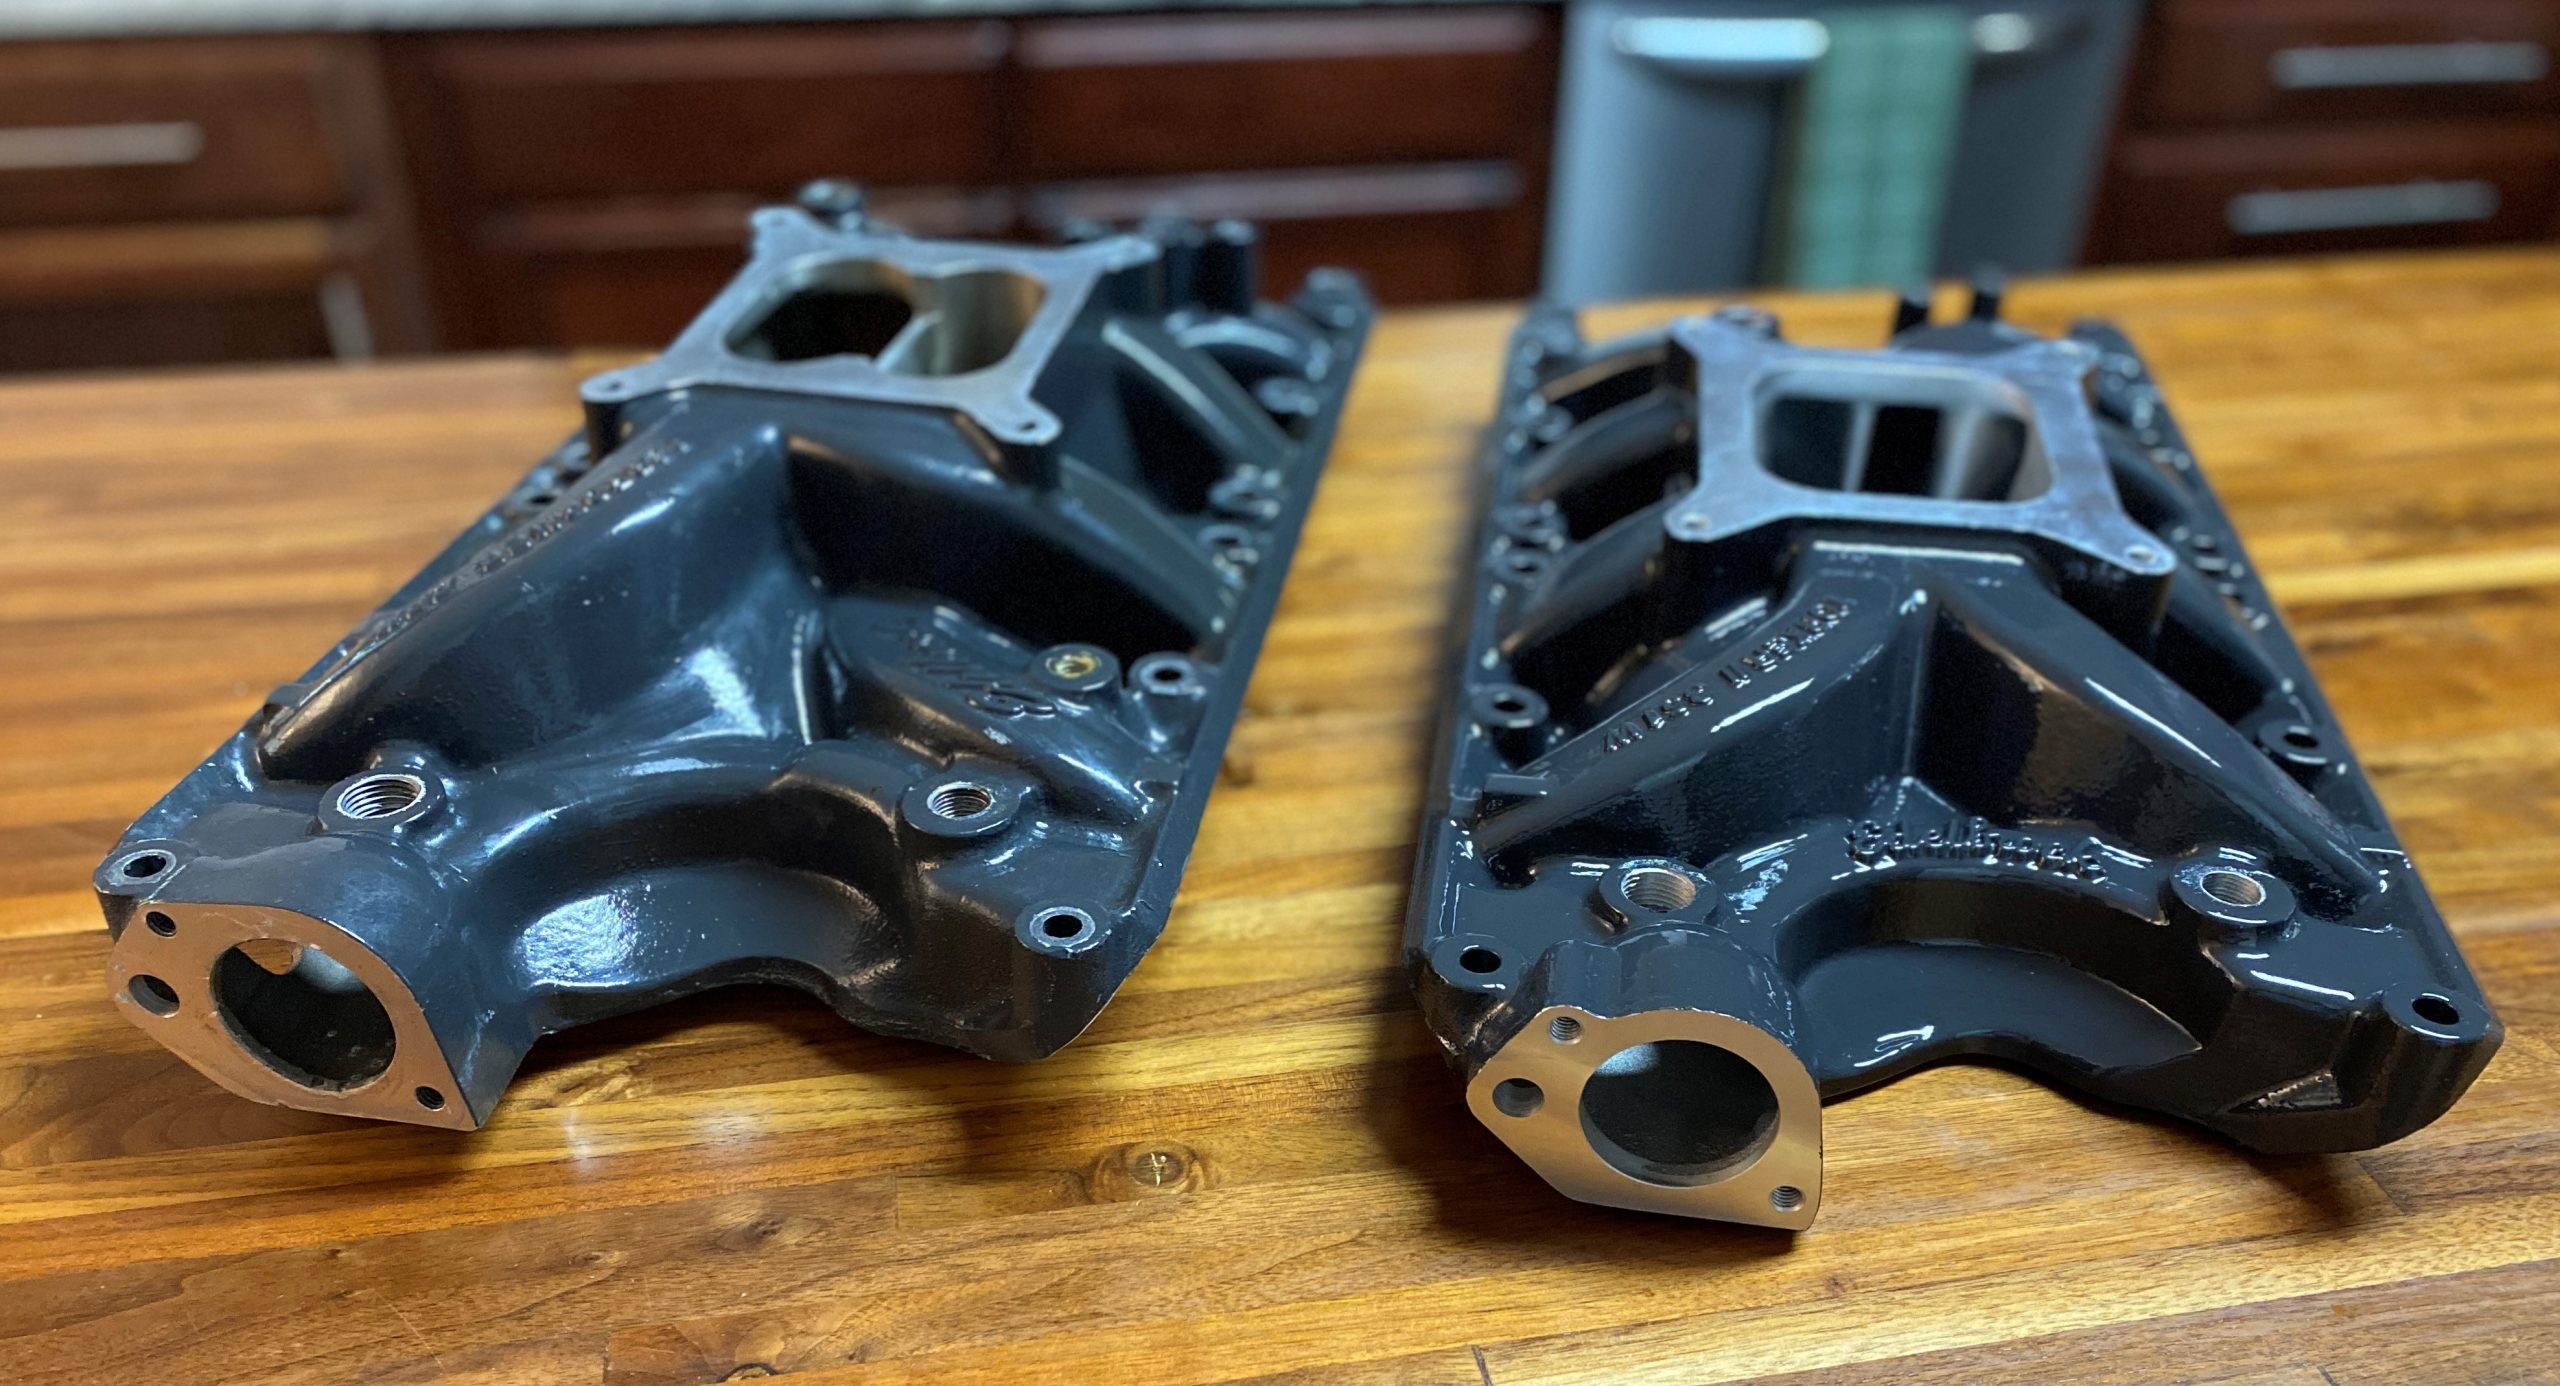
I sent the Torker II to CFM Performance in Indianapolis, Indiana for some port work. Mike at CFM port-matched it to the Fel-Pro intake gaskets recommended for the Trick Flow cylinder heads. He also smoothed the radiuses in the plenum to help with overall flow.
After the port work, the manifold made its way to my good friend and skilled painter Jason Walbridge. He laid down two base coats of custom-mix gray paint and three of high gloss clearcoat to match the engine color.
Installation
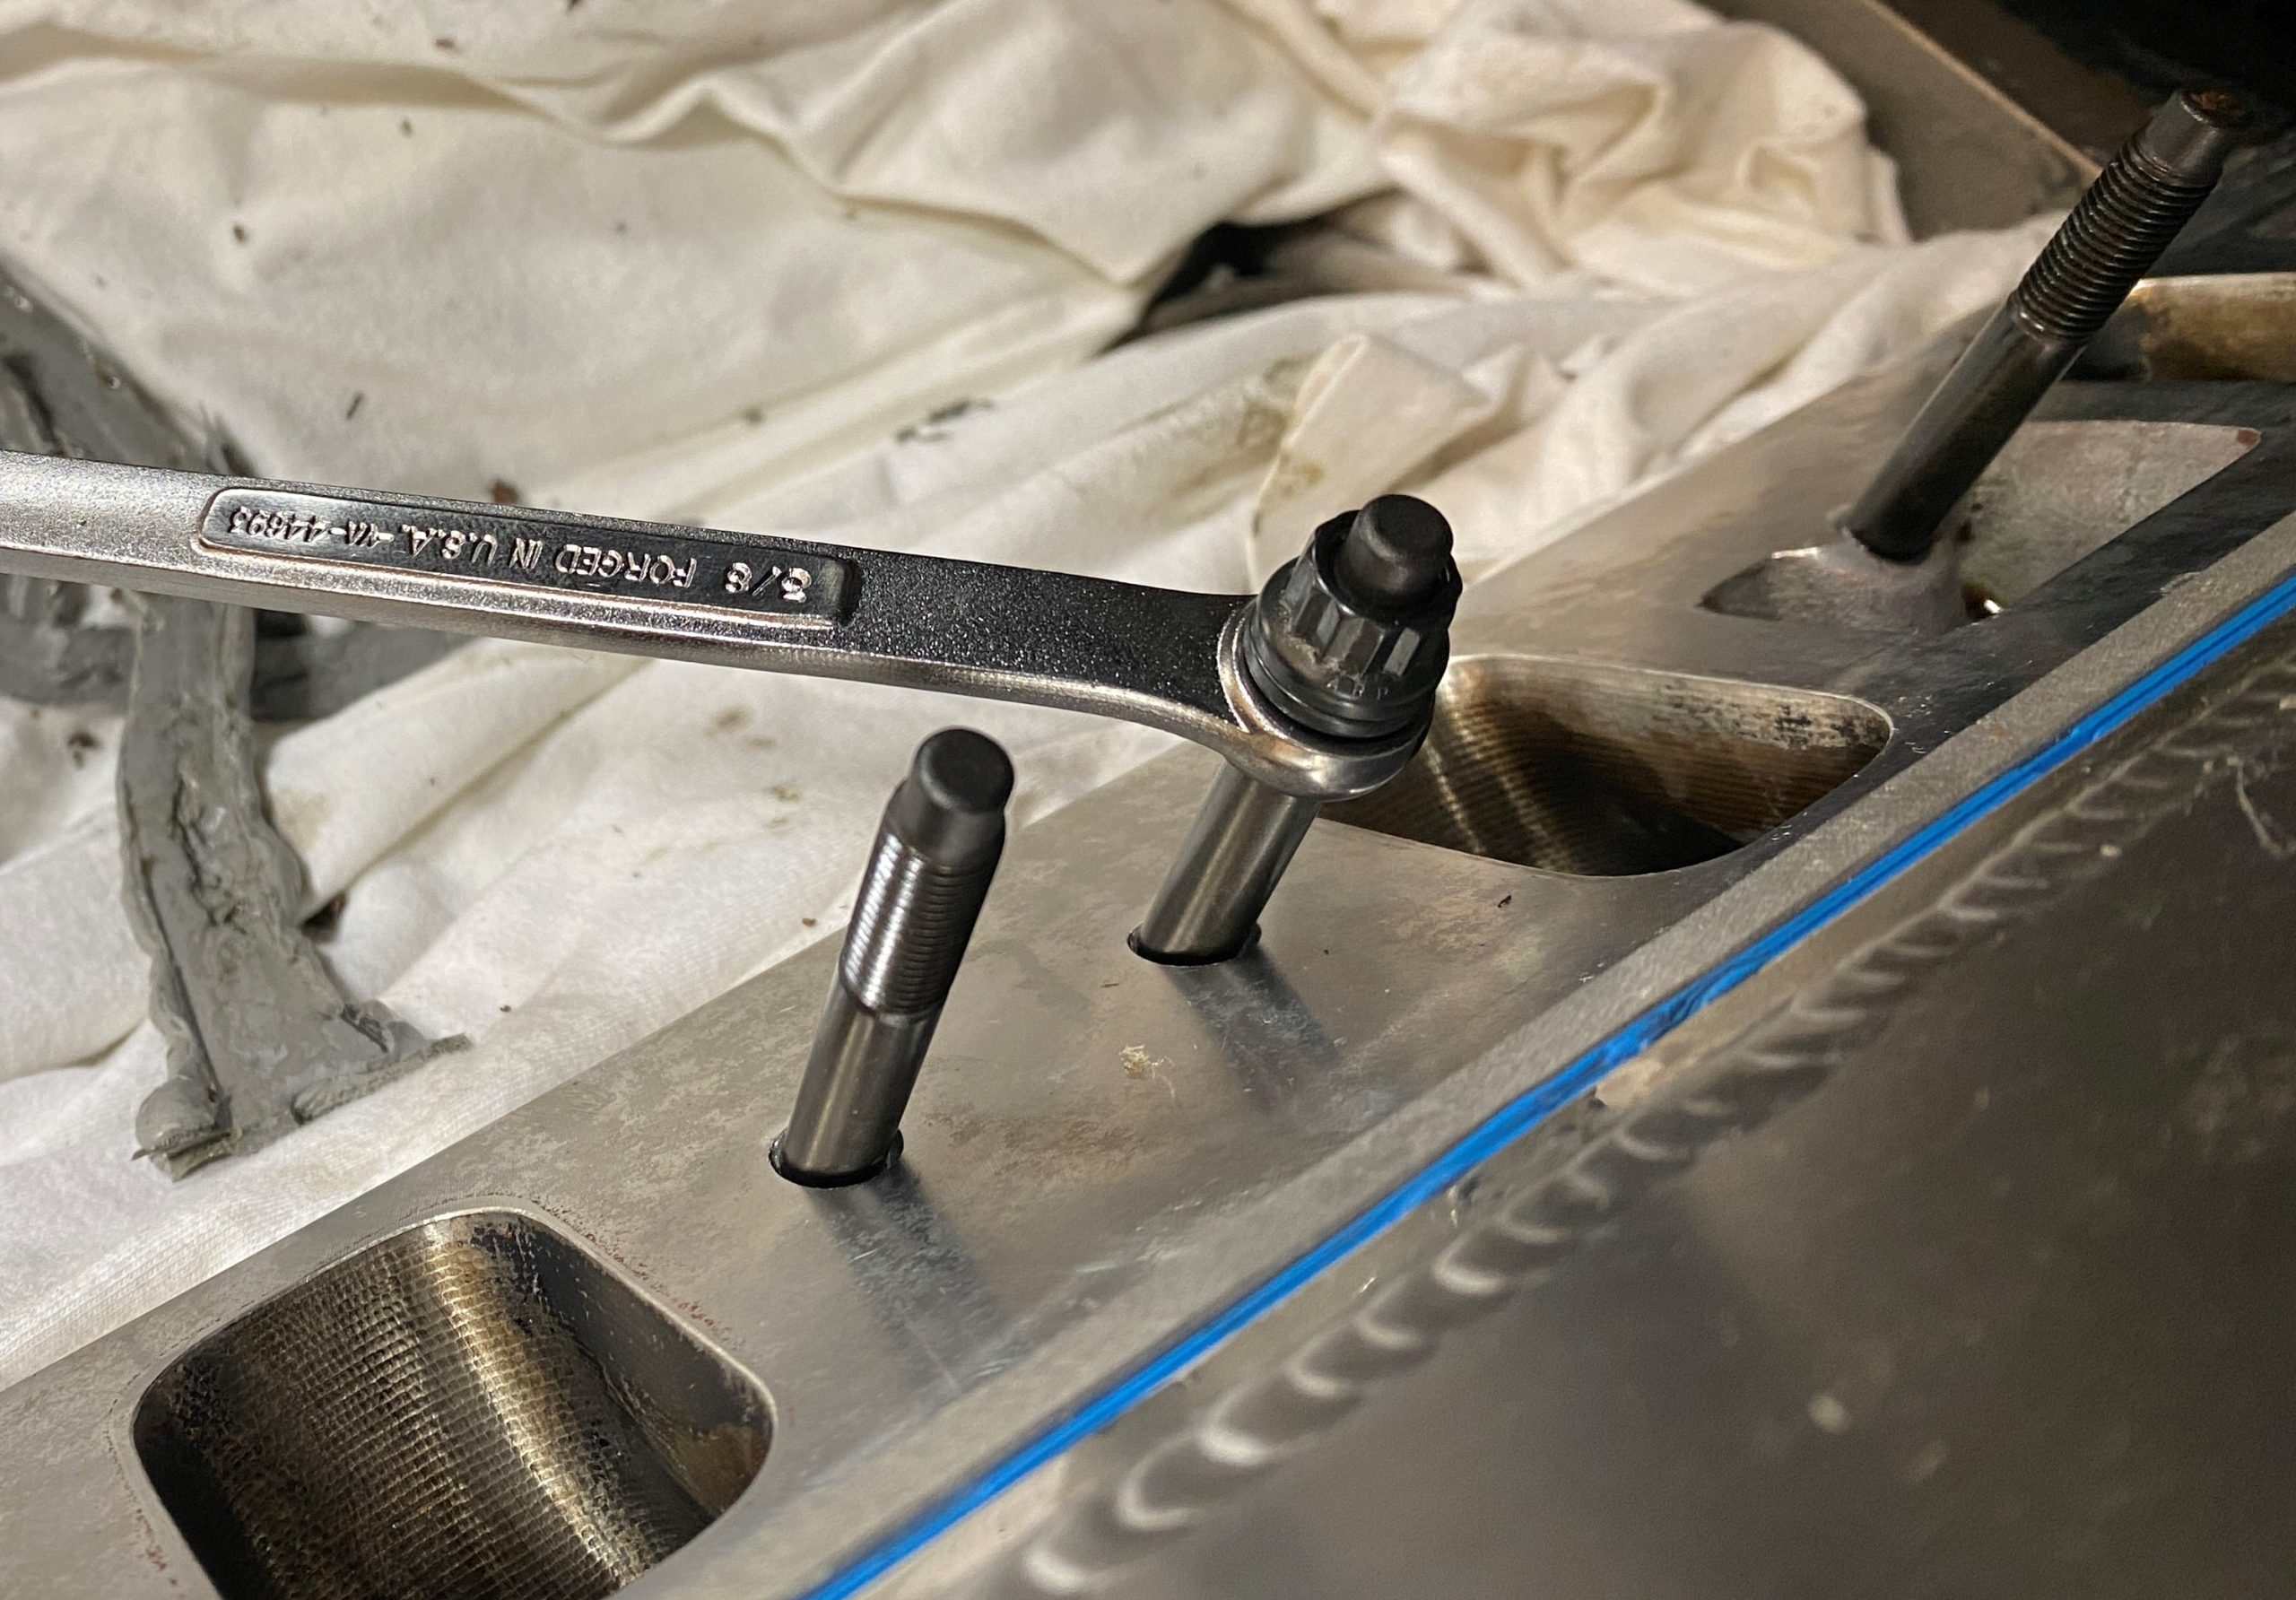
With all the prep work complete, it was time for the installation. I opted to use ARP intake studs instead of bolts due to the high intake pressures generated by the superchargers. I installed the studs using Permatex anti-seize to make future disassembly easier. The studs did not have an inset Allen/hex in the top so I used a ‘double nut’ procedure to tighten them down.
After a few ‘dry’ drops the manifold was ready for final assembly. I coated both sides of the Fel-Pro gaskets with Permatex Copper Spray-A-Gasket to aid in sealing and keep the gaskets in place. I then laid smooth beads of Permatex Ultra-Black RTV on the block’s china rails. The easy-to-use aerosol canister helped make the beads look like precision welds.
With the intake in place I torqued the stud nuts to 20 ft.-lbs. in the sequence recommended by Edelbrock, starting with the outside corners and working across the intake towards the inside fasteners.
Problems Arise
Because the Edelbrock Torker II was so much shorter than the Performer RPM, I had planned to use 1/2- and 5/8-inch carb spacers together to make up the difference. For some reason, the supercharger intake tubes would not fit. This was a big issue as the intake tubes were a fully welded design resembling the twin snorkel air cleaner used on the 1985 Mustang.
I scrapped the carb spacer idea and made the difficult decision to modify my supercharger intake tubes using rubber hose couplers and Summit Racing Dual Seal Turbo Clamps. This required careful measurements and precise cutting of intake tubes to accommodate the new manifold’s shorter height. It was a painstaking process, but it paid off in the end with a secure fit that minimized the risk of leaks.
Two other issues came up during installation. Since I did not use the carb spacers, the throttle linkage ended up interfering with one of the intake studs. I remedied that by replacing the stud with single bolt. The carburetor studs I had hoped to use were now too long to run without spacers, so I used the original bolts to securely mount the Holley Sniper throttle body.
Completing the Installation
Any time I do a job I always look for ways to improve things. Since I had the cooling system apart, I went ahead and installed a Autometer radiator hose adapter. Designed to add a temperature sensor, I placed it in the highest area of the cooling system. Now when I fill the system with antifreeze, I can remove the Allen plug covering the hole for the sensor and release any trapped air.
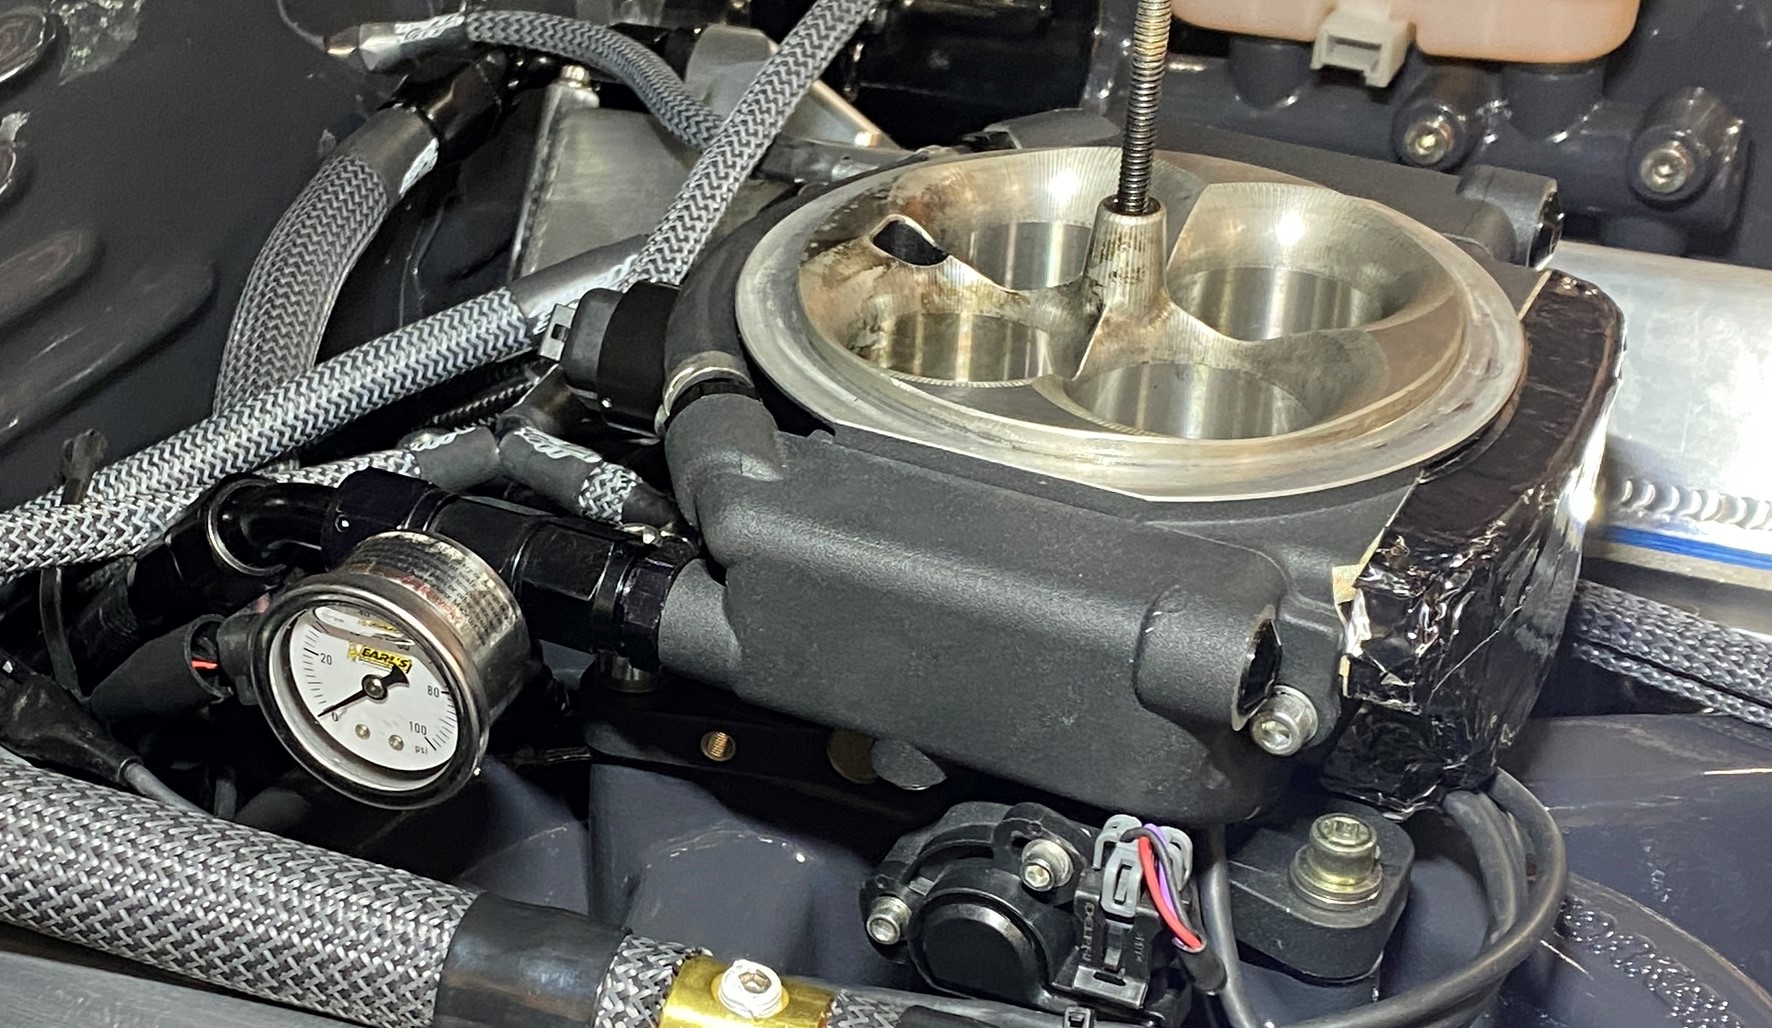
Like most things on my car, I remotely mounted my fuel pressure regulator under the car. The only way to check fuel pressure was to put the car on a lift. To resolve this, I added a Earl’s fuel pressure gauge at the throttle body so I can easily check fuel pressure.
Conclusion
Switching from a dual plane to a single plane intake manifold not only solved the stuttering and stalling issues, it also taught me valuable lessons in planning and execution. Every modification, no matter how seemingly straightforward, comes with its unique challenges and rewards. Always take the time to research, plan meticulously, and most importantly, enjoy the journey!
Parts List
EDL-5081 Edelbrock Torker II 351W Intake Manifold
FEL-1262R4 Fel-Pro Performance Intake Manifold Gasket Set
ARP-354-2103 ARP Intake Manifold Stud Kit
ARP-400-8331 ARP 12-Point Nuts 400-8331
PTX-85080 Permatex Ultra Black RTV Silicone Gasket Maker
PTX-80697 Permatex Copper Spray-A-Gasket Sealer
SUM-200051 Summit Racing™ Carburetor Gasket
SUM-294011 Summit Racing™ Silicone Hose Couplers
SUM-260030 Summit Racing™ Dual Seal Turbo Clamps
ATM-2280 AutoMeter Radiator Hose Coolant Adapter
EAR-AT100200ERL Earl’s Performance Pressure Gauge Adapter
EAR-100187ERL Earl’s Performance Analog Fuel Pressure Gauges


Comments