The rubber gasket between the body and fold-down windshield on Jeep CJs and early YJ/TJ Wranglers is notorious for making a poor seal.
In fact, many Jeepers never lower their windshield for this very reason, as the up/down movement tends to compromise the integrity of the weatherstripping.
The leaky windshield issue usually gets worse as the years go by, and finding a quality replacement windshield frame seal can get really tough—especially for owners of older Jeep CJs that may not have the robust aftermarket parts support of, say, a modern Jeep Wrangler.
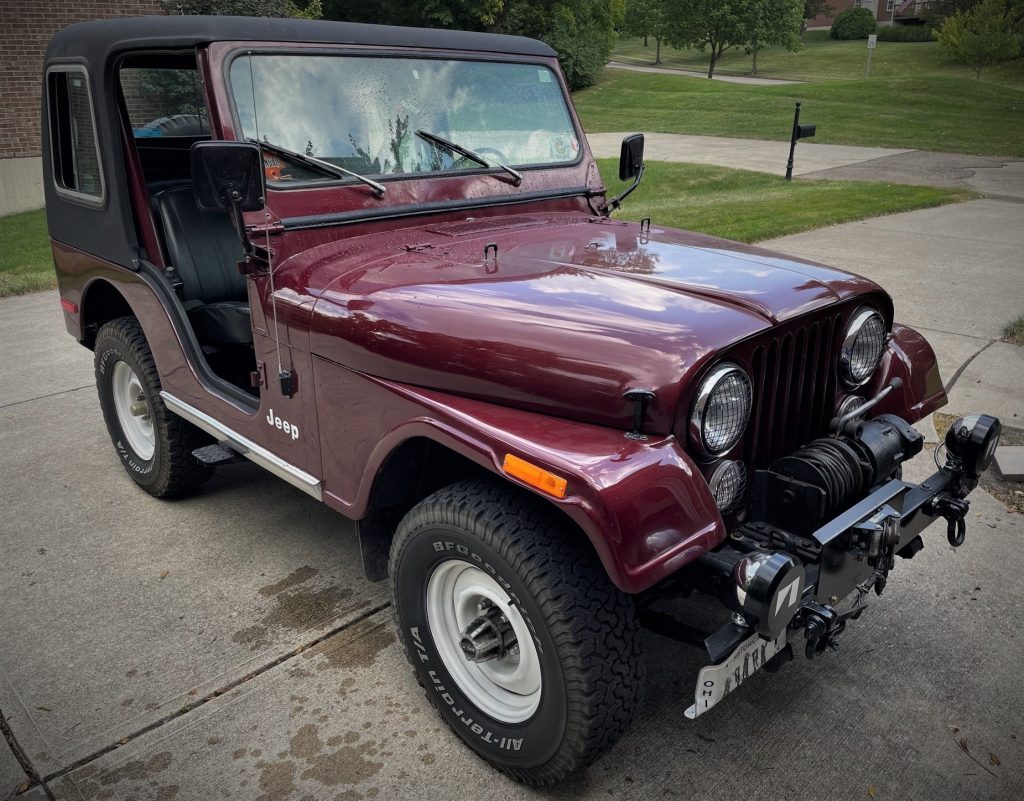
Case in point: my 1980 Jeep CJ-5.
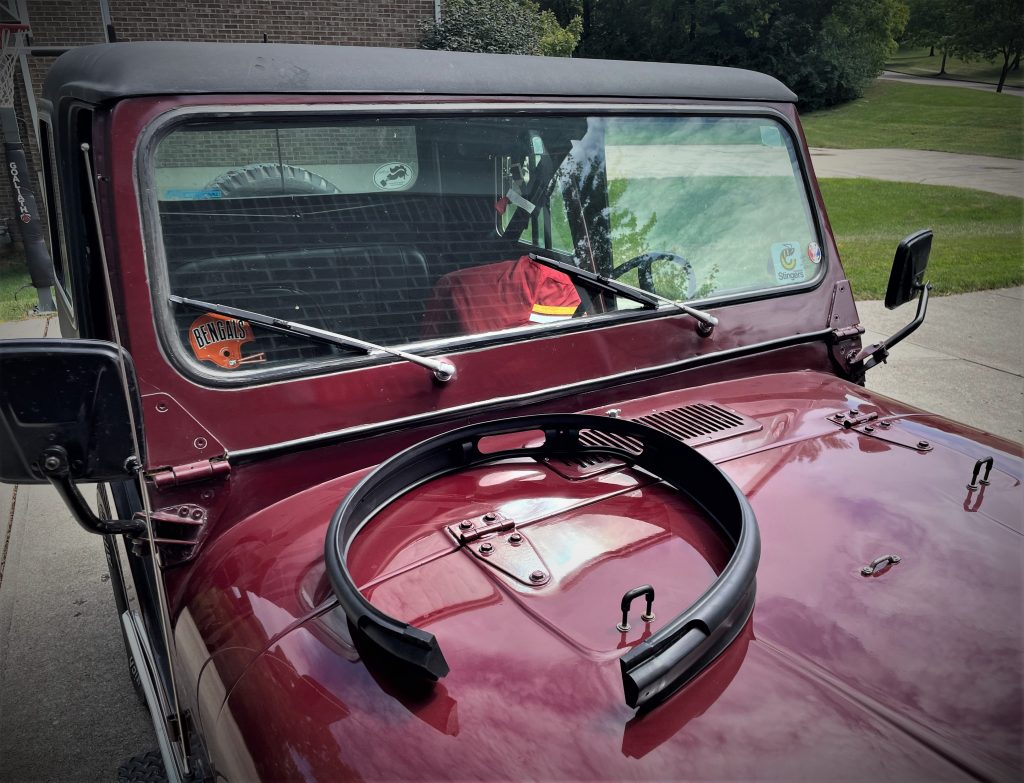
Granted, I’ve put this trusty CJ through plenty of water-soaked off-road shenanigans over the years, but even in a mild rain drizzle, I would sometimes find rivulets of water running down the dash—which is particularly unnerving because CJ windshield frames also have a knack for rusting out at the bottom too.
As a result, I’ve swapped out the windshield cowl weatherstripping several times using different seals and could never get one that fit exactly perfect.
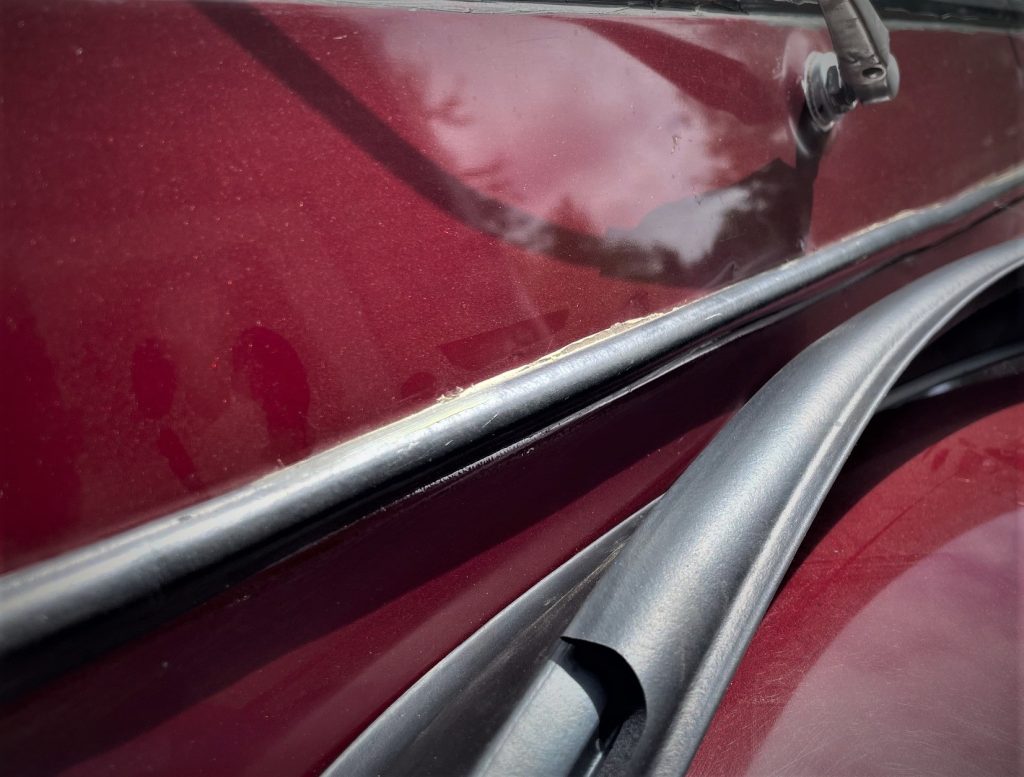
Even during the install, I often discovered exposed gaps where rain could sneak past the seal and channel water underneath the windshield.
And after one off-roading trip in particular, I was vexed enough with leaks and the fear of windshield frame rust, that I went DEFCON 1 and injected RTV silicone in the gaps.
Sure it worked, but…it didn’t look great. I was also concerned about the chance of rainwater being trapped behind the silicone as the seal degraded over time.
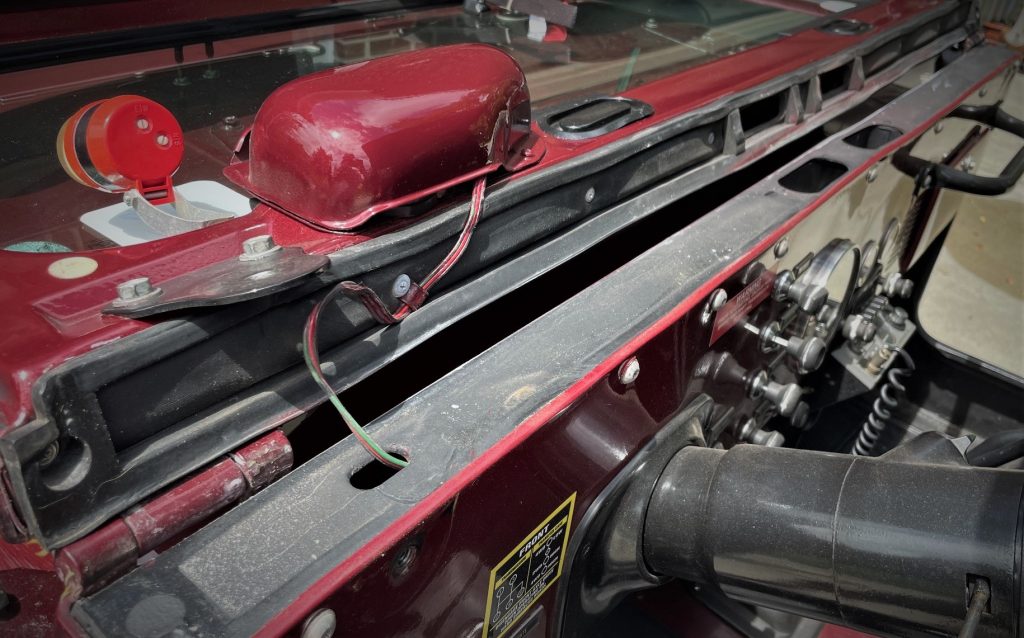
Resolved to finally remedy the problem, I came across this particular Jeep CJ windshield cowl seal from Fairchild Industries.
From refrigerators to railroads, Fairchild supplies seals and moldings to a massive range of industries, so yeah, its folks know a thing or two about keeping an old Jeep warm and dry.
The first thing you’ll immediately notice is how much wider the rubber lip is when compared to the older aftermarket seal. More importantly, the flange rests flat against the surface of the windshield without any effort.
Even during a quick test fit, the seal laid down perfectly, pressing on the frame evenly with no wrinkles or bends.
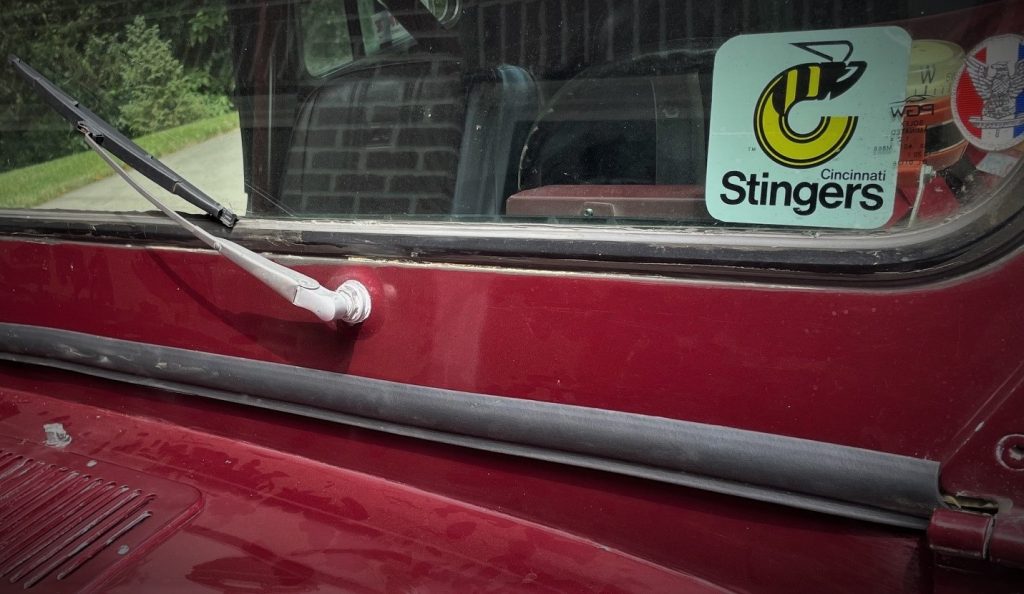
Whether it would stop rain better than the older seals was still in question—but at the very least, the test fitting demonstrated that it would certainly look better.
Yet, now faced with a viable alternative to the old seal, I had a different problem:
…Getting all that nasty old RTV silicone off.
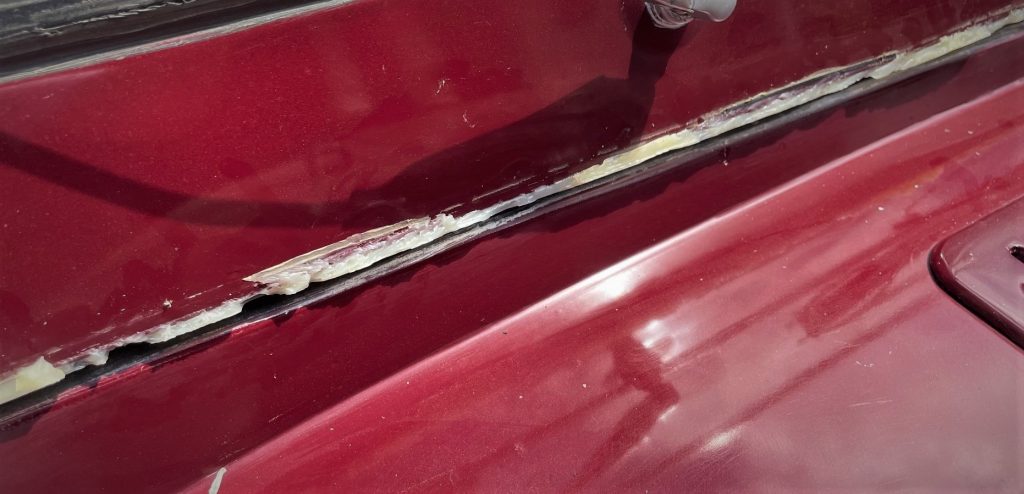
Removing the old silicone is critical here, as it could affect the way the gasket seats against the windshield frame.
Thankfully, most of it came off in long strips with a little thumbnail persuasion.
For the stubborn bits, I carefully(!) used a hobby knife to cut it off in layers and then scrubbed the remnants off with an old dishrag soaked in a mild detailing spray. (Tip: For jobs like this, I often use abrasive, yet soft, dishrags instead of something like, say, a Scotch-Brite pad, as they’re gentler on a delicate painted surface.)
All told, what could’ve been a tedious job only took about 15 minutes—perhaps the removal was helped by the heated sheetmetal from the sun blazing overhead?
At any rate, the silver lining is that these surfaces are hidden by the seal anyway, so I wasn’t particularly nervous about cosmetics here. I just wanted to ensure a clean mating surface for the seal.
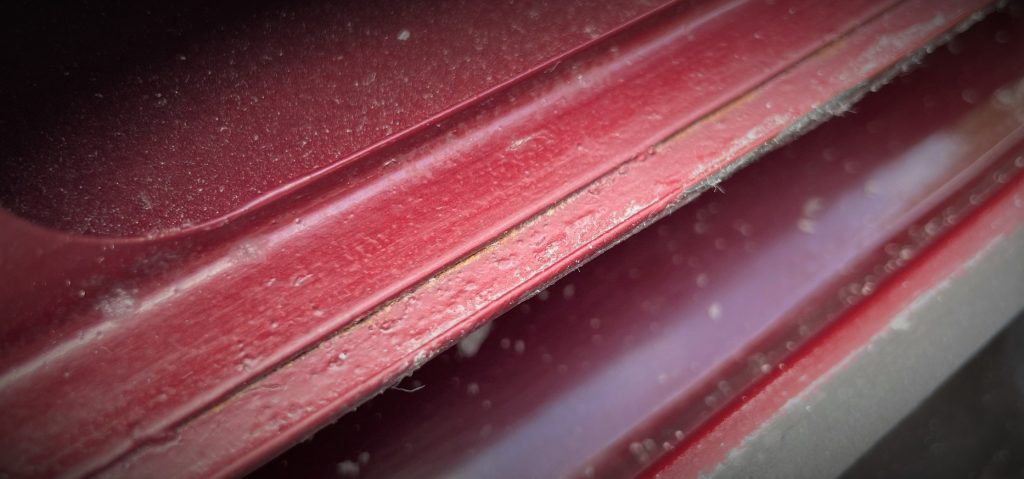
There was a hiccup though.
As alluded to above, Jeep CJ windshield frames have well-documented rust issues and sure enough, there was evidence that some very minor surface rust had crept in since the Jeep’s On-Fire Metallic respray about a decade ago.
Out of an abundance of caution, I hit these small areas with a wire detailing brush and applied a tiny dab of SEM Rust Mort with a Q-Tip. A few hours later, I wiped those spots clean, then masked and painted the whole underside of the windshield frame.
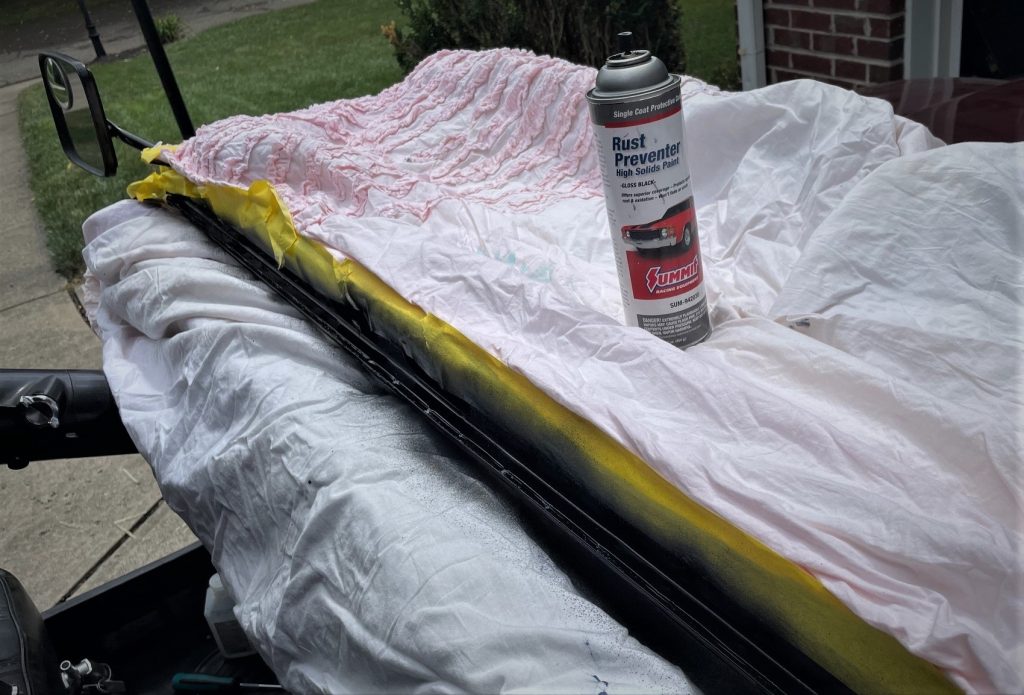
Since this entire area was hidden by the seal, I wasn’t that concerned with the black paint upsetting the vintage aesthetic of the Jeep. (To be fair, this CJ is far more likely to be driven headlong into a muddy creek than judged at a fancy car show anyway.)
And I’ll sleep a whole let better knowing that there’s an extra layer of paint protection on the bottom of the windshield.
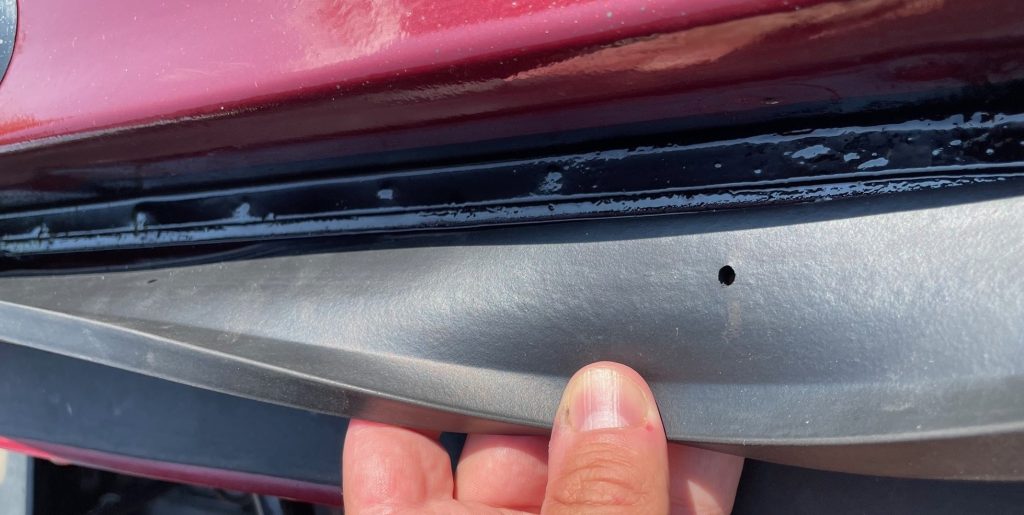
24 hours later, the paint was dry and I was able to install the new cowl seal.
It begins with just slipping the notch in the seal around the lip of the windshield frame. Thanks to the excellent fitment of the Fairchild seal, it only took about a minute.
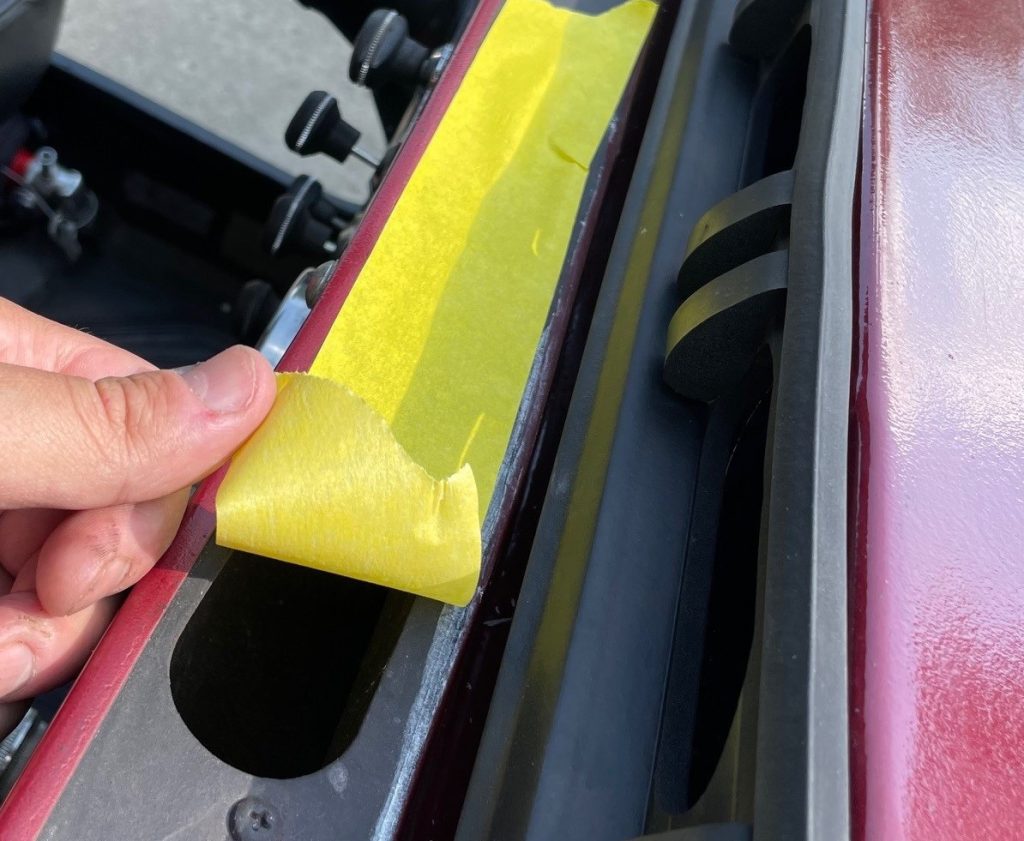
Next, start at one side of the seal and install each screw as you move across the dash.
You may have to tug the seal gently one way or the other to line up the pre-cut holes in the seal with the holes in the windshield frame. But again, this Fairchild seal was dead-on accurate with the hole position, so it didn’t take much persuasion to line everything up.
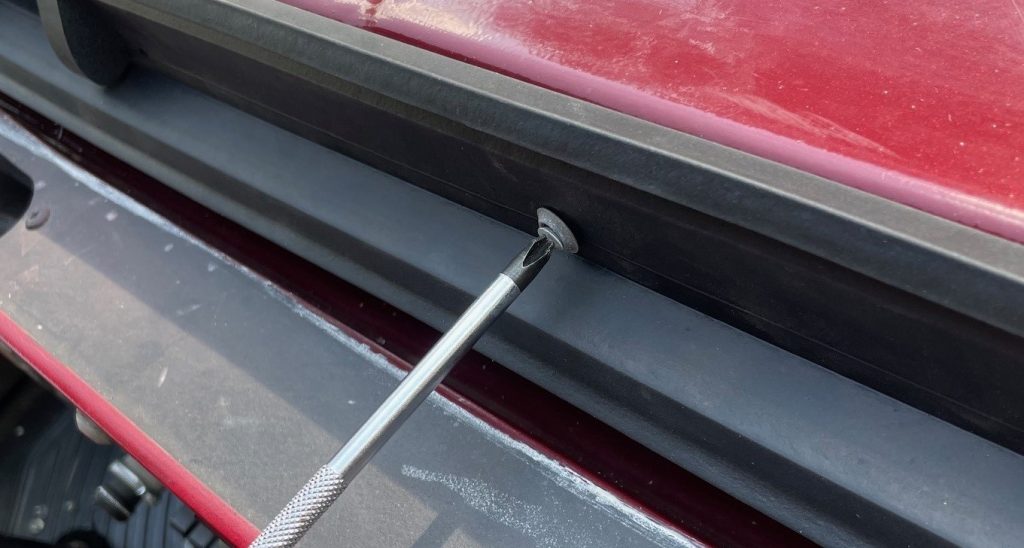
Once all the screws are in and everything looks ready, it’s time to fold the windshield back up into place.
This can be trickier than it looks, because the new, uncompressed foam in the seal might need some muscle to squish down so you can insert the big windshield hinge knobs.
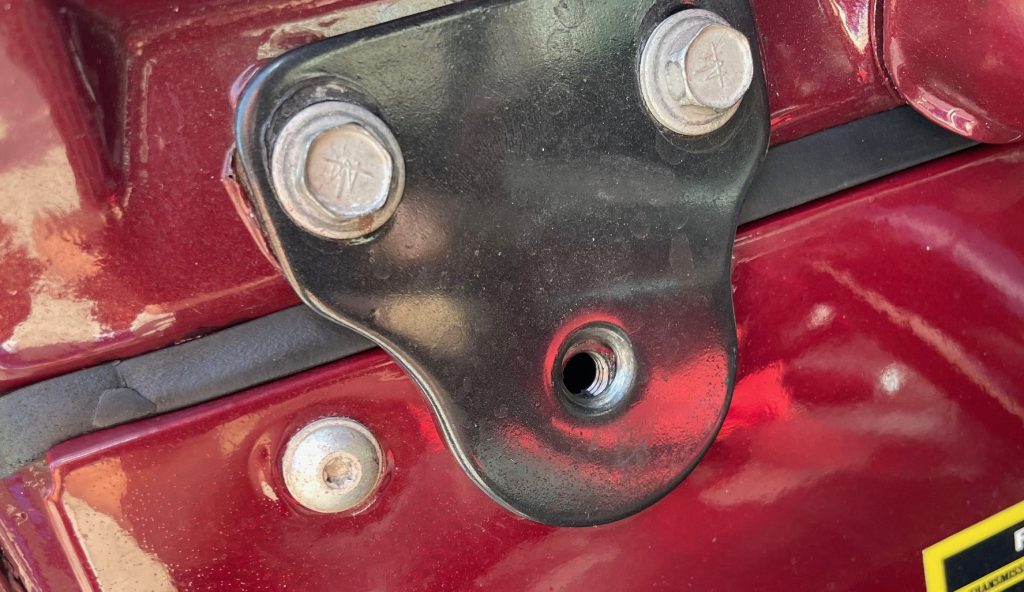
Ours went down pretty easily with modest hand strength. But if you find that you’re using a ton of force to pull the windshield back, it’s worth double-checking to make sure the seal is aligned and installed properly.
With the two windshield knobs torqued down, the CJ cowl seal installation is done.
…Now the test.
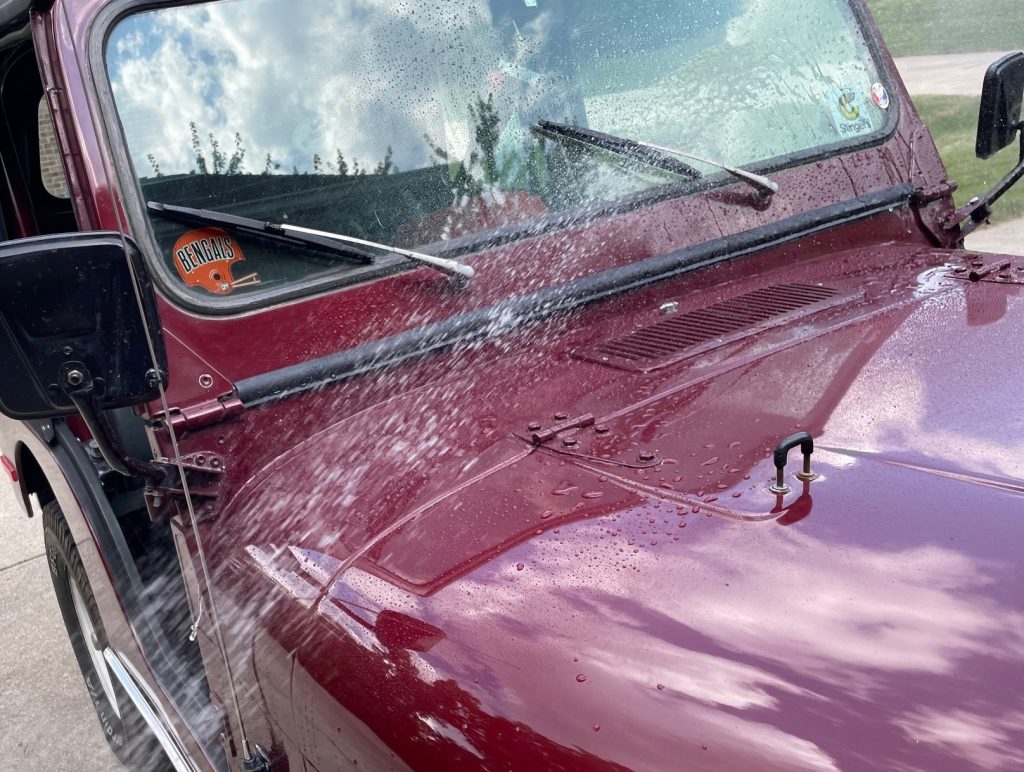
Using a garden hose, we soaked the Jeep’s windshield for several minutes, moving around the seal to simulate both a highway rain shower and a good yee-haw into a deep puddle.
And despite our best efforts, the inside stayed dry. We removed the knobs and lowered the windshield back down to check for any ingress between the seal and the frame and cowl—nope, dry as a bone.
With the new seal in place, we’re ready to take the Jeep back out on some adventures.
If any leaks creep-up later, we’ll update this article.

I bought a 85 cj that had water running down my dash and when I looked at the windshield outside, the gasket lip was turned up. It collected dust and leaves behind it and leaked. I’m buying a new gasket and I think the lip on the outside should turn down, but all your photos showed it turned up like my original. Can you confirm that the new gasket should be installed that way?
Yes, the lip should seal up to the top of the windshield frame, elsewise it would catch on the tub and flex whenever you lowered the windshield. (You’ll see the new seal has the proper screw recesses and ducting for this orientation too.) The thing is, it’s got to be 100 percent flush with the windshield frame, elsewise you’ll have it gum-up with crud and water–which was exactly what was happening with mine too.
…
Over time, the rubber shrinks, distorts, and becomes stiff and inflexible, which leads to it pulling away from the frame itself, resulting in those leaks.
…
Again, I’ve tried a few different options from the Aftermarket over the years, and none of them fit as well as this one from Fairchild. I’ve had this rubber seal on for a few months now and it’s still sealing up nicely. Haven’t been caught in much rain yet, but the fit itself is still flush and tight, which gives me plenty of optimism. Hope this helps.