1979-93 Fox Body Mustang values have skyrocketed because they are terrific to own and drive. Cars that no one would have bothered restoring a few years ago are now worth the time and effort. Fortunately, there are tons of parts to restore and modify Fox Body Mustangs. For example, we’re working on a survivor 1985 GT hatchback, the last year for a carbureted Mustang. It could use a little love inside, so we got some TMI Products seat upholstery to make the weathered interior like new again.
Available at Summit Racing, TMI Products Articulated Sport Performance Seat Upholstery duplicates your Mustang’s original upholstery perfectly with a fit that conforms to what the factory installed 40 years ago. We chose the gray cloth with charcoal inserts and red piping, but they’re also available in red with gray piping and sand beige with red piping.
We put the GT in the capable hands of Robert Rough at Lancaster Auto Interiors in Southern California’s high desert. Let’s see how the upholstery install went.
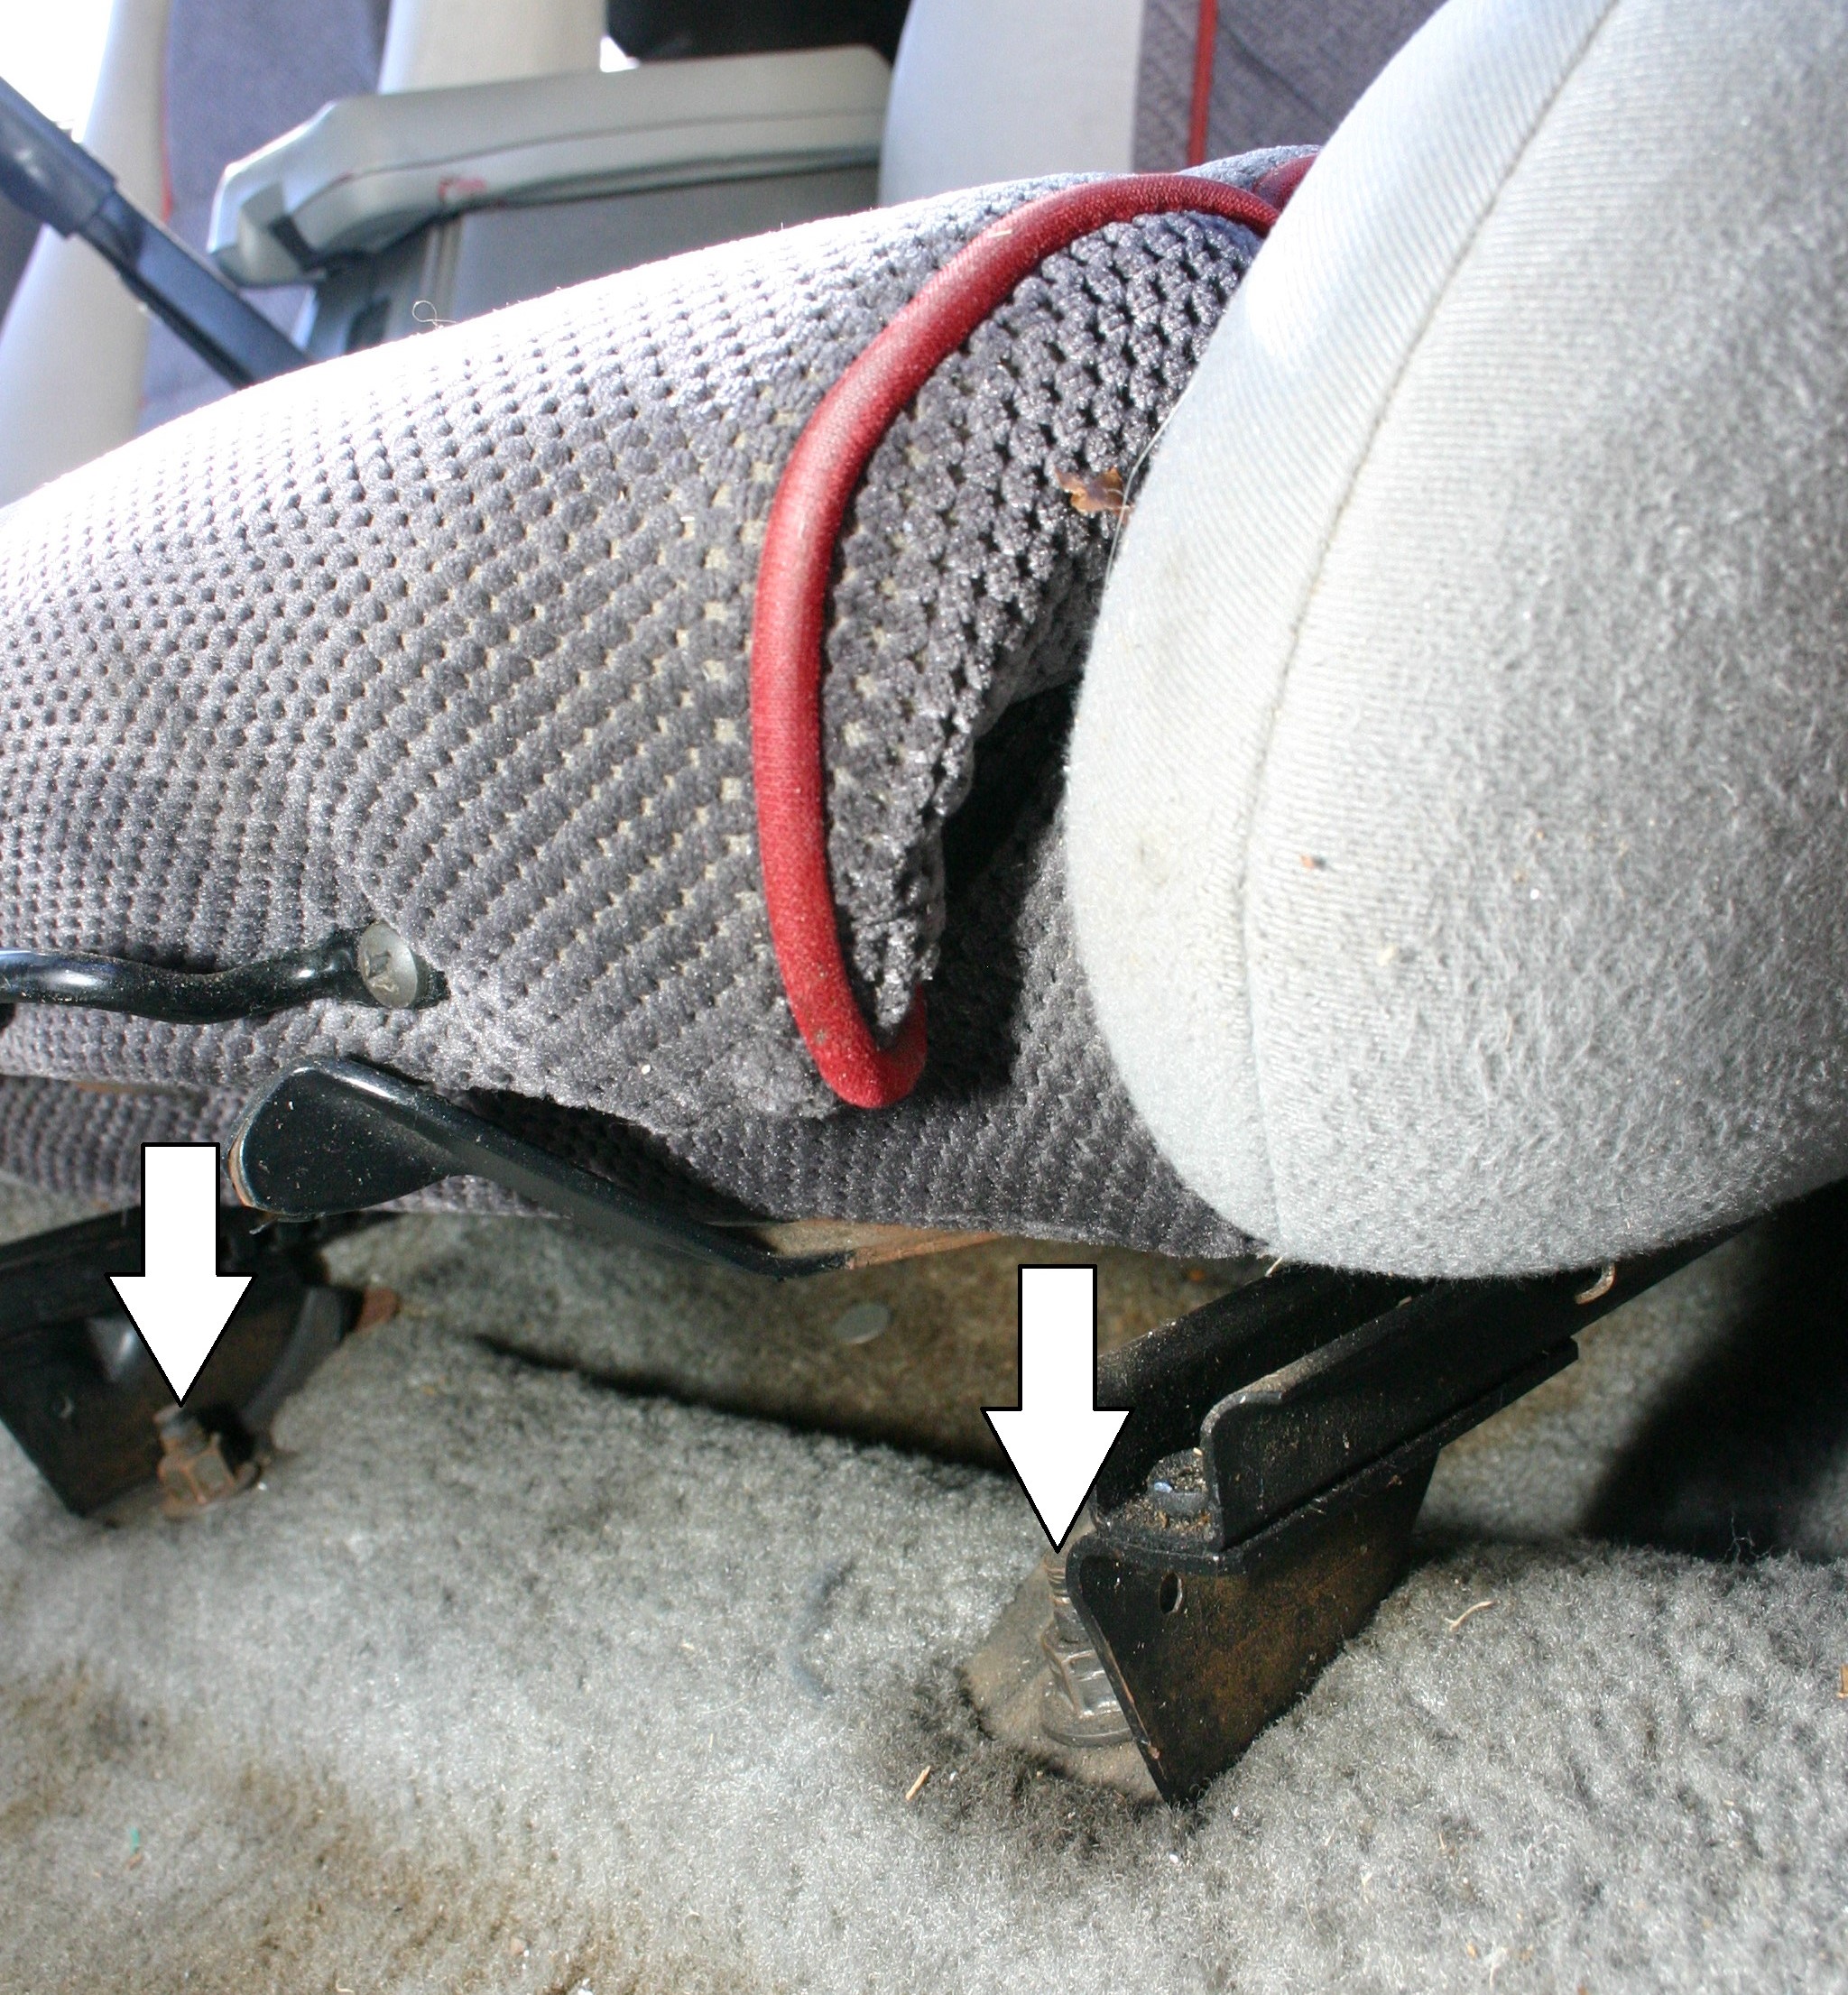
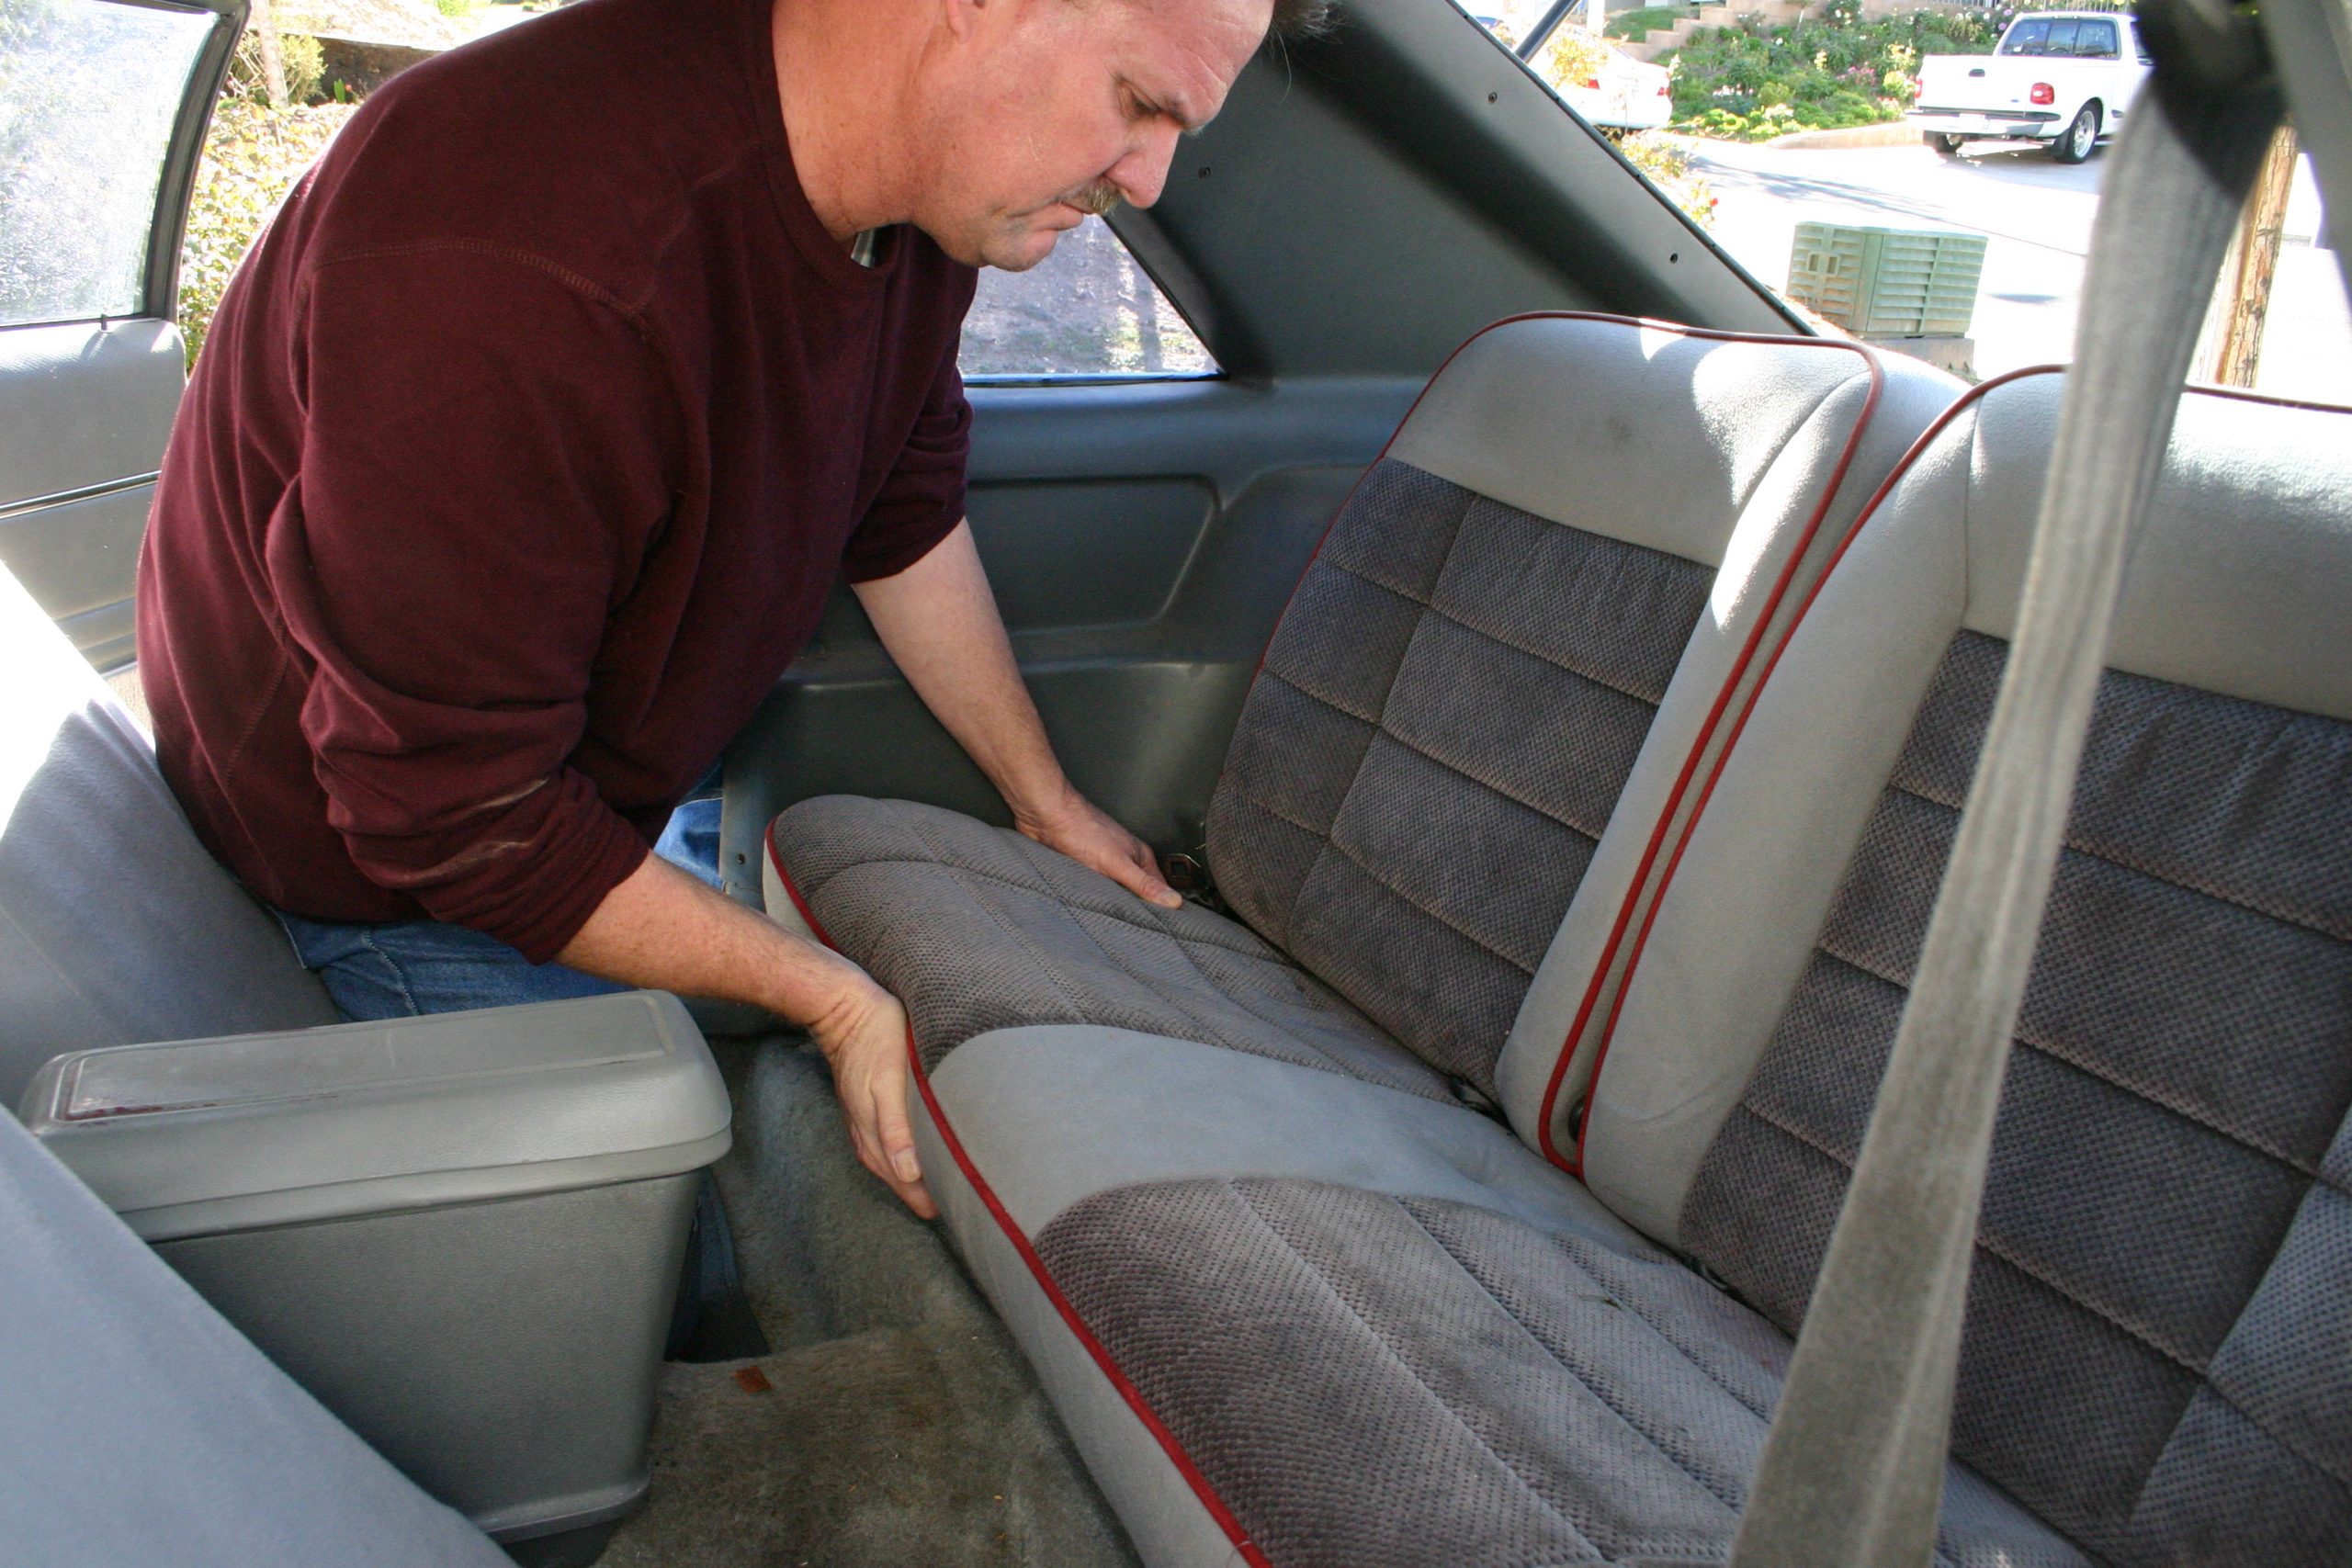
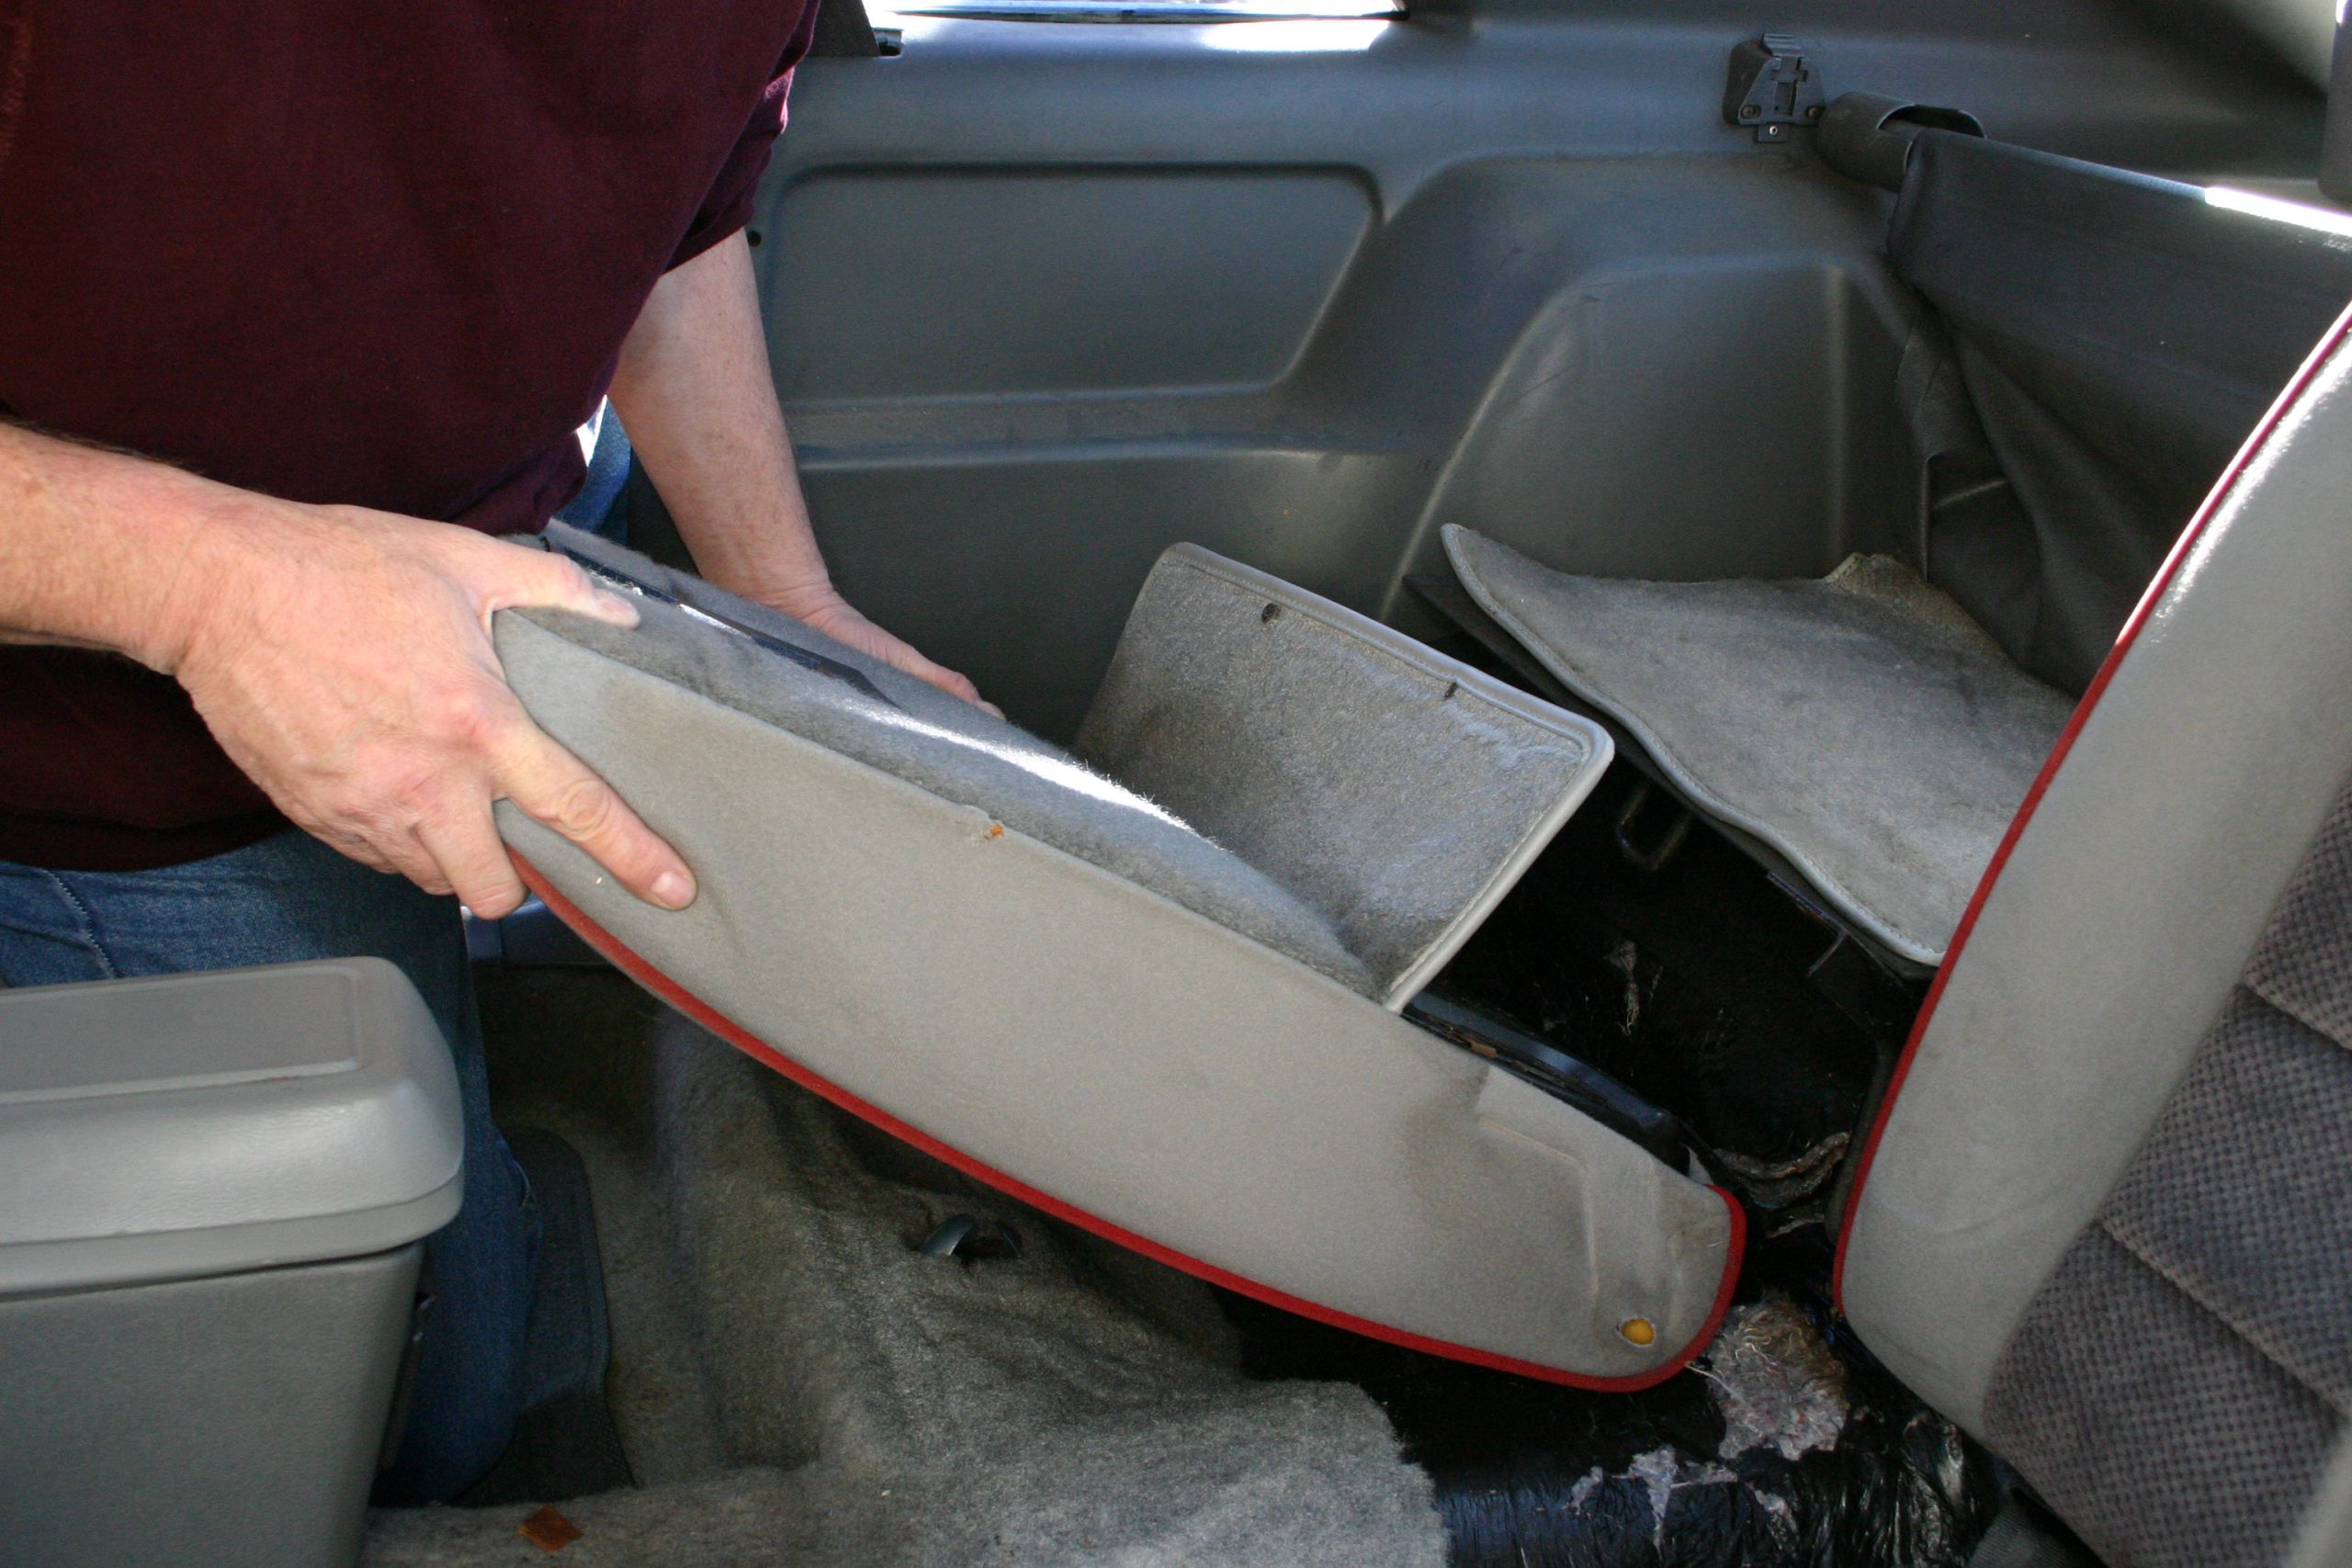
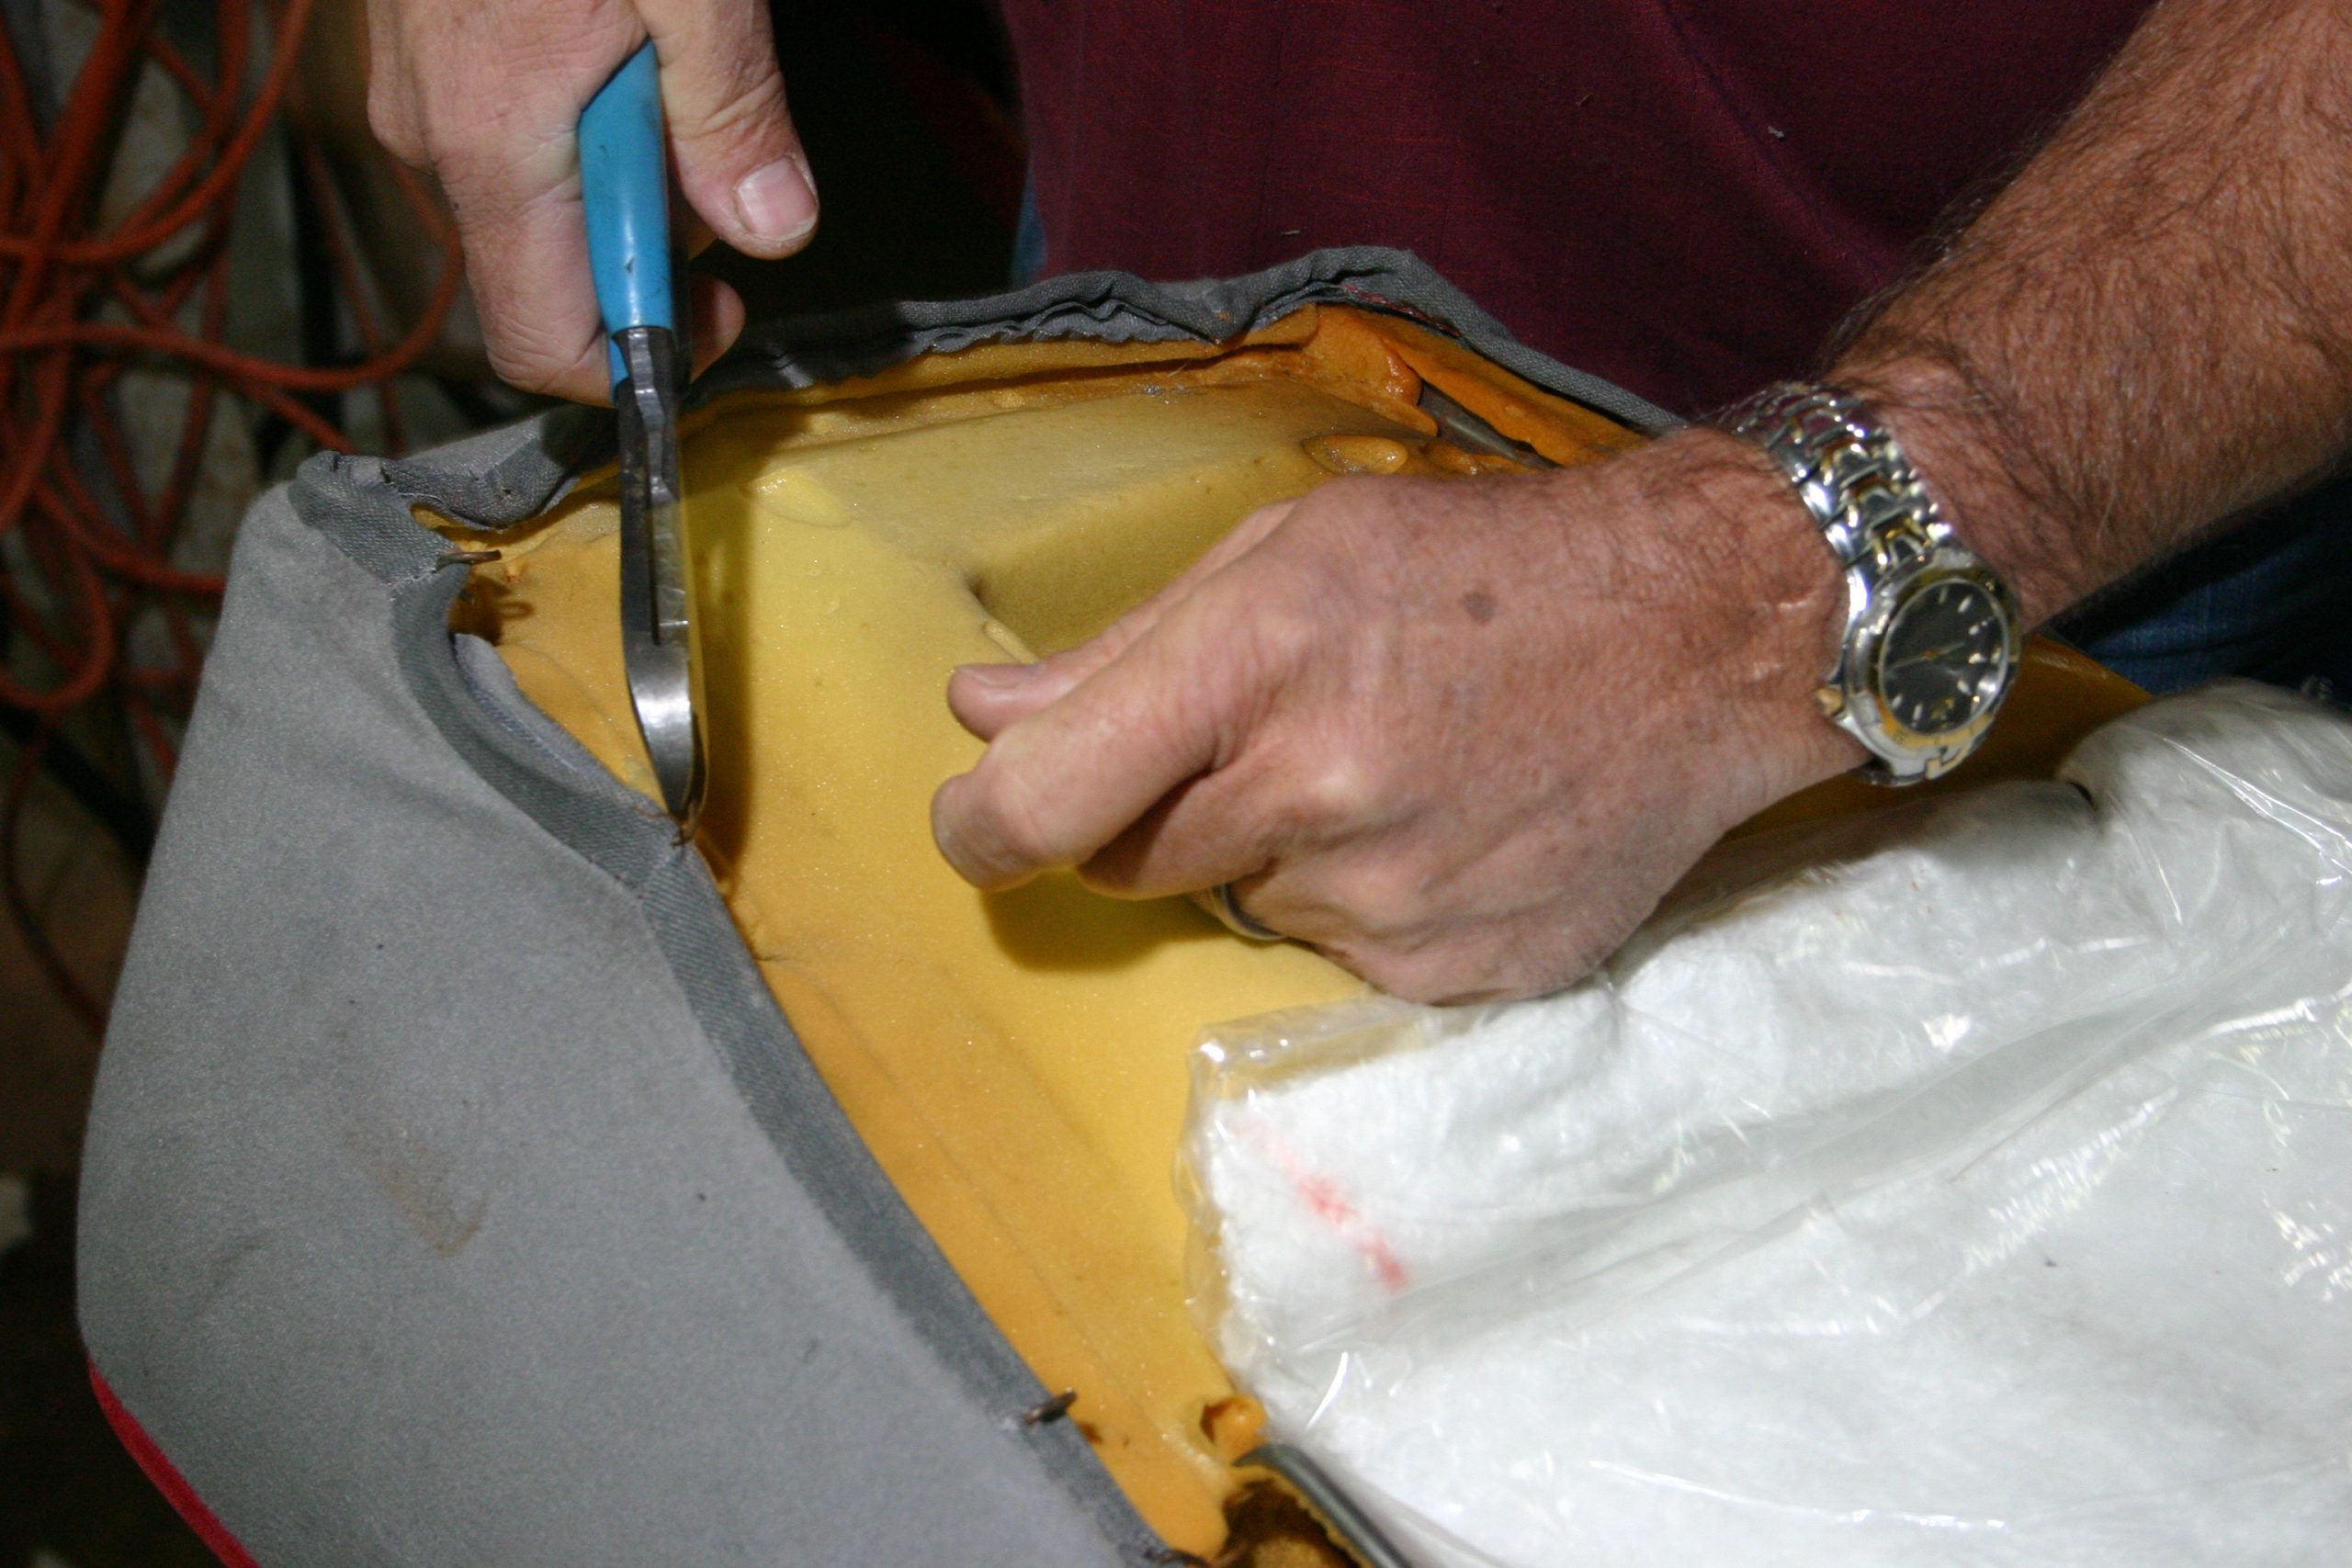
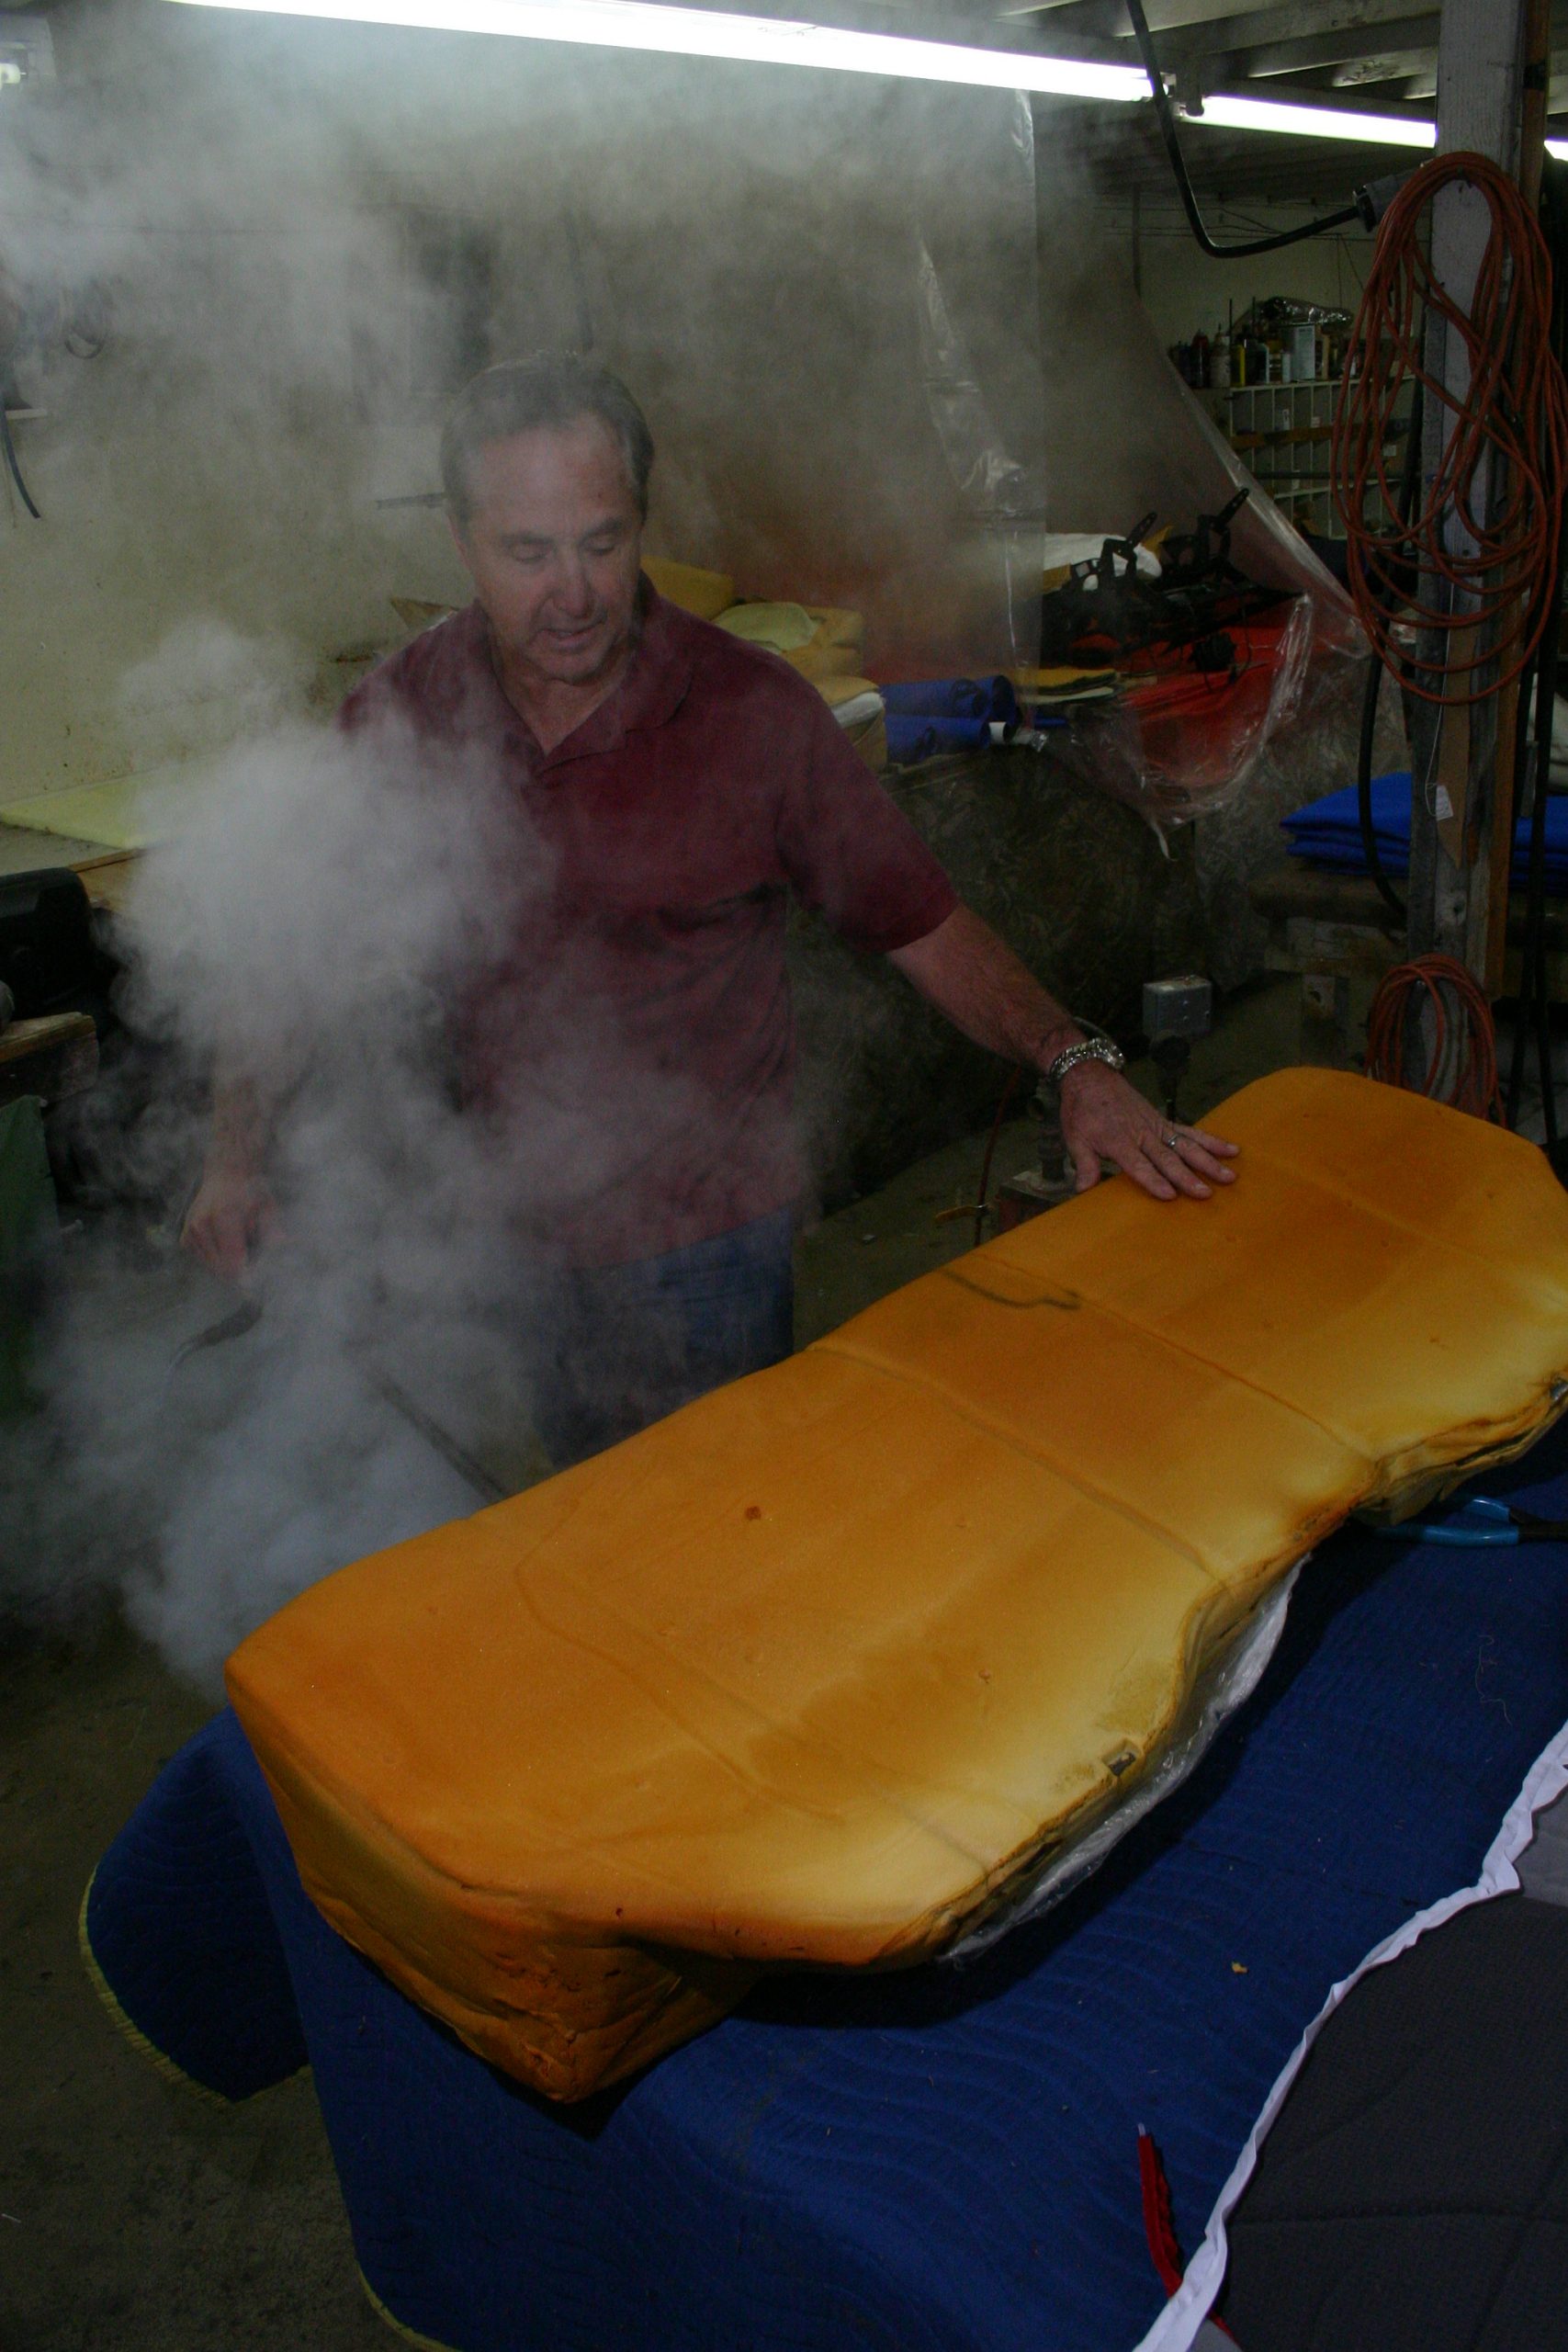
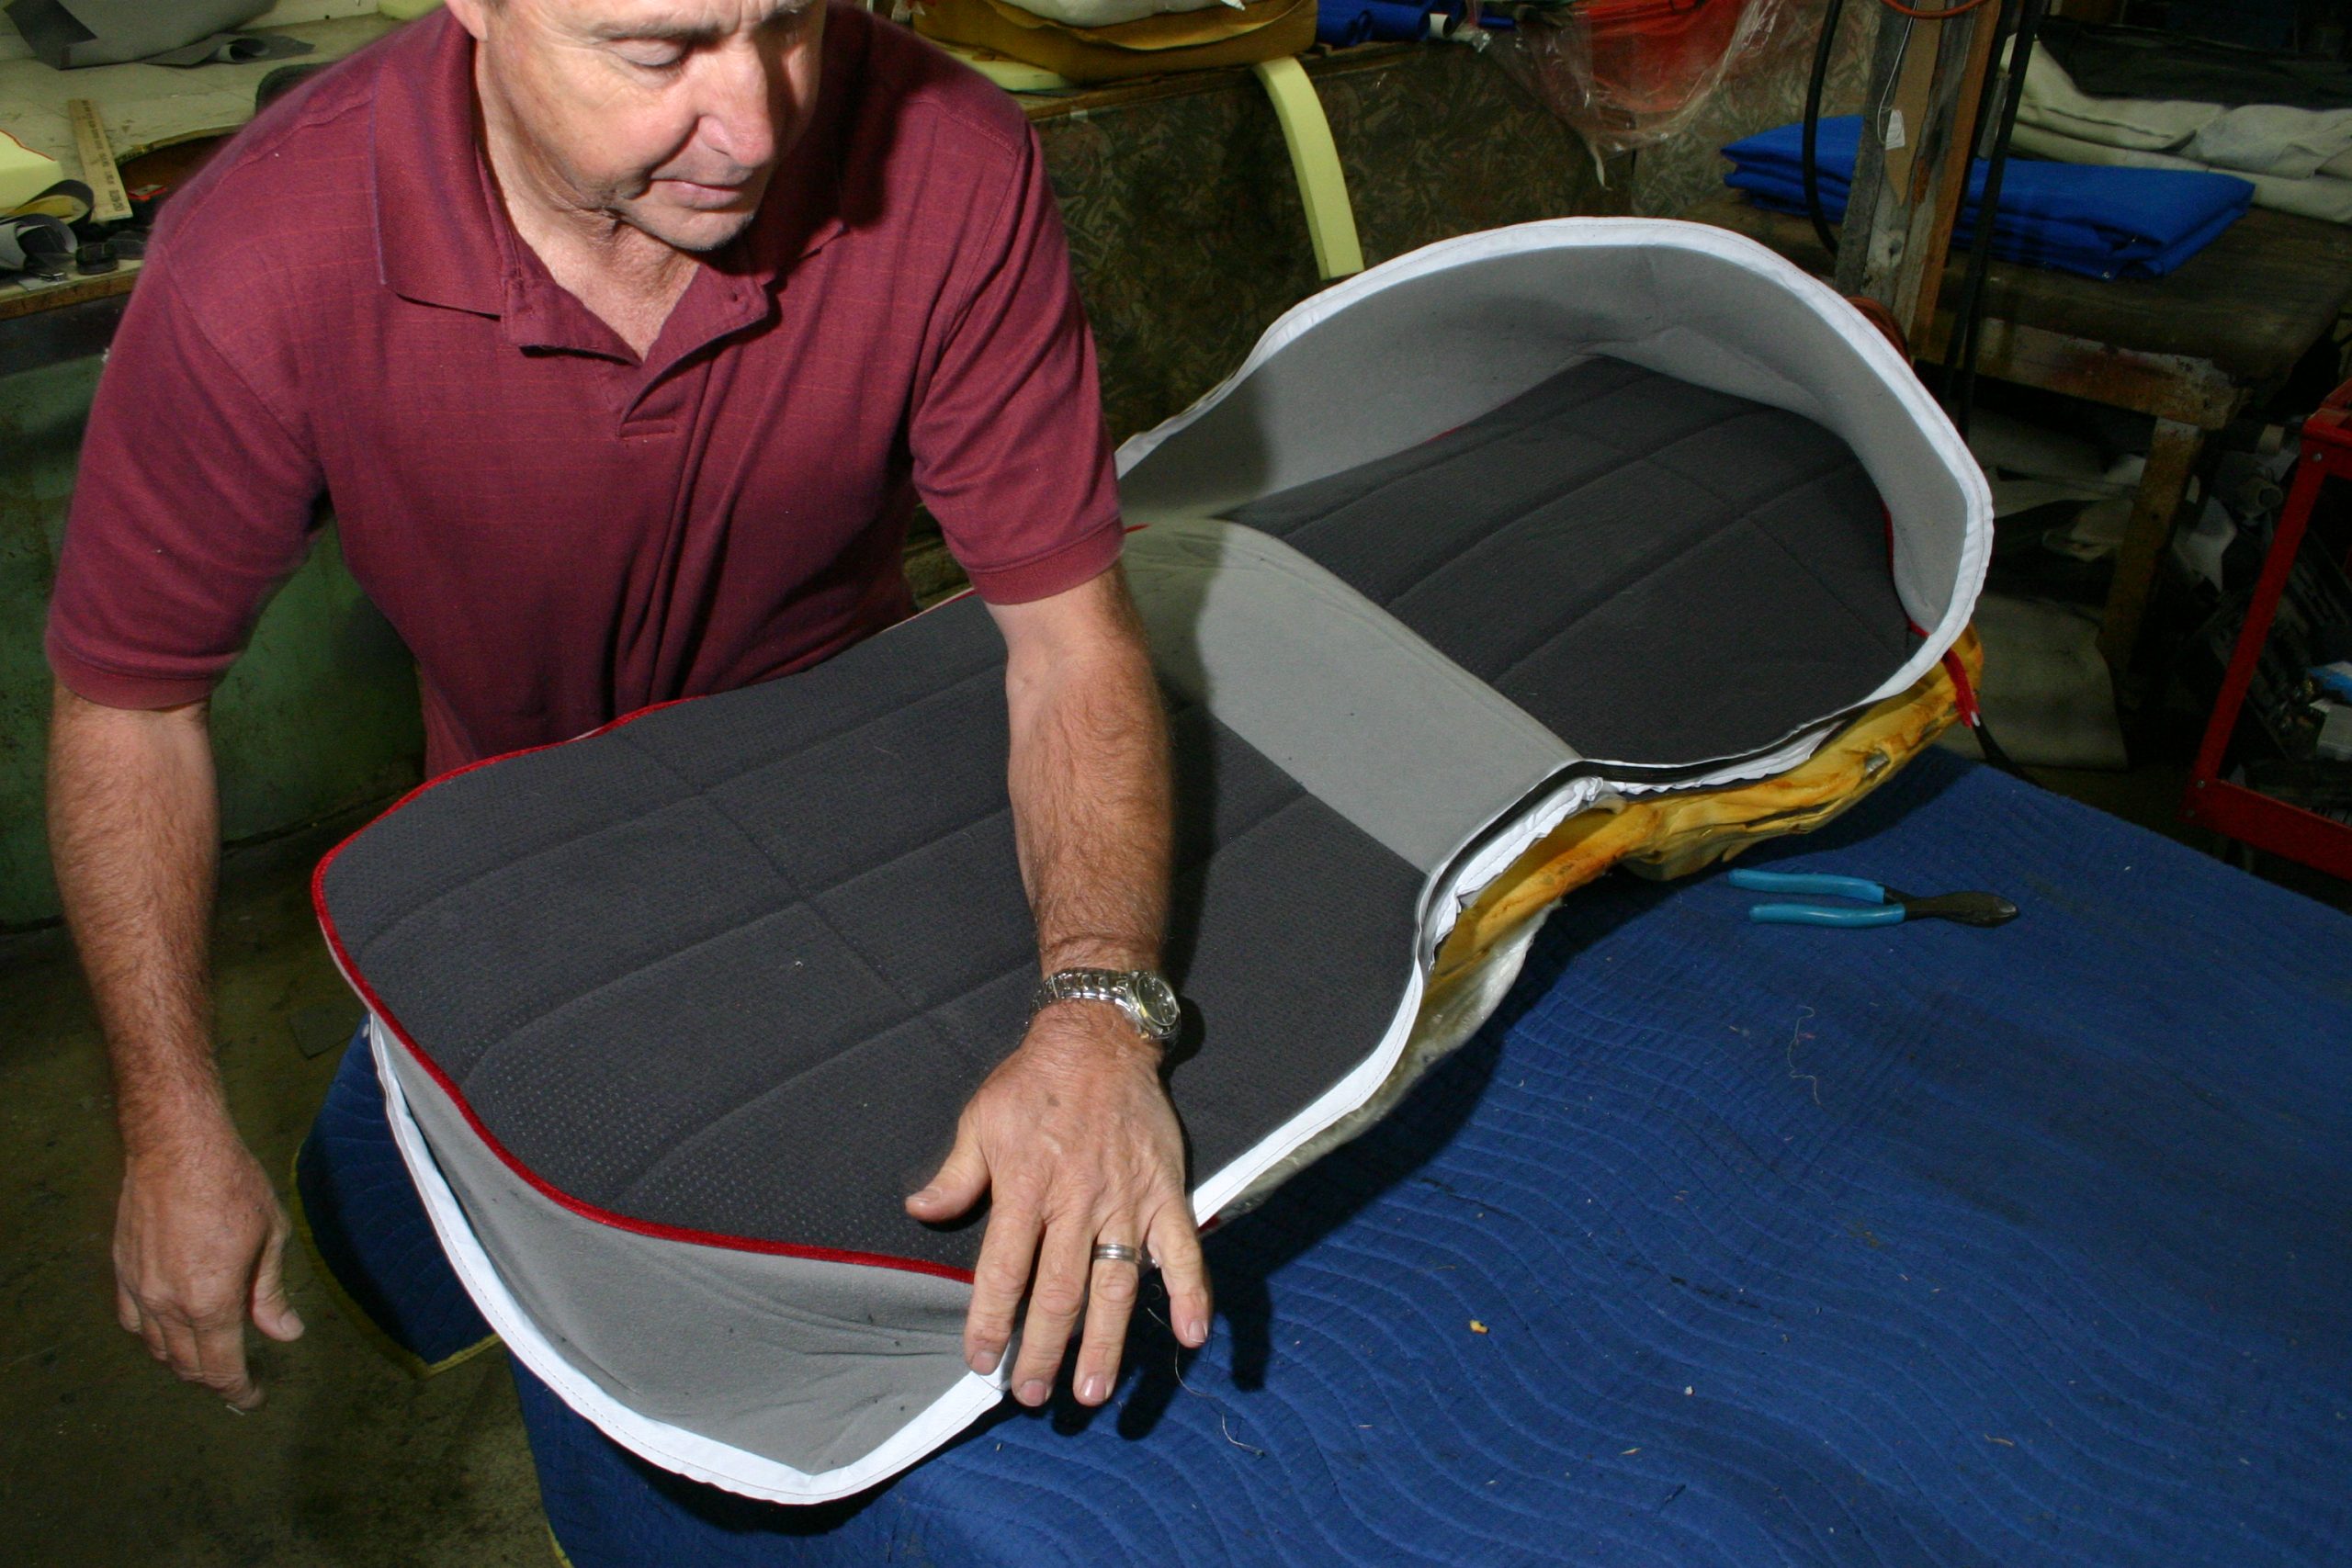
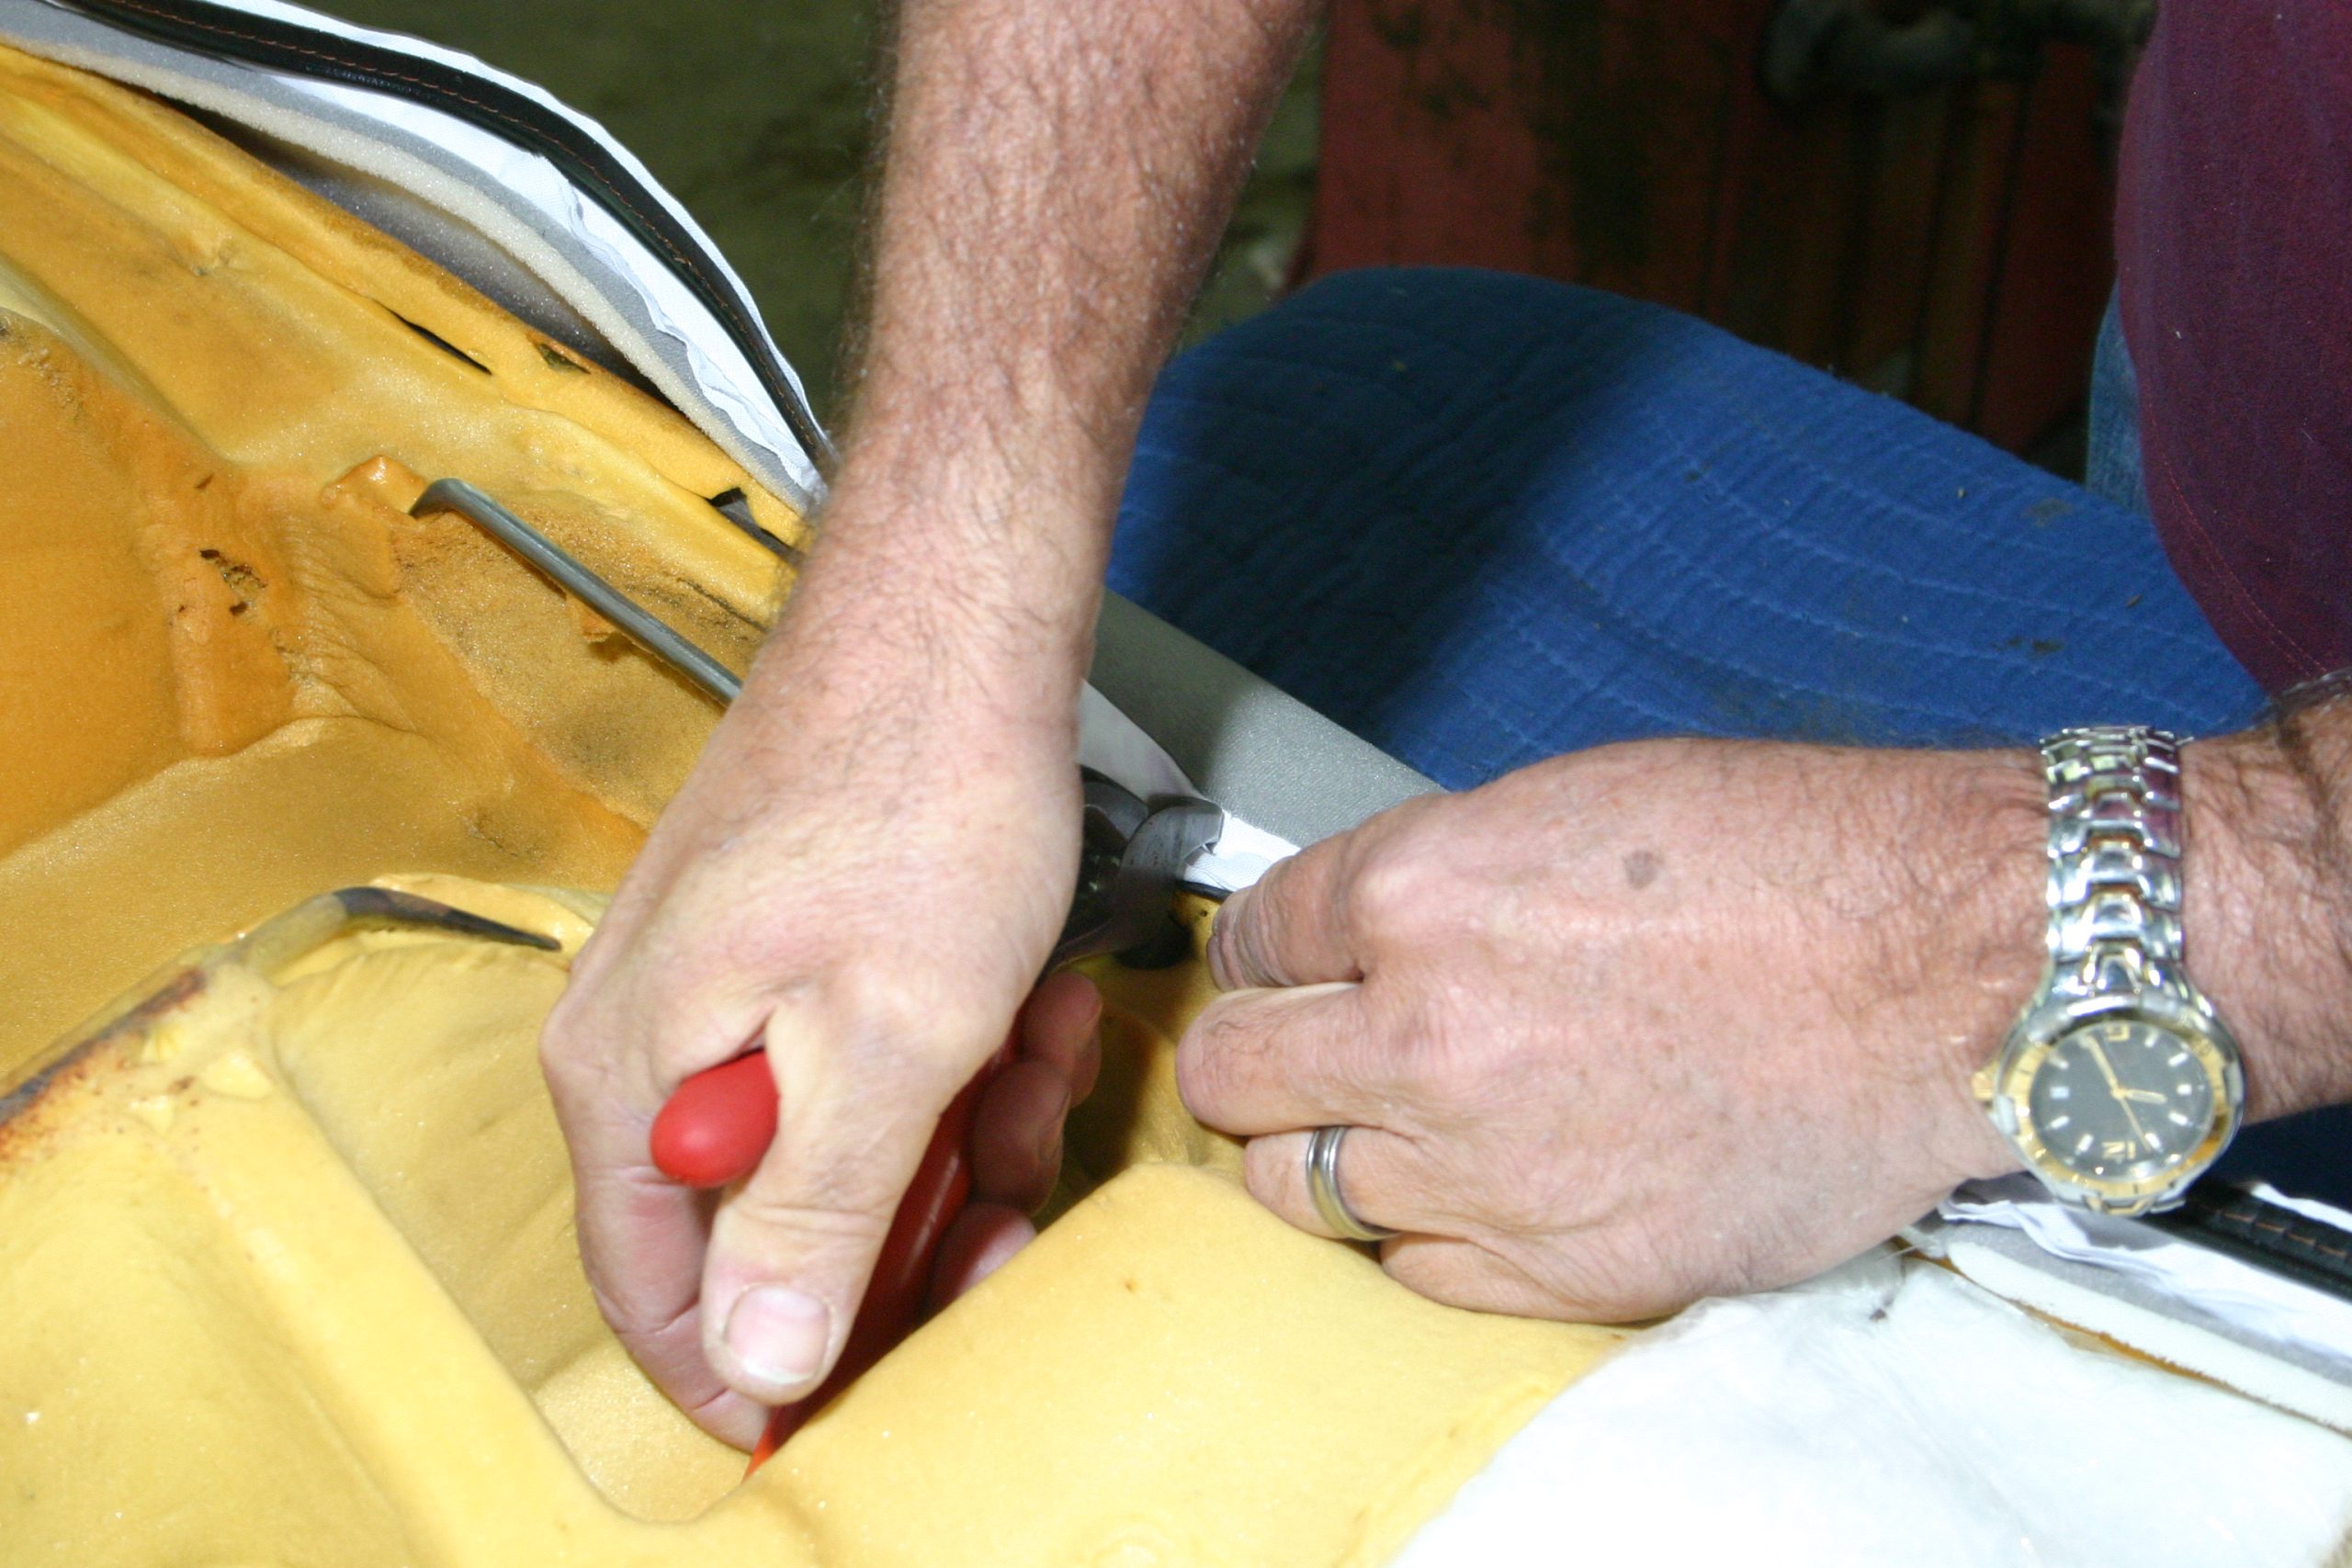
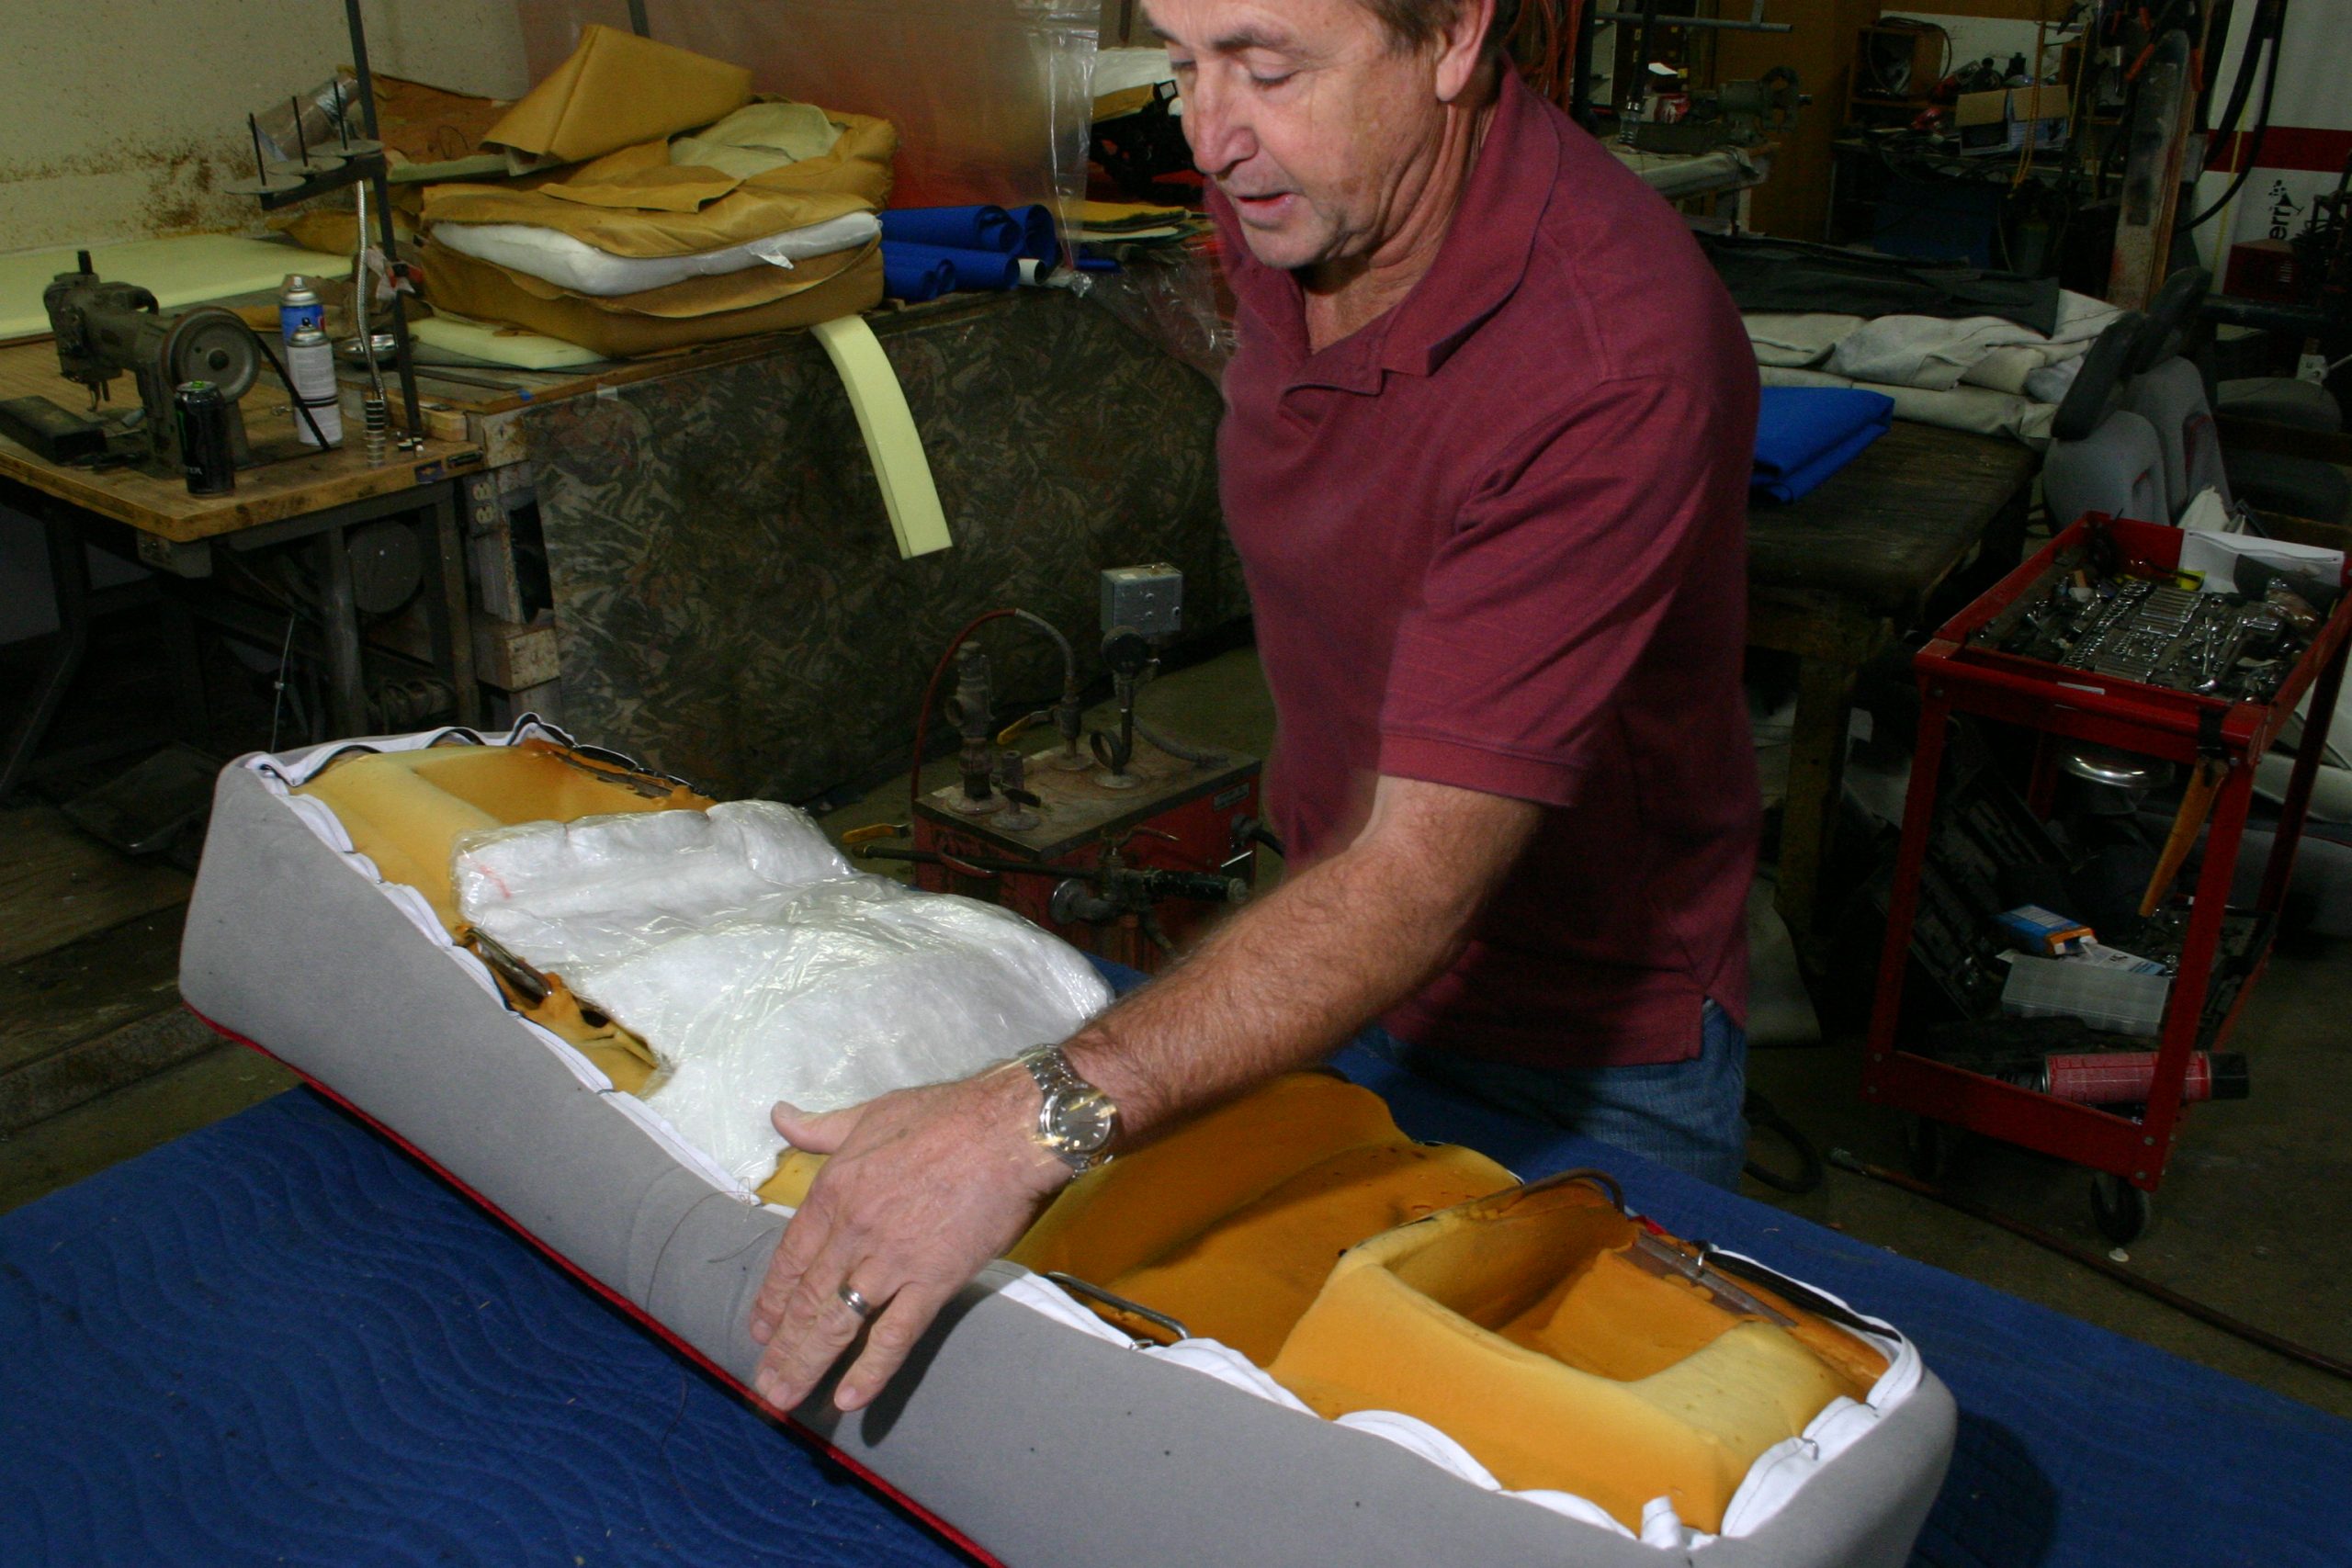
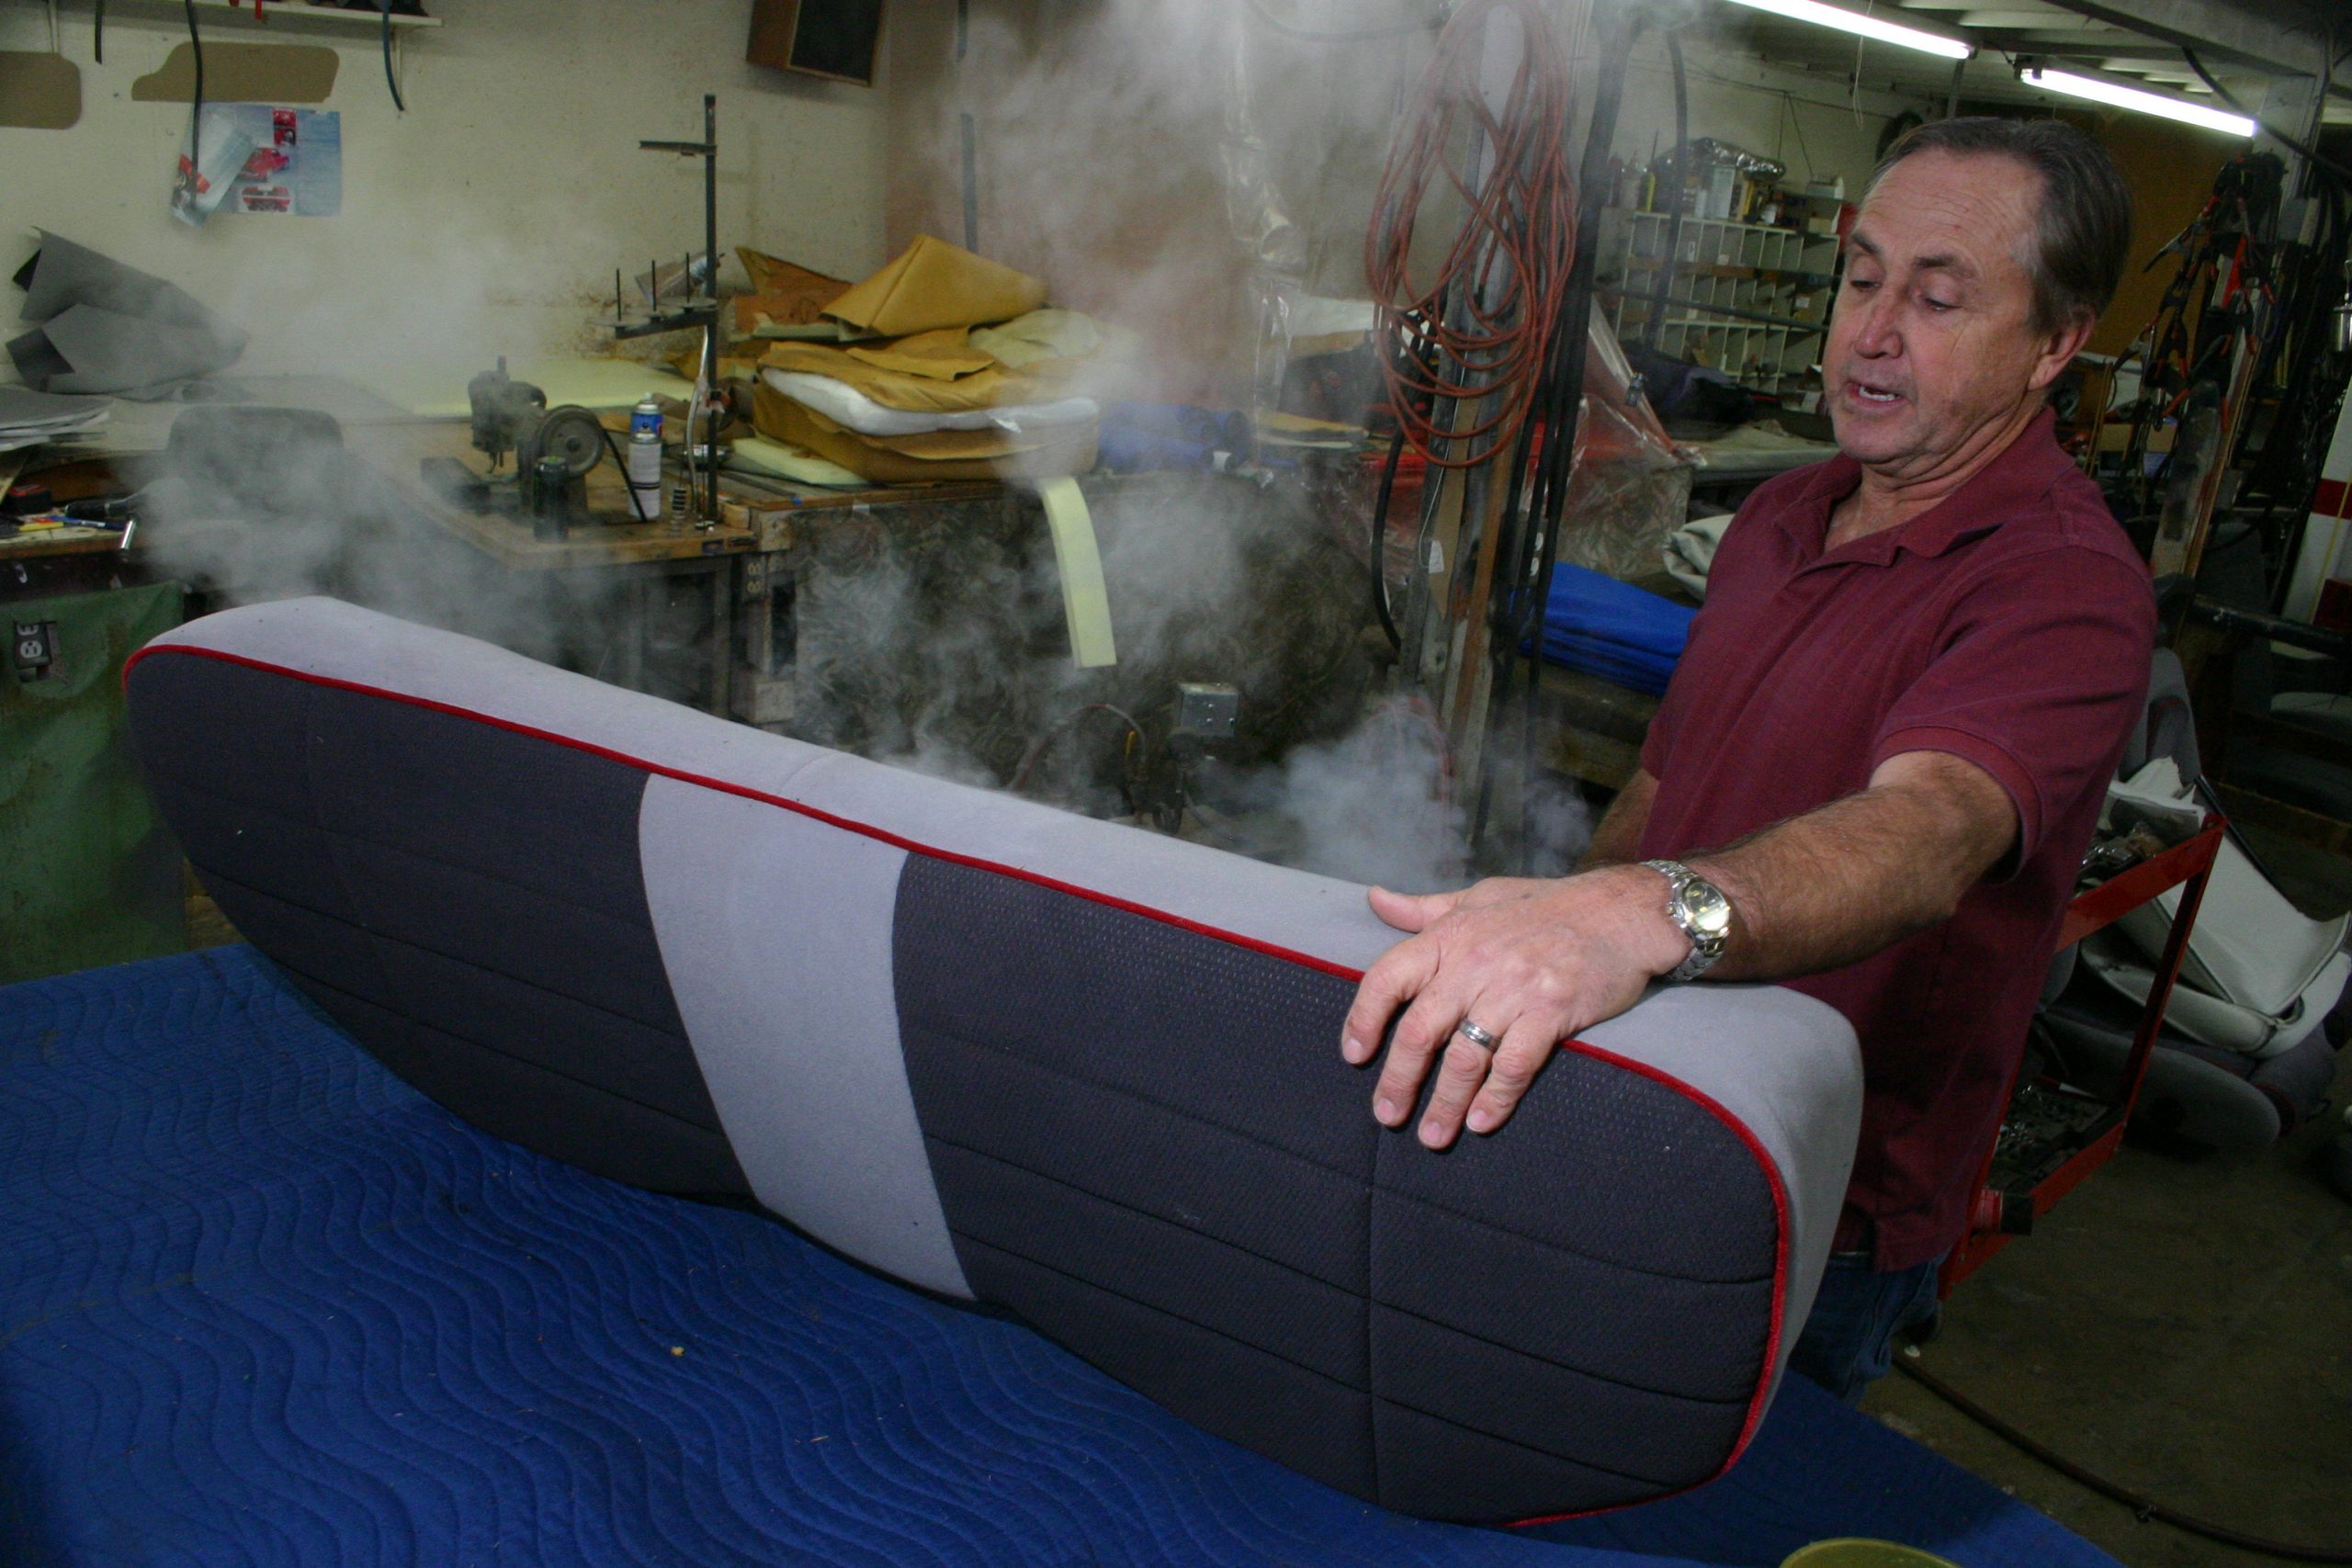
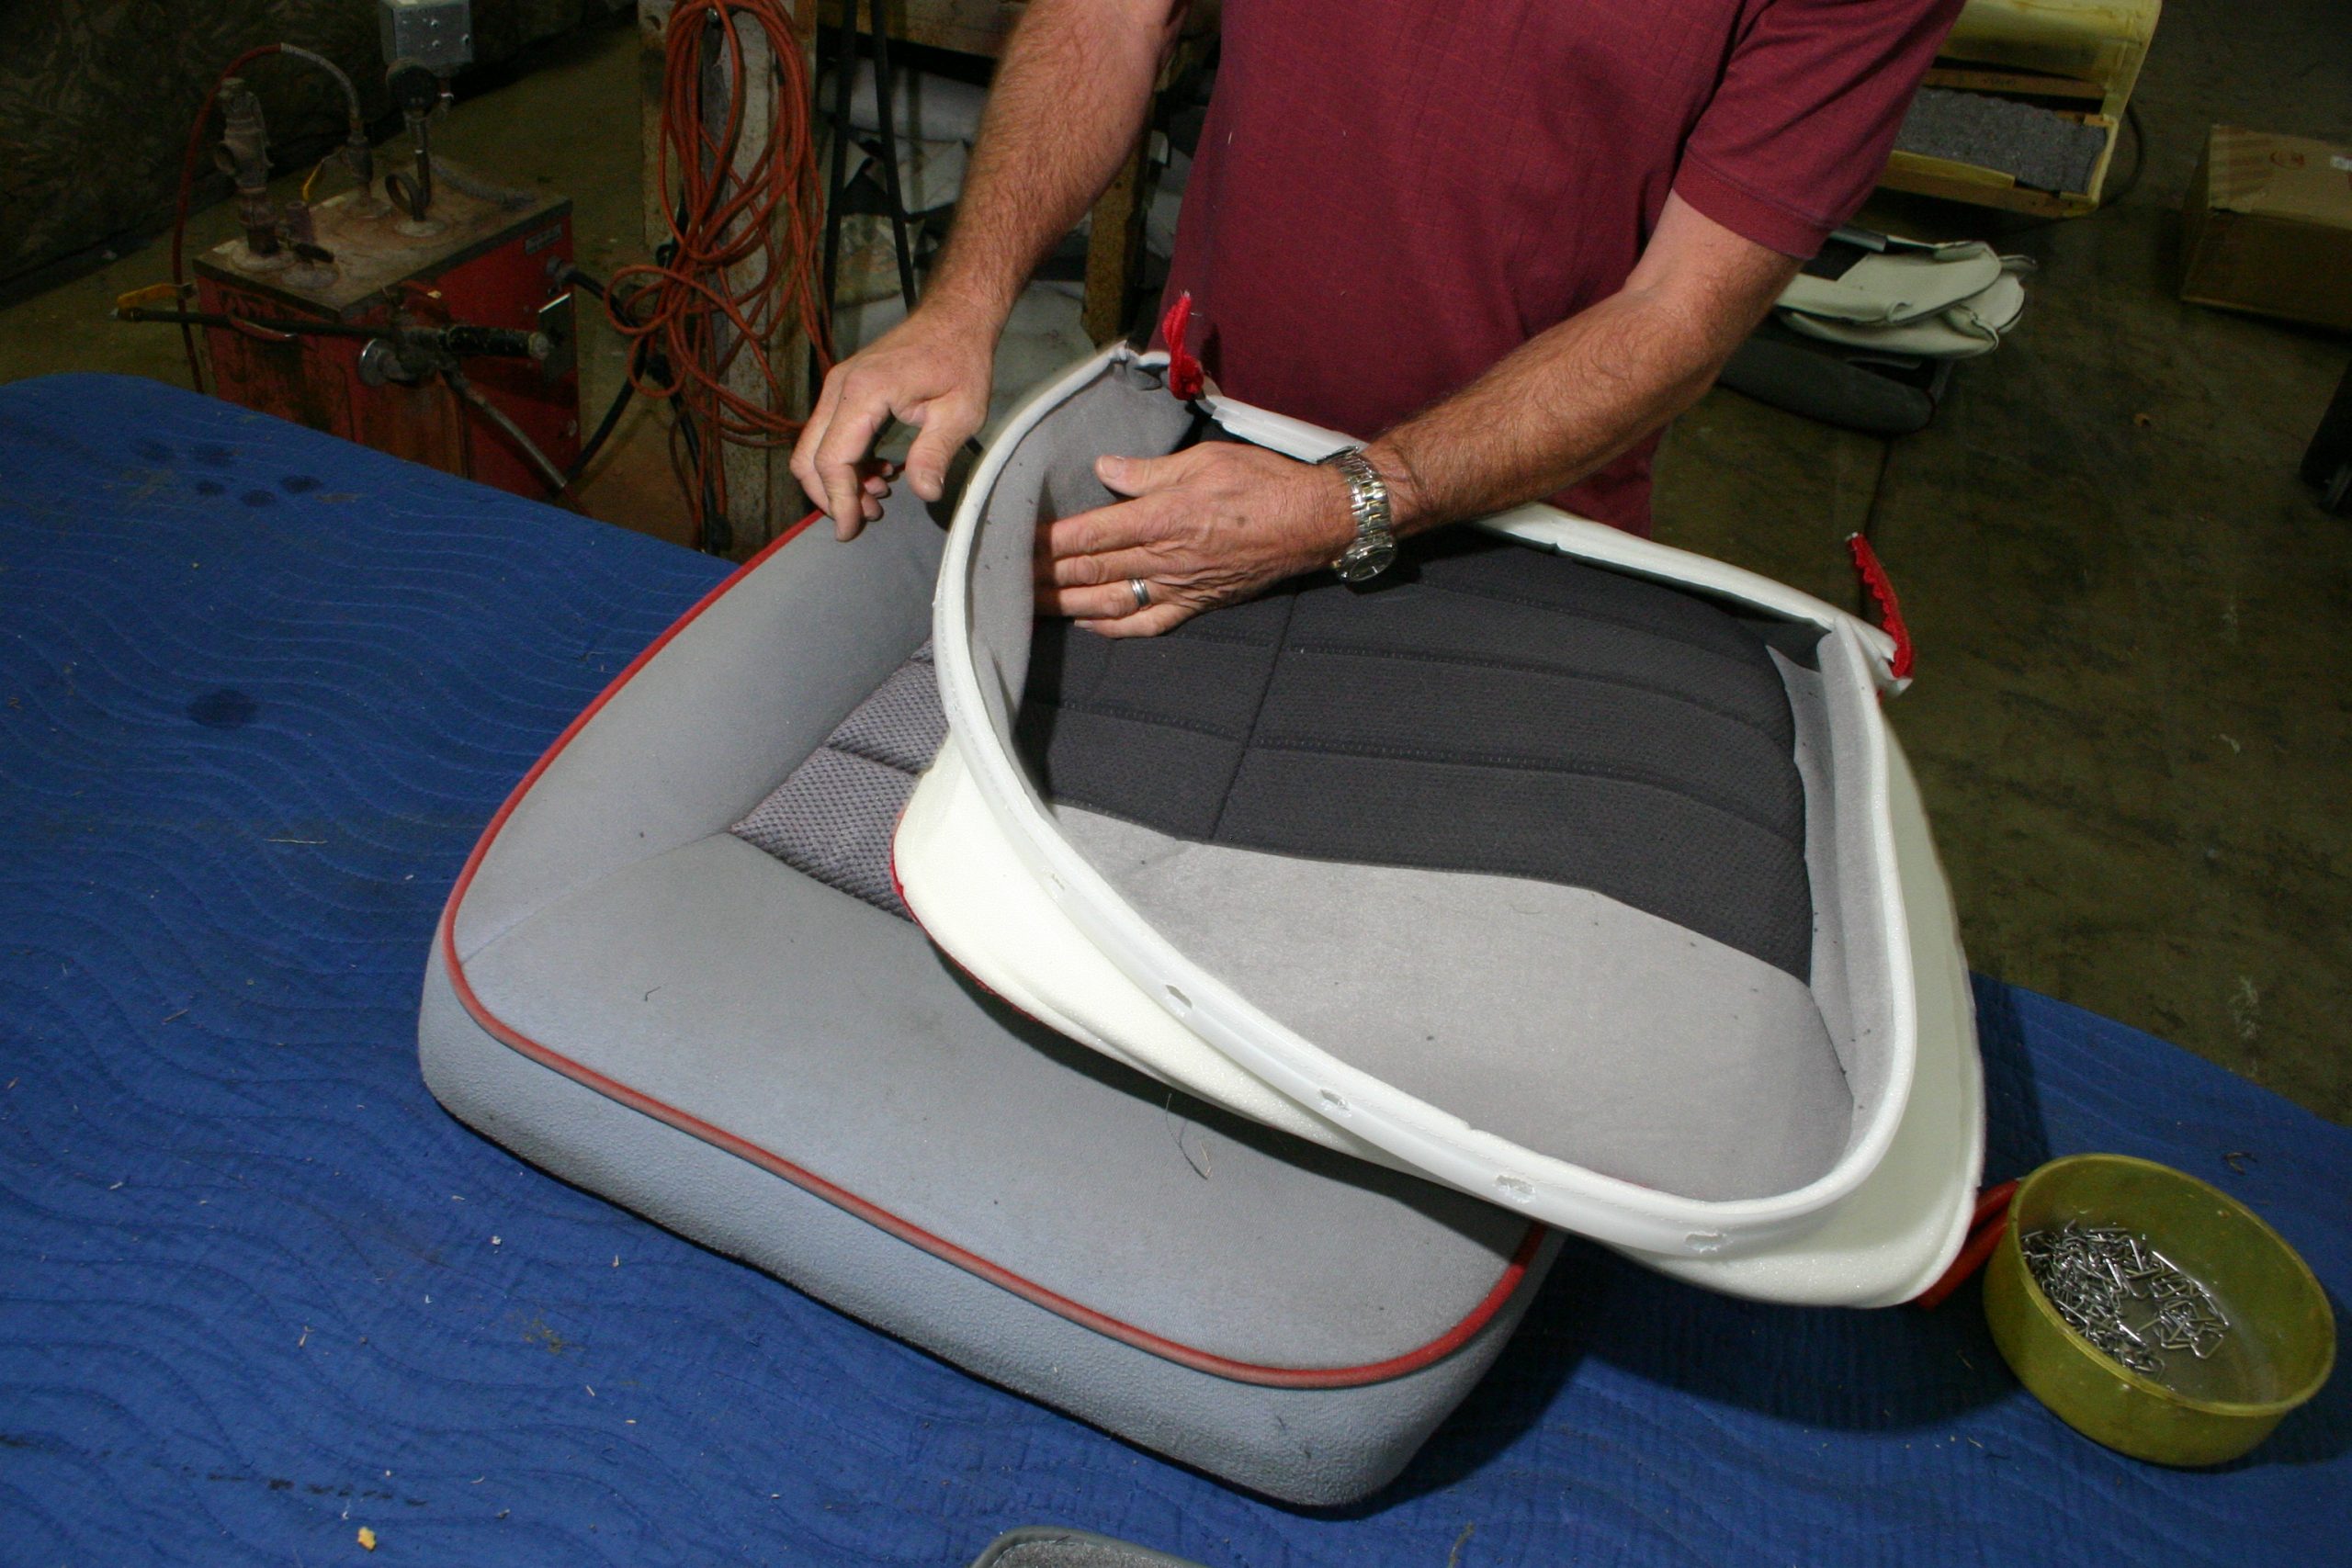
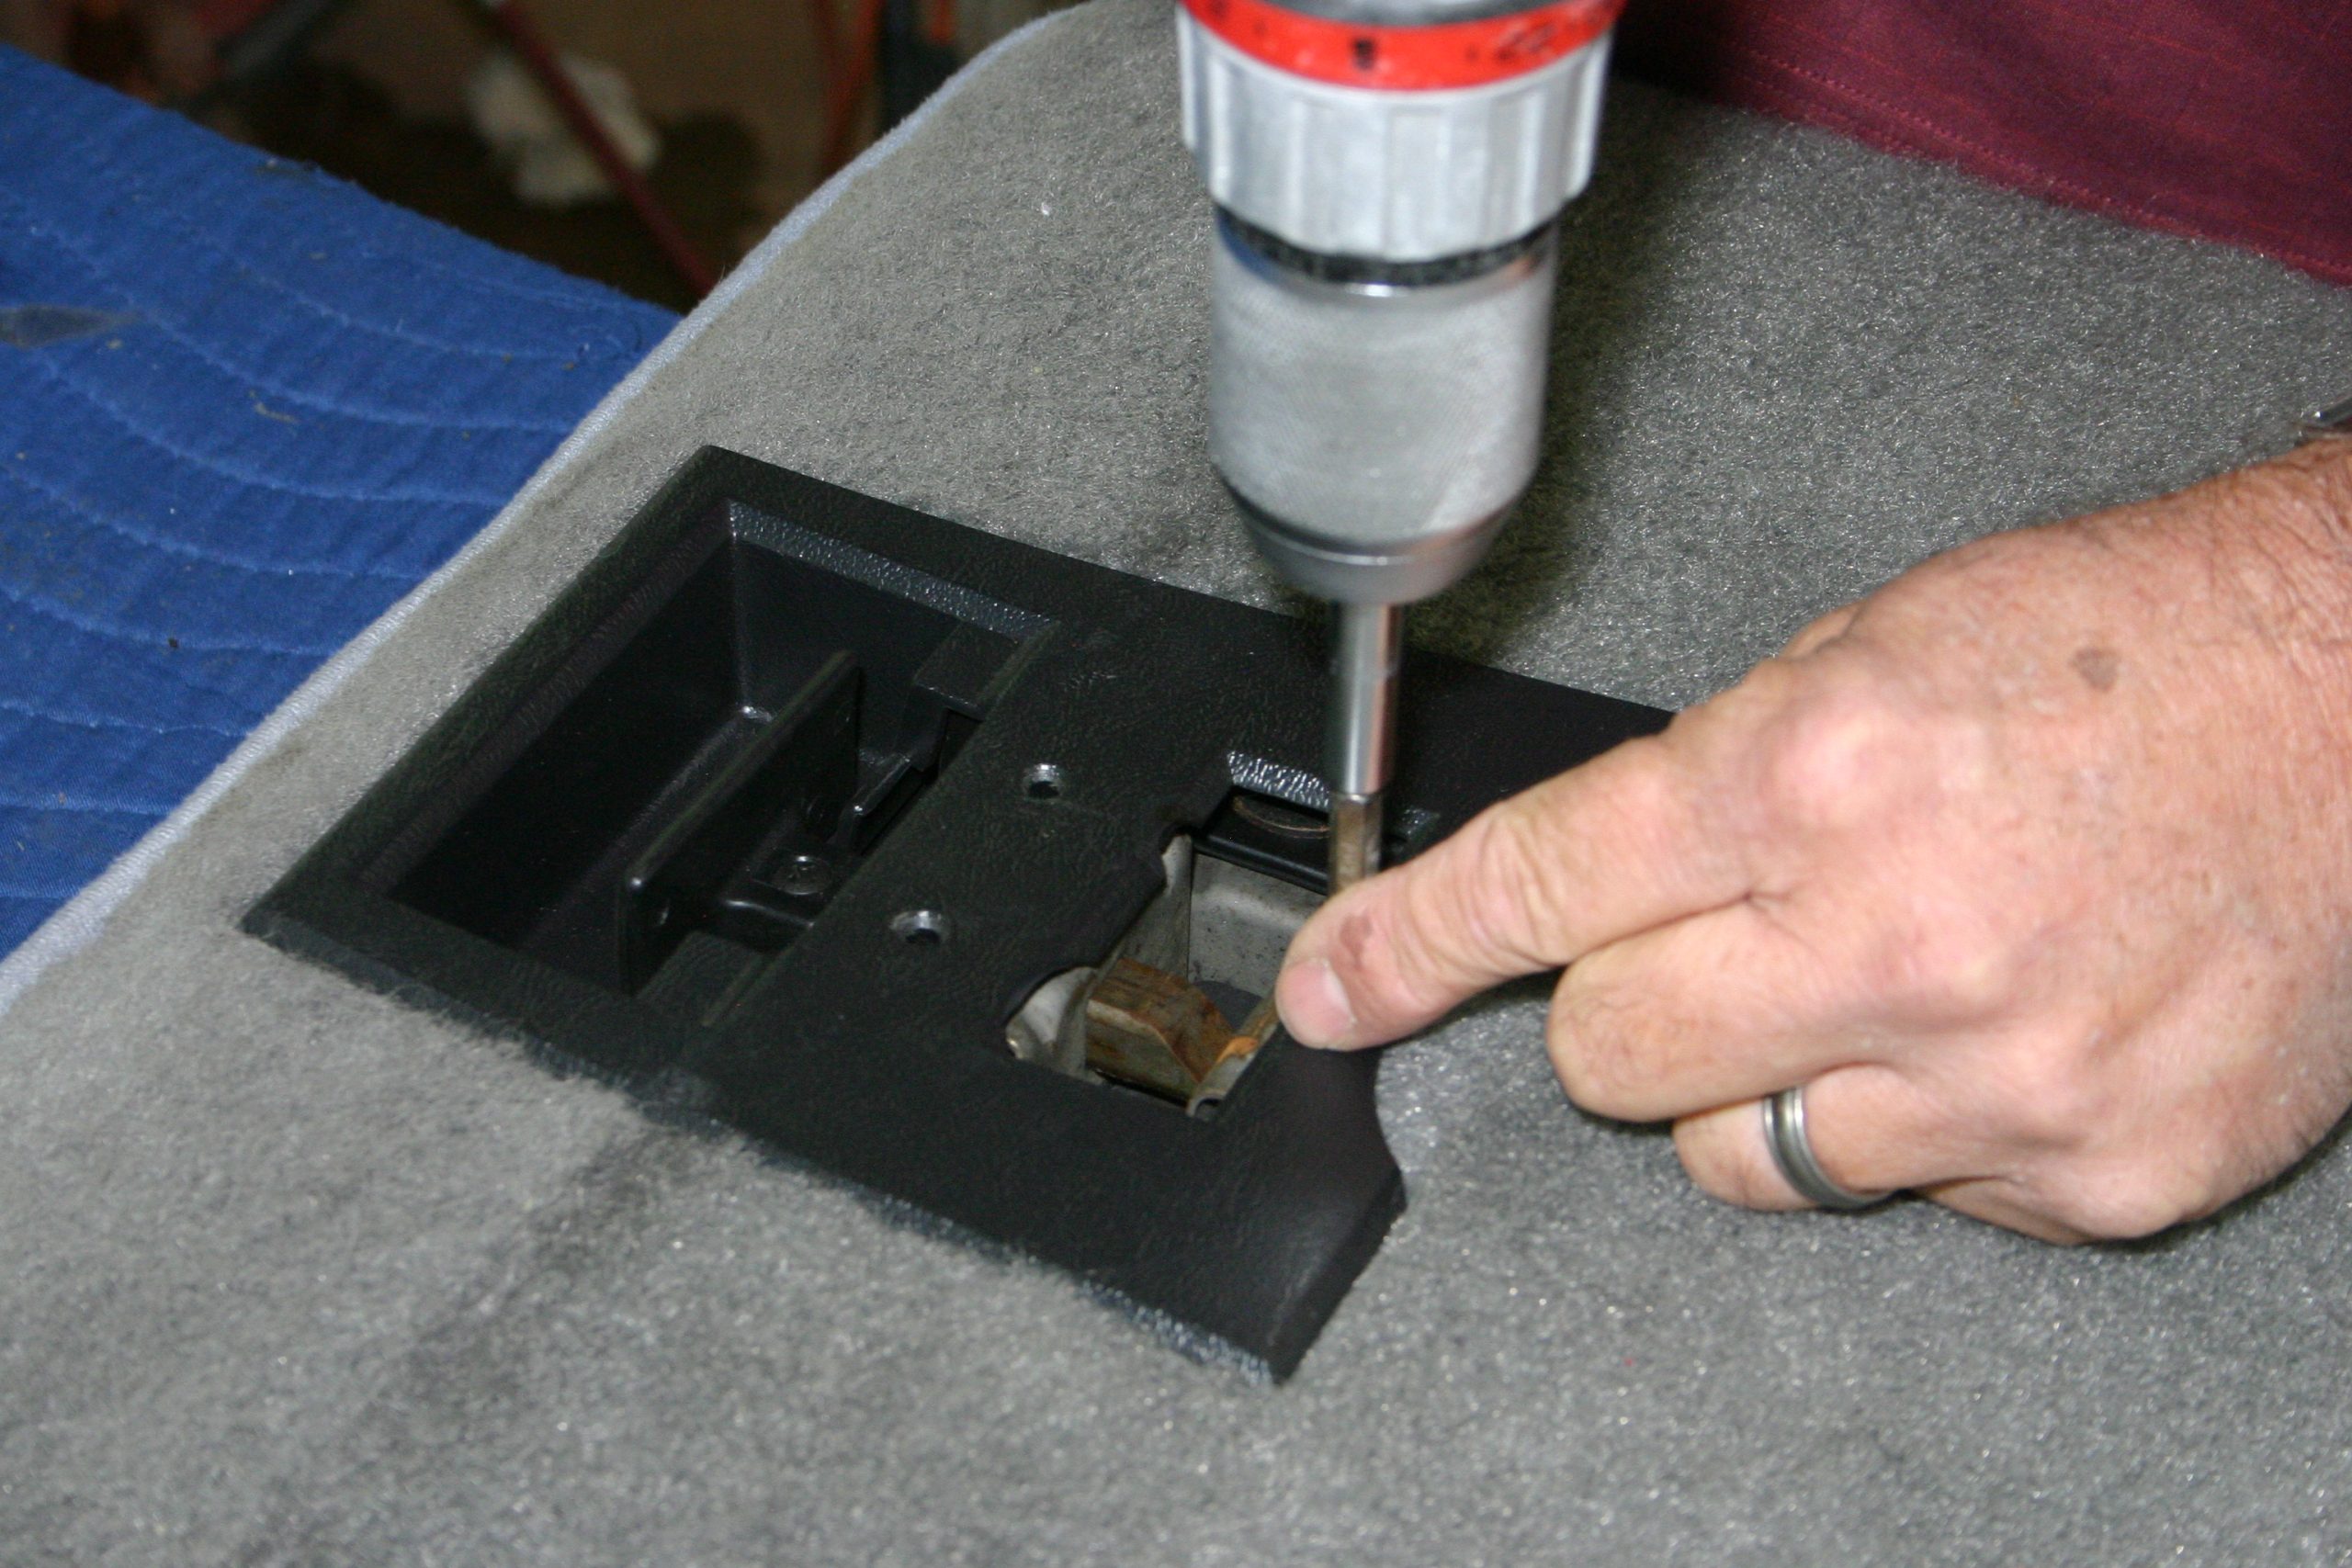
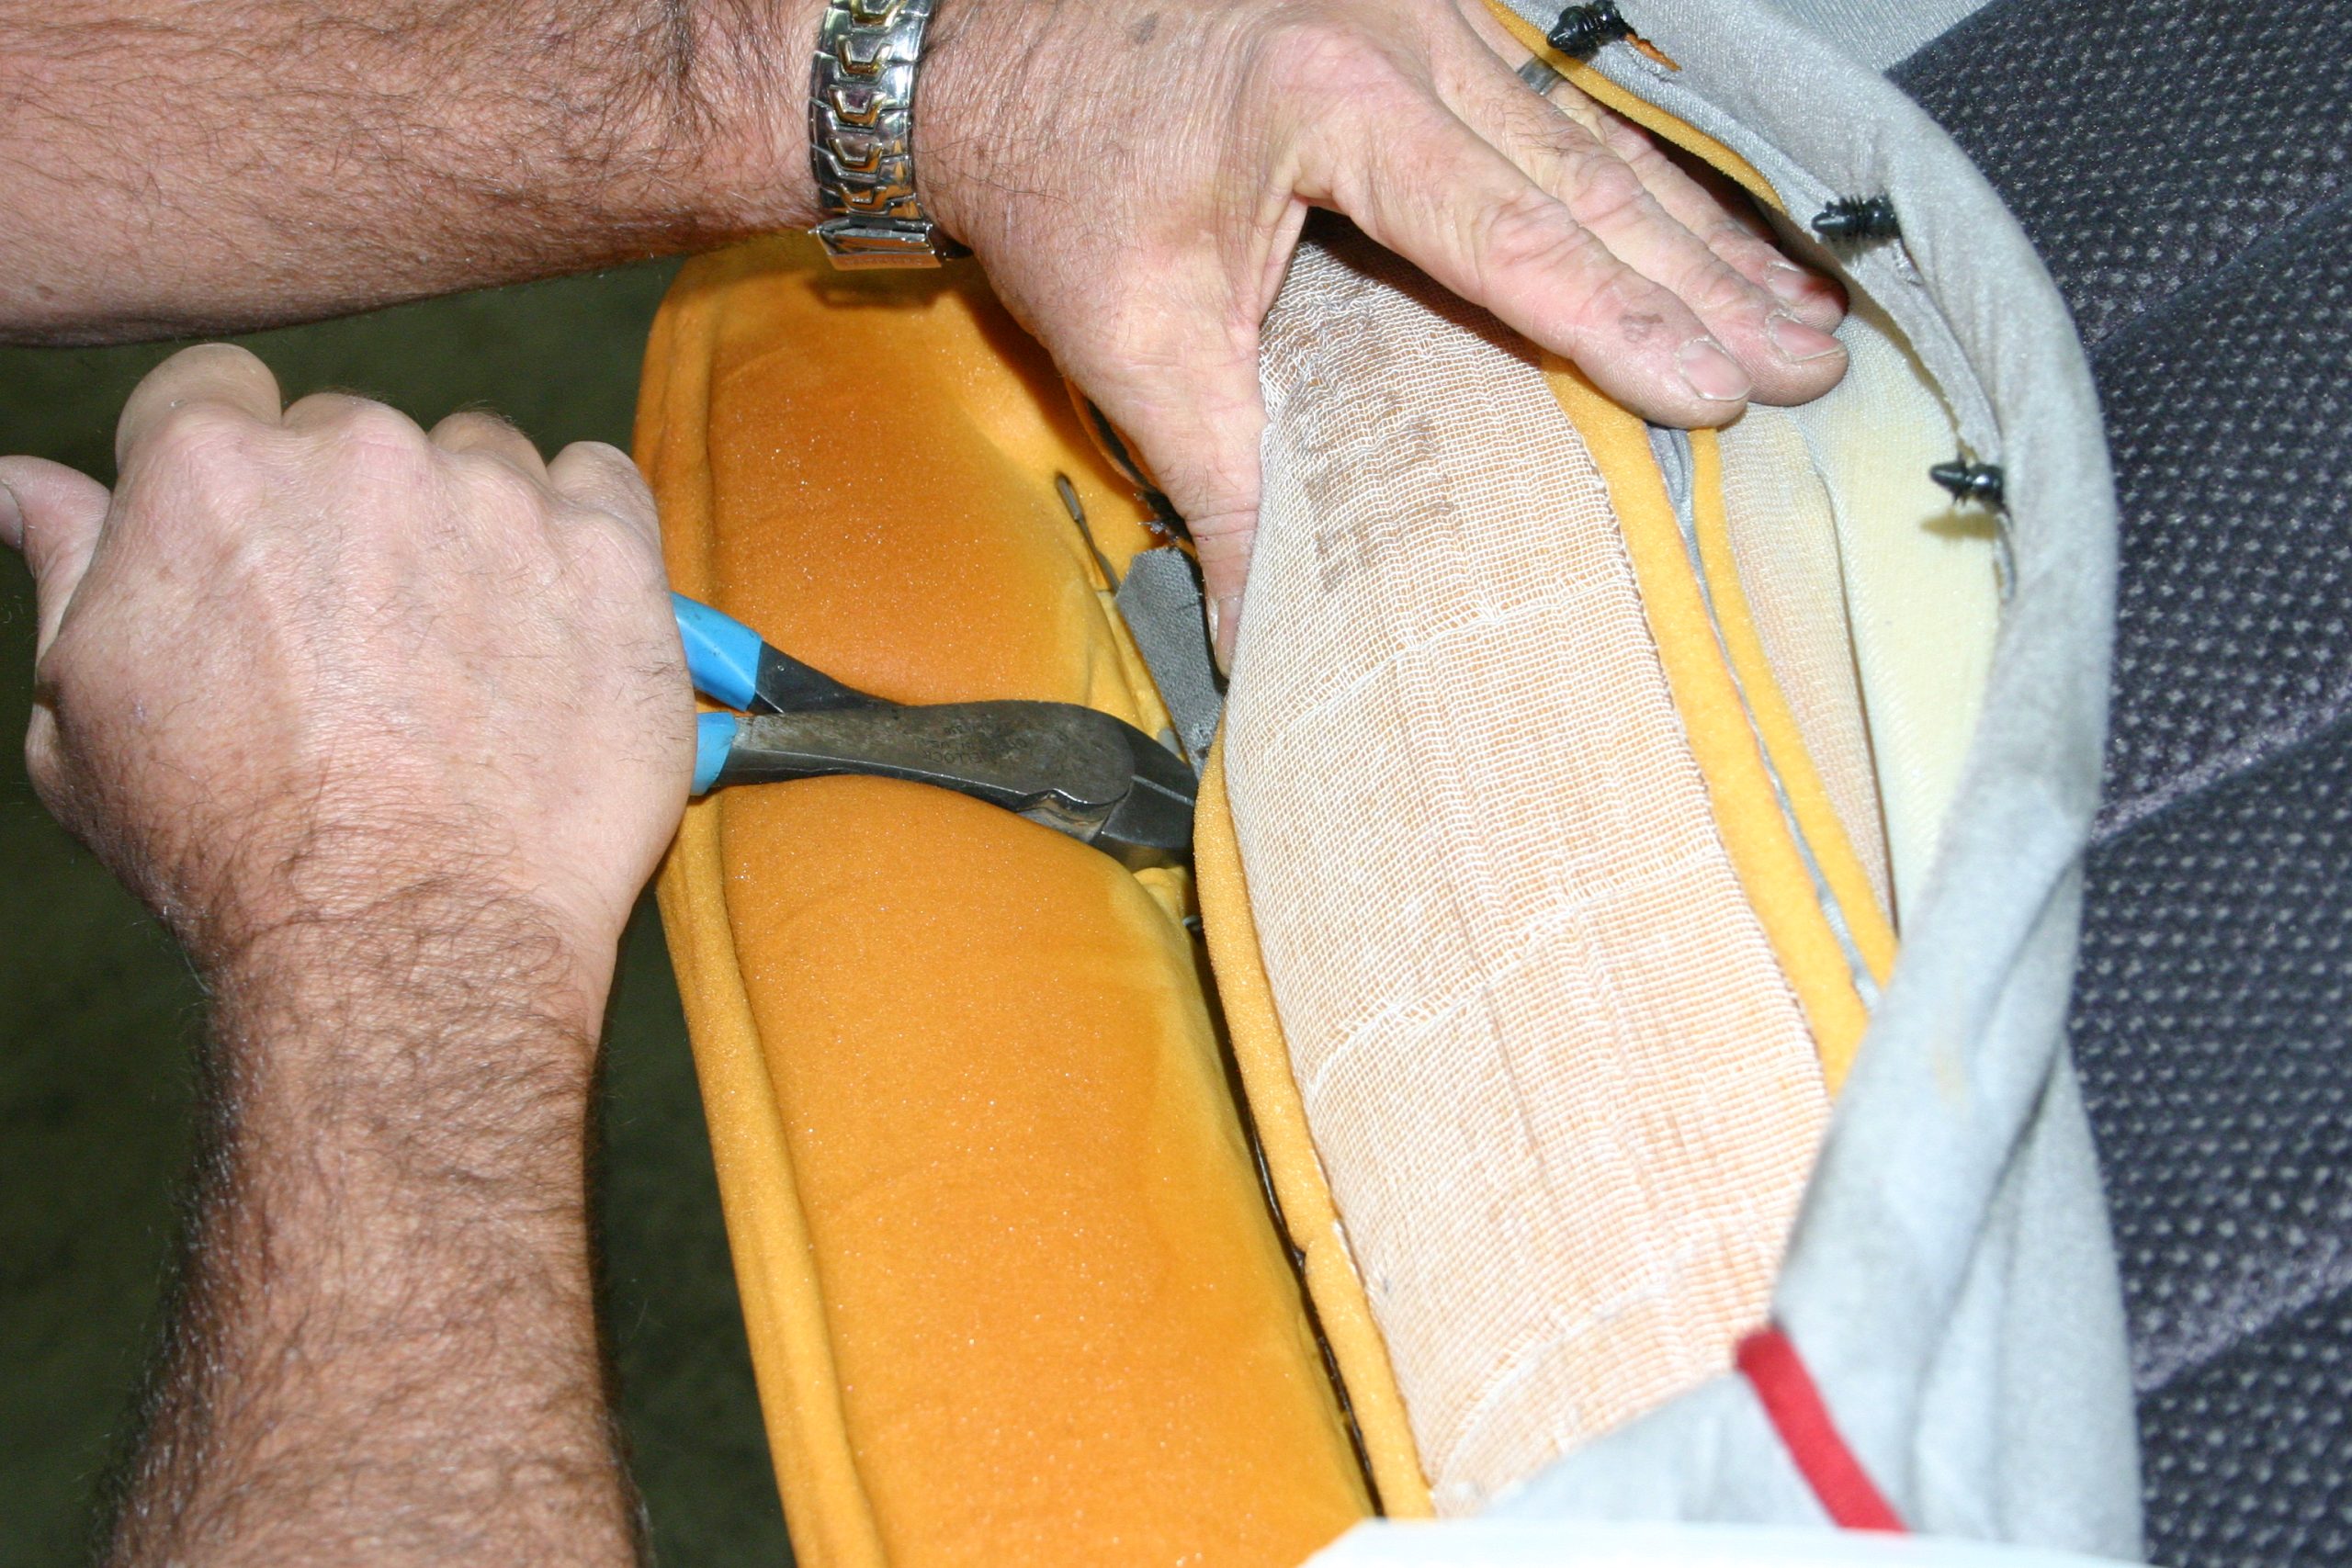
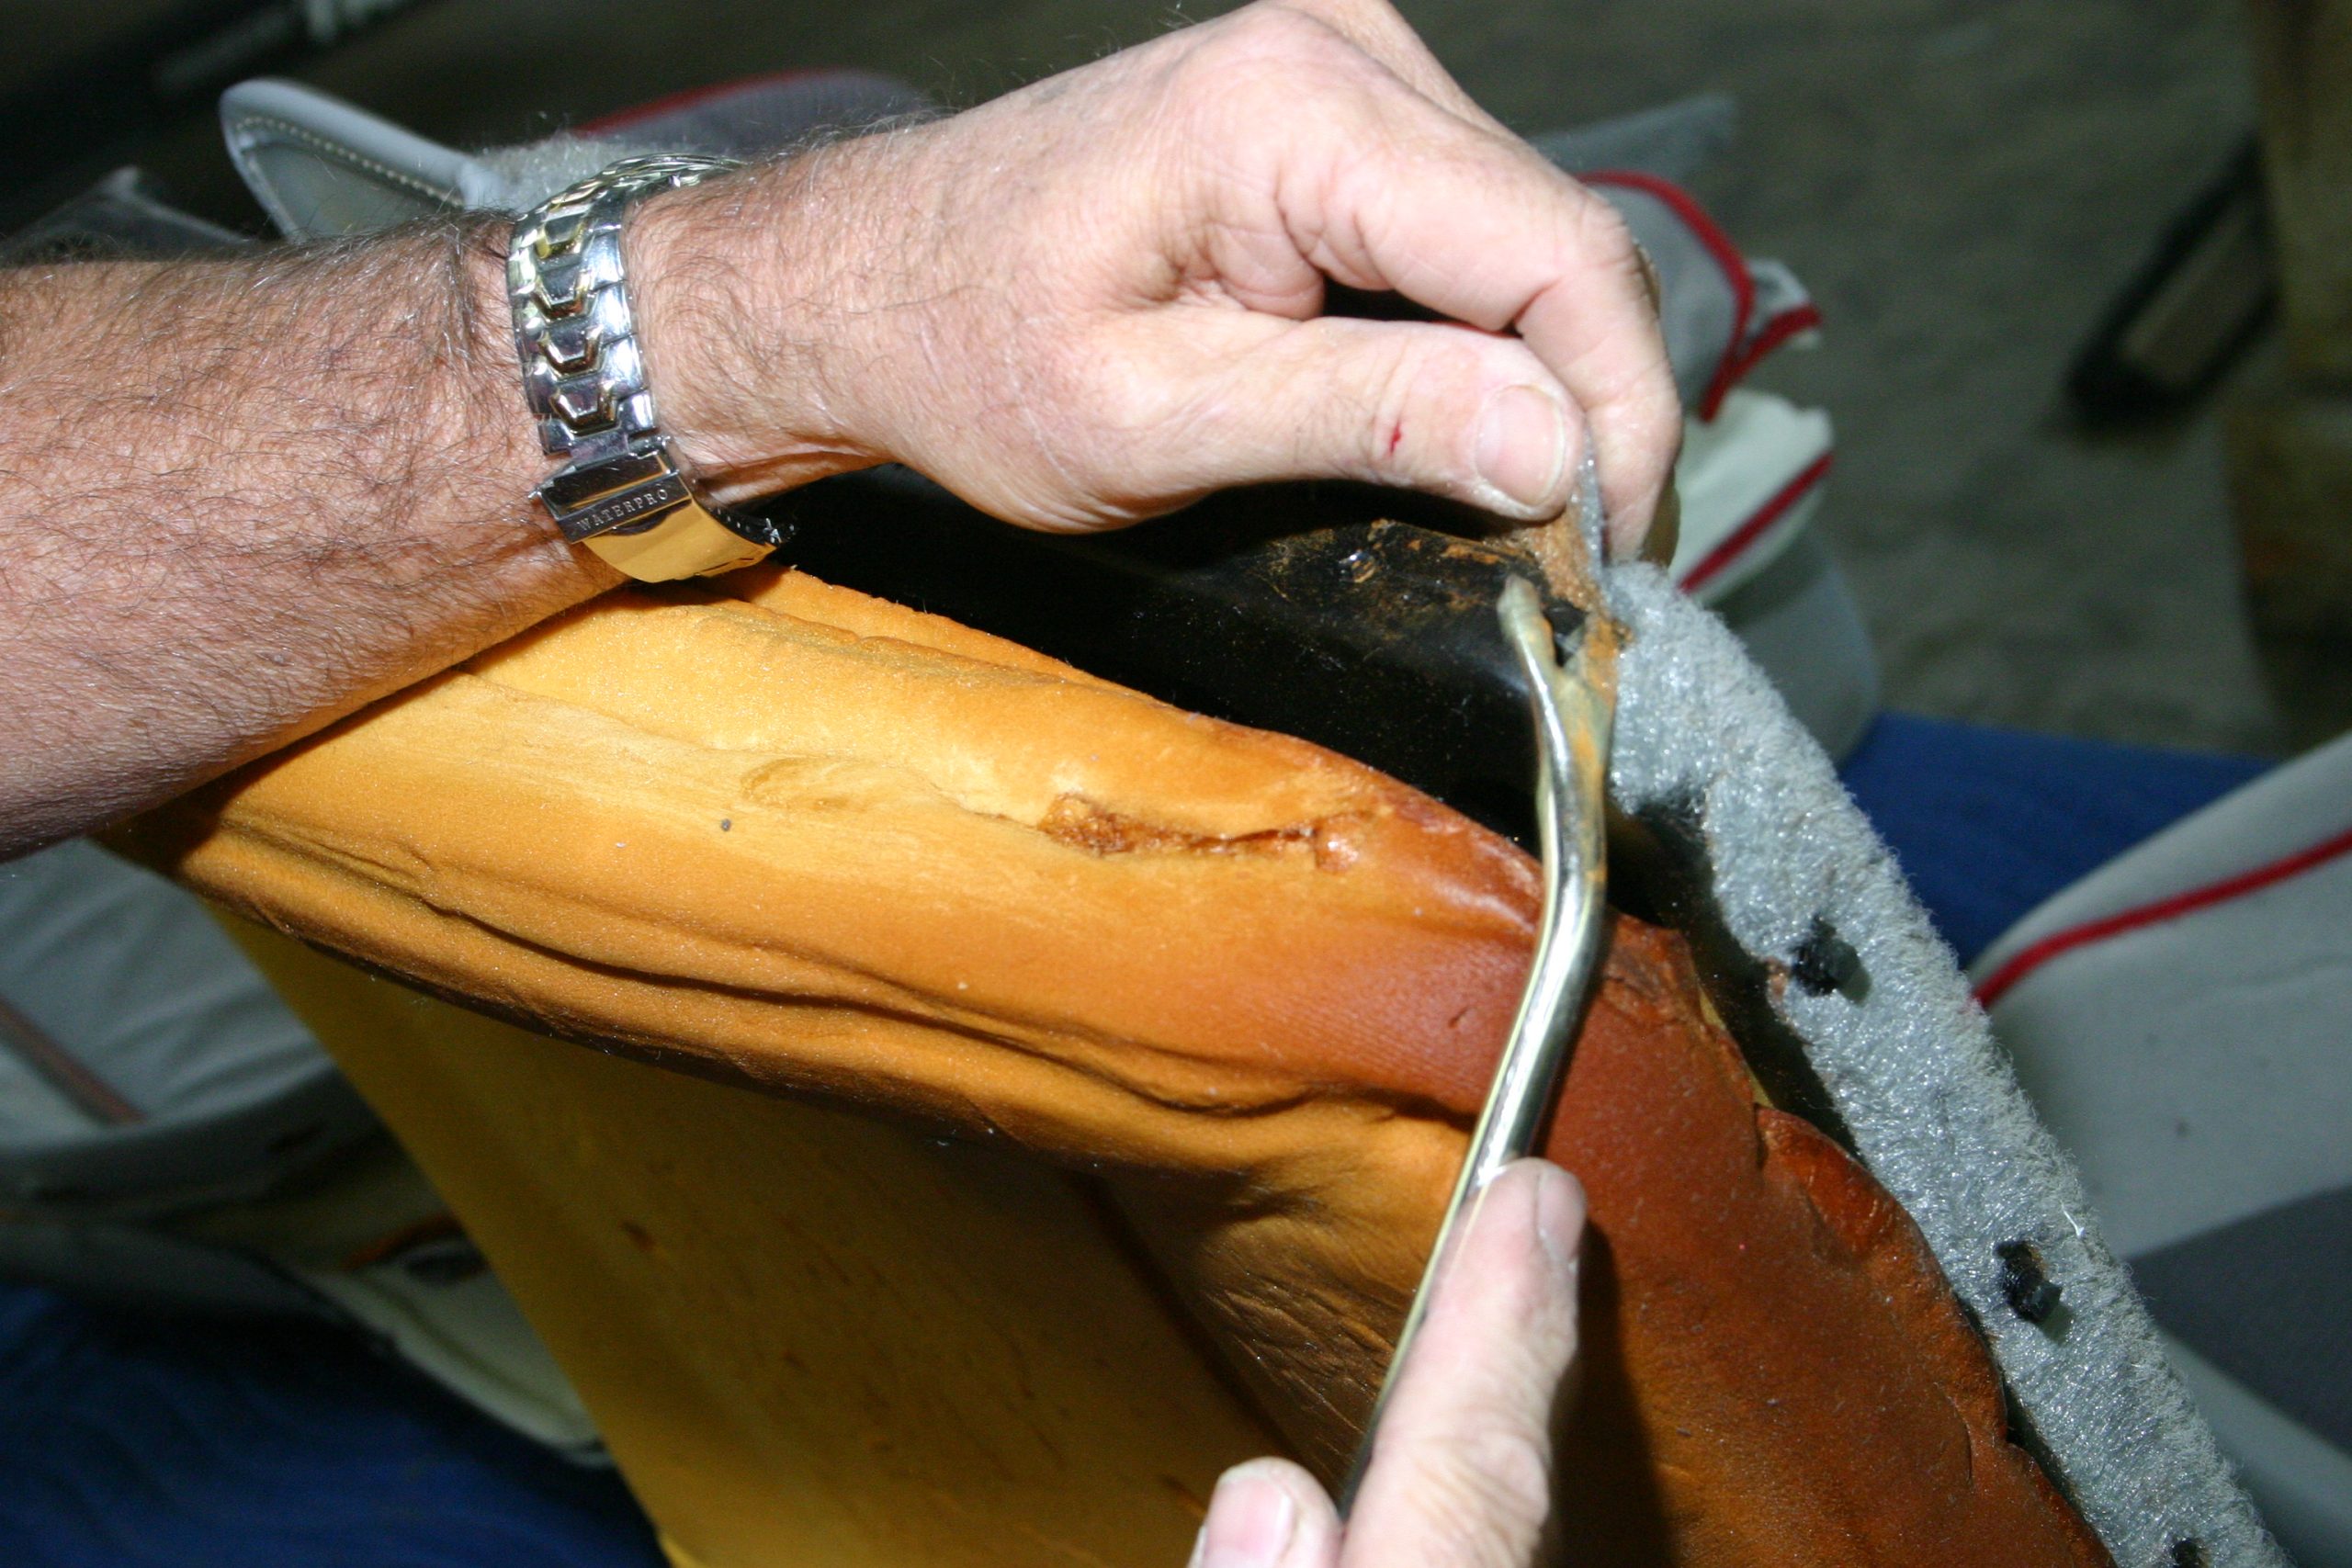
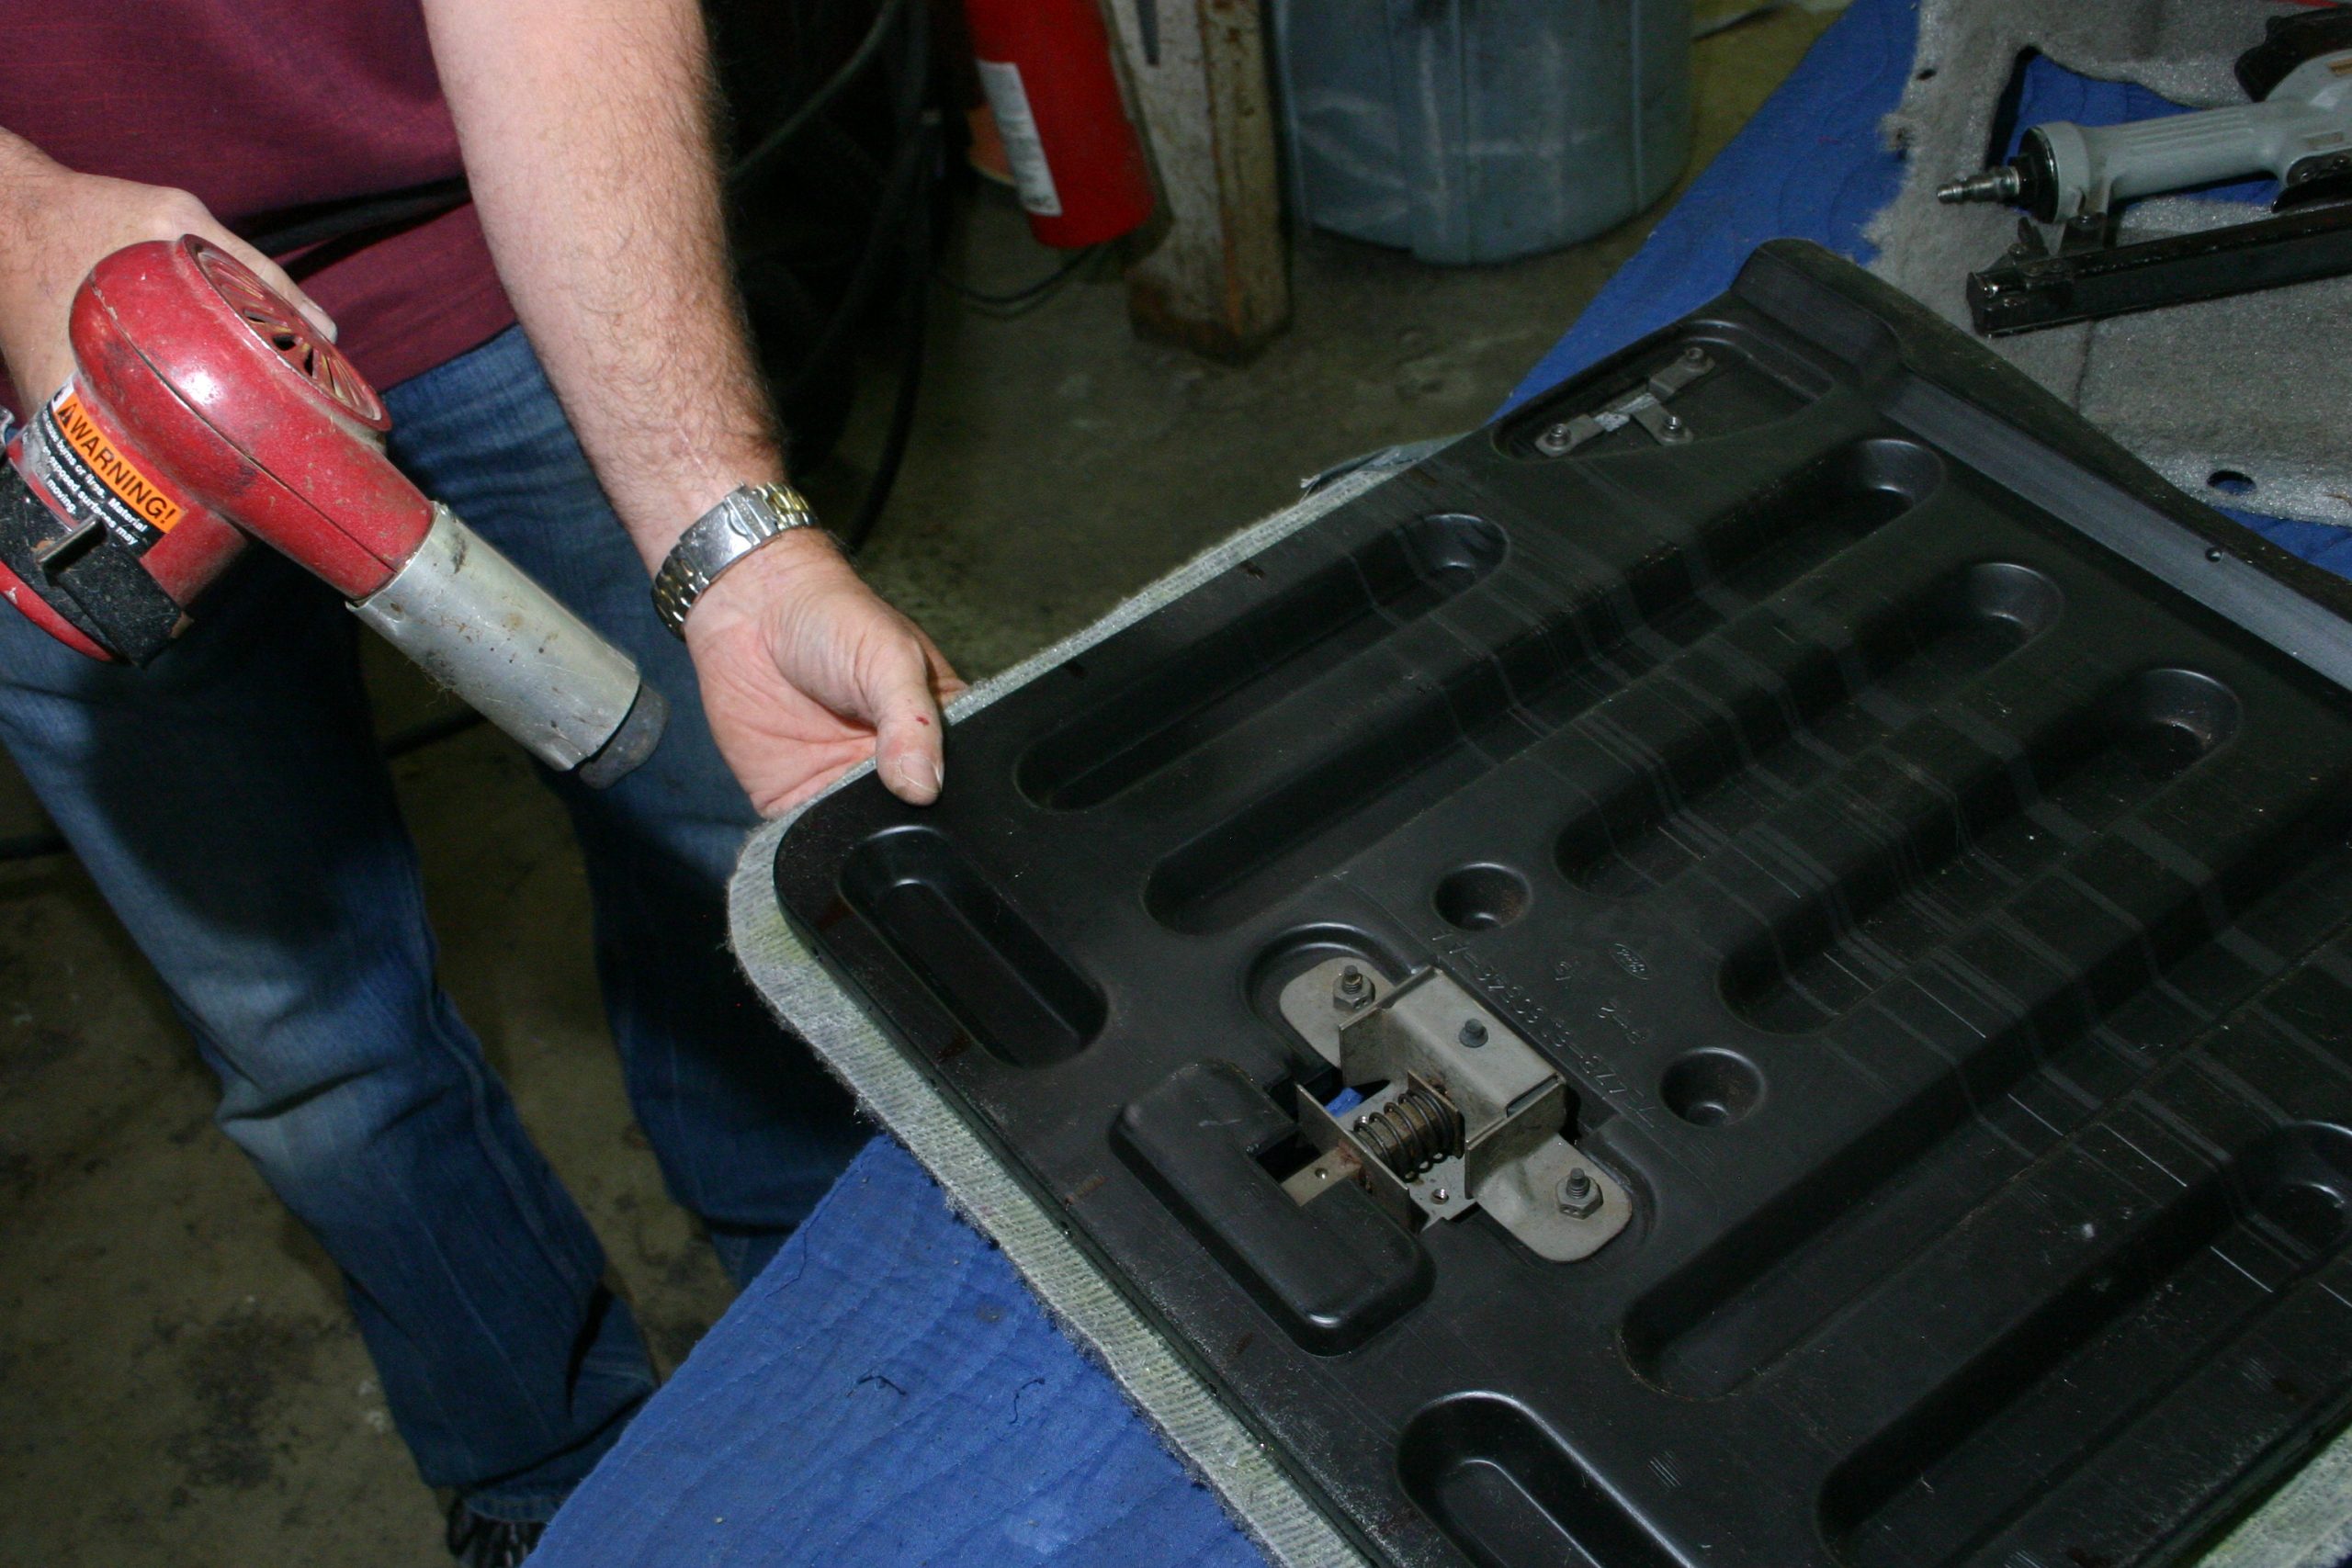
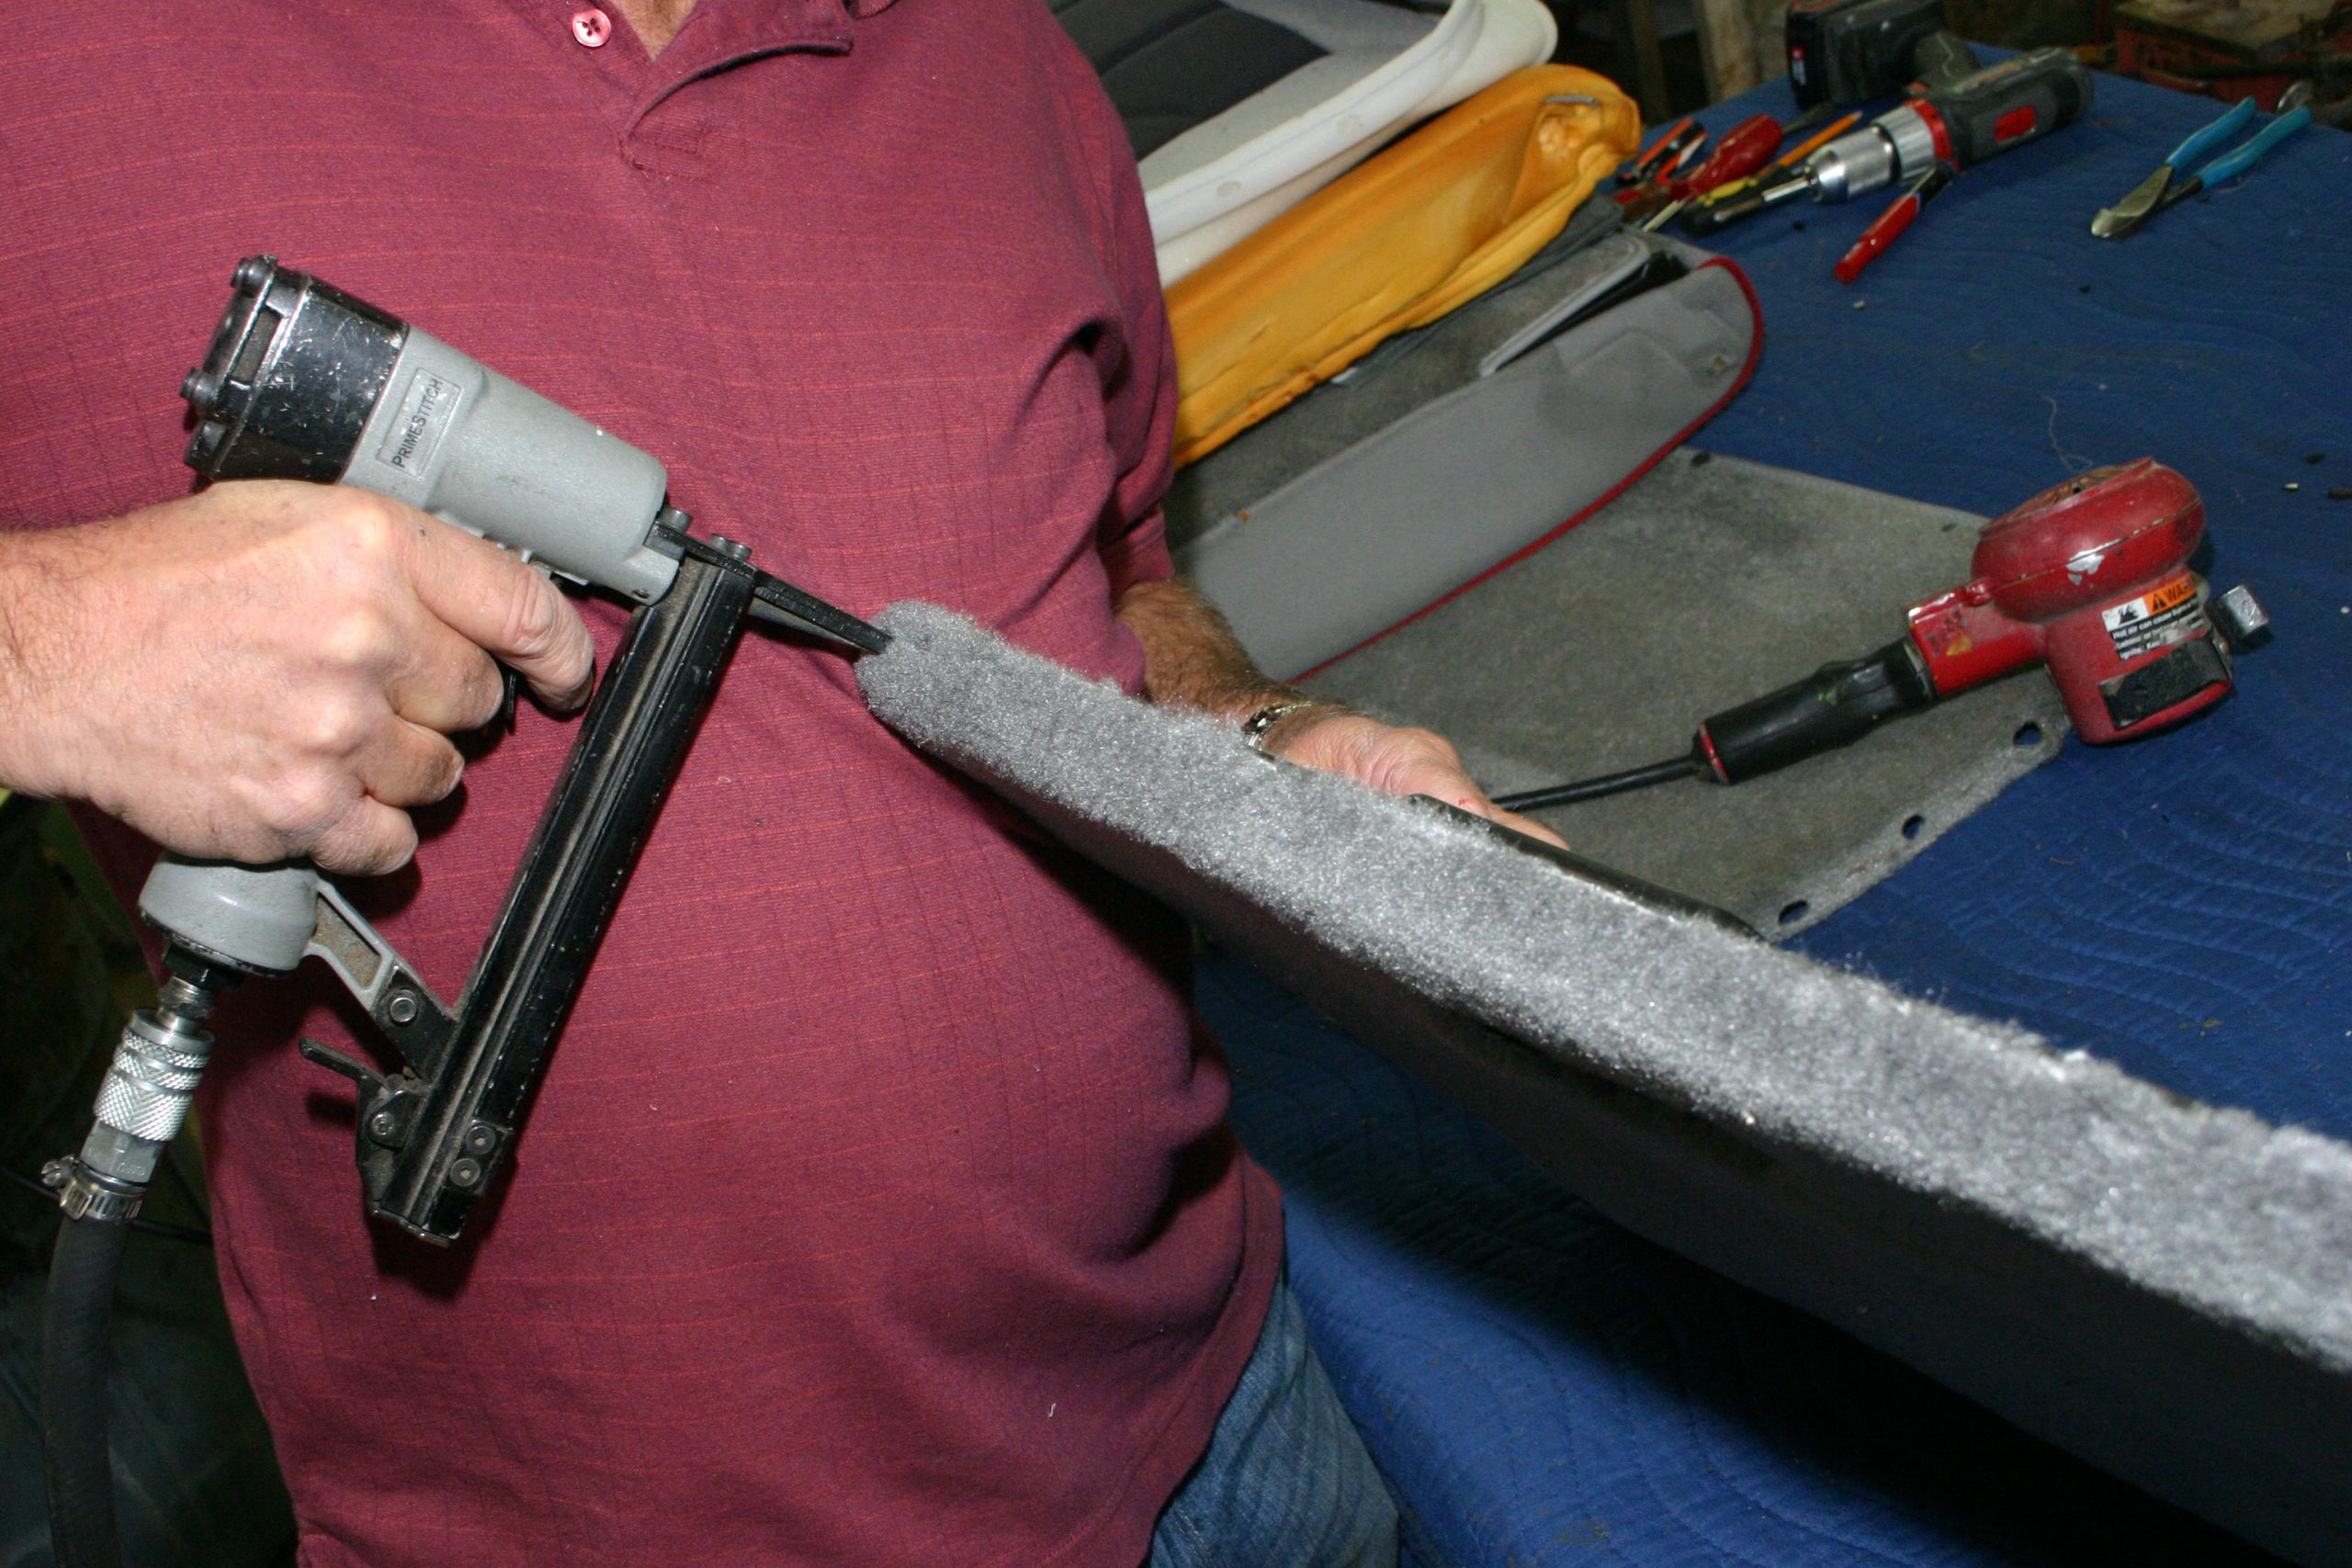
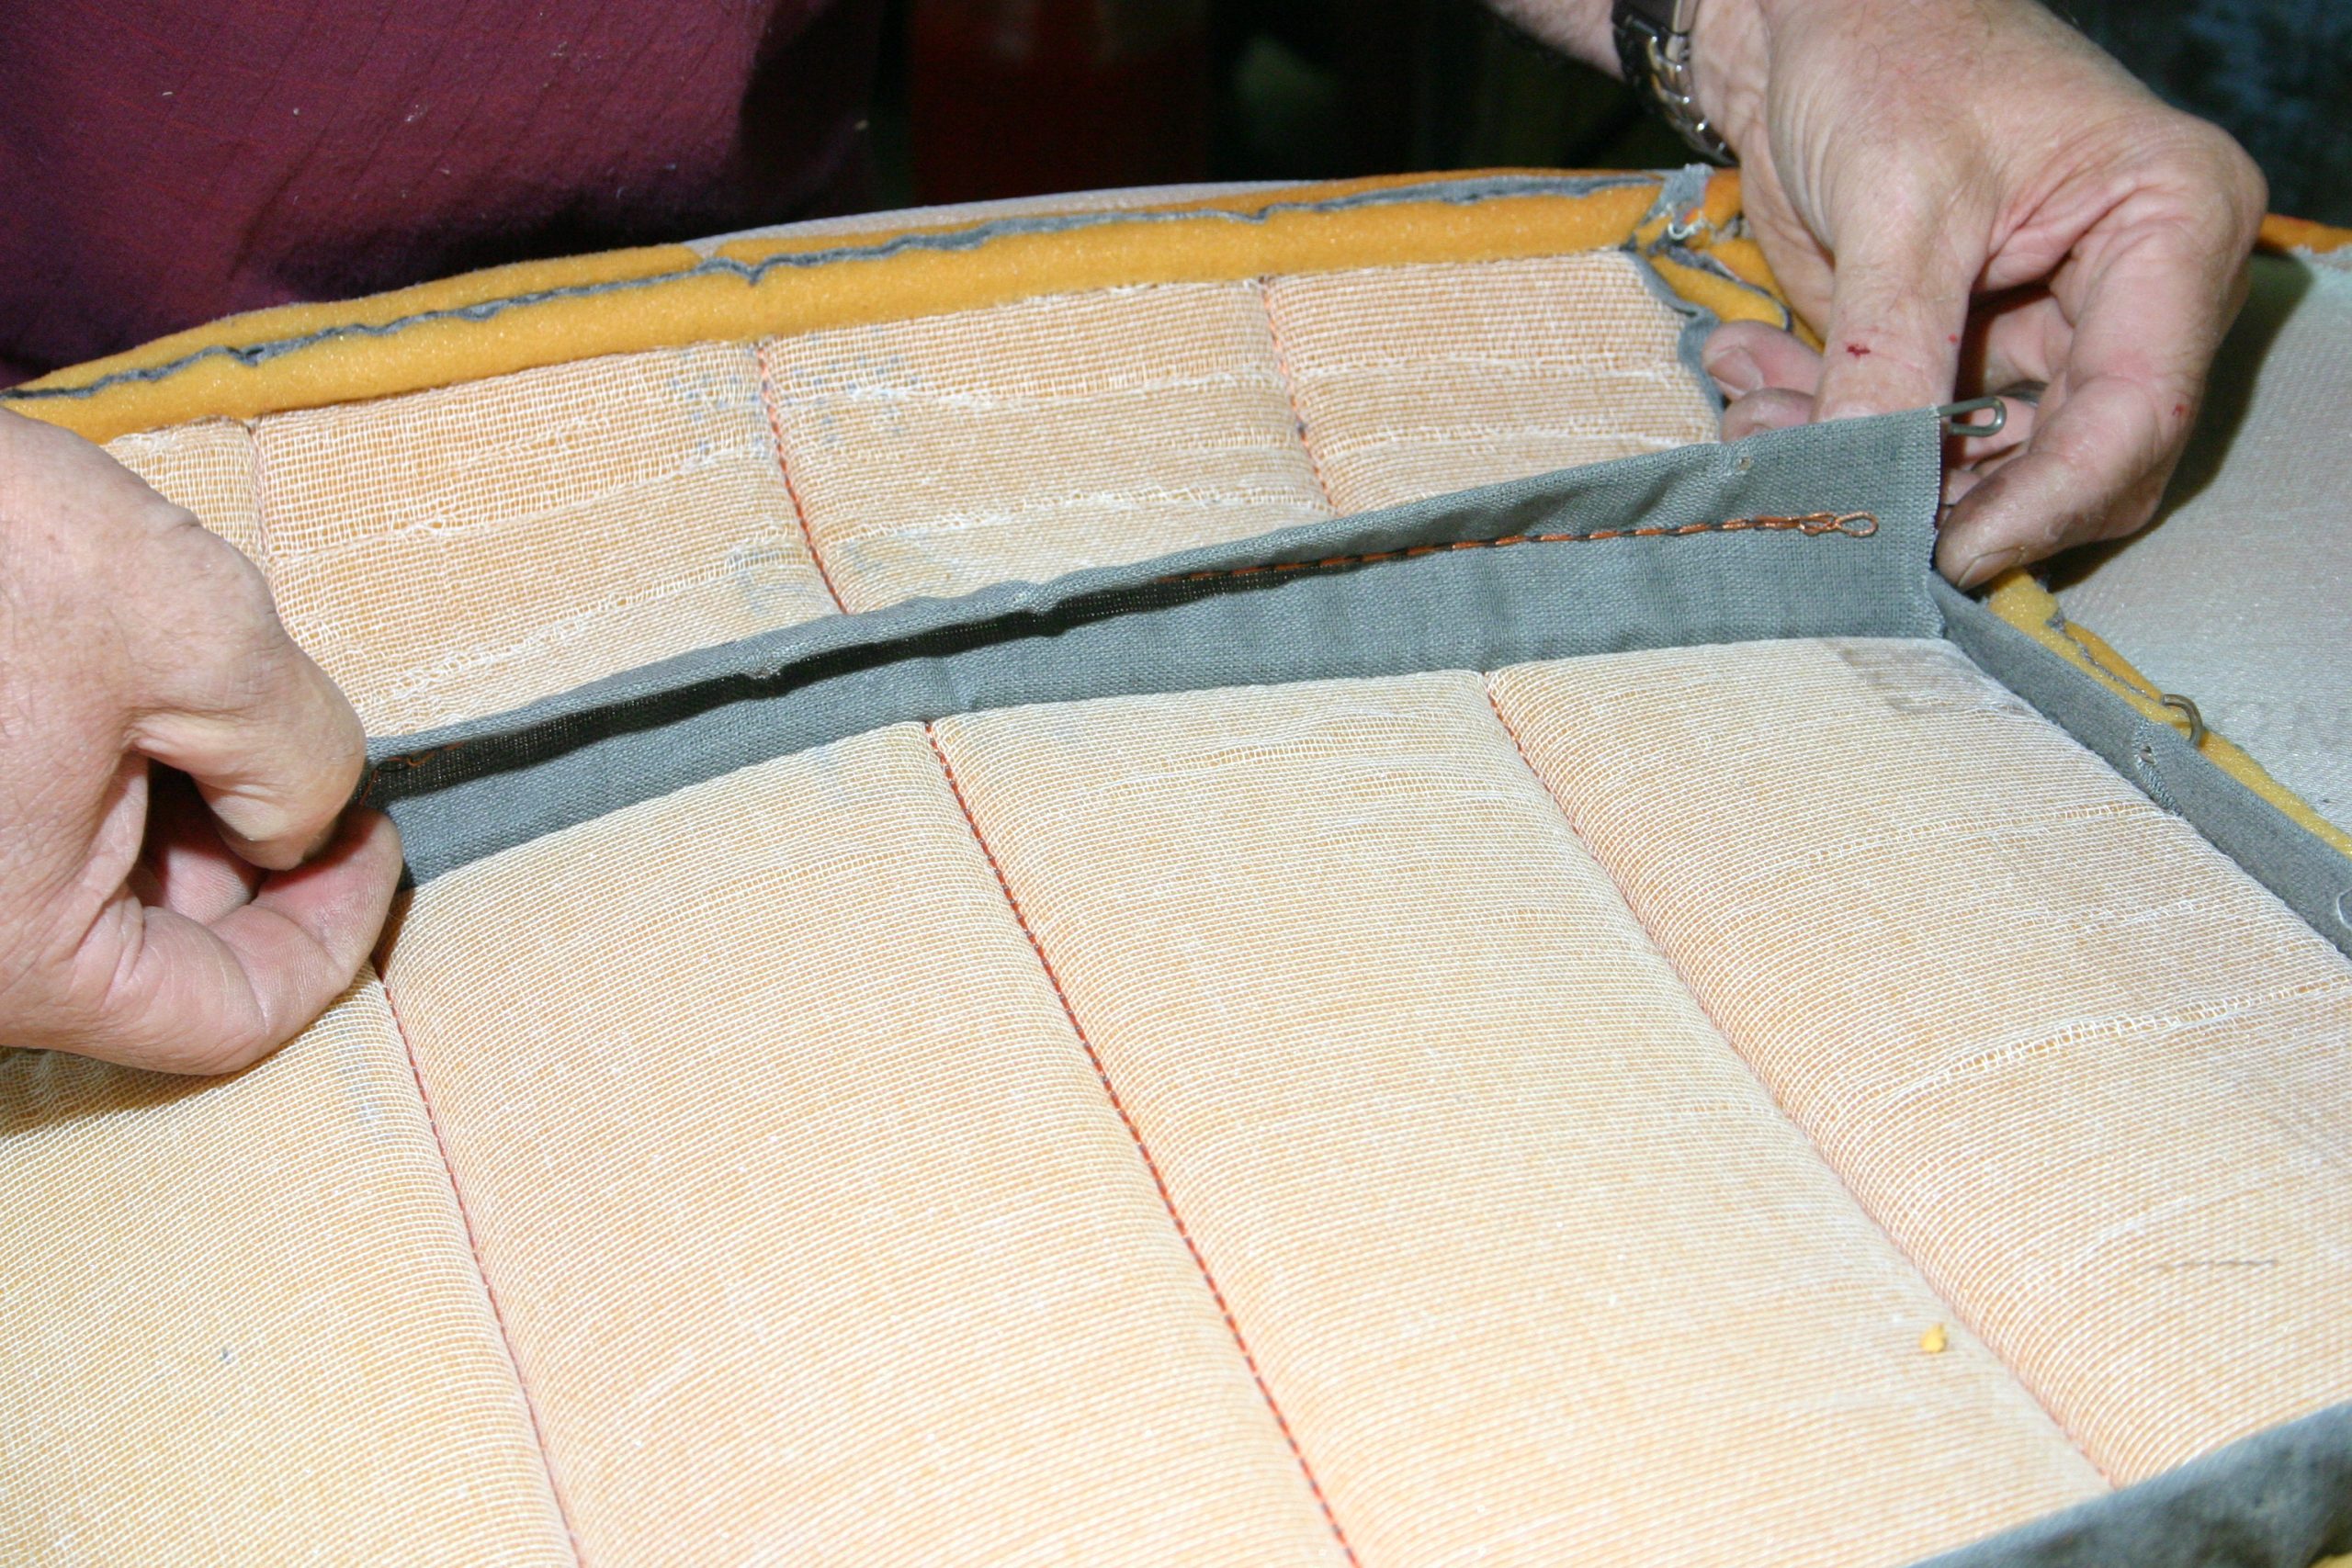
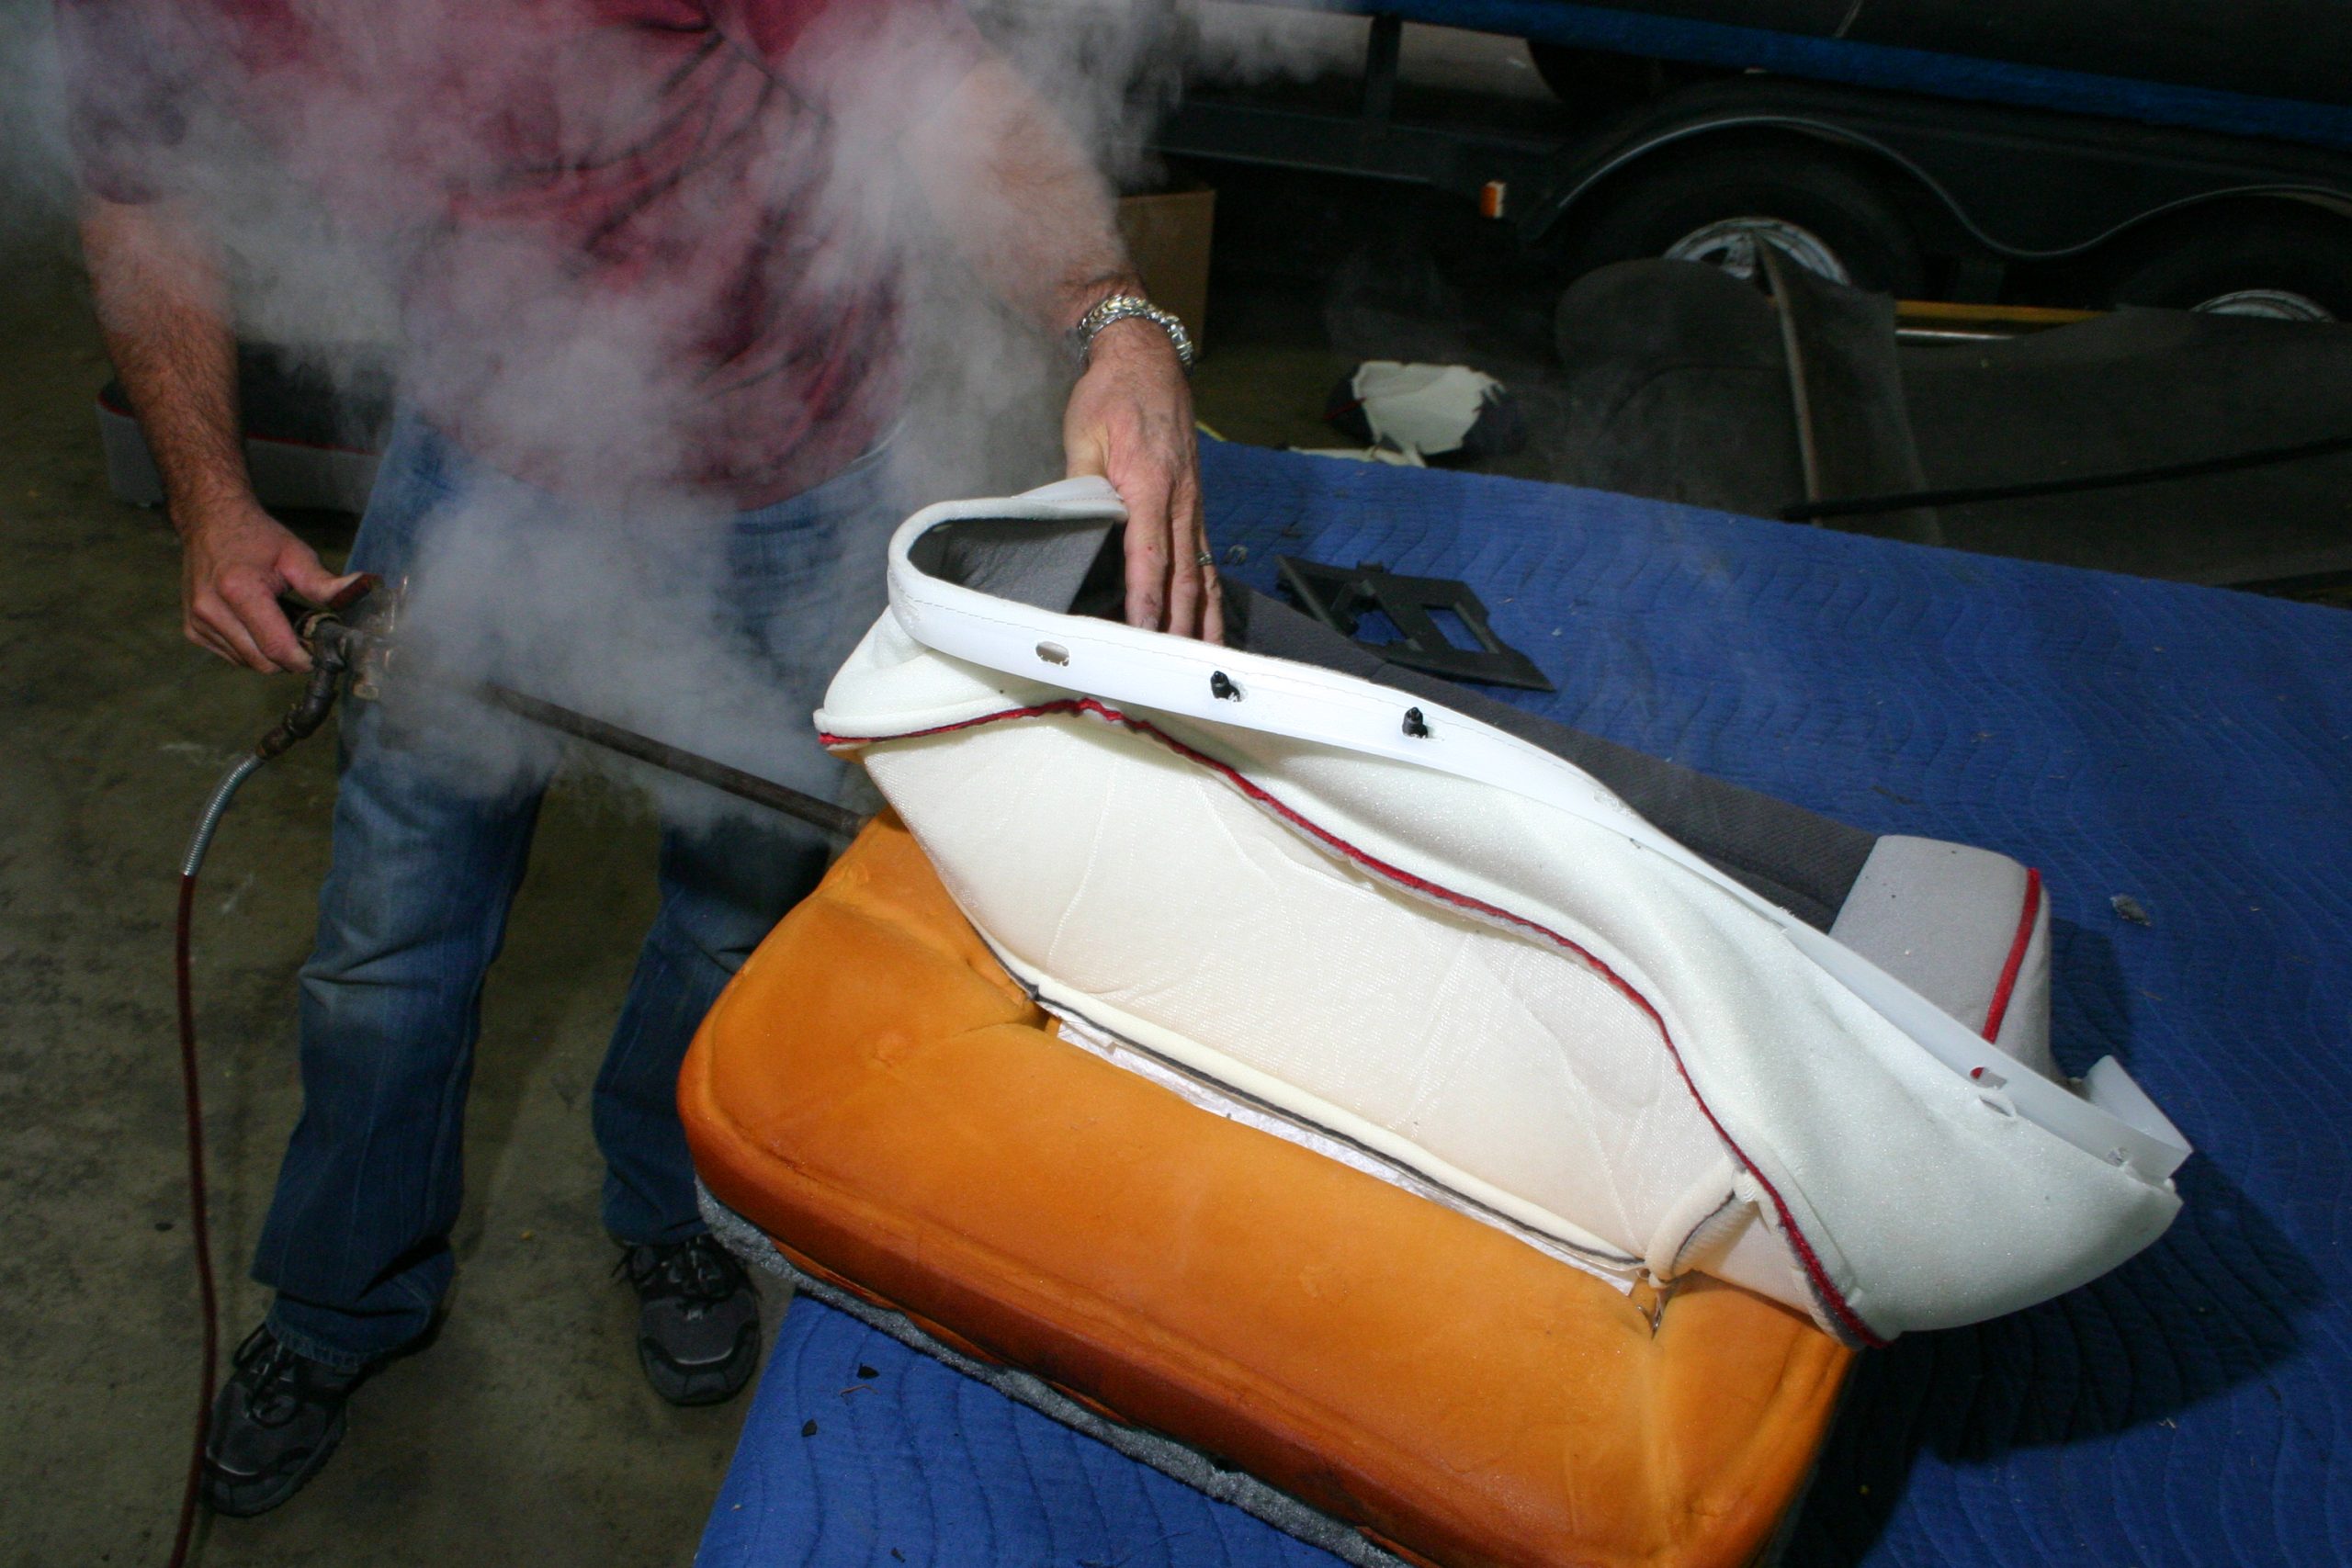
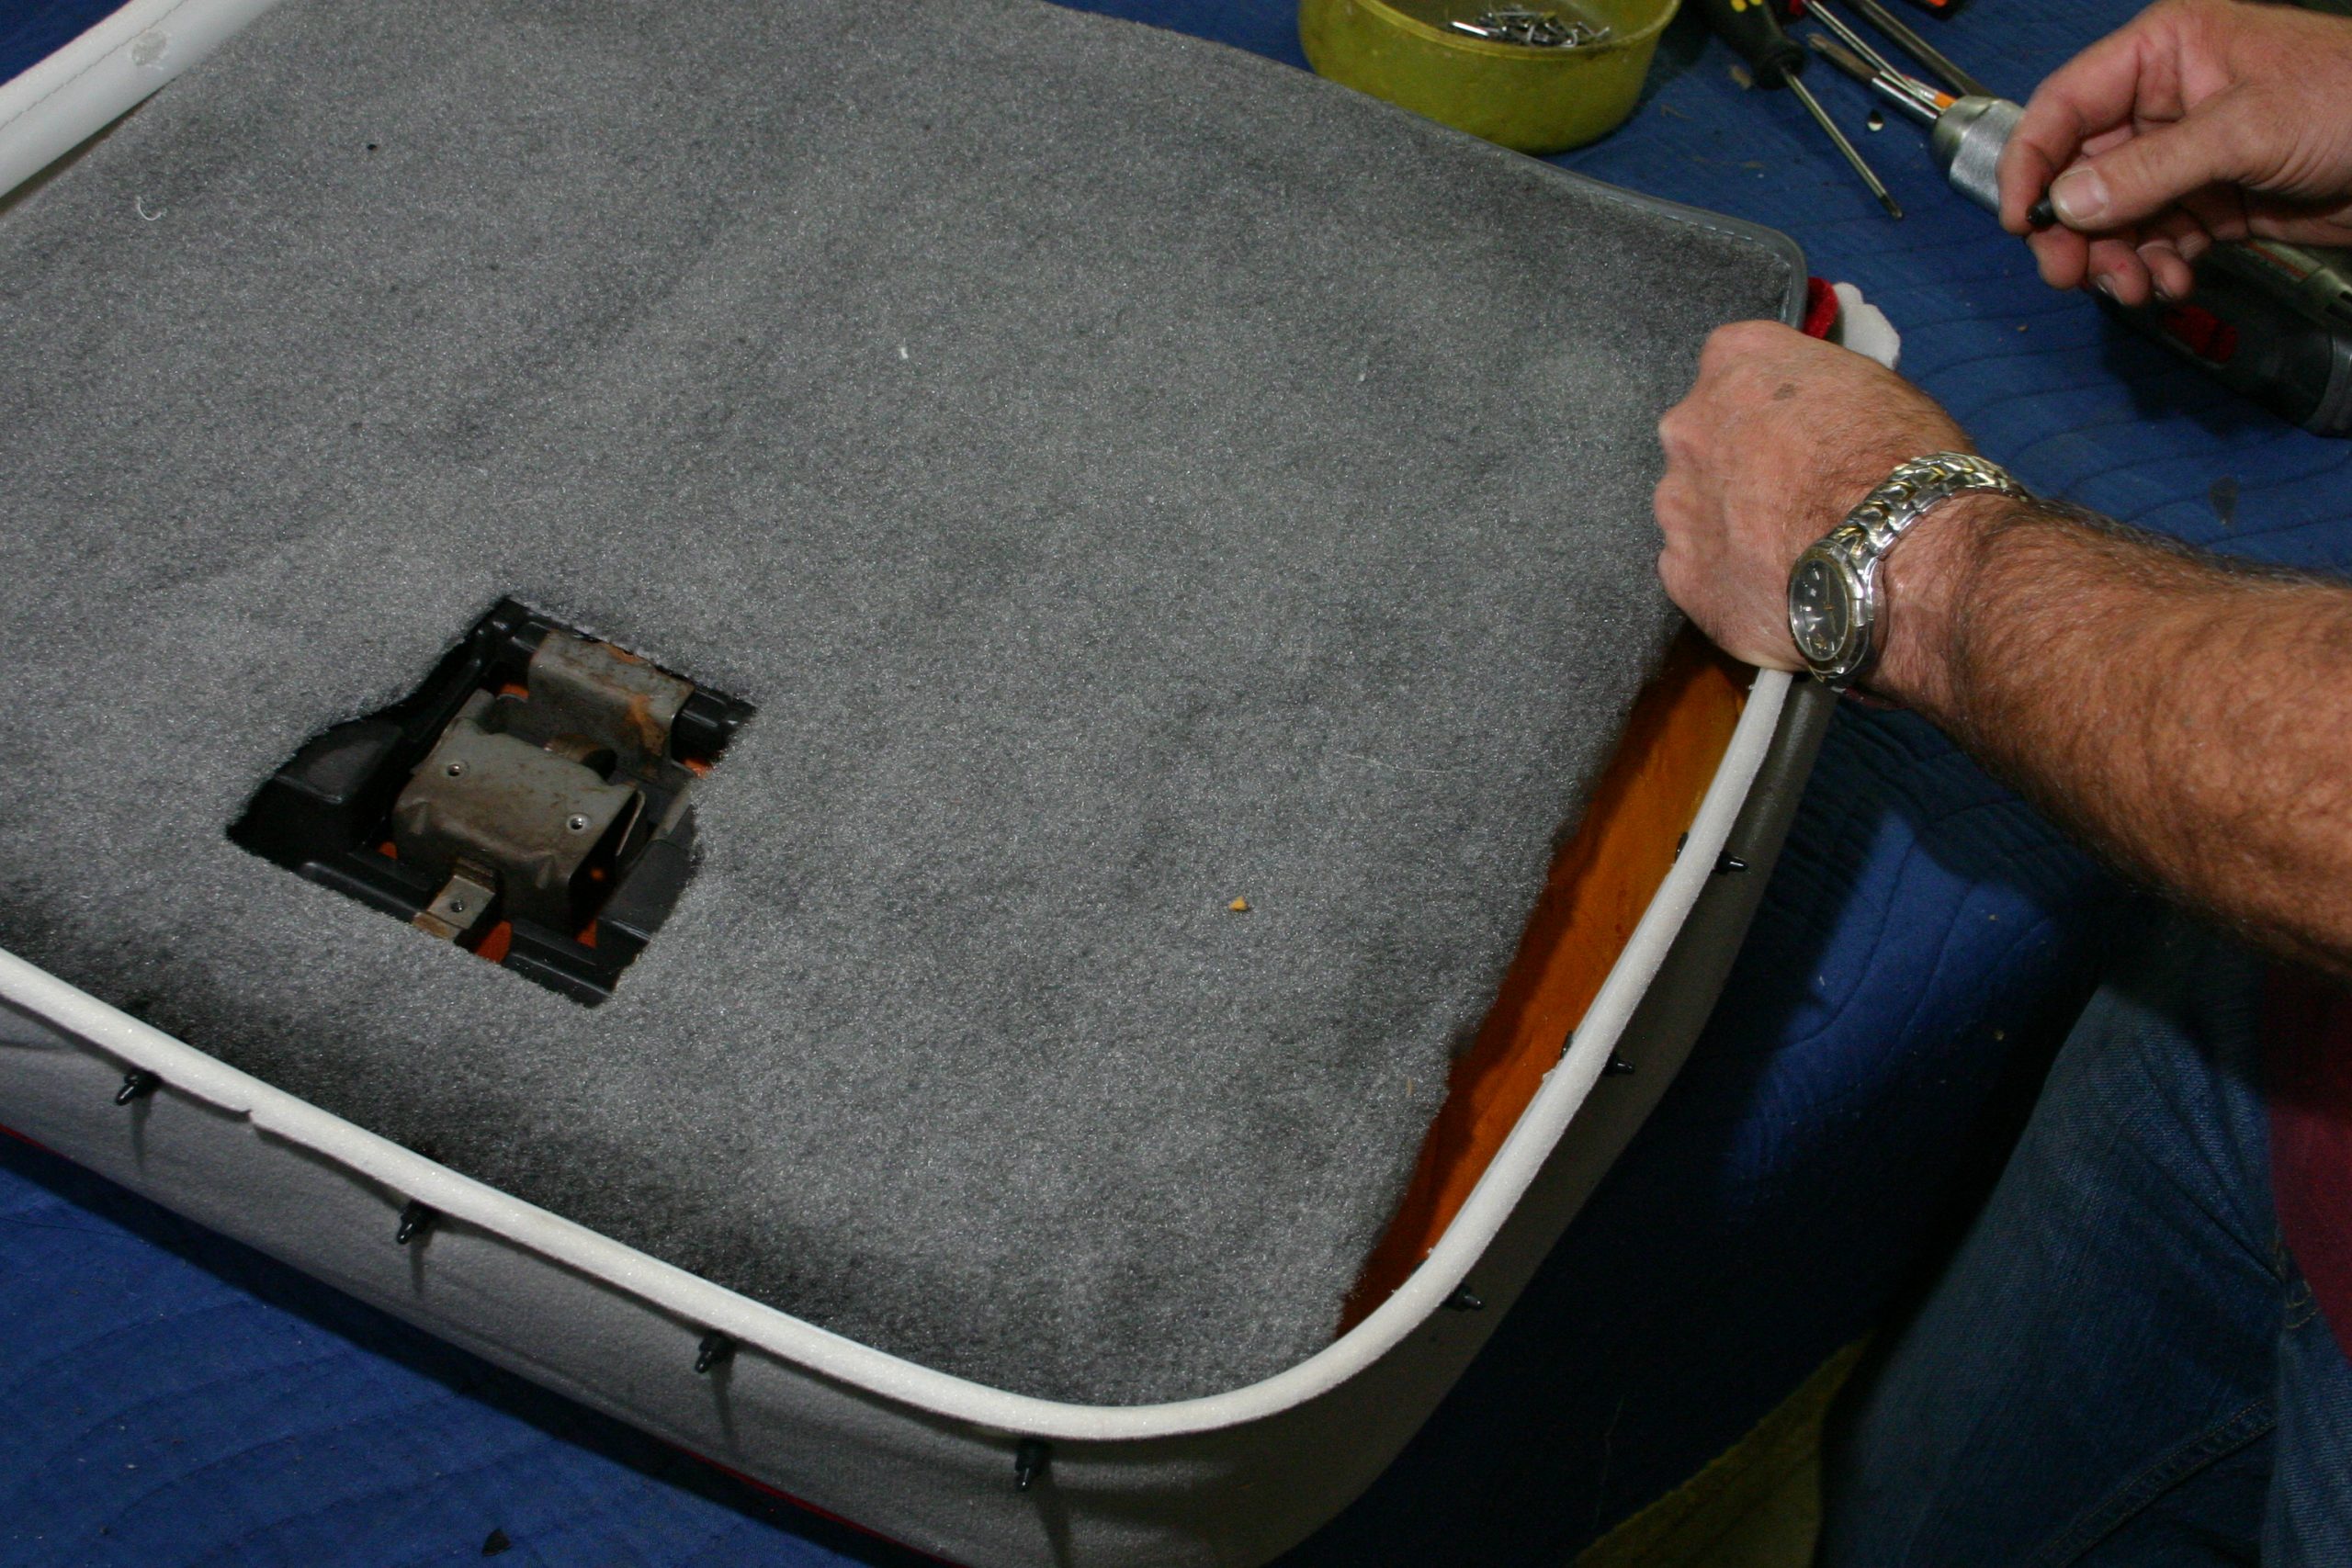
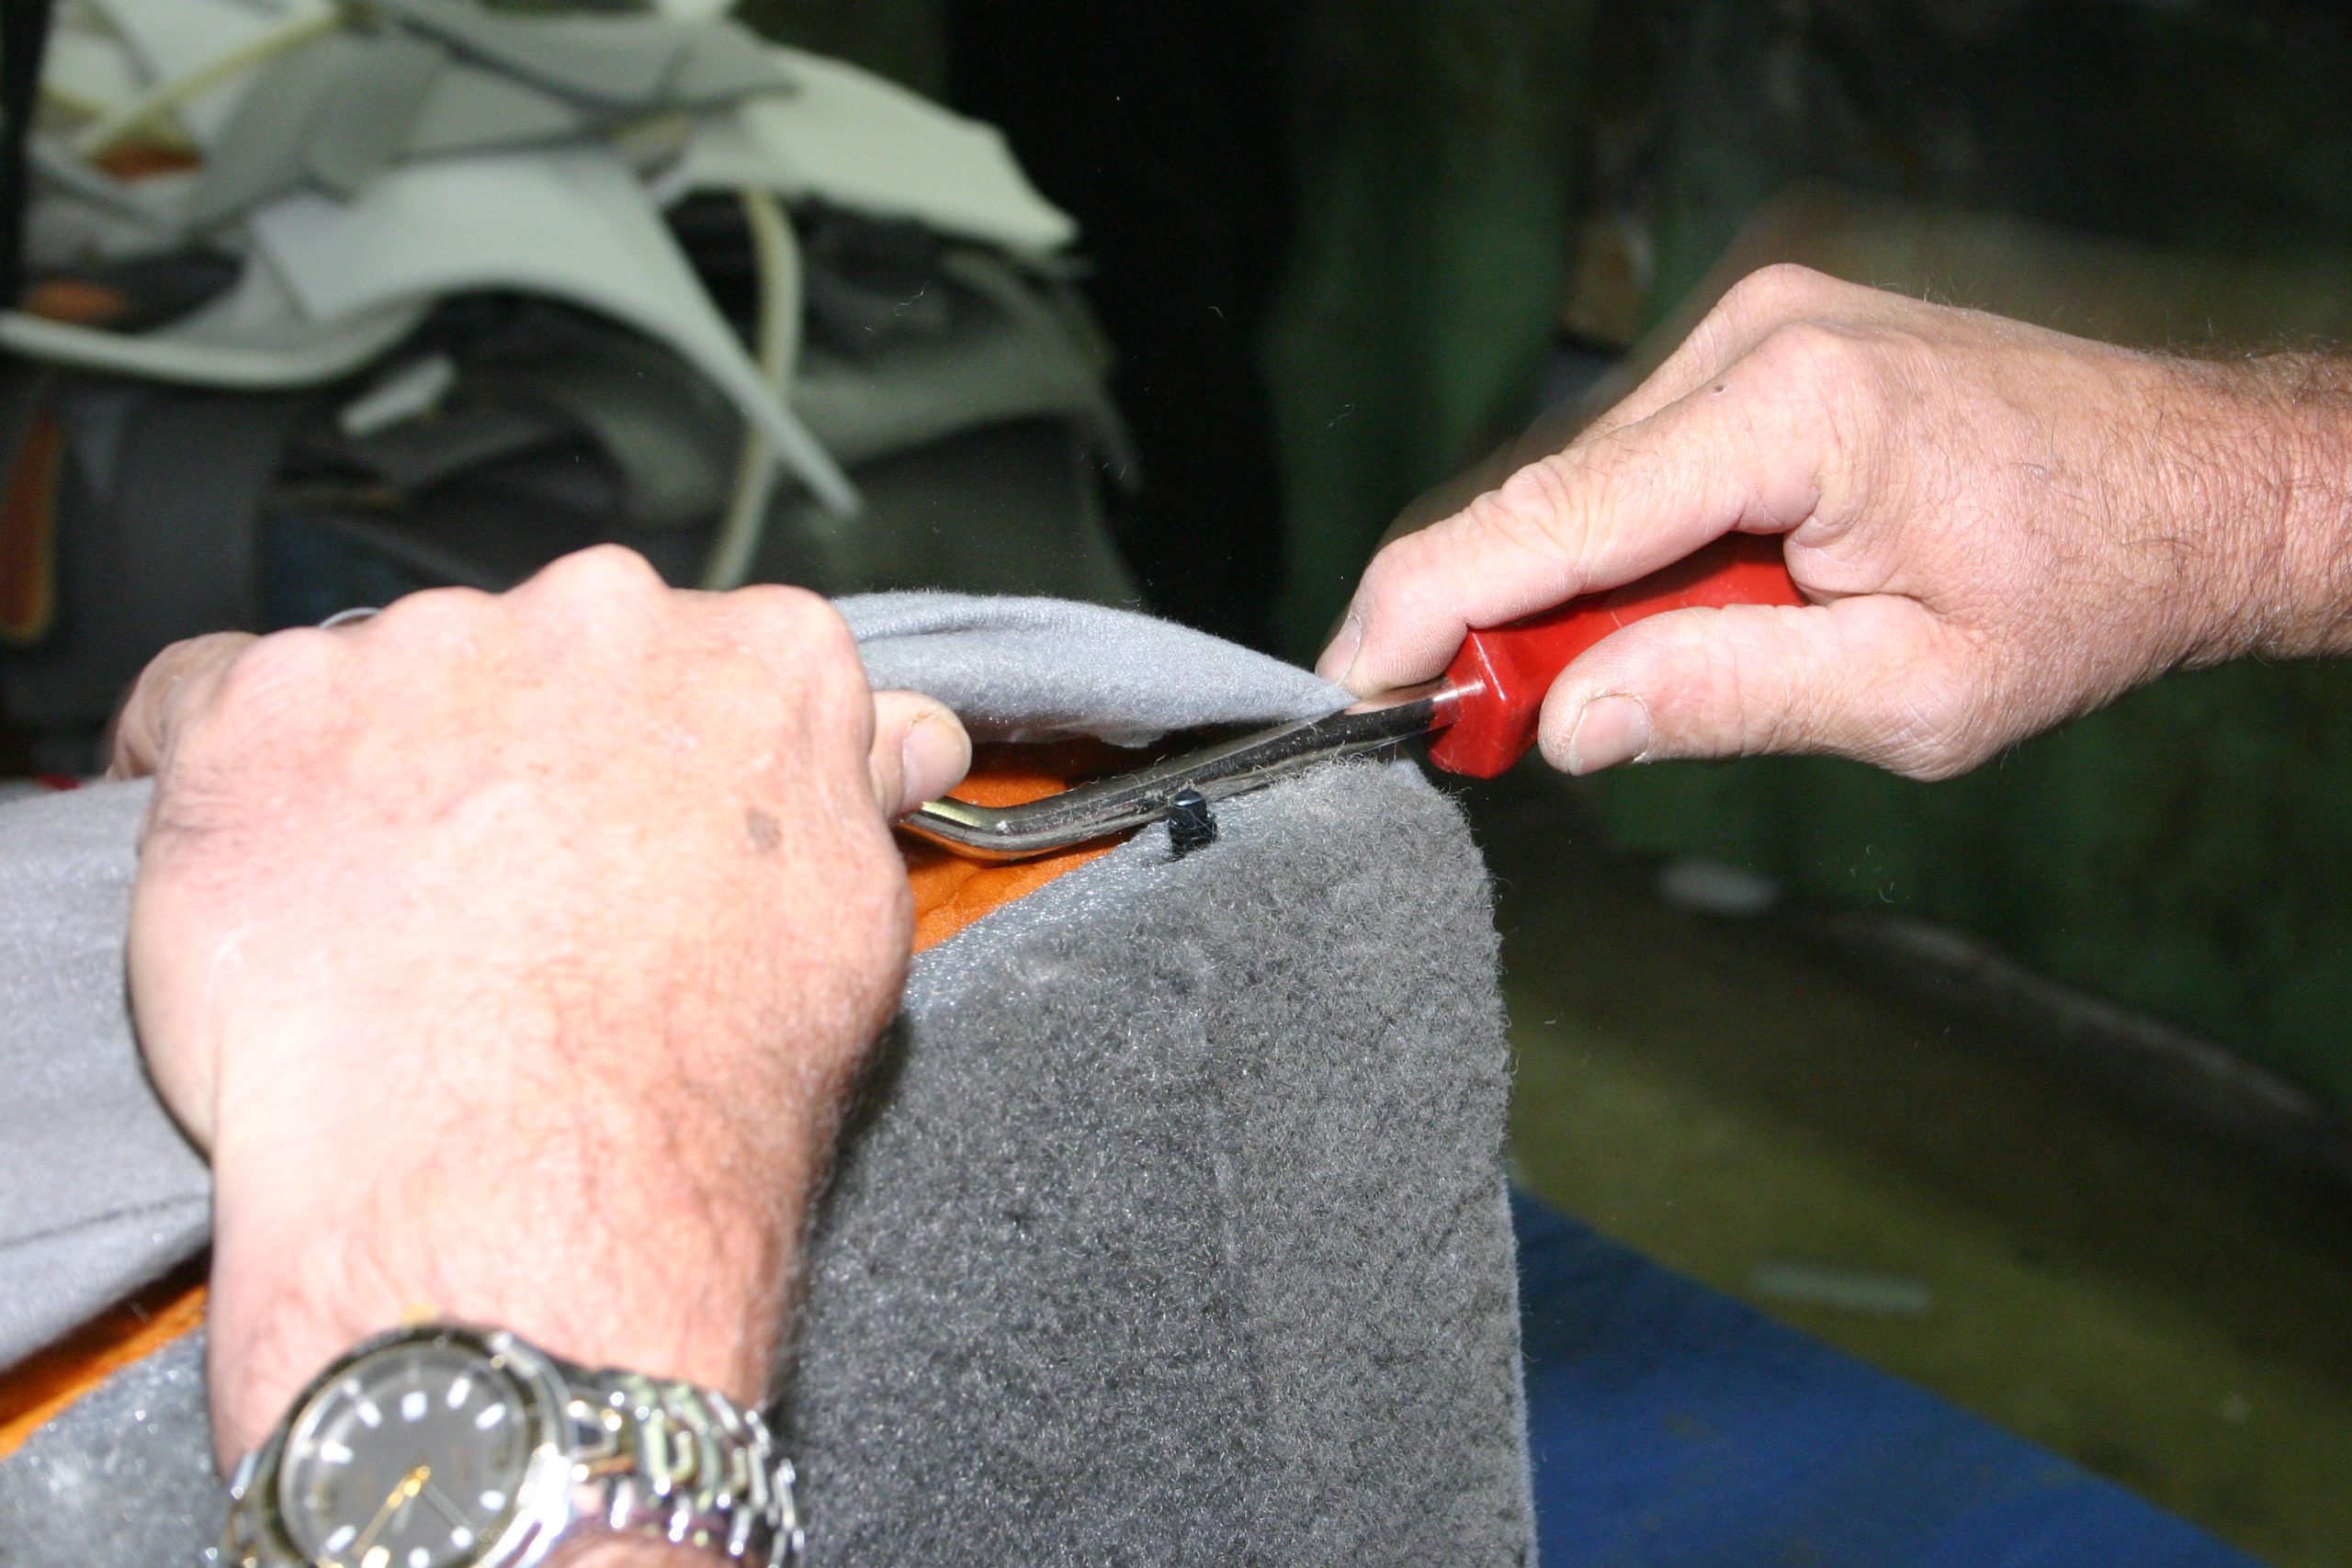
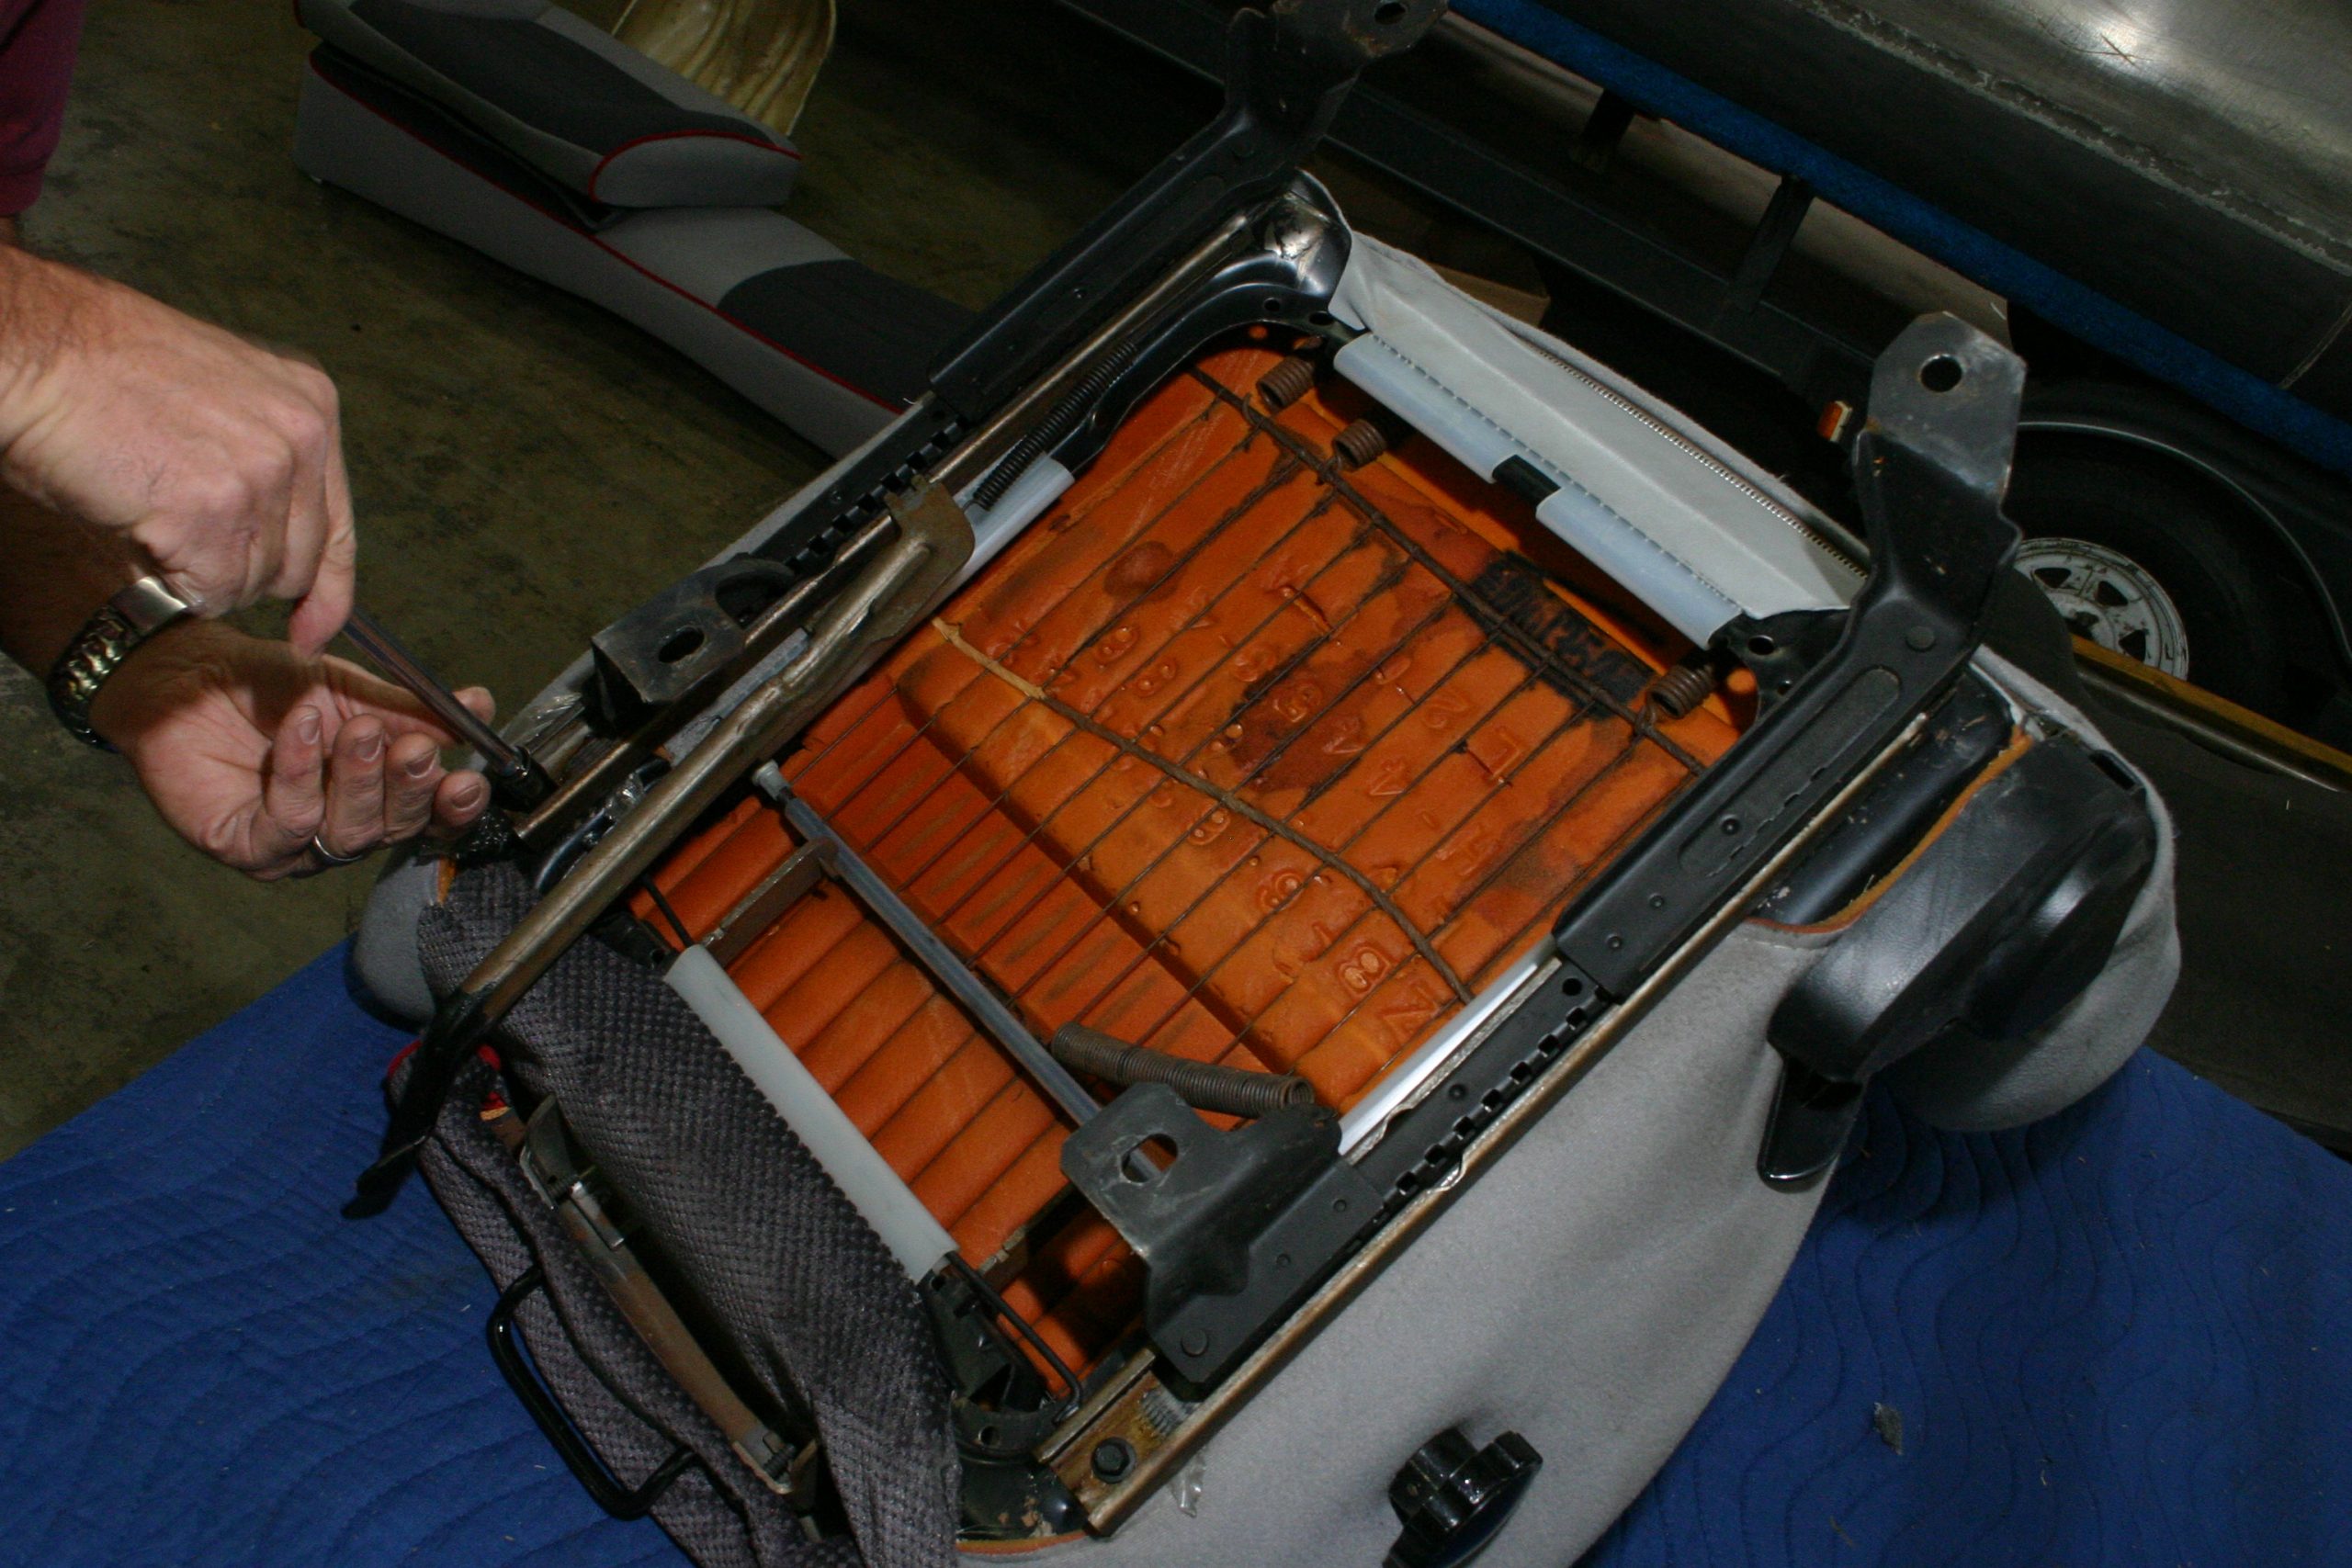
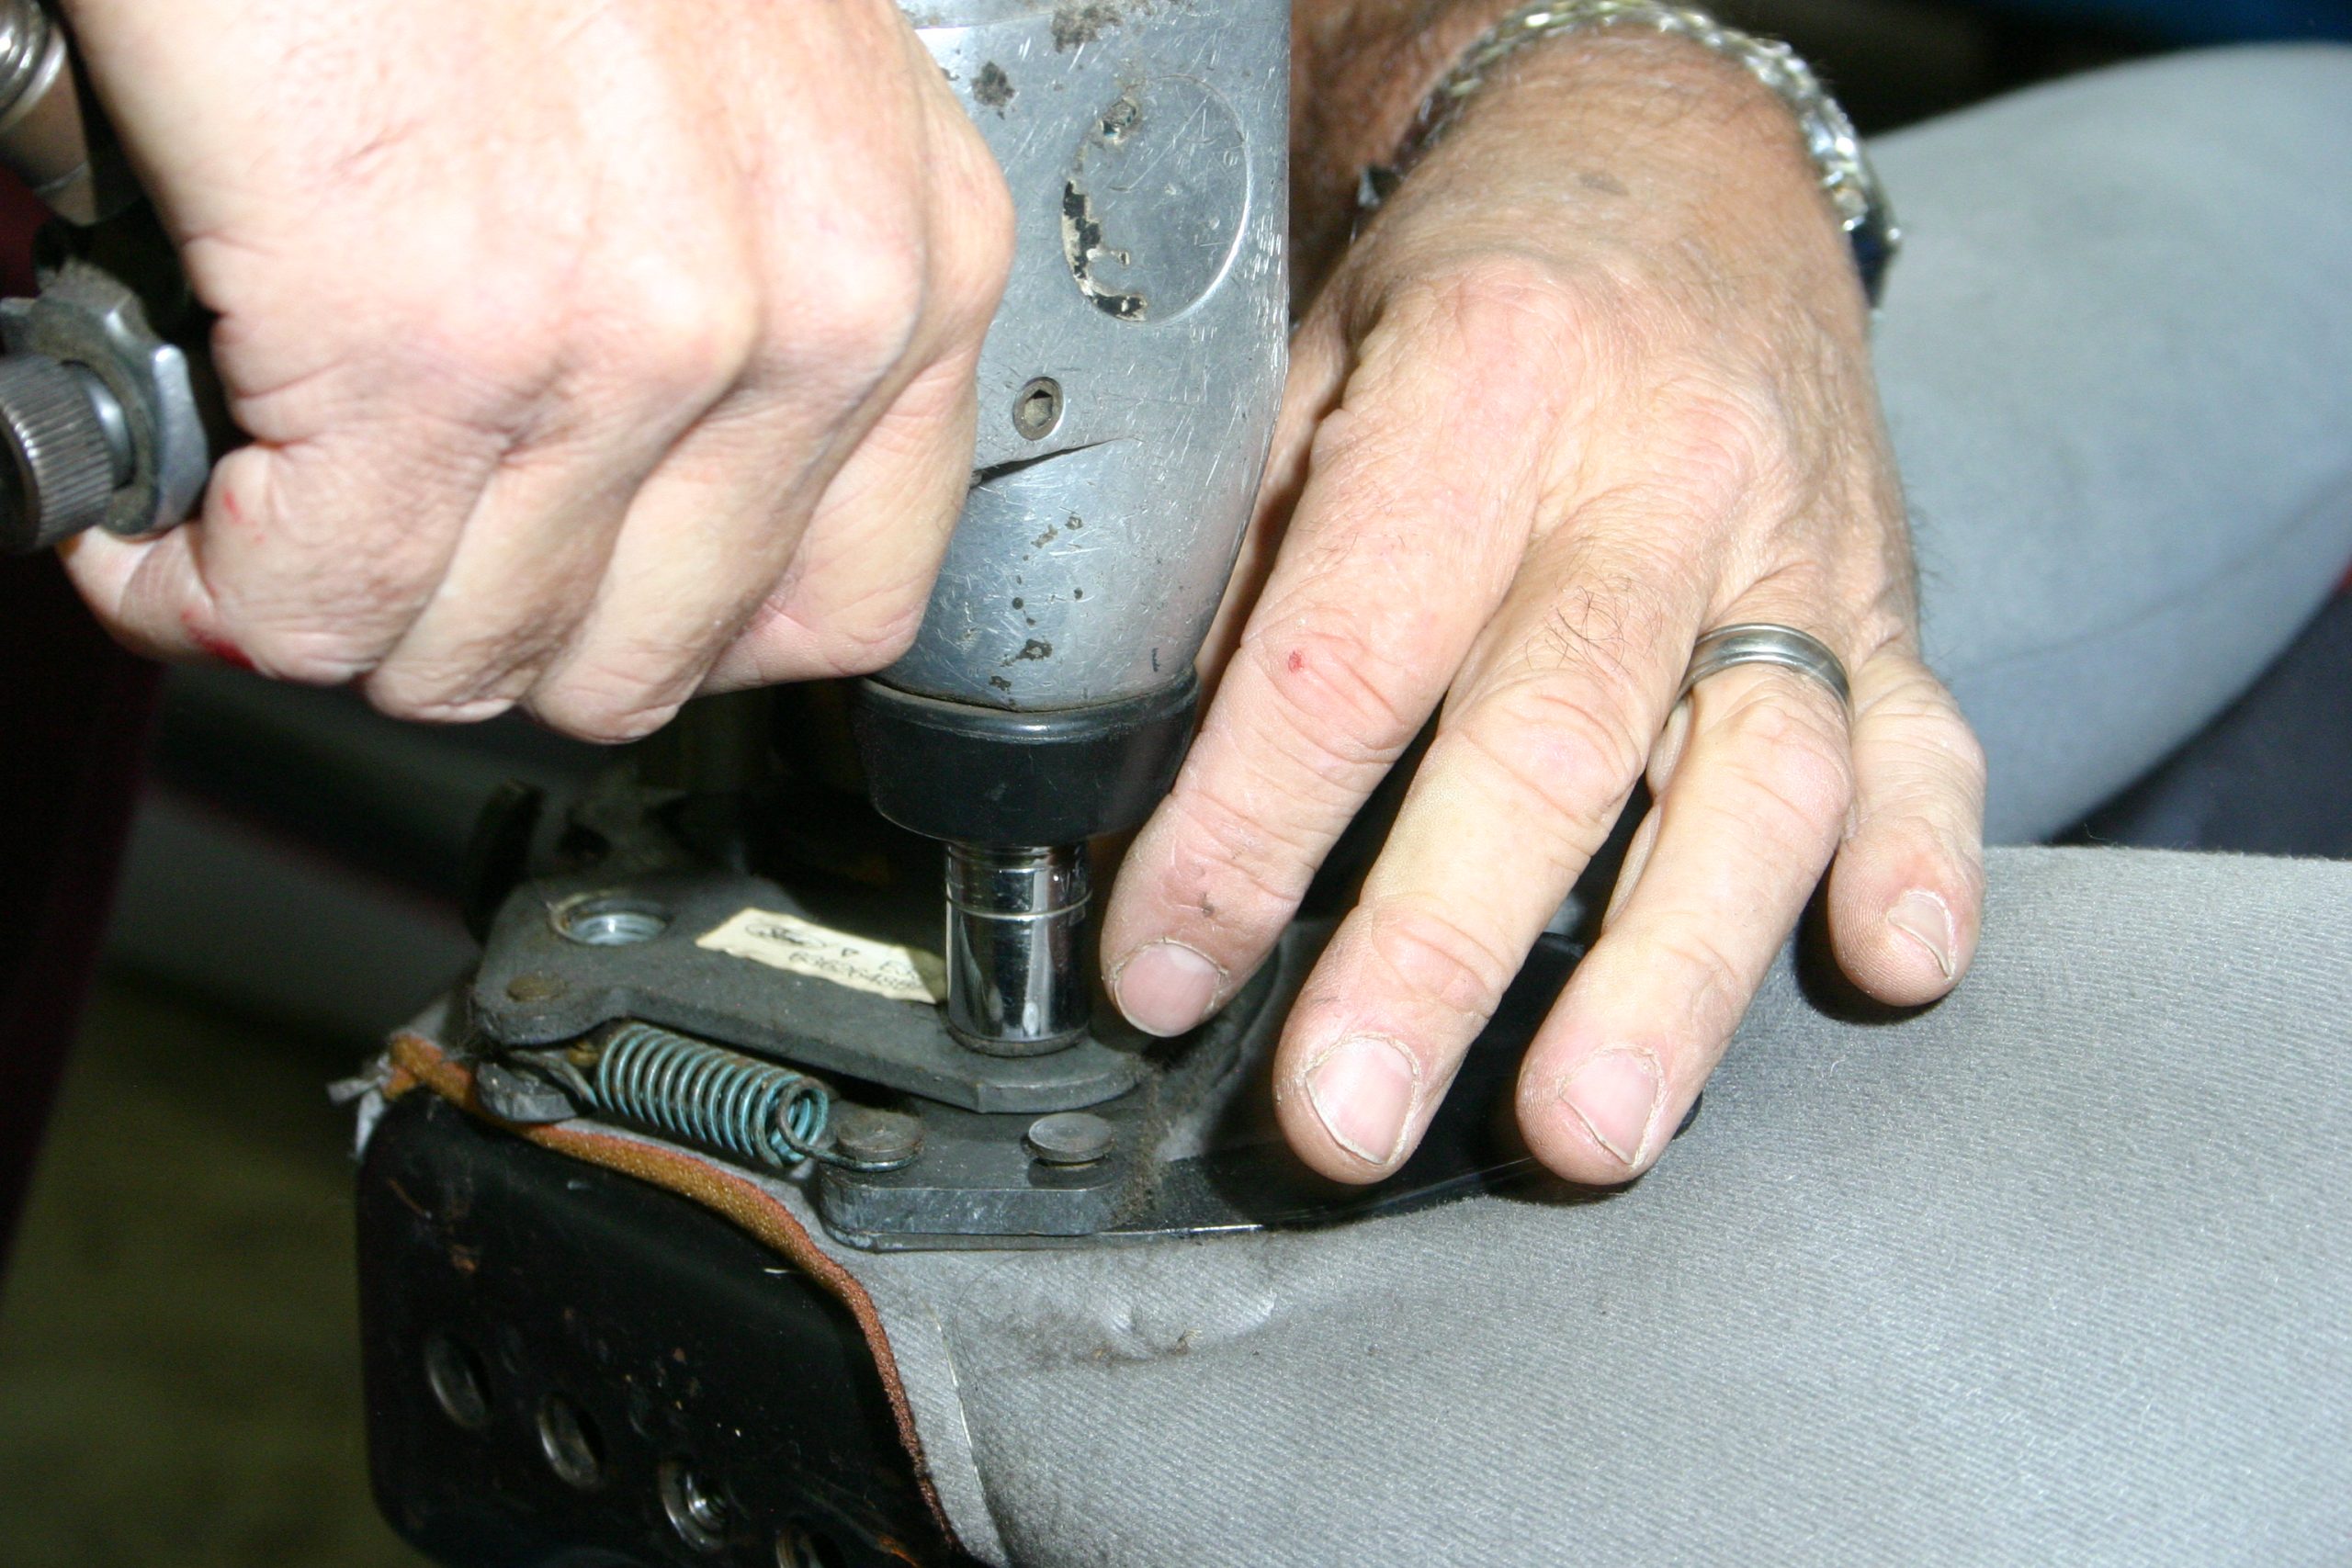
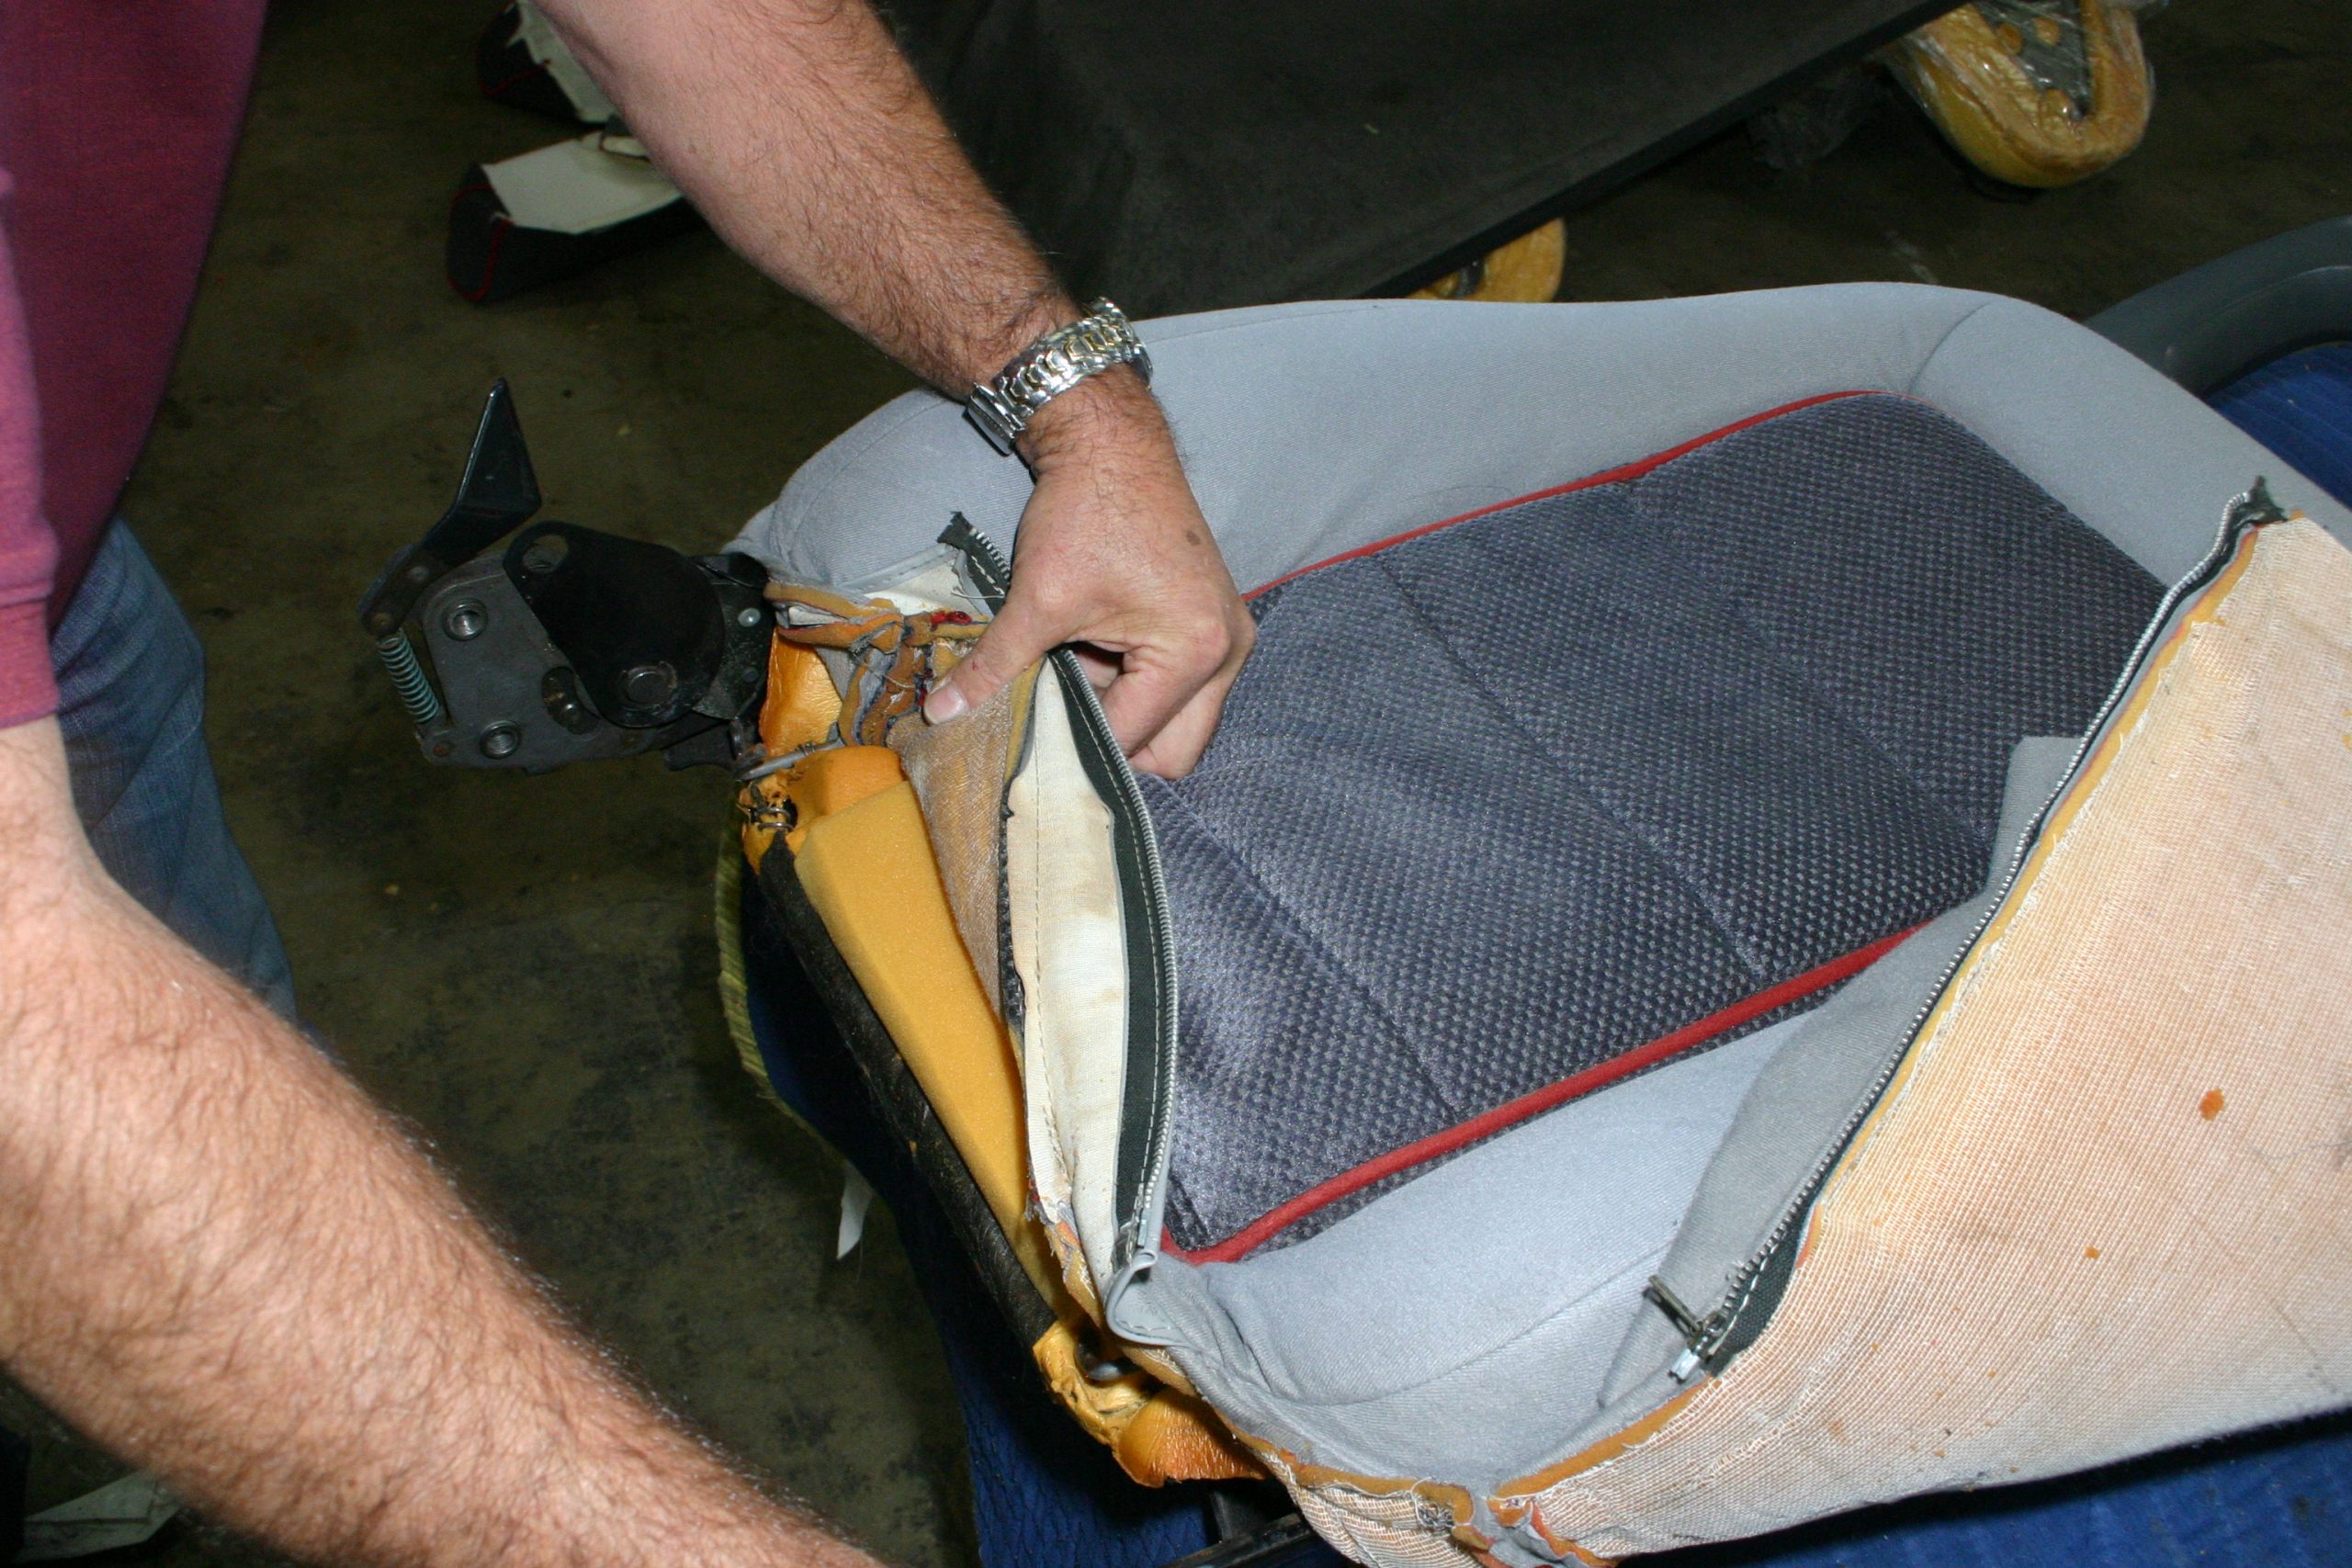
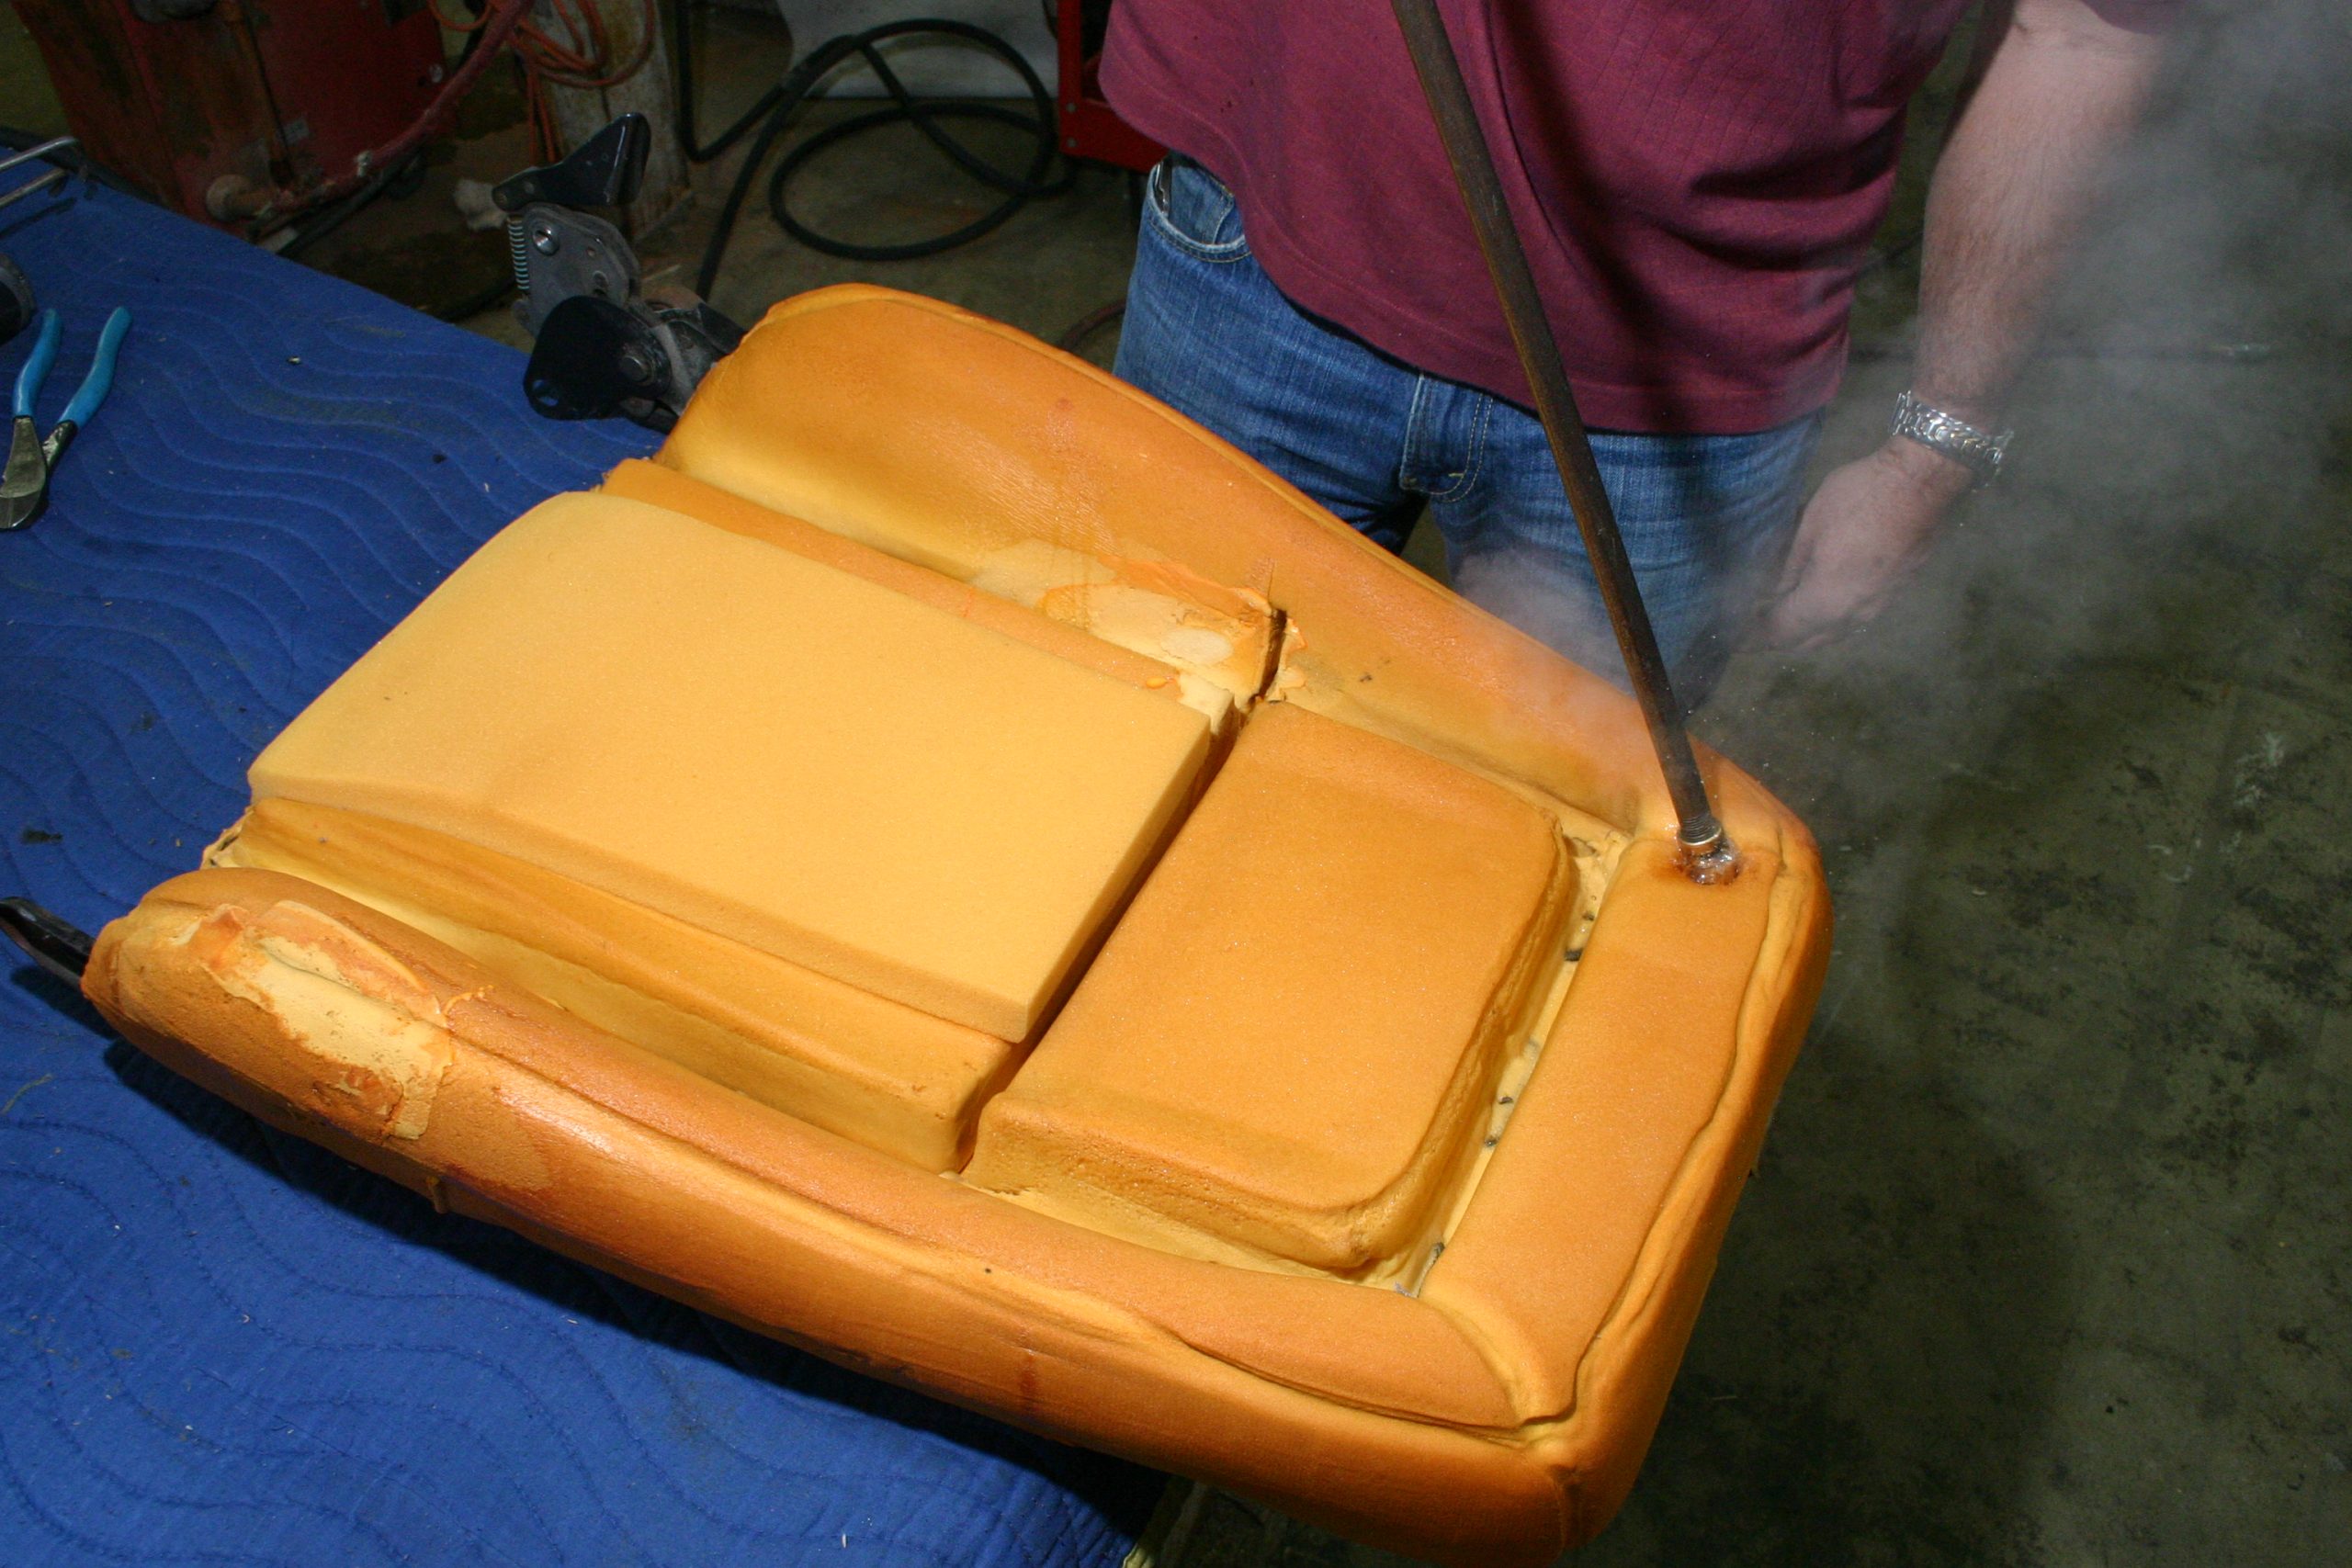
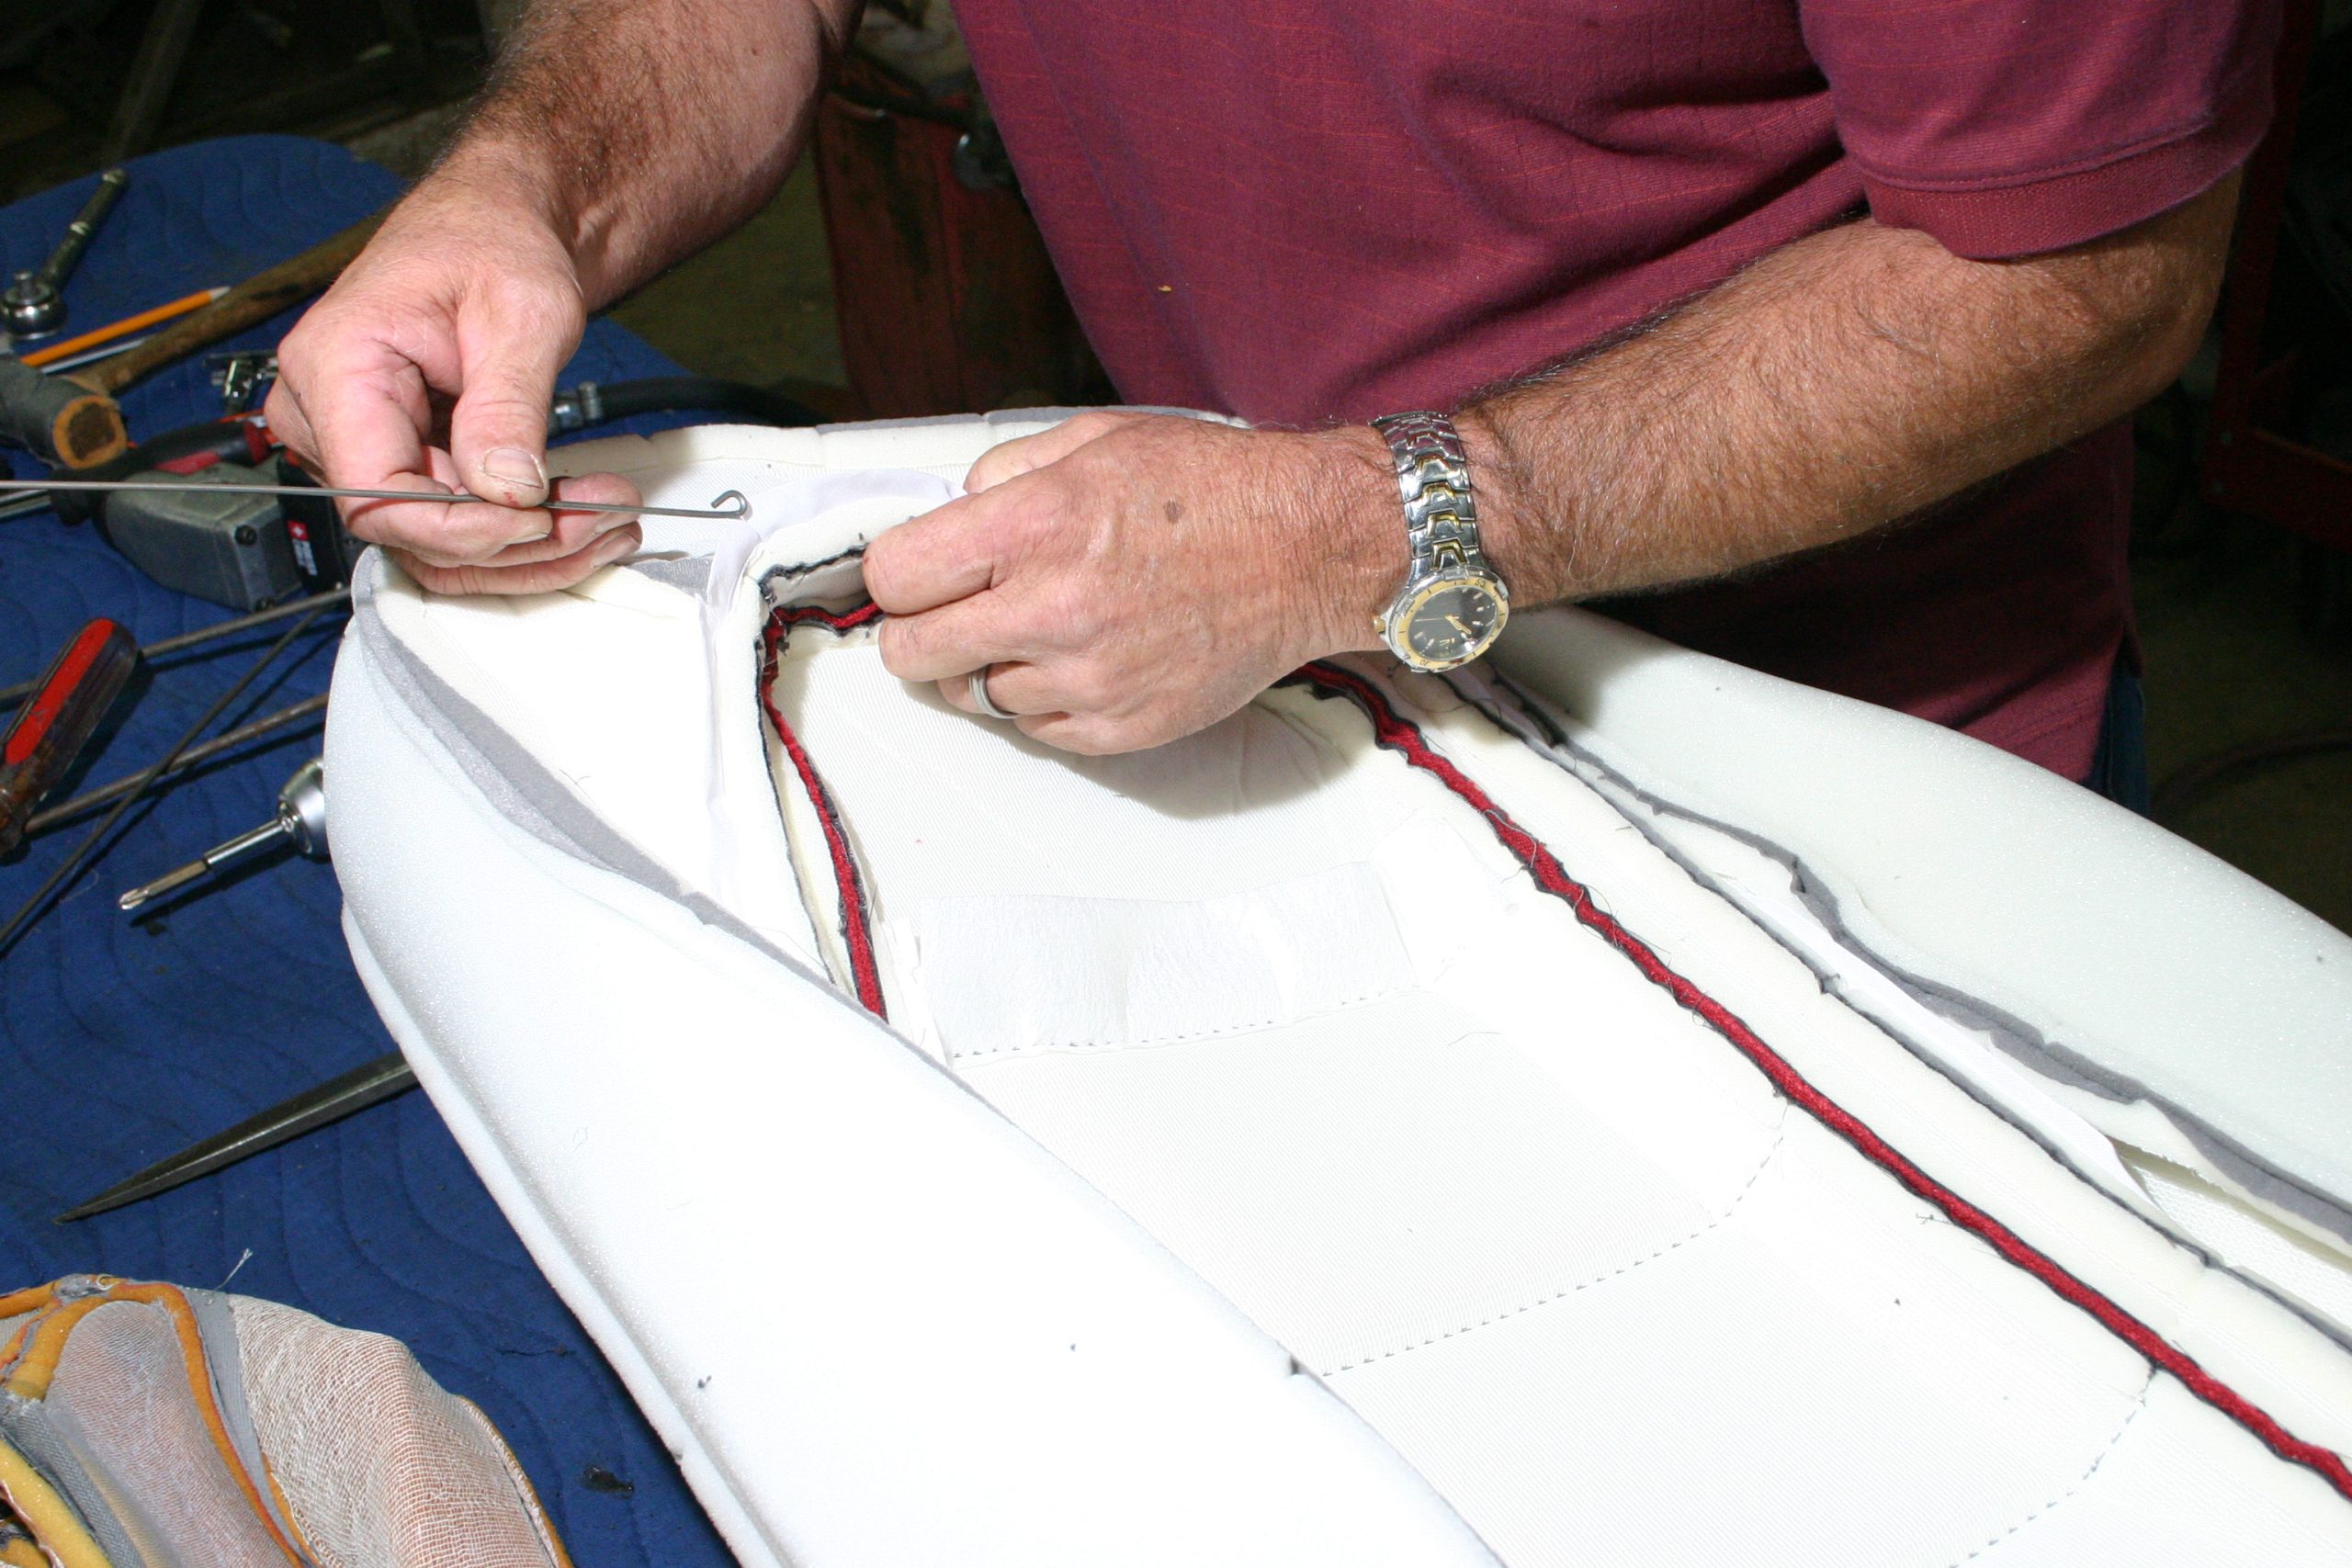
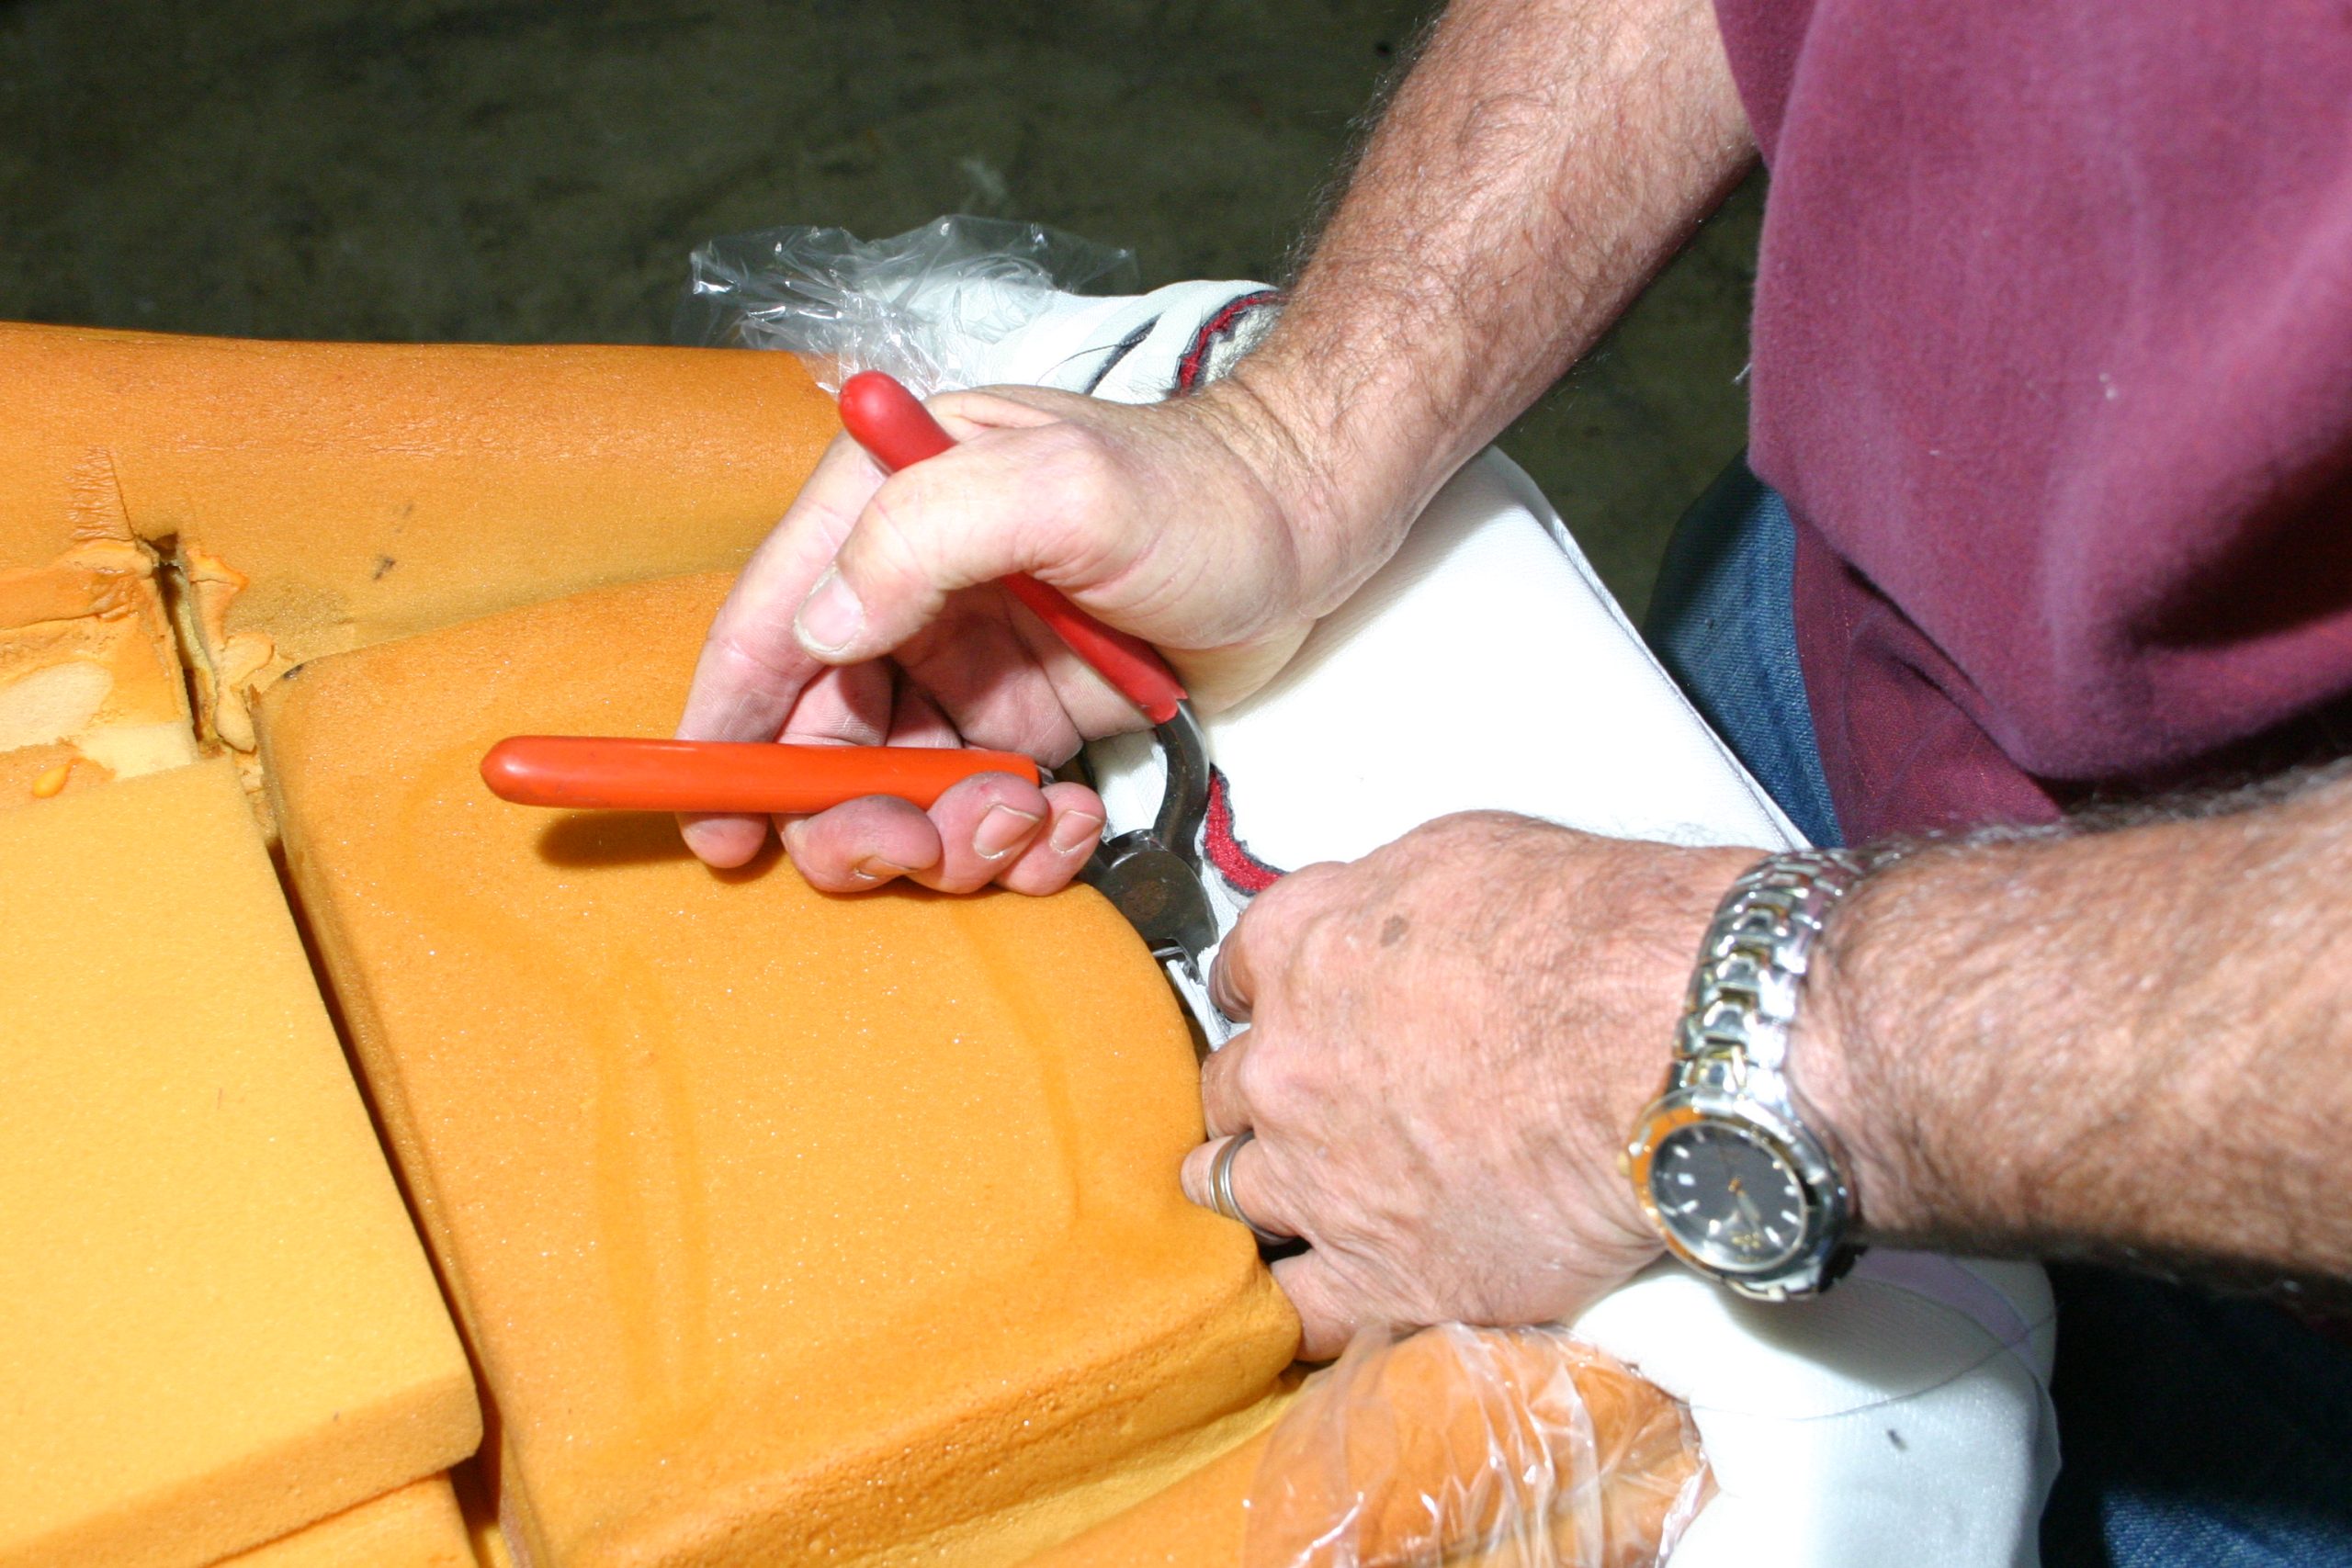
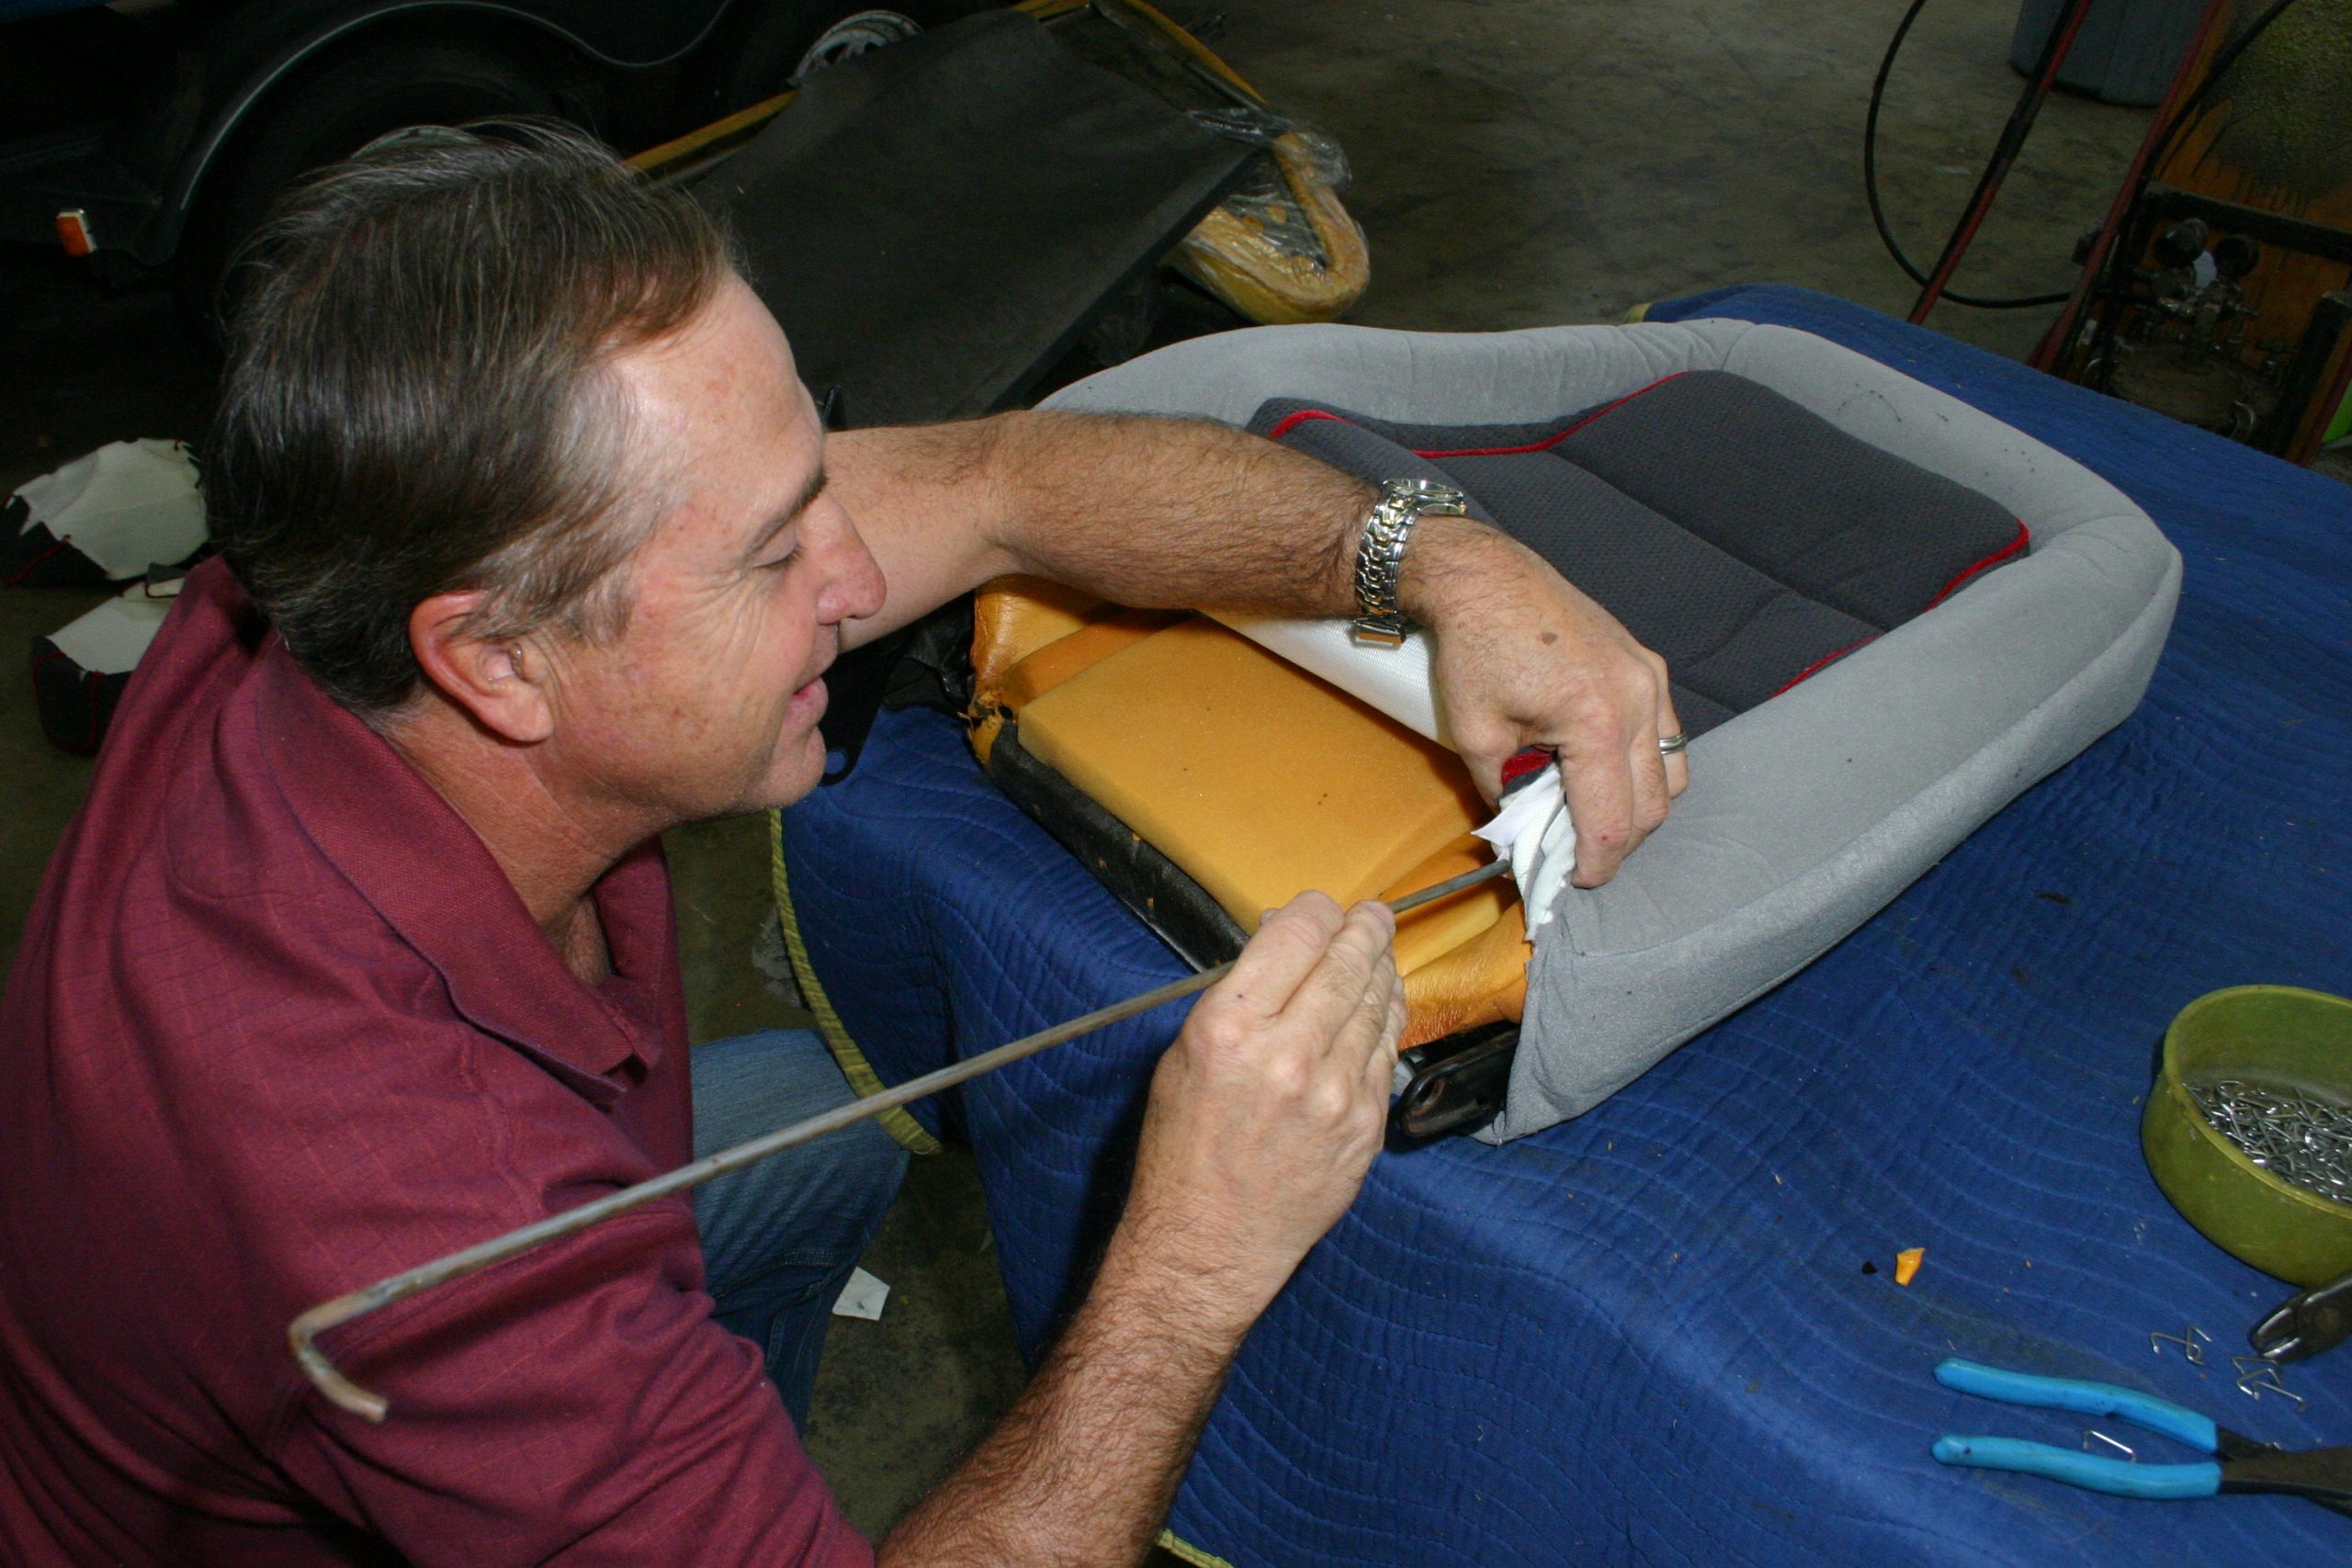
Front bucket seat removal is straightforward with four anchor points fore and aft. Fox Body Mustangs originally had a recall involving the installation of seat pan reinforcements to prevent the seats from tearing out of the floor. (Image/Jim Smart)The rear seat bottom is removed by pushing the seat aft to release it from the anchor points, then pulling it up and out. (Image/Jim Smart)The 50/50 split rear seatbacks fold down into floor space. They are hinged and fold forward for carpet backing access and fastener removal. A 13mm socket or box-end wrench is used to remove the hinge bolts. (Image/Jim Smart)Once the seatbacks are unbolted, they lift straight up and out. (Image/Jim Smart)With the seats removed, vacuum out debris and inspect the floor pan for corrosion issues. This is also a good time to install sound deadening to make the cabin nice and quiet. (Image/Jim Smart)Fox Mustangs employ hog rings to secure the upholstery. You will find dozens of hog rings throughout the seat bottoms and backs. You’ll need diagonal cutting pliers to remove the hog rings. Wear work gloves to protect your fingers from blisters and puncture wounds. (Image/Jim Smart)Robert uses steam to make the foam more pliable/flexible for upholstery installation. It can also ‘puff up’ for a better fit. If your original seat foam is too far gone to save, new TMI Product seat foam is available from Summit Racing. (Image/Jim Smart)Robert centers the TMI upholstery on the rear seat bottom. He installs hog rings working from the center out. You will want a pair of hog ring pliers for this task because they offer the leverage you’ll need. (Image/Jim Smart)When you hog ring at the seat center, wait to hog ring the outer center underneath. That makes it easier to adjust the seat fabric. (Image/Jim Smart)Once the center is hog-ringed, Robert works his way around the rest of the set. It’s always best to hog ring in front first, then across the back to work out any imperfections in the fabric. (Image/Jim Smart)Robert adds sound deadening to the rear seat bottom. (Image/Jim Smart)Robert steams the seat bottom to puff up the foam and fatten the fabric for a perfect fit. (Image/Jim Smart)Robert checks the TMI upholstery for proper fitment and alignment before removing the old upholstery. (Image/Jim Smart)The seat latch escutcheon is removed first, then the rivets and carpet on the seat back. (Image/Jim Smart)The upholstery is secured with plastic rivets around the perimeter and hog rings around the inside. The inner hog rings are removed with diagonal cutting pliers. (Image/Jim Smart)Plastic rivets secure the seat back carpet as well. (Image/Jim Smart)Robert marked the center of the seat back with a red marker to properly align the carpet before permanent installation. A heat gun is used to soften the carpet around the perimeter and make it flexible. (Image/Jim Smart)Although the factory secured the seat back carpet with plastic rivets, Robert uses a staple gun for added security. (Image/Jim Smart)The rear seat latch mechanisms should be cleaned and lubricated with a light application of white lithium grease. (Image/Jim Smart)Some upholstery shops use coat hanger wire for listing, but you should use steel wire listing available from any upholstery supply shop for best results. You can use the original listing wire as long as it is not rusty. (Image/Jim Smart)Once the upholstery is properly centered on the foam, it is hog-ringed around the inside, and then pulled toward the outside perimeter. Robert steams the foam to give it body and conform it to the upholstery. (Image/Jim Smart)The upholstery is pulled to the edges and anchored with plastic rivets provided with the upholstery kit. The rivets are hammered into place. (Image/Jim Smart)Seat-back carpeting is retained with Phillips screws as shown. (Image/Jim Smart)Front bucket seats are more involved than the rears. Most Fox Body Mustangs have manual adjusters like outs, but some do have power mechanisms. Four screws are removed with a large Phillips screwdriver to release the seat track. (Image/Jim Smart)The seat back adjustment pivot covers are removed first, then the pivot mechanism. (Image/Jim Smart)More hog rings to remove to release the old upholstery. (Image/Jim Smart) Once the upholstery is removed, Robert steams the foam improve sizing and flexibility. (Image/Jim Smart)The listing wire provides support and provides a solid anchor point for the hog rings. The hog rings attach the listing wire to the seat’s framework. (Image/Jim Smart)Robert measures the seat foam’s center. The upholstery’s center panel should measure out at about 10 inches. (Image/Jim Smart)The new TMI upholstery is hog-ringed first around the center as shown, then pulled to the outside perimeter and hog-ringed to the frame. (Image/Jim Smart)Robert inserts thick listing rods that will provide additional support to the seat back. (Image/Jim Smart)
Jim Smart is a veteran automotive journalist, technical editor, and historian with hundreds of how-to and feature articles to his credit. Jim's also an enthusiast, and has owned and restored many classic vehicles, including an impressive mix of vintage Ford Mustangs.


Comments