It’s easy to find or build big horsepower these days. It’s also easy for even seasoned car folks to get into trouble by building a too-radical combination. Admittedly, I’m one of them.
Is it possible to tame the beast so that you can at least drive and enjoy it? The answer is absolutely yes. We put together a list of 10 ways to do so. The tips are based upon tuning adjustments as well as simple engine parts changes you can make. None of them require you go deep inside the engine or make major changes like a head or camshaft swap.
Here they are in no particular order:
Tip 1: Smaller Carburetor
In many situations, a big carburetor is necessary to make horsepower, but you can in fact make good power with a smaller carburetor. Consider an L88 Corvette in NHRA Super Stock, running either SS/AA or SS/BA. Some of these cars can produce in the area of two horsepower per cubic with a single OEM 850 CFM production line carburetor. We know of a racer with a 1969 427 Corvette running in the 8.70-second range at legal “A” weight.
Another example: I use a 950 CFM Holley Ultra XP carburetor on a 565 cubic inch big block Chevy. It would make more power with something like an 1,150 CFM Dominator, but the smaller carb helps driveability enormously (and I probably don’t need any more power!).
Tip 2: Carburetor Spacers
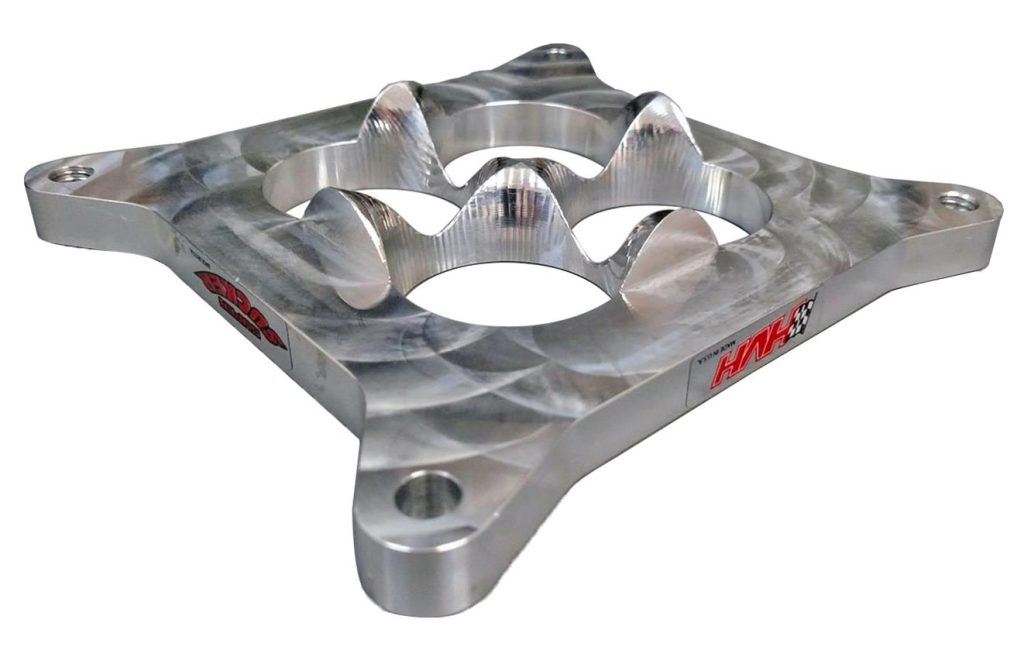
Dual plane intake manifolds can improve bottom end power on an otherwise top end-biased engine combination. But what if you have a single plane? Back in the day there were carburetor spacers with plenum dividers to help a single plane intake mimic a dual plane, but they’re not easy to find today. An alternative is a four-hole spacer like the HVH “Super Sucker”. Available in heights from a 1/2-inch to two inches tall, the spacers have a tapered design that can improve torque and throttle response on many single plane engine applications.
Tip 3: Spark Plug Gap
Depending on combustion chamber size and other factors, some engine combinations will pick up a bit of throttle response with a larger spark plug gap. NGK weighs in on this:
“The voltage requirement is directly proportional to the plug’s gap size. The larger the gap, the more voltage is needed to jump it. Most experienced tuners know that increasing the gap size increases the spark area exposed to the air-fuel mixture, which maximizes burn efficiency. For this reason, most racers add high-energy ignition systems. The added energy allows them to increase the gap, but still have enough voltage to jump it.”
“However, if the gap is too large and the ignition system can’t provide the voltage needed to spark across the gap or turbulence in the combustion chamber blows out the spark, misfires will occur. Those with modified engines must remember that higher compression or forced induction will typically require a smaller gap setting to ensure ignitability under higher pressure.”
Tip 4: Valve Lash
On most engines with solid cams, it’s possible to play around with valve lash to fool the engine into thinking it has a smaller camshaft. Loosening the valve lash makes the cam appear smaller, which in turn helps bottom end performance. Tightening the valve lash makes the cam appear larger, which helps on the top end.
Most folks make lash changes in 0.002-inch increments. The late great Harold “UltraDyne” Brookshire once told me that about 0.006-inch of lash equalled approximately four degrees difference in duration (depending on the cam’s ramp design). In any case, it’s best not to go too far on valve lash changes. Typically, 0.008- to 0.010-inch or less is the max you can deviate from the manufacturer’s specs. Run a cam too loose or too tight and you’ll run into problems.
Tip 5: Initial Advance
Plenty of modified engines don’t run enough initial ignition advance. Many muscle car-era combinations had factory initial advance settings of four or five degrees, which may not be sufficient for a modified engine. An initial setting of 10-12 degrees (in some cases with a big dome piston, even more) may be required.
To get there, you’ll need to shorten the advance curve so you have more total ignition advance. Most often this is accomplished with increased diameter advance bushing stops (most good curve kits include these) or by welding the slots in the advance weights. If the car has an automatic transmission, try making the curve super short and quick. You might be surprised at the results.
Tip 6: Rocker Arm Ratio
If you have an engine with a big cam, consider reducing the rocker arm ratio. Swapping rockers is much easier than swapping out a camshaft, plus a decrease in rocker ratio just might improve valvetrain reliability.
For example, the camshaft in my Nova has an intake valve lift of 0.765-inch with a 1.7:1 rocker ratio. If I swapped out the rockers for a set of 1.6:1 rockers, the effective valve lift would work out to 0.720-inch. The smaller rocker arm ratio with also make the cam act “smaller” on the duration side of the equation. That just might prove to be the ticket for taming it.
Tip 7: Accelerator Shooter Tuning
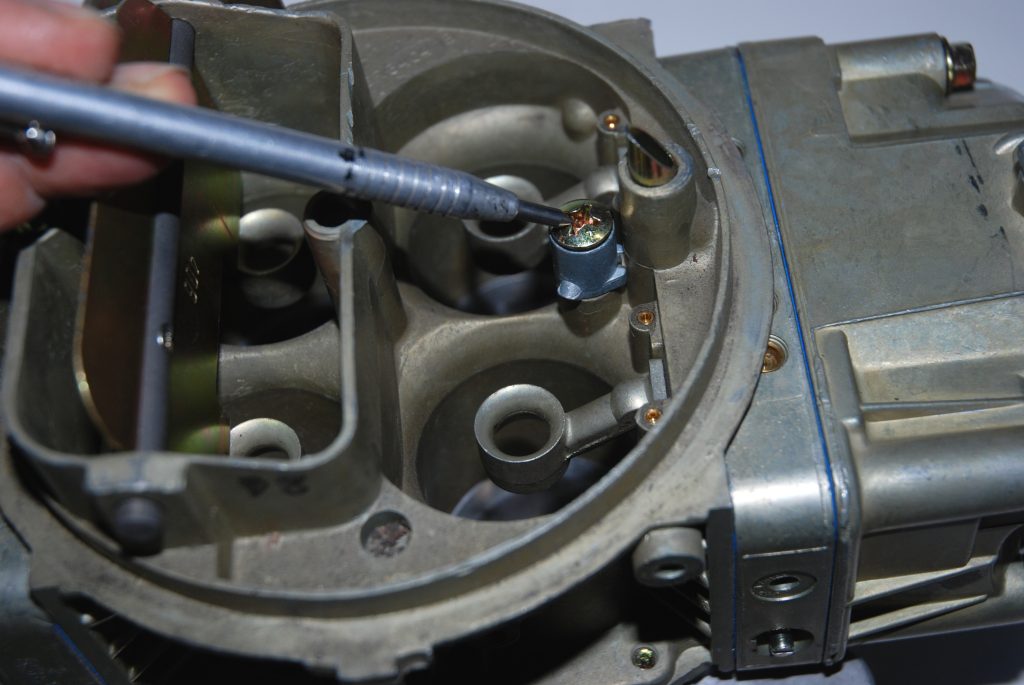
Setting up accelerator pump shooters (aka accelerator pump discharge nozzles) properly in a Holley carburetor is important, especially when dealing with grumpy engine combinations. Used to tune off-the-line acceleration, the shooters are located in the main body of the carburetor in the venturi area.
If initial acceleration produces a hesitation and then picks up, the shooter size must be increased. In certain cases, the accelerator pump shooter may be so small (lean) that the engine will backfire during acceleration. If the shooter is too large, off-idle acceleration will not be crisp or clean. Sometimes the car will launch cleanly but then nose over. That’s also an indication the shooter is too large. It will often create a puff of black smoke during acceleration.
A very common tuning misconception concerns an engine bog or hesitation just off idle. Novice tuners often think the bog is created by excess fuel so they lean out the carburetor jetting. This is wrong! Although it may initially appear like far too much carburetion, the bog is actually created by too little fuel. As air flows into the engine as the throttle is cracked open, there is insufficient fuel to cover up that “air hole”. The fix is straightforward: keep increasing the accelerator pump shooter size until the bog is cured. In the end, shooter selection is a trial-and-error job that’s tuned by experimenting.
Tip 8: 50cc Accelerator Pump Kit
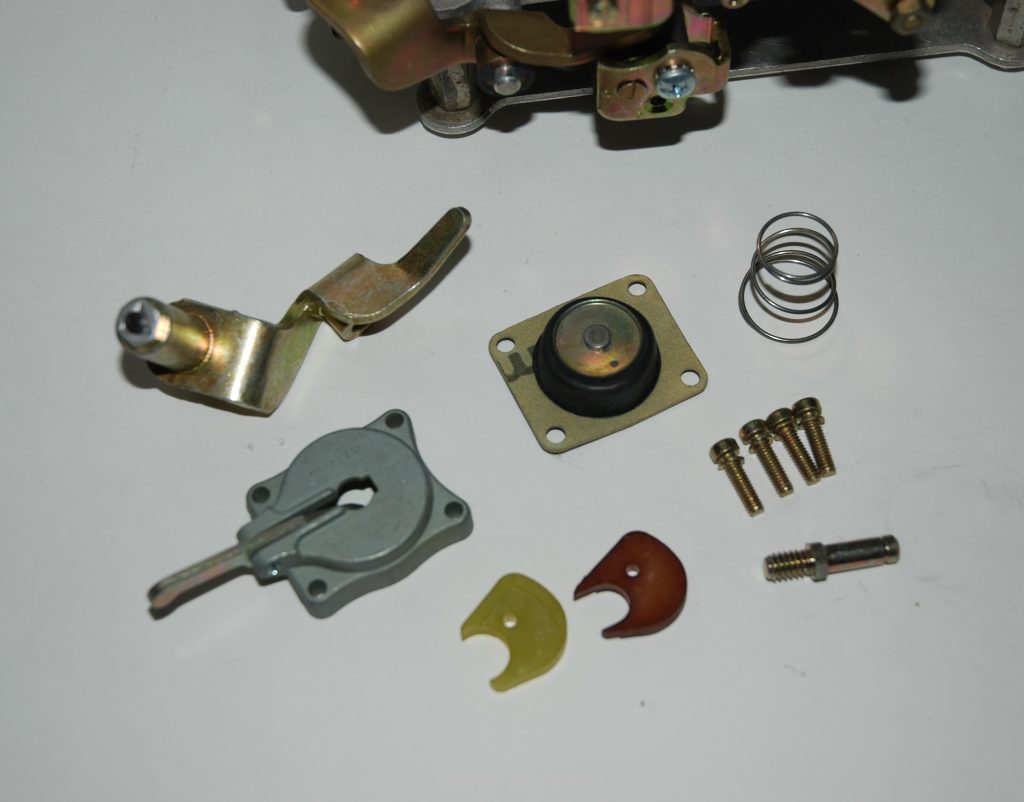
If you end up needing an accelerator pump shooter larger than a #37, it’s most likely time to step up to a 50cc accelerator pump assembly. The standard accelerator pump has a 30cc capacity. Pump capacity is determined by collecting the amount of fuel produced by 10 full strokes of the pump. As a result, each stroke of a standard accelerator pump delivers 3cc of fuel while each stroke of the larger pump delivers 5cc of fuel.
Accelerator pump size becomes very important in radical combinations. The larger the carburetor in relation to engine displacement and engine speed, the more need for a larger pump shot. The further the carburetor is away from the intake valve—an engine with a tunnel ram intake, for example—the more need for a larger pump shot. This is quite important with automatic transmission combinations.
A good example is a heavily modified engine that has to haul around a heavy car with a tall rear axle ratio. It can sometimes develop a severe stumble. If increasing the shooter size and revising the pump cam timing doesn’t work, you’ll have to increase the size of the accelerator pump.
It’s quite common to use a 50cc accelerator pump kit on both the primary and secondary side of the carb in automatic transmission drag race applications. When using a 50cc pump kit, always check the clearance between the pump and the intake manifold. Sometimes you can lightly grind the intake. In other cases, you might be forced to use a small carb spacer to provide the necessary clearance.
Tip 9: Accelerator Pump Cam Tuning
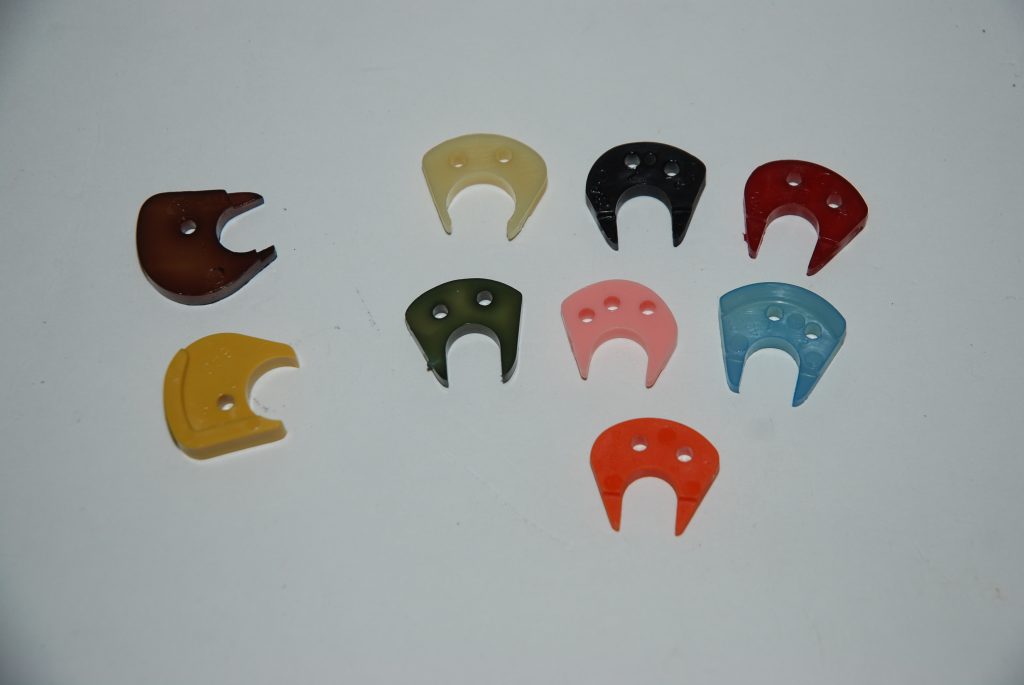
We’re not quite done with accelerator pump tuning. Holley offers an assortment of accelerator pump cams, each with a specific lift and duration profile. Brown and yellow pump cams are designed for use with 50cc pumps while the other color-coded cams can be used with standard 30cc pumps.
The pump cam has a direct effect upon the movement of the accelerator pump lever, which controls the timing and to a lesser degree the amount of fuel available at the shooter. A cam with a sharp (aggressive) lobe profile provides strong pump action and quicker pressure rise. A softer nose cam with a less-aggressive lobe profile has the opposite effect.
Installing a pump cam is easy as loosening a screw, placing it next to the throttle lever, and tightening it up. Each cam has two (and in some cases three) numbered holes. With a mild combination that idles at lower speeds–say 600 or 700 RPM–you’ll find position number one beneficial. That’s because it will have a decent pump shot coming right off idle.
Positions number two and number three delay the pump shot slightly. They provide the extra throttle opening required to maintain higher RPM idle speeds (1,000 RPM and higher). Once you change the pump cam or change the pump cam position, you should recheck the pump arm clearance.
Tip 10: Vacuum Gauge Carb Tuning
A vacuum gauge could be your best friend when it comes to setting carburetor idle mixture. It’s particularly important in applications like the ones we’ve been talking about. Usually, engines with big cams don’t have much vacuum to begin with, and a gauge really helps you dial in the little vacuum they have.
Here’s how it works: With the gauge hooked up, go to the primary side of the carburetor and set each idle mixture screw until the vacuum gauge reads the highest level. You may have to go back and forth between the mixture screws a couple of times to reach that point. If the carburetor has secondary mixture screws, repeat the process. You might have to go back to the primaries and readjust the idle mixture after adjusting the secondary screws. When you’re done, enrichen each of the mixture screws slightly. Once you’re done, you will most likely need to reset the idle speed.


Comments