Got a fancy new exhaust system sitting in your garage and want to tackle the installation yourself? Bravo—we’re all about the DIY mentality around here. That said, there are some things to know before diving in. Installing your own aftermarket exhaust system isn’t necessarily tough, but you absolutely need to take some care in doing the job.
Since the more difficult aspects of an exhaust installation often stem from removing the old system first, we’ve collected advice gleaned from years of wrestling loose rusty, corroded systems ourselves. After all, OnAllCylinders world headquarters is located on the fringe of the Lake Erie snow belt, so our exhaust systems face a seasonal barrage of moisture and salt, making them particularly vexing to service.
Check out our five easy exhaust install tips below, and if you have any of your own to add, drop some knowledge on us in the comments section at the bottom of this article.
***
5 Automotive Exhaust System Install Tips
***
1. Safely Lift & Support the Vehicle
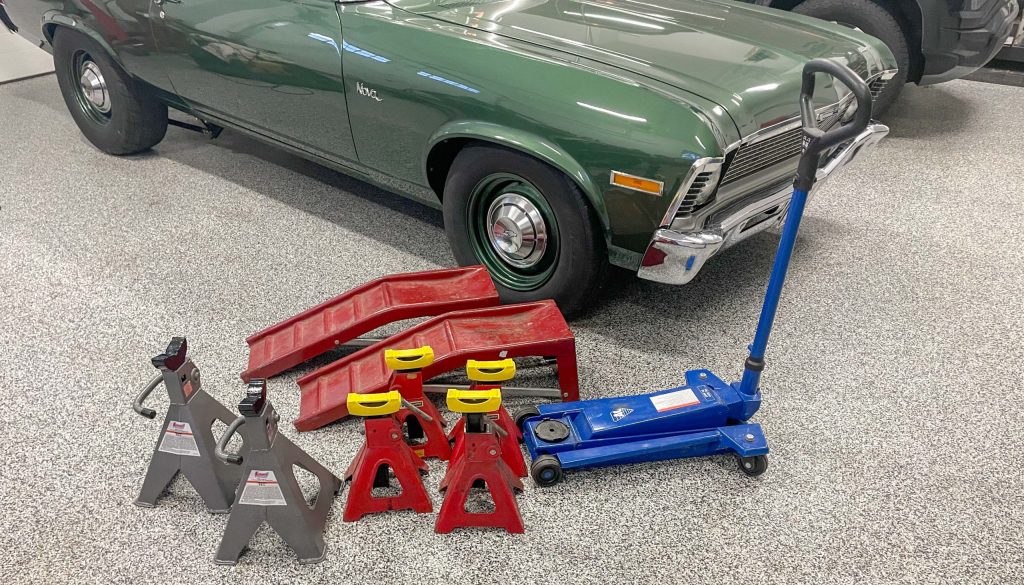
If it’s not obvious already, the entire exhaust swap is going to take place under your vehicle. Granted, on some trucks and SUVs there may be enough room to slip underneath the vehicle without a lift or jack, but for a typical car or truck, you’re going to need to raise the vehicle to get the job done.
If you have access to a vehicle lift, then your exhaust system install is going to be much easier—yet we still recommend watching this video on how to safely use a vehicle lift before starting:
But we’re going to assume you’ll be doing this job without a lift, instead relying on a trusty shop jack and jack stands to raise and support the vehicle in your driveway.
If you’ve never jacked a car up before, doing it properly is really, really important to the safety of both you and your vehicle. Here are the basics:
- Park the vehicle on a level surface.
- Place wheel chocks on the opposite set of wheels to where you’re lifting.
- Locate the vehicle’s jacking points (found in the owner’s manual).
- Slide your floor jack underneath and slowly lift the vehicle.
- When the vehicle is high enough, slide a jack stand under a frame or subframe element.
- Gently lower the vehicle down onto the jack stand.
- Repeat for the other side.
NEVER(!!) work with only the jack itself to support the vehicle. In fact, for a labor-intensive job like an exhaust system swap, we’ll typically use redundant safety measures. We’ll lift and support the vehicle as described above, then squeeze a set of concrete landscaping tiles under the supported wheels. Then, we’ll toss an extra set of snow tires under the vehicle as a final measure of support in case of a catastrophic jack stand failure.
***
2. Have the Right Safety Gear
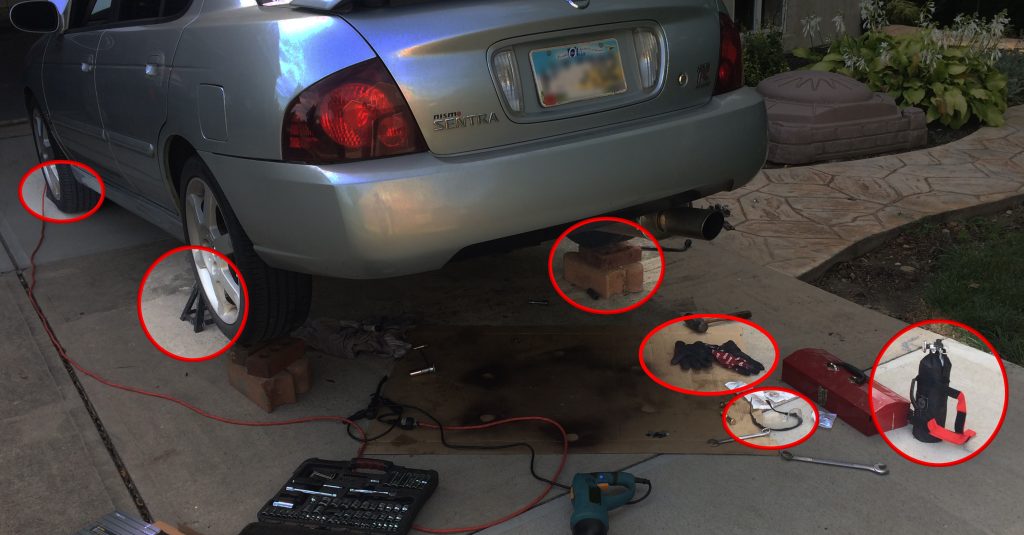
We’ve got a “safety-first” mindset around here. And when it comes to battling a crusty exhaust system, we typically equip ourselves with a stout set of shop gloves to protect our paws against jagged, rusty metal. More importantly, since much of this job is done on your back, looking upwards, we’ll also don a pair of safety glasses to keep tiny rust bits and crud out of our peepers.
But we’re not done yet, grab a fire extinguisher and set it somewhere close to where you’re working.
Why? Well, depending on the rust issues you find, there’s a good chance you may have to cut-off (or grind-off) a stubborn bolt or fastener—which means sparks. And considering you’ll likely be working near your fuel tank and/or fuel lines, it doesn’t take a whole lot of imagination to realize why a fire extinguisher is particularly important here.
***
3. Assemble Your Tools & Parts, Then Lay Them Out Neatly Nearby
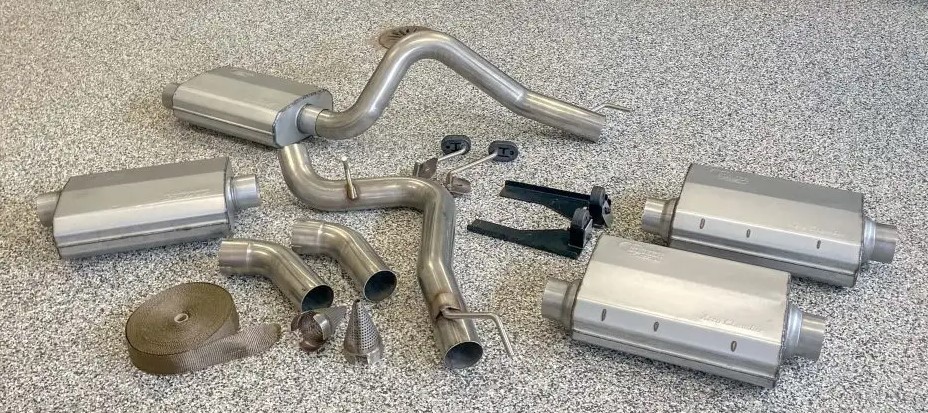
If you’re doing your exhaust install in your driveway with jack stands, you’ll want to avoid repeatedly having to slide out from under the vehicle to grab parts and tools. Not only is it frustrating, it’s fatiguing—so Like a Surgeon, lay everything out neatly nearby so you can simply reach, grab, and go.
As an added bonus, laying out your new exhaust system on the ground first will help ensure you have all the right pieces and you’ll see the logical install order too.
Here is a quick list of some of the tools you’ll probably use during an exhaust system install. Make sure to check the instructions that came with your exhaust system to see what else you’ll need. Depending on the types of exhaust clamps that your new system uses, additional tools might come in handy too.
- Socket Set
- Box-End Wrenches (for tight spots)
- Locking Pliers (for rusty, rounded hardware)
- Rotary Cutting Tool or Reciprocating Saw (if your fastener negotiations fail)
- Rubber Mallet (for separating tubing sections)
- Pry Bars (for positioning pieces & removing hangars)
- Oxygen Sensor Socket (if necessary)
- Extra Shop Jack* (for lifting & positioning exhaust components)
* We’ve found that a small motorcycle jack, or any compact jack with a large flat pad, can be really useful for raising mufflers and other heavy exhaust components, and holding them in place while you secure the hangers.
***
4. Have Lubricants & Penetrants On Hand
Noticing a theme here? Rusty, corroded hardware can turn a straightforward install job into a several hour ordeal, complete with the hand strain, headache, and HOA complaints to go with it.
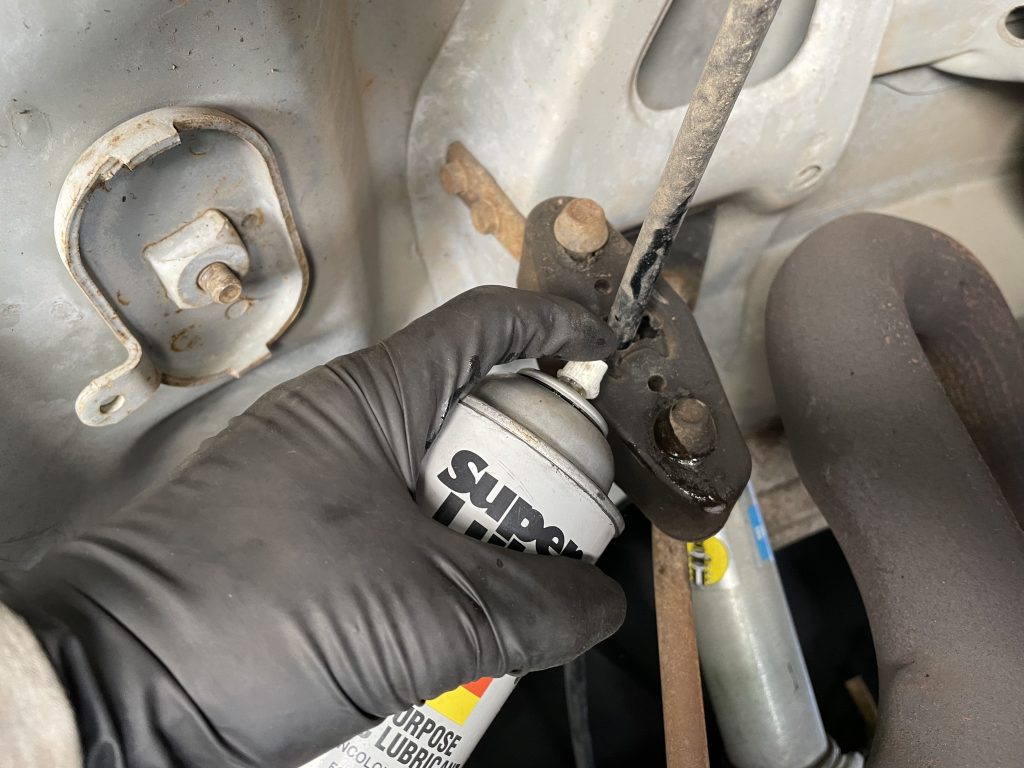
A few cans of penetrating oil can un-stuck rusty bolts and fasteners, while some general spray lubricant can make it easier to pry-out rubber hangers and slip tubing sections together. If you’re extra worried about rusty nuts and bolts, it’s a good idea to soak any potential problem fasteners down with penetrating oil the night before, to give it extra time to creep into the threads.
Tip: Bring some shop rags under your vehicle too, to wipe away any excess oil or fluid. (If you think spray penetrant has a strong odor now, wait until if cooks off your new exhaust system and stinks up your passenger compartment!)
***
5. Bring a Friend!
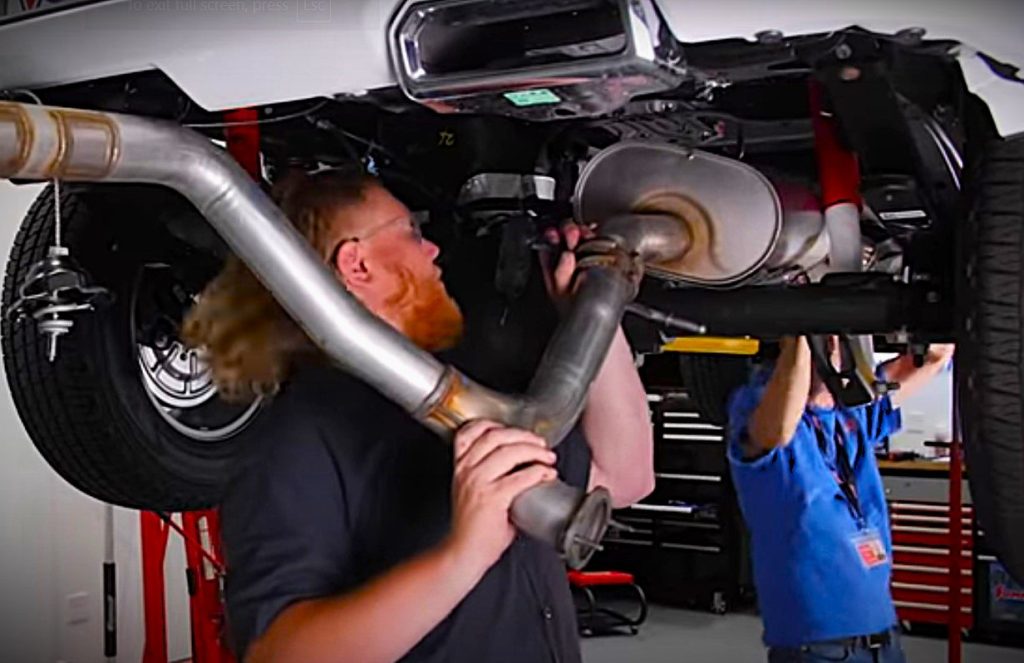
Look, we aspire to Jeremiah Johnson levels of independence around these parts, but an exhaust system install is one of those jobs where having an extra set of hands makes this much, much easier.
Exhaust system components are heavy, bulky, and cumbersome—and fitting them under a vehicle often means weaving them through a labyrinth of suspension and chassis parts. Suffice it to say, having a buddy lend a hand (and a set of eyeballs) will save you a ton of strain and frustration.
So even if it costs you some cold ones and a pizza, you’ll see why we made this suggestion once you’re laying on your back under the vehicle, elbows deep in your exhaust system install.
***
While we capped this at only five tips, we realize that this could’ve easily become 50. So if you’ve got any pointers on how to finish a successful exhaust system install, we’d love to hear about them in the comments section below.
***
Exhaust systems are far more than just a jumble of pipes under your vehicle. Picking the best exhaust system for your specific application can be a complex, nuanced process. The good news is, if you know what your expectations are, then picking the right aftermarket exhaust becomes really easy.
To help you out, we’ve got oodles (yes, oodles) of articles and tech stories on exhaust systems. If you’re in the market for an exhaust system upgrade, here are some good articles to check out:
- A Beginner’s Guide to Aftermarket Exhaust Systems
- How To Choose an Aftermarket Exhaust System
- An Introduction to Exhaust System Components
- How Does an Exhaust Pipe Affect Engine Performance?
- How Much Horsepower Does a Dual Exhaust Add?
- What is the Purpose of a Crossover Pipe on an Exhaust?
- Exhaust Scavenging, Explained

Comments