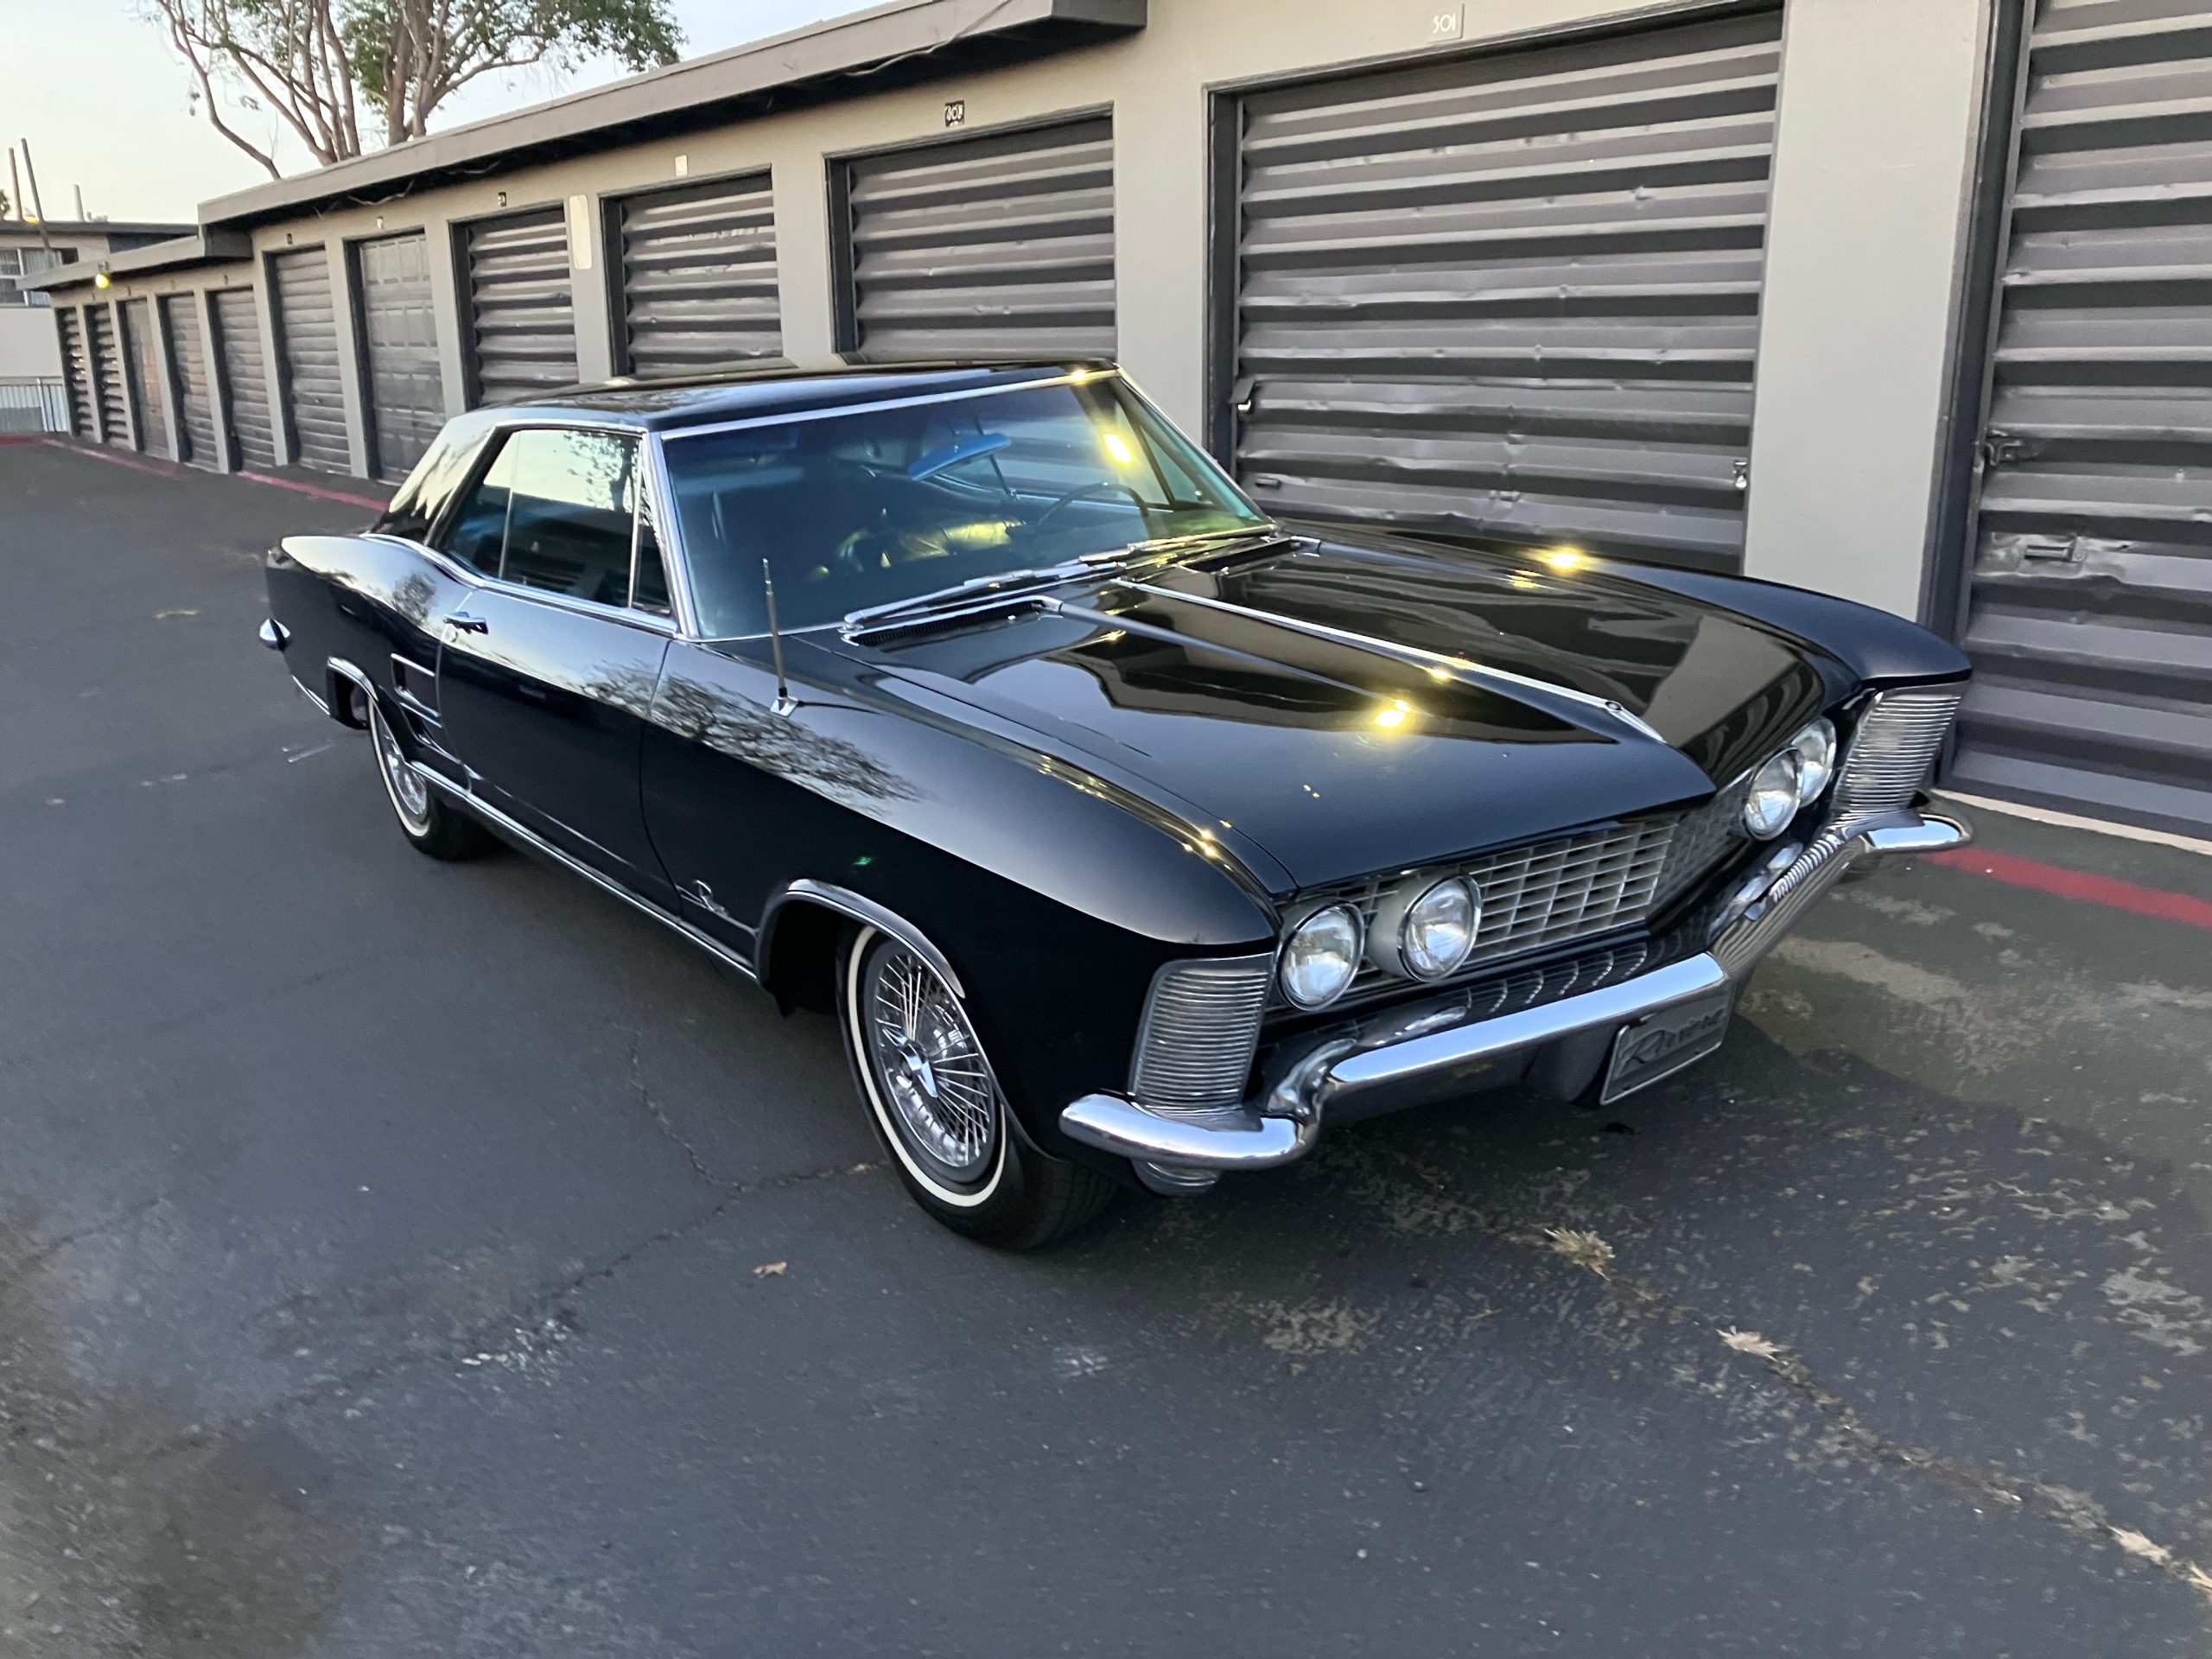
I live on the West Coast and just bought a 1963 Riviera from a local guy here in Southern California. The car is in really good shape and shows only 46,000 miles on the odometer and we think this may be the actual mileage as the interior is in excellent shape with nearly everything exactly as the car was delivered in 1963.
My question is what would be the best way to check this thing out and what would be the first things that you would do to make sure this a reliable road car. It is all original except for the tires. The car still has its original drum brakes on all four corners and I’ve noticed that in a hard stop that the rear brakes lock up earlier than the front.
E.R.
It sounds like the car is in pretty good shape and you’ve found something really nice. The first thing I would do regards the safety of the car rather than engine related efforts.
Address the Suspension & Brake Issue First
Before inspecting the brakes, check the upper and lower control arm bushings to see if they are worn or the rubber is missing. This is a very common problem. Also do a simple check on the lower ball joint. Place a floor jack under the ball joint, raise the tire off the ground and place a roughly four foot crow bar under the bottom of the tire and leverage the tire upward. If you see or feel movement, the ball joint is bad and must be replaced. The lower ball joint carries most of the load and will wear out first compared to the upper ball joint.
Next, start your inspection by jacking up the car, placing it on jack stands, and removing all four wheels and tires.
Interestingly, it appears Buick used left-hand threads on the left rear wheel studs to counter-act torque but not necessarily on the left hand front wheels. So just be aware that the left (driver) side lug nuts and studs might use left hand threads.
Now, see if you can remove the brake drums. It’s not unusual to find that the drums might be rusted to the hub in the rear or just plain won’t come off the shoes. This is assuming the drums are cast iron. There’ also a chance the drums may be aluminum. If so, be careful with these as they are very rare. If aluminum they will obviously not rust but still may be corroded around the hub. Heat might be the best way to loosen their grip on especially the rear axle hub.
If the drums are loose to the hub in the rear but won’t come off but it’s possible the shoes have worn big grooves in the drums. If so, you will need to find a brake spoon tool and access the rear of the backing plate and rotate the star wheel adjuster to back off the shoe clearance which will allow you to remove the drums.
My guess is that the reason the rear wheels lock up prematurely is likely due to either leaking rear wheel brake cylinders or a leaking rear end axle seal that has put lube into the rear brake shoes. If either case, you will need new brake shoes. Don’t try to clean the shoes. There are plenty of replacement shoes out there. Hopefully the drums are in good shape, but if not, Summit Racing offers replacement aftermarket drums so at least there are new pieces available.
- Brake drum, front, 12” – OPG-BR02031
- Brake drum, cast iron, rear – OPG-BR02033
If the rear brake wheel cylinders are leaking, you can probably find rebuild kits that will allow you to hone the cylinders and then install new pistons and seals. This is also a great time to completely purge the entire hydraulic brake circuit of the old brake fluid. With an original car, it’s likely the fluid has never been changed so purging the old fluid, inspecting all the brake lines to make sure they are not rusted, and rebuilding all the wheel cylinders is the right way to ensure the brakes work.
Remember when replacing the drum brake shoes there is a primary and secondary shoe. The primary shoe friction material is smaller in length and is located on the leading side of the backing plate. The longer, secondary shoe is placed on the trailing side. It’s easy to mistakenly put both secondary shoes on one side with primaries on the opposite side. This will make the car pull really hard to the secondary side.
Fluids & Other Critical Maintenance
Once you have inspected all the suspension components for wear and the brakes are repaired, you can move to the rest of the vehicle fluids. Let’s start by emphasizing that the transmission and rear axle fluids have probably never been changed. Gear oil additives can fall out of suspension if the vehicle has not moved in many years so consider changing them as part of your inspection process.
You will also, of course, change the engine oil and filter. We queried Lake Speed, Jr, of SPEEDiagnostix for his recommendation for engine oil and he said that the Driven Racing Oil GP-1 10w30 or 10w40 would be an excellent choice This oil is a blend of synthetic and Pennsylvania crude oil base stocks with an outstanding additive package that includes additional ZDDP that will protect those flat tappet lifters.
You might also consider doing a used oil analysis of the drained oil from the engine once it is fully warmed up. This will tell you not only the condition of the oil but this is also a great indicator of the engine’s overall condition with regard to possible internal coolant leaks or undue wear that you would otherwise be unaware. SPEEDiagnostix is a great source to perform this used oil analysis.
The same goes for the cooling system. This may be the most overlooked system in the car and if so, there may be corrosion in the system. Before you charge in with highly corrosive cleaning chemicals, consider performing a fresh water reverse flush of the system with the thermostat removed. While caustic chemicals do a great job of removing corrosion, they can also eat away at the original steel freeze plugs that will then begin to leak. While replacing them might be a good idea to prevent a problem down the road, you can at least plan for that as opposed to be forced to do this right away.
Since you live on the West Coast, I would use only filtered water anytime you are adding to the coolant rather than antifreeze. You can find several anti-corrosion additives on the market that will protect the cooling system without investing in that nasty green anti-freeze until after you have rebuilt the cooling system. This way if there is a leak, the cleanup won’t be as bad. Green anti-freeze is a mess to clean up.
Finally, I would add a new fuel filter to the engine. Another item to ponder is replacing the fuel sending unit. Those early GM cars used a plastic sock over the inlet tube in the fuel tank and after 60 years, that sock has probably deteriorated. It might collapse over the inlet and pinch the fuel inlet closed.
I had this happen on my 1965 El Camino and it took several hours to track down the source of the fuel delivery problem. A new fuel sending unit will have a new screen that will likely last at least another 20 years. But keep in mind that today’s gasoline is full of very nasty chemicals that are probably much worse than the stuff from the 1960’s.
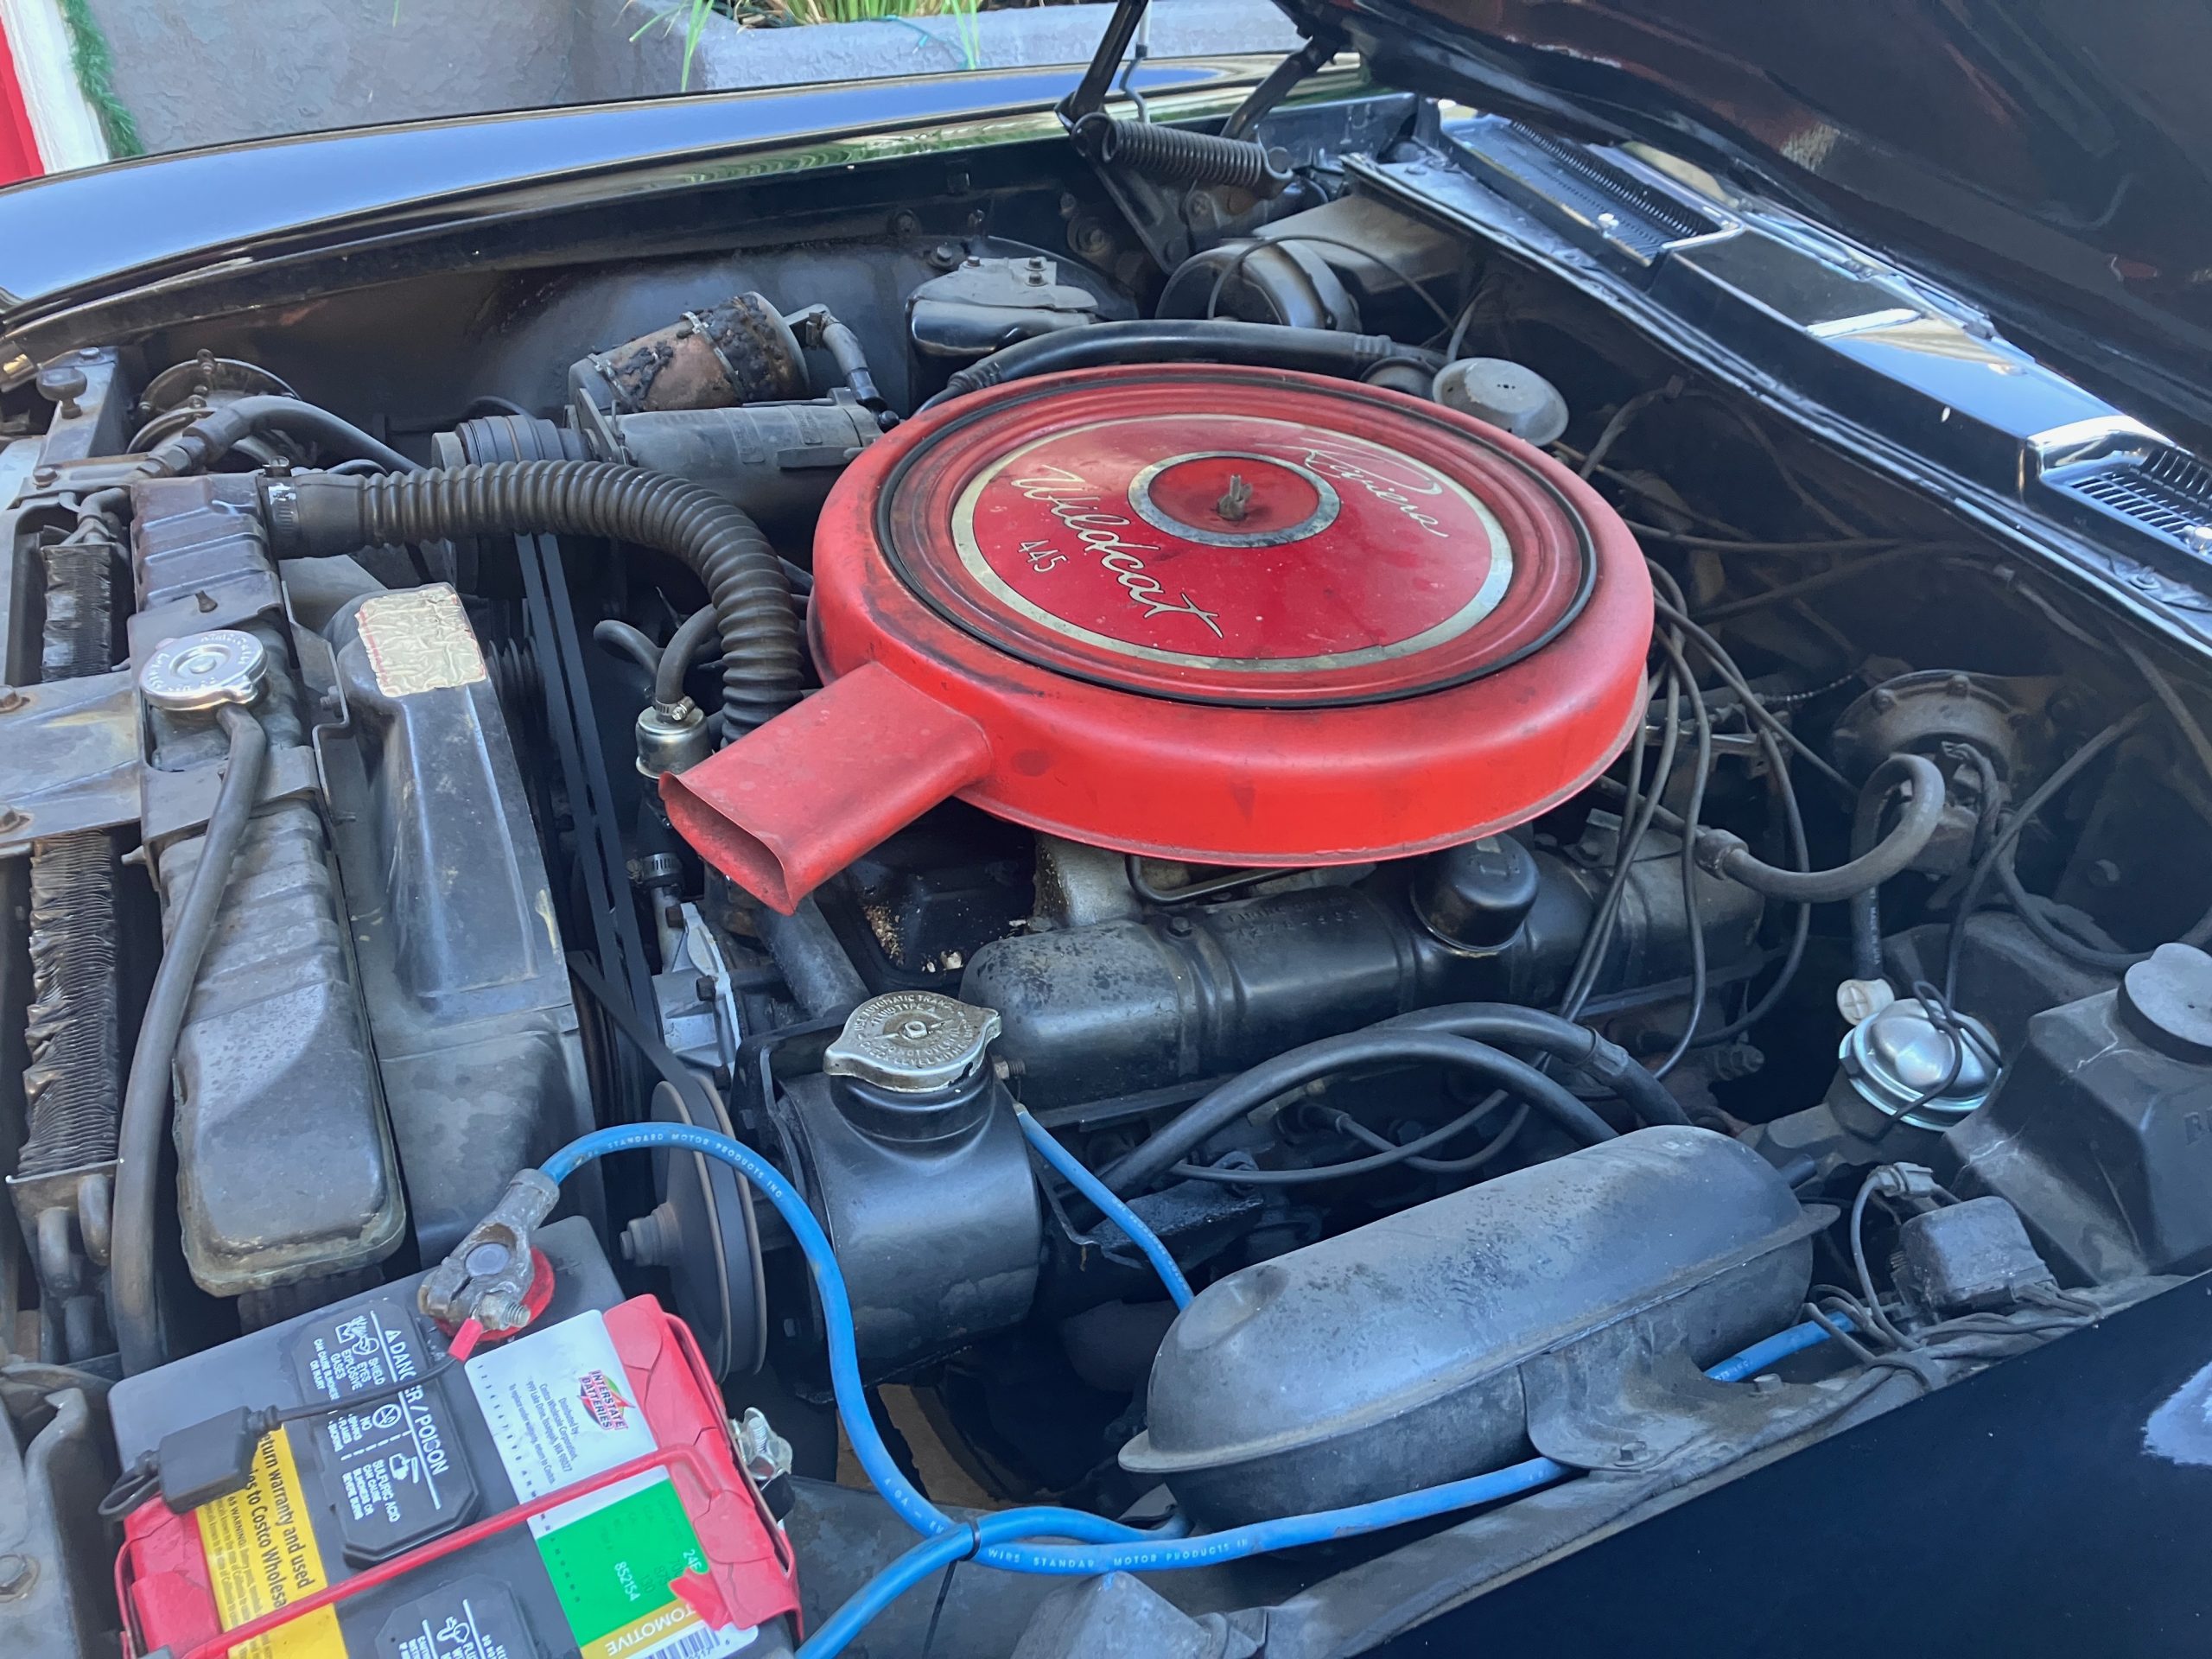
The factory carb for you 401ci engine is a Carter AFB and there are plenty of sources for rebuild kits. If the carb is in need of custom attention, you might consider JET Performance Products in Huntington Beach, California that might be near you. They can rebuild your carburetor and make it almost factory fresh.
If keeping your Riviera all original equipment isn’t a concern, I would seriously consider adding an Edelbrock AVS 2 carb with its annular discharge primary boosters, You will feel an instant increase in throttle response and with some simple tuning changes this carb would be an excellent way to add a little zest to hitting the throttle.
Of course new AC Delco R43S spark plugs, points, condenser, cap, rotor and wires would be the next step along with a compression test just to get a feel for the engine’s condition. Set the ignition timing with a couple of more degrees of initial timing and see how it runs.
With all this accomplished I think you will be well on your way to creating a great road car.
Comments