I’m not sure if anyone reading this actually enjoys bleeding brakes. The traditional two-person brake bleeding process—one to do the actual brake bleeding while the other pushes the brake pedal—works fine. But short of outright bribery, it can be hard to convince a buddy, spouse, child, or a body off the street to be the designated pedal pusher while you’re bleeding a brake caliper or drum brake wheel cylinder. And if the pedal isn’t pumped consistently or the master cylinder runs dry, you may not get all of the air out of the system. That means a brake pedal that feels soft and spongy.
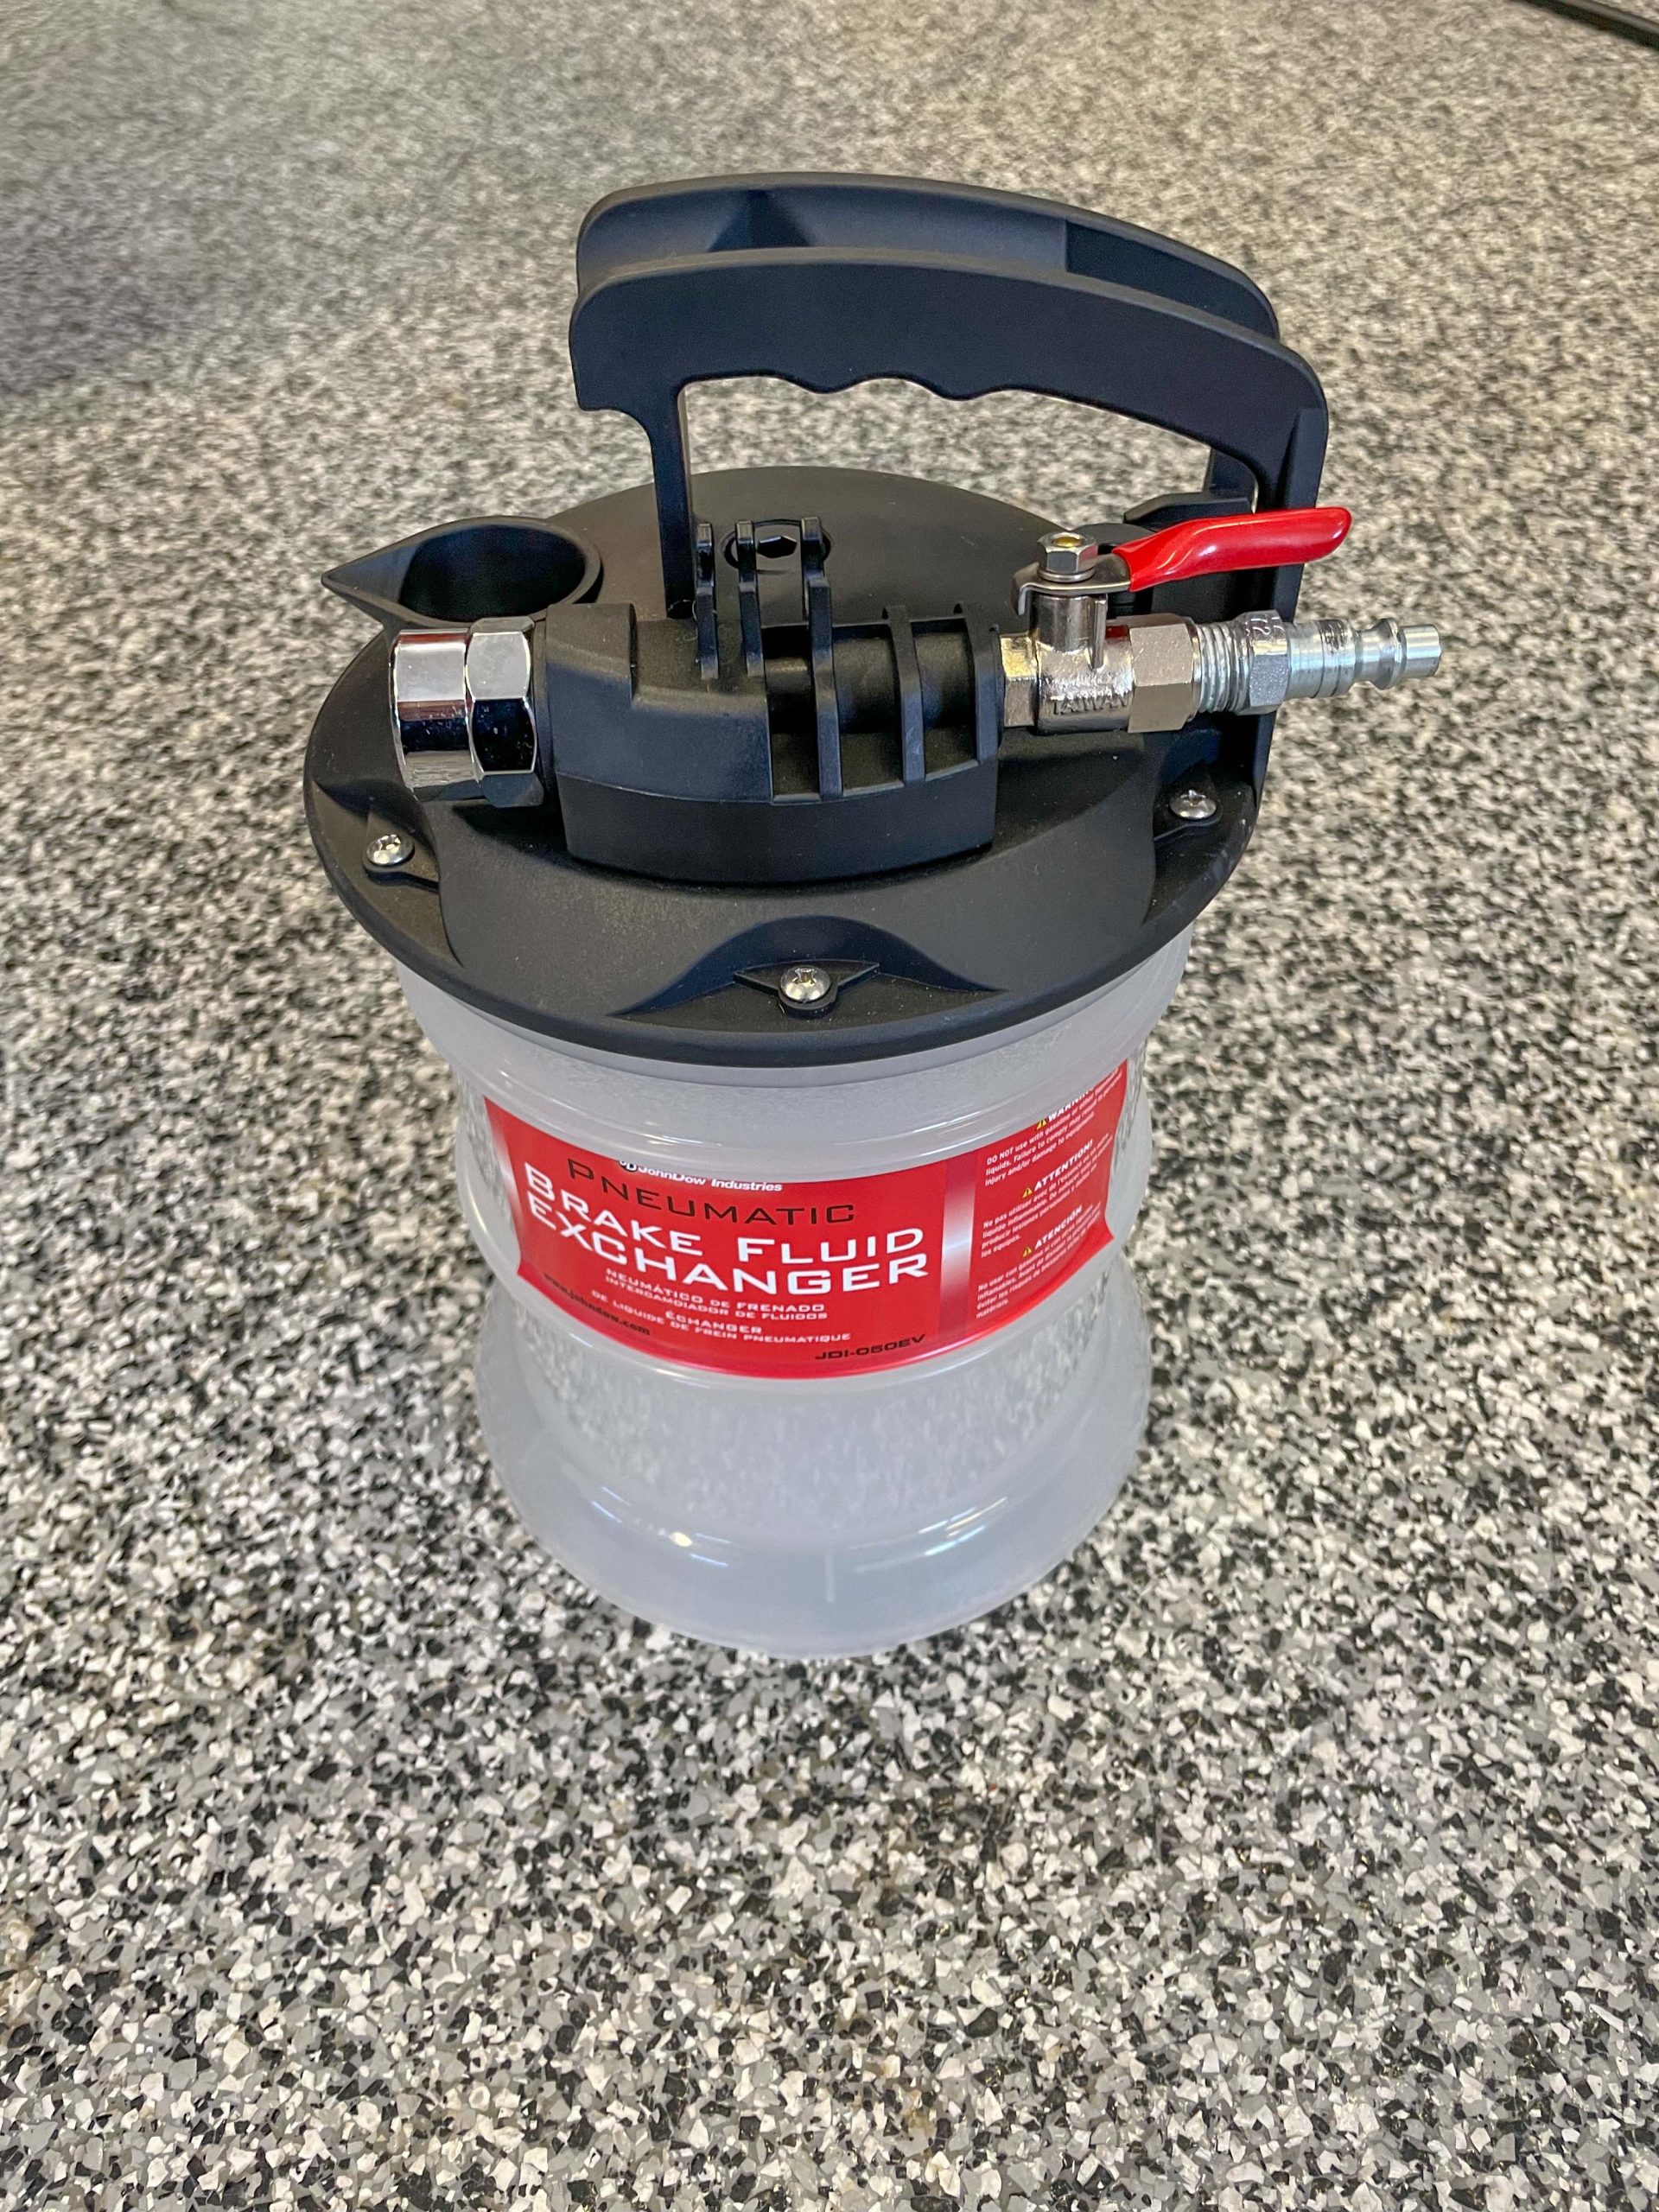
I had to bleed the brakes on my 1971 Corvette and of course there was no help in sight. Fortunately, I had gotten a John Dow Brake Fluid Exchanger from Summit Racing that made the job a one-person operation. It uses compressed air from your shop air compressor to create a venturi vacuum. This vacuum pulls the brake fluid from the master cylinder and out of the bleeder screw valve. Easy-peasy.
Here are some pointers on using the John Dow or most any other vacuum-style brake bleeder:
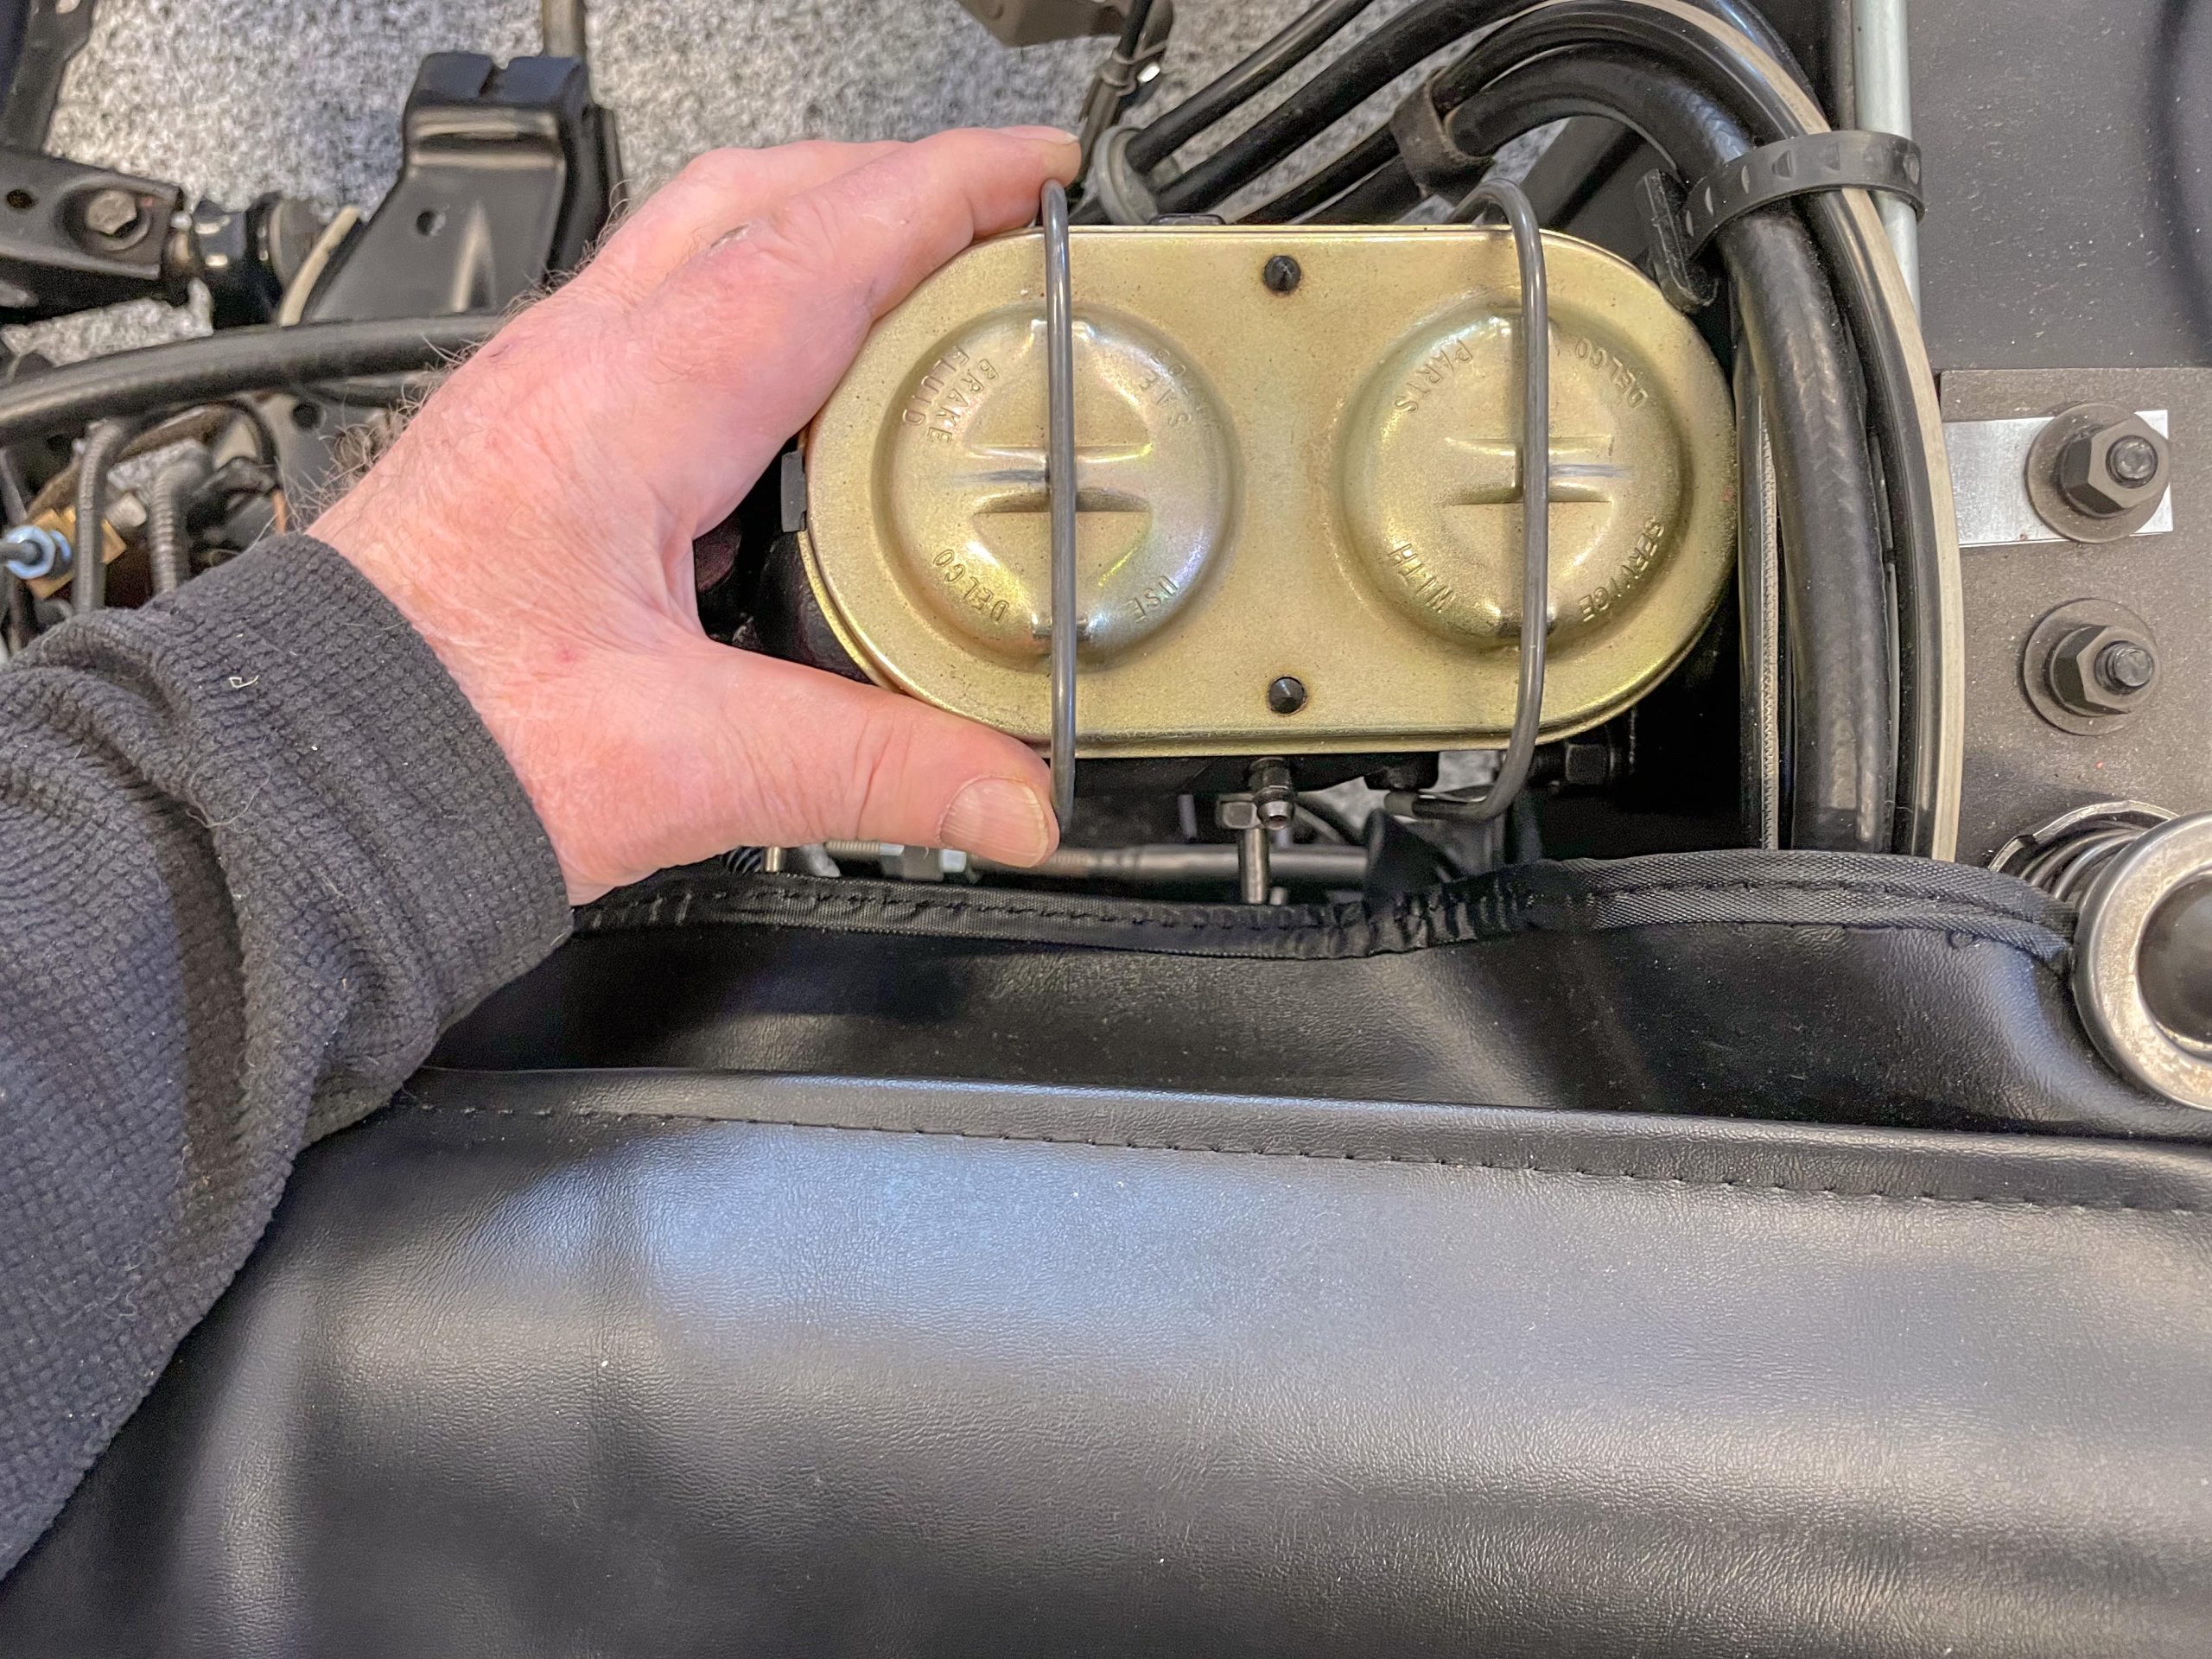
Ensure the master cylinder is full. With some cars, you can actually install a special filler cup directly to the master cylinder. If you have an older car like my Corvette, you’ll have to keep a close eye on the fluid level and manually add as necessary. This might sound dicey, but it’s not.
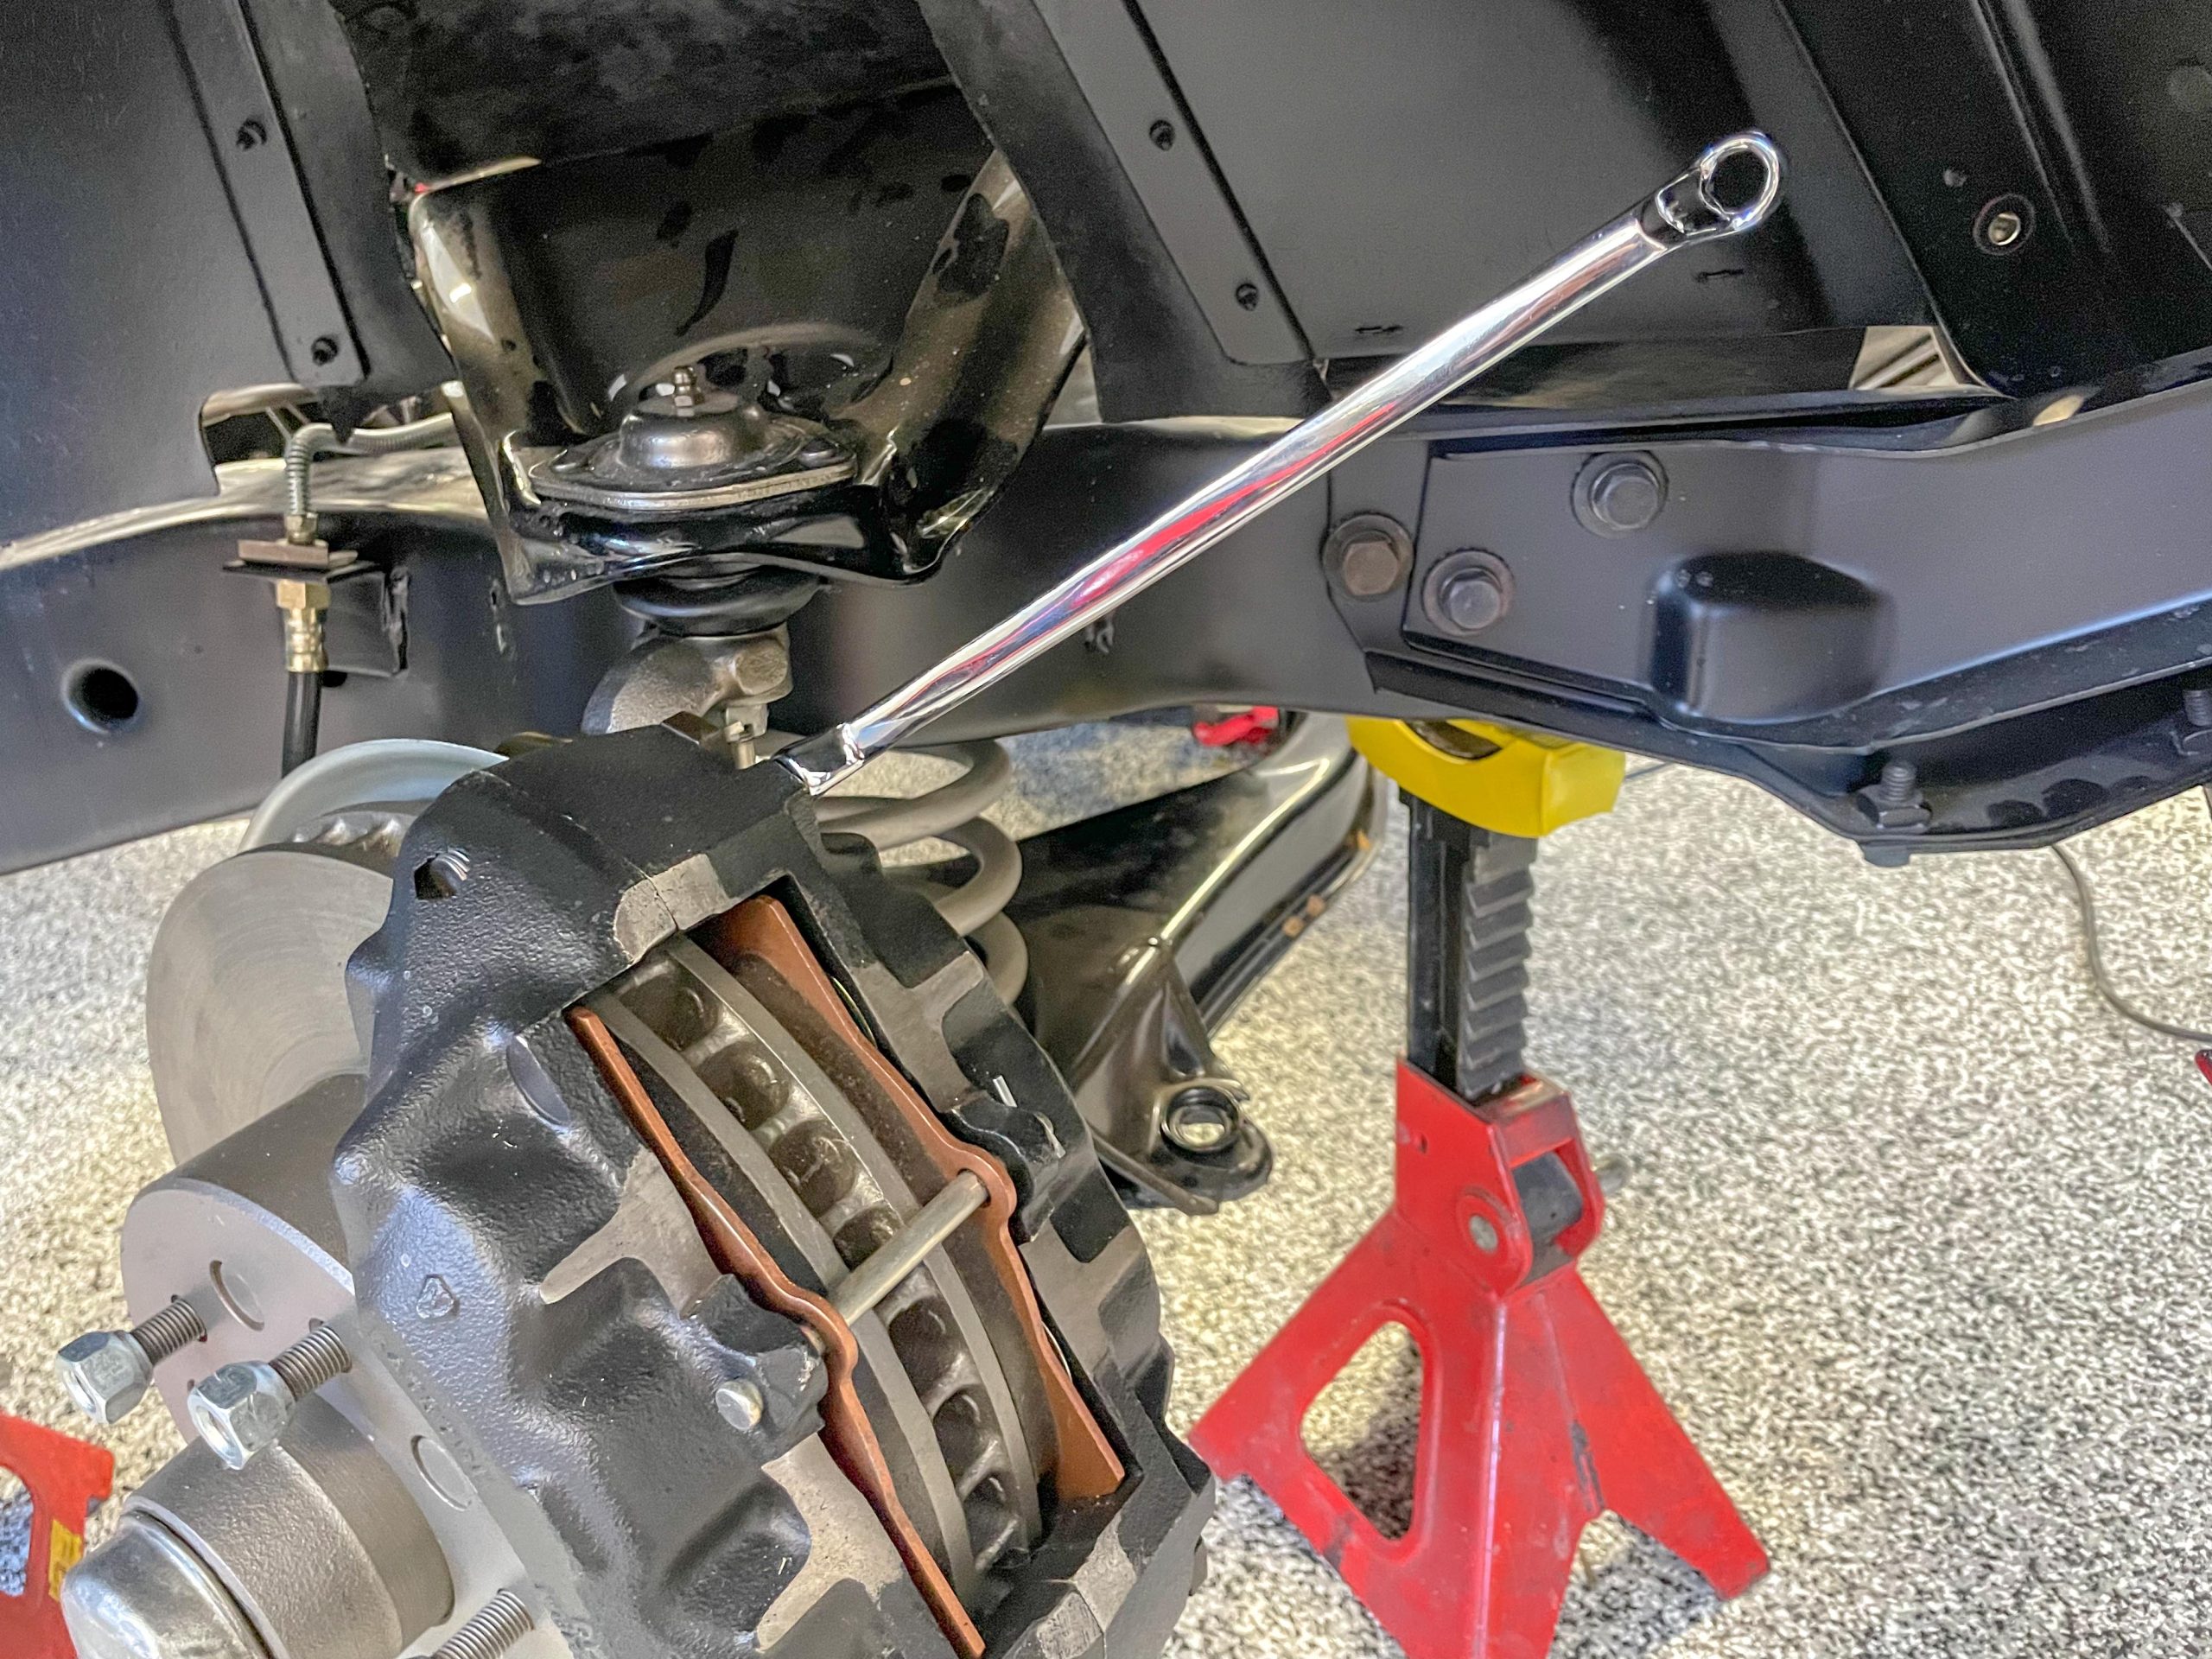
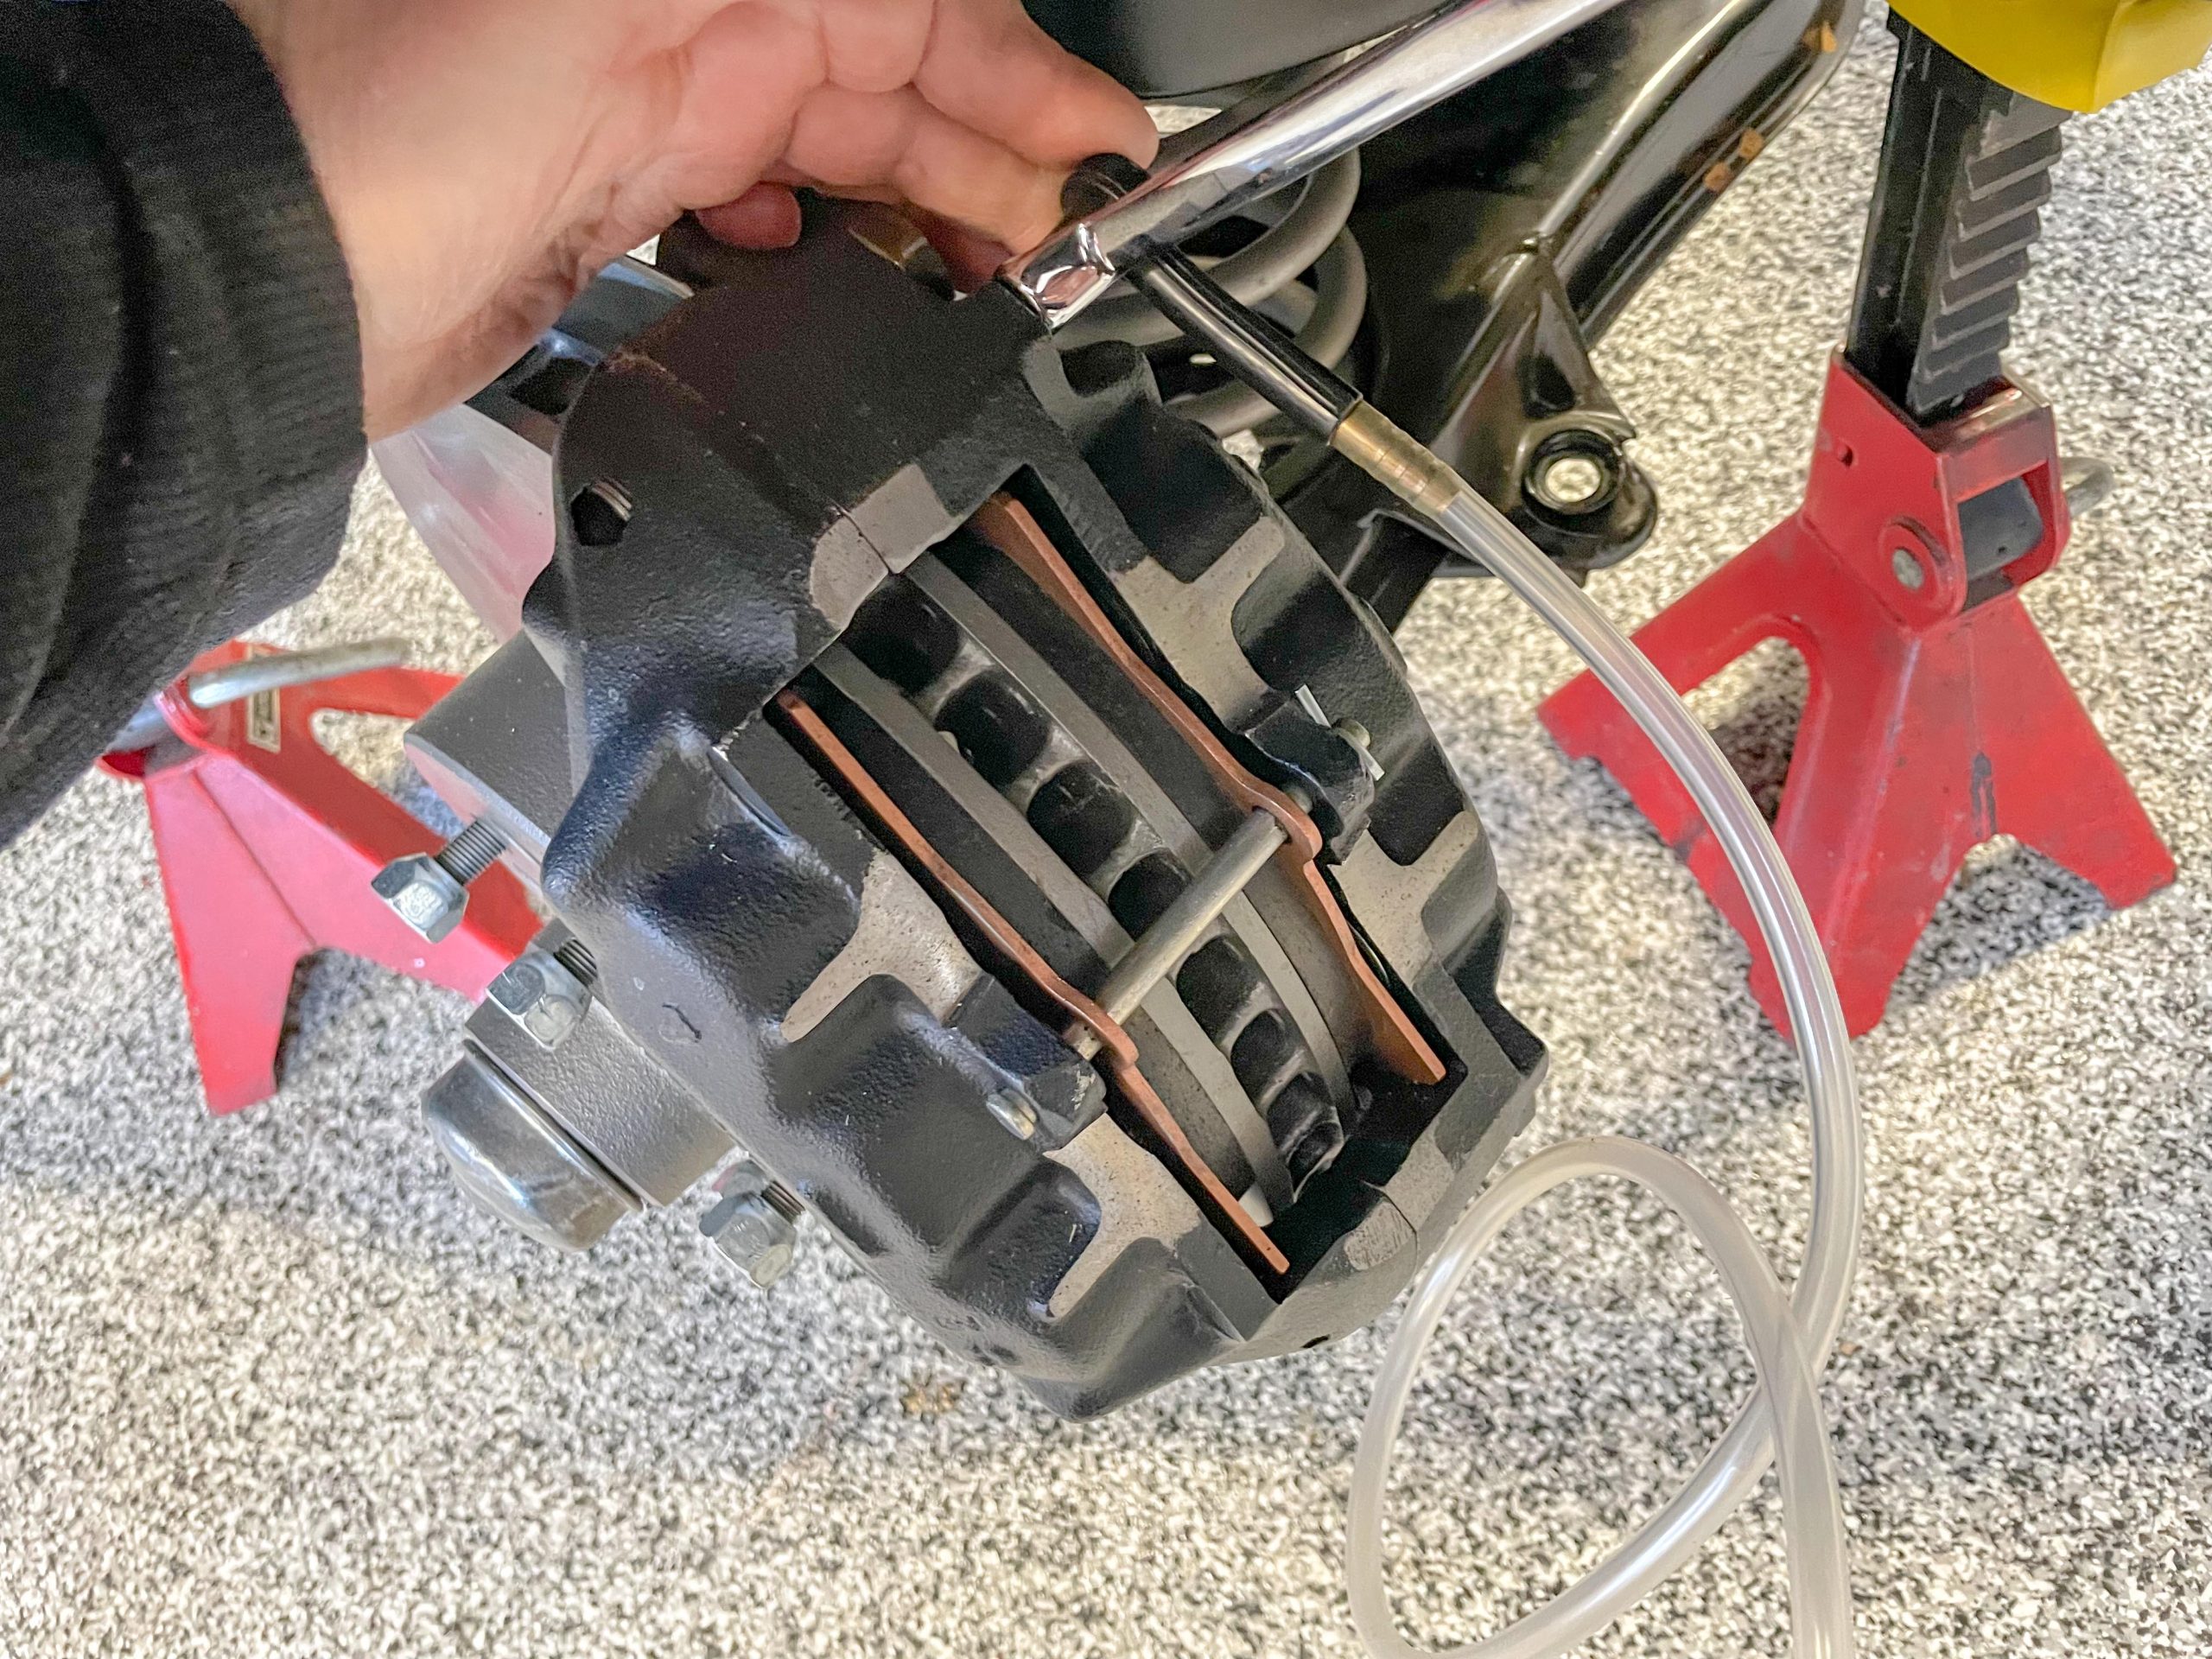
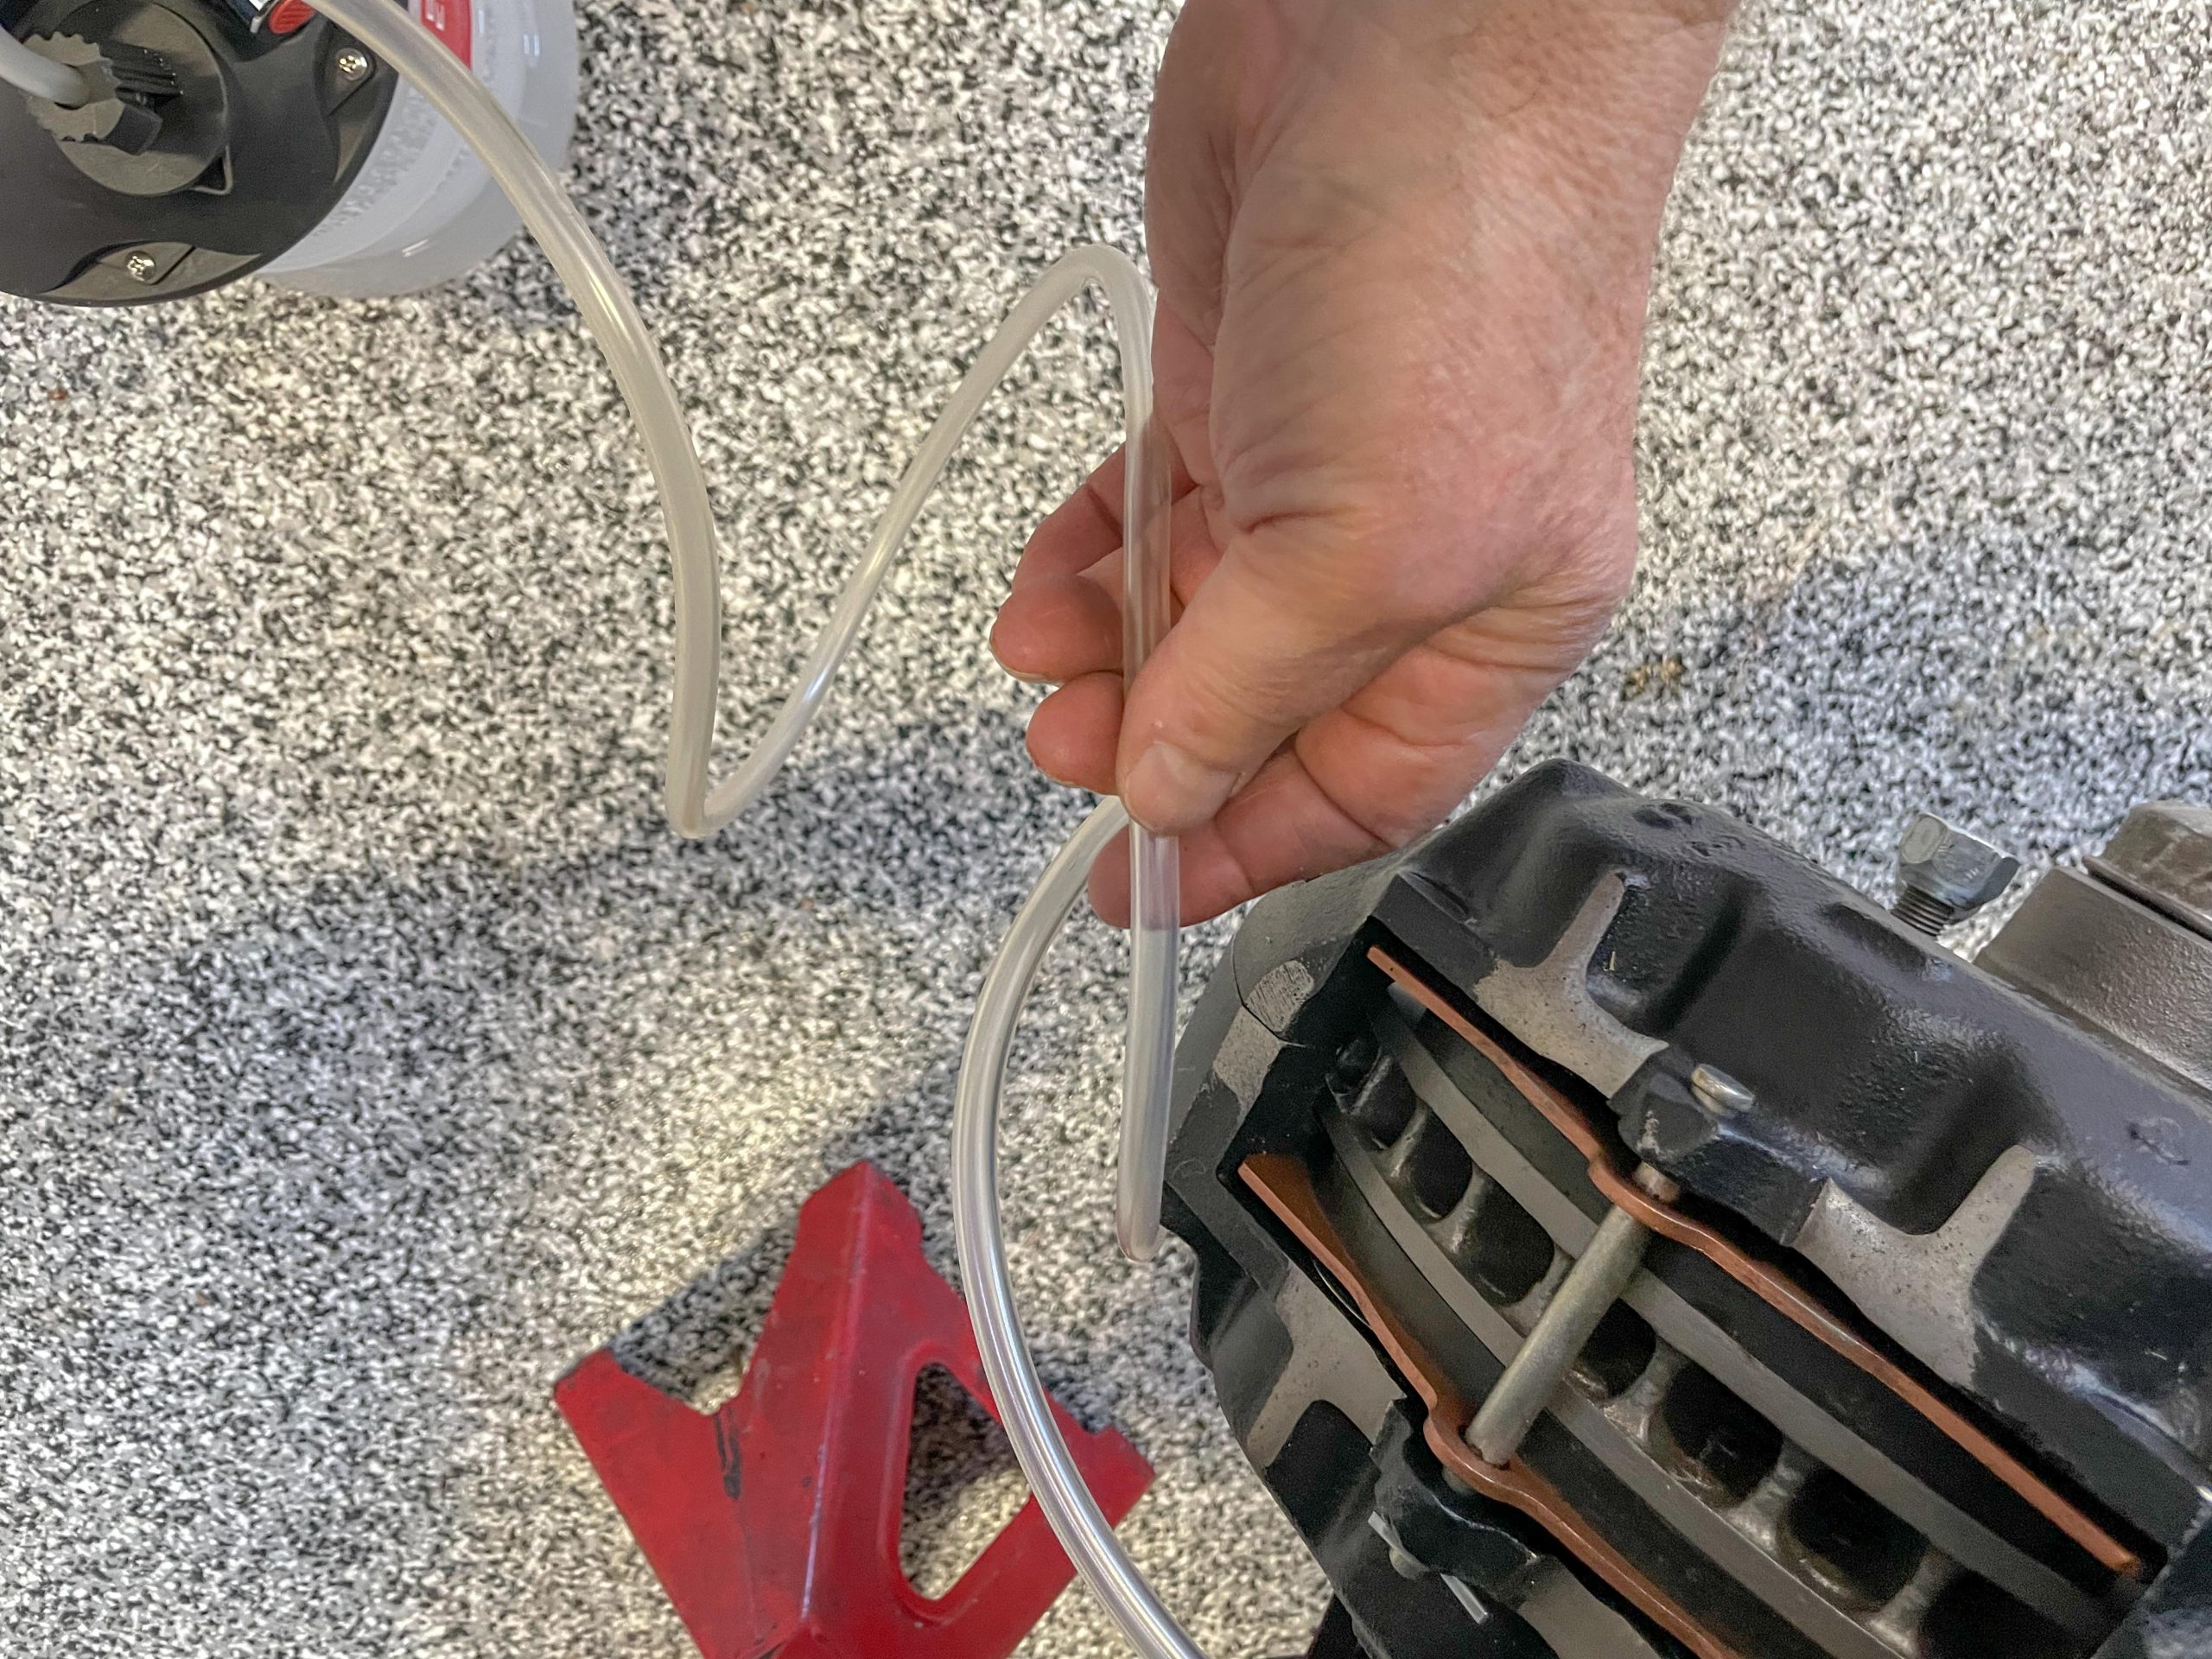
Start the process at the wheel cylinder or caliper furthest from master cylinder. Normally this would be the right rear. Put a brake bleeder wrench over the flats on the bleeder screw, then push the end of the clear plastic evacuator tube onto the bleeder screw nipple.
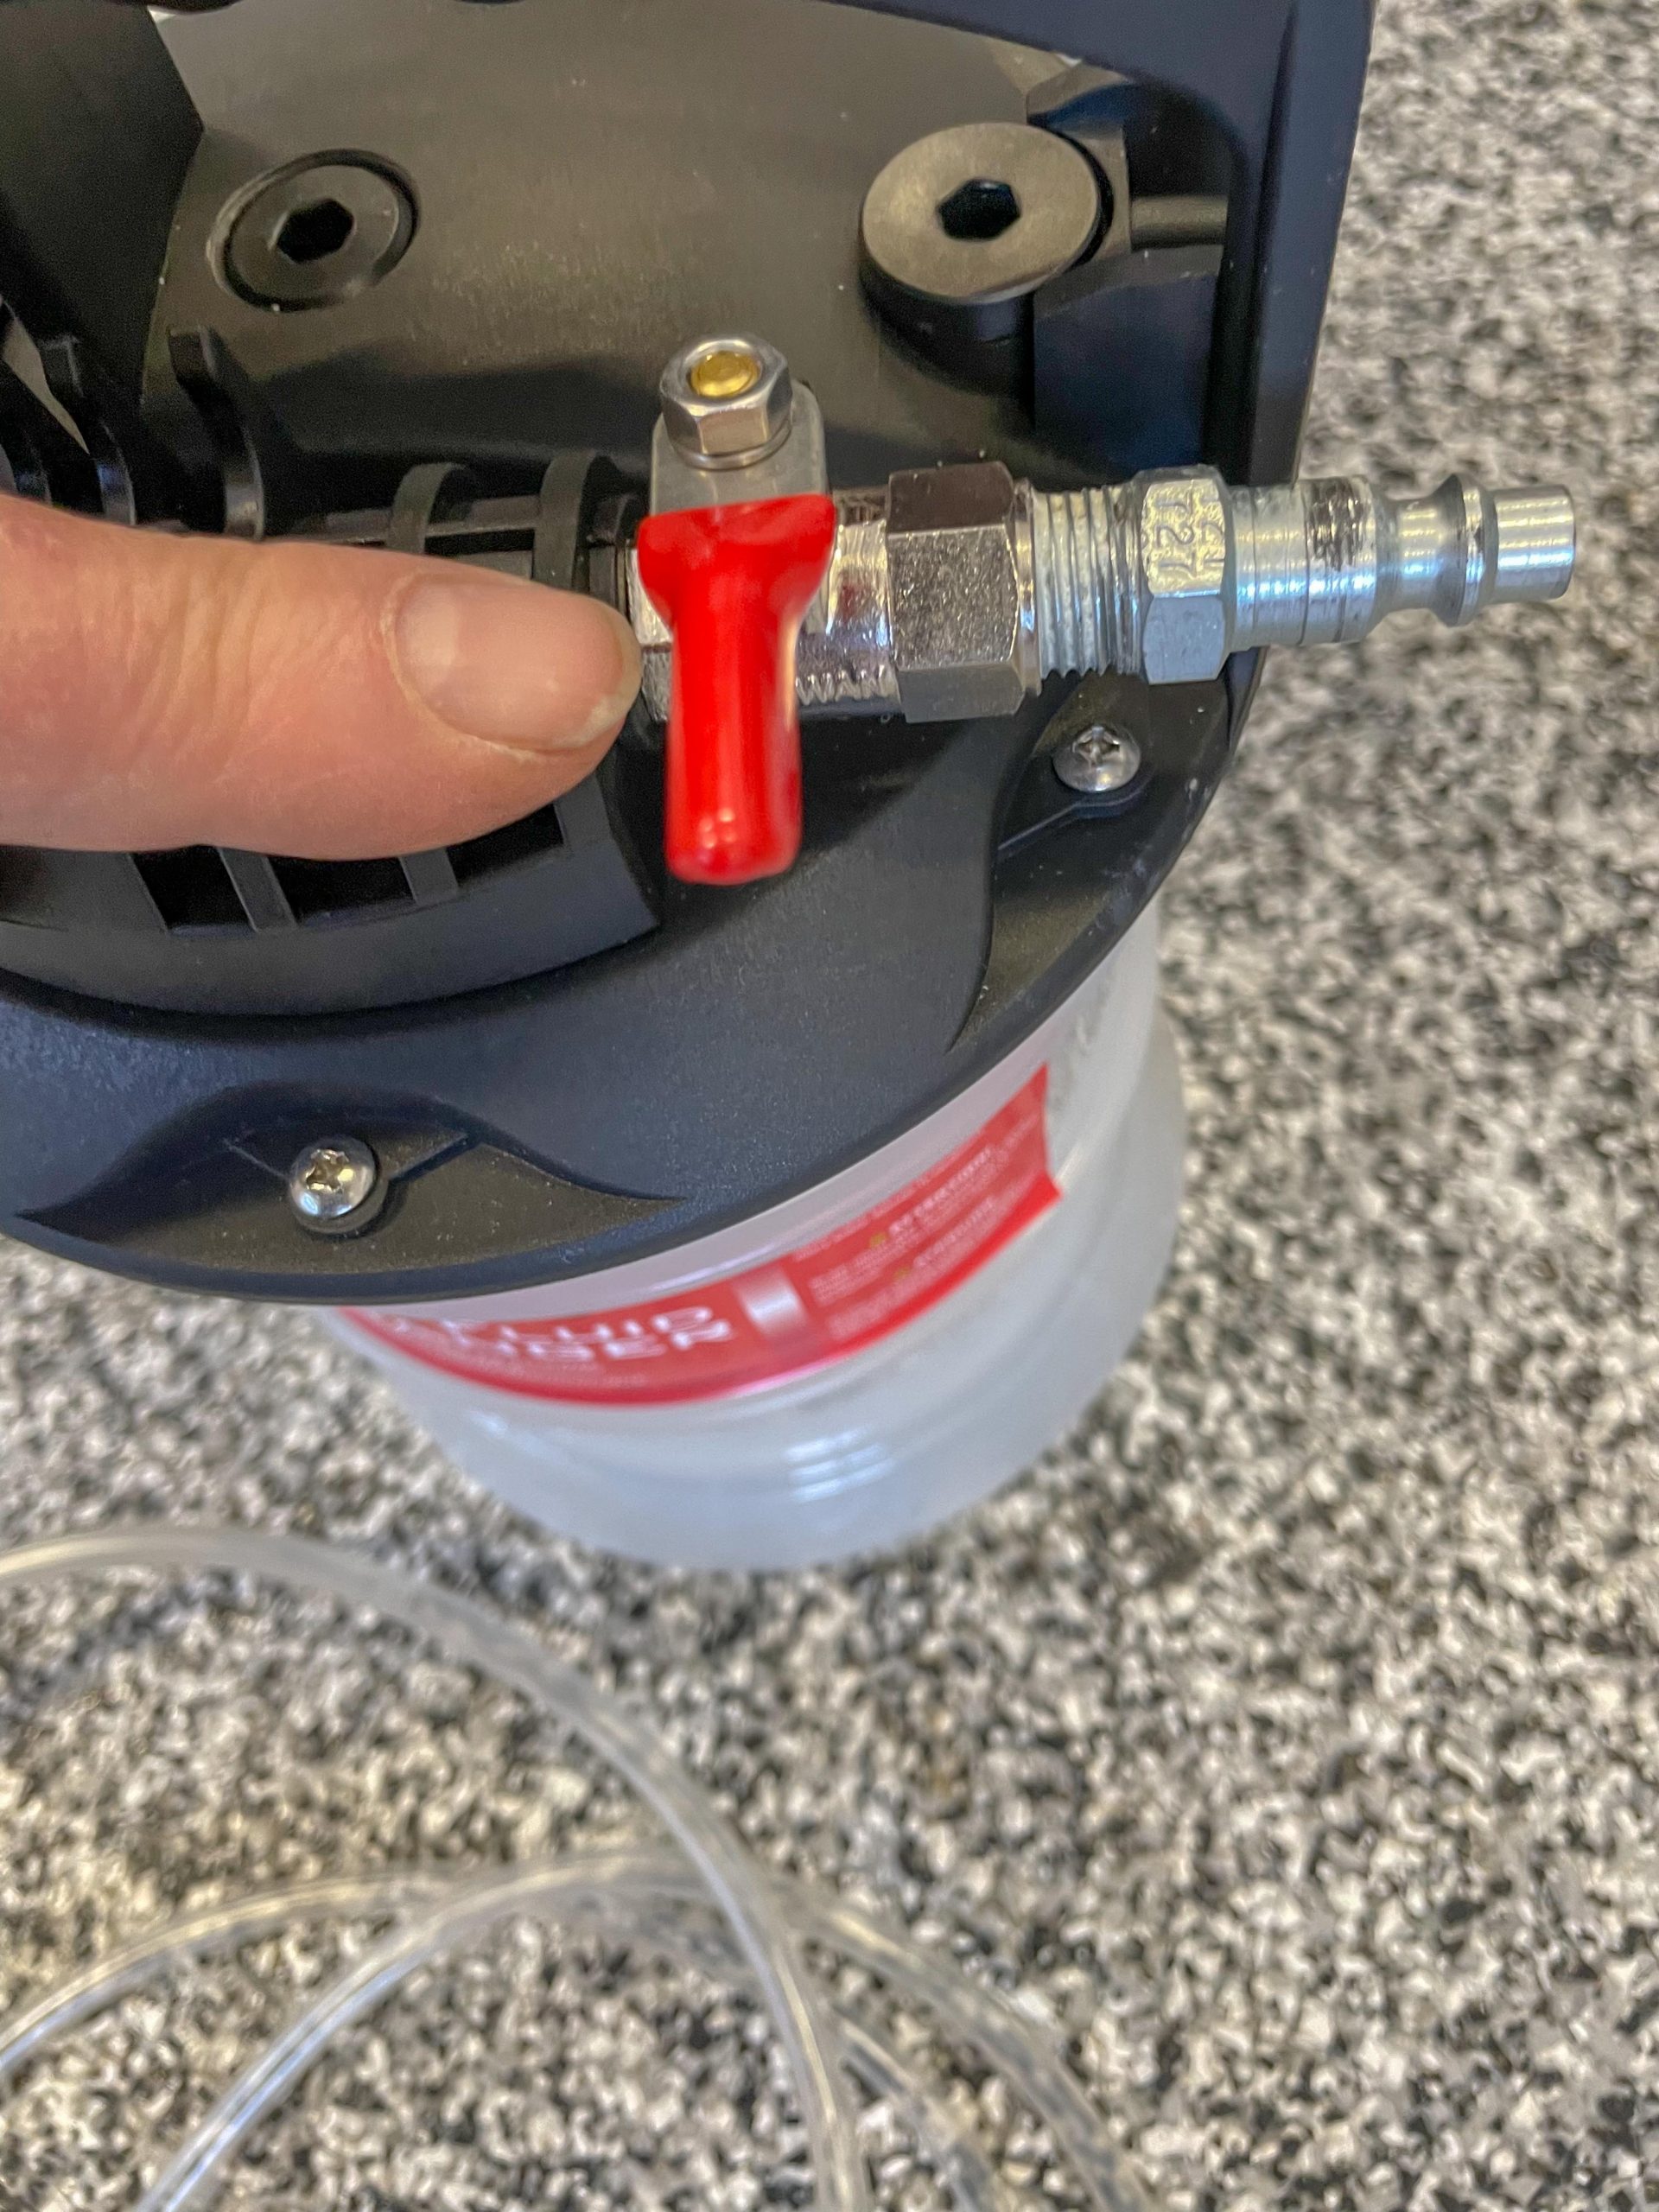
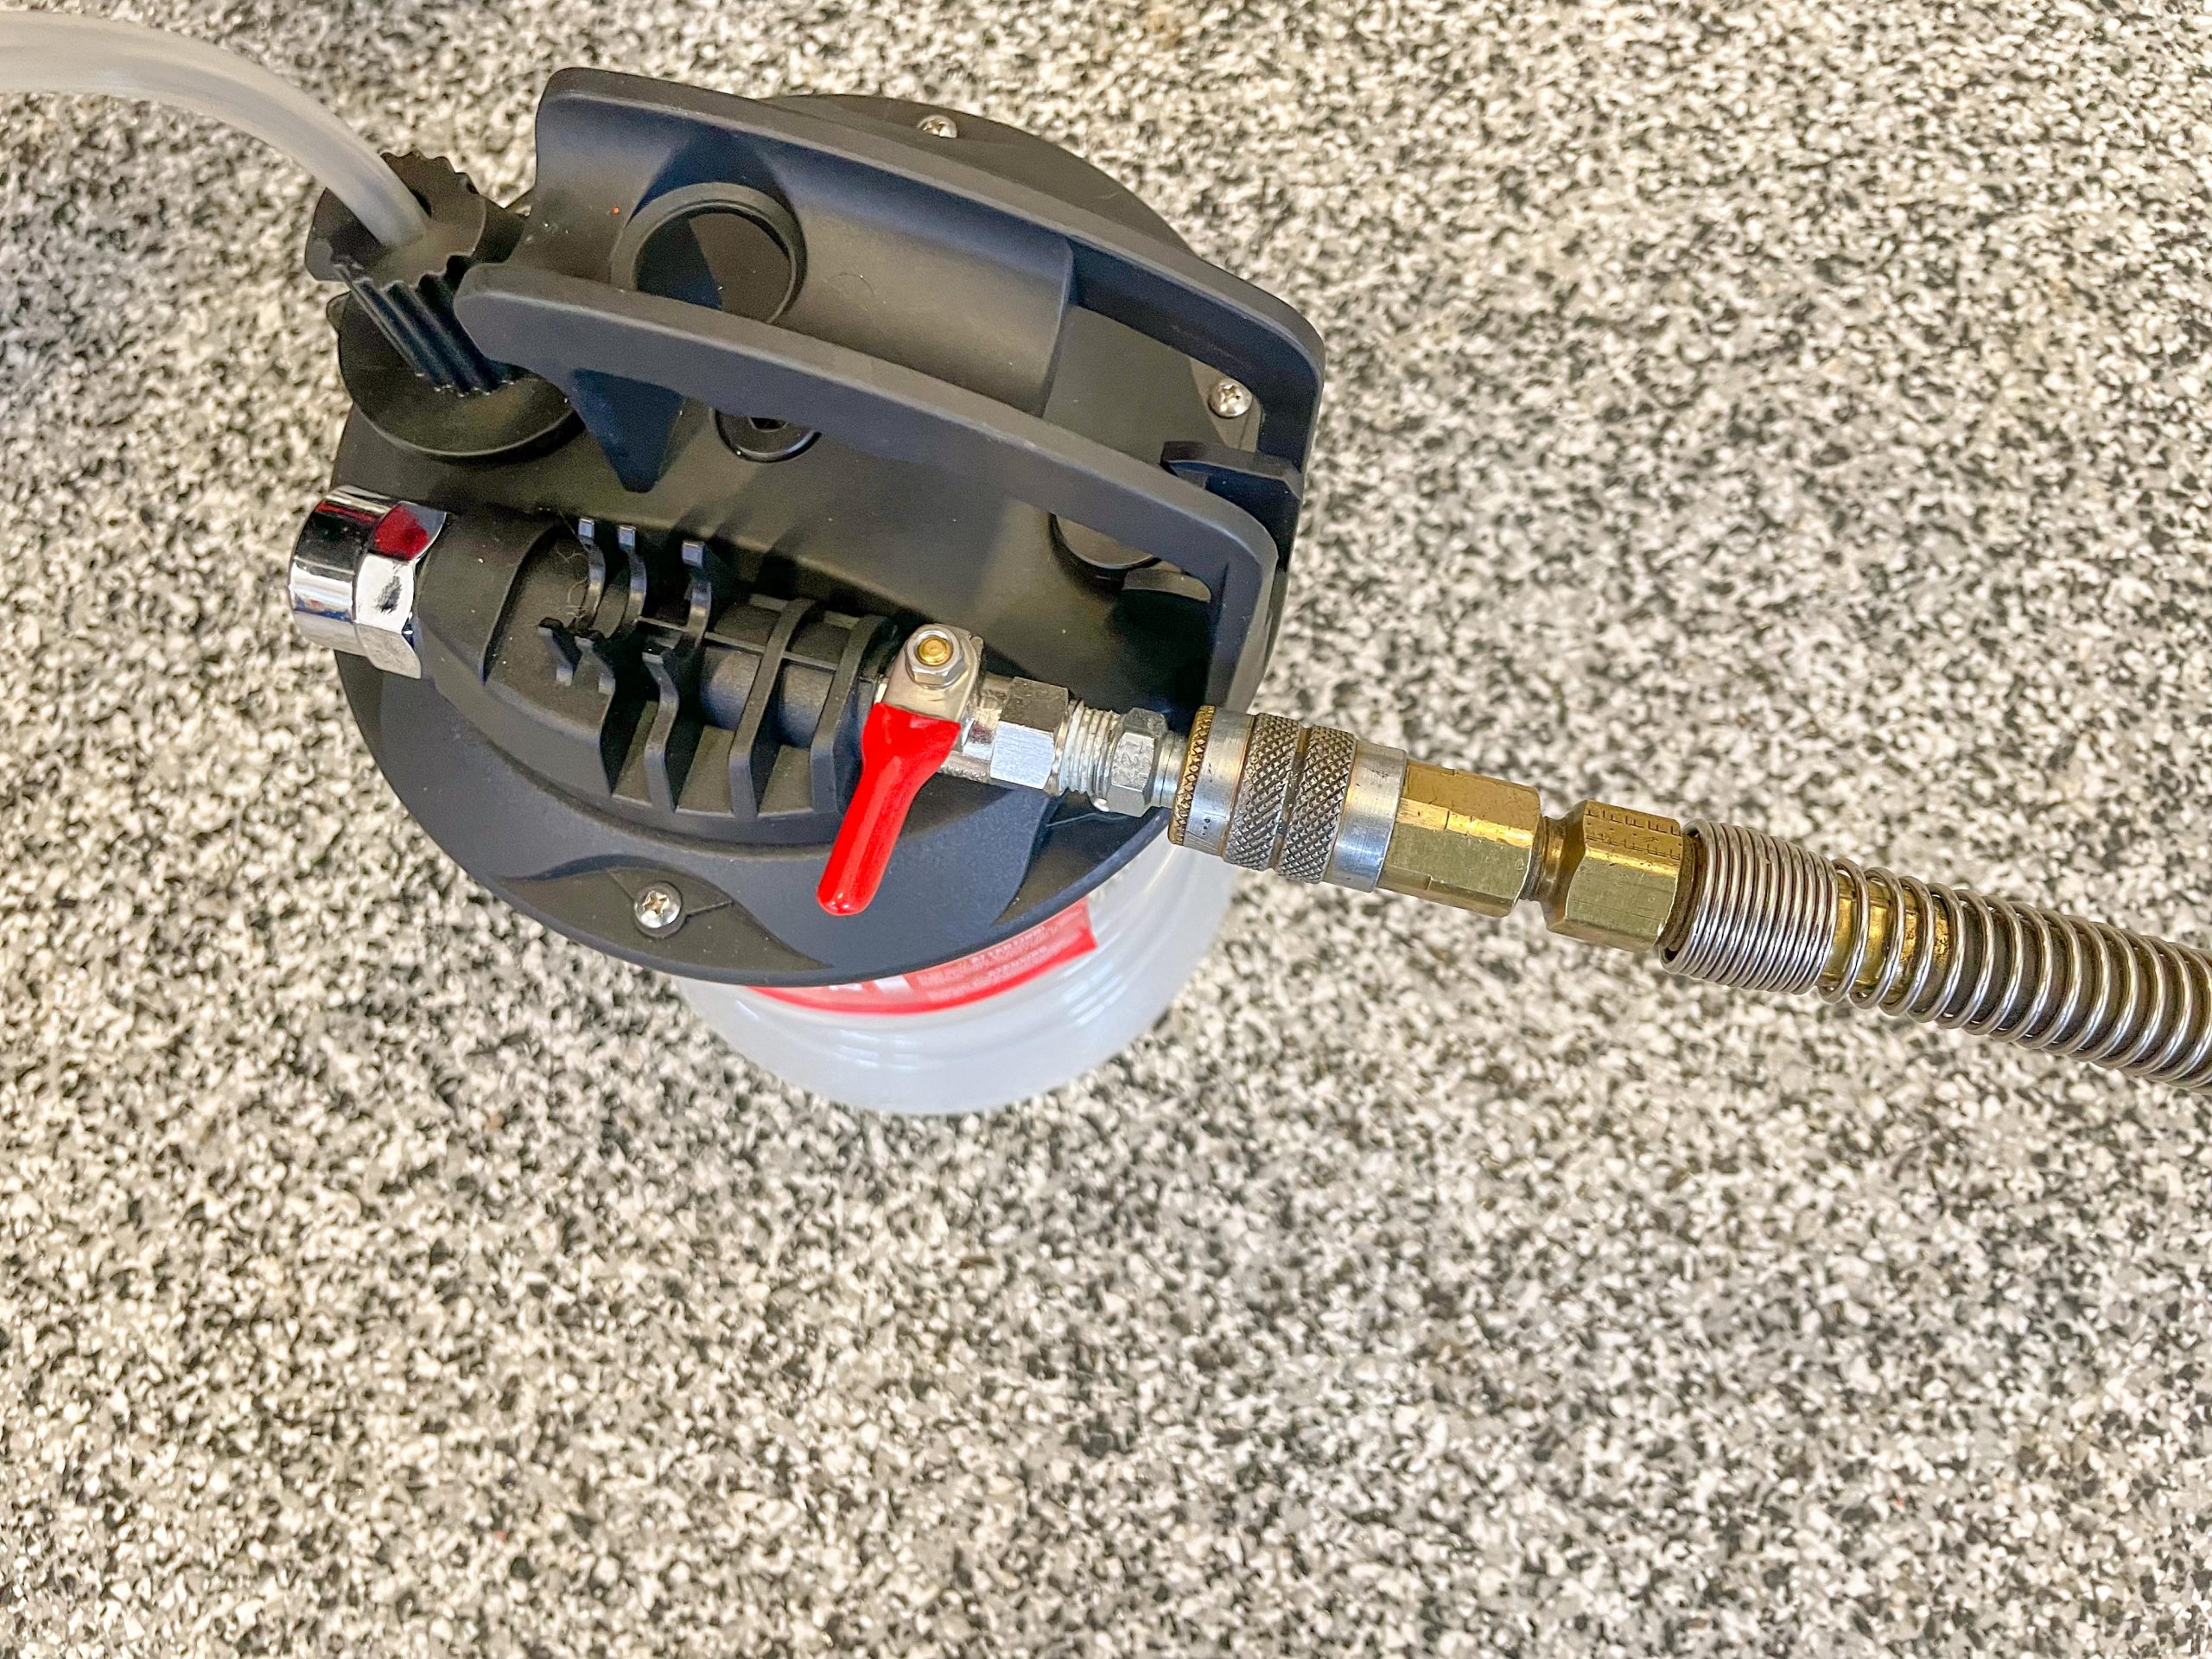
Make sure the air valve lever on the exchanger’s reservoir is in the closed position. Connect the air compressor hose to the quick coupler, then open the air valve. The unit will automatically start to extract the brake fluid once the bleeder screw is cracked open.
As the fluid is drawn out of the system at the bleeder screw, watch for a steady stream (without air bubbles). Turn off the air valve lever on the unit. Some folks let a small amount of fluid to drip from the bleeder. This causes the wheel cylinder or caliper to burp trapped air.
Close the bleeder screw. Remove the plastic hose at the bleeder screw and remove the bleeder screw wrench.
Some folks like to evacuate brake fluid out of each bleeder screw to absolutely ensure the system is free of air. Just repeat the process on the remaining brake calipers/drums. We typically go to the next wheel furthest away from the master, which is the left rear. Then go to the right front and finally, the left front.
If your car has an angled master cylinder, raise the rear of vehicle to level it. This prevents air from being trapped in the end of the master cylinder. If you overfill the master cylinder, you can use the vacuum bleeder to draw fluid right out of the master cylinder. It works like a charm!
Your reward for a job well-done is twofold—a firm brake pedal and no headaches trying find a helper to bleed brakes. By the way, the vacuum bleeder works great for hydraulic clutch systems too.

This is a complicated topic… most cars will gravity bleed just fine. The ones that won’t, though, are usually because of the plumbing layout (poor!) and they have high spots where trapped air will accumulate and never get flushed out towards the bleeder. On those, only pressure bleeding works (under increased pressure, the air bubbles shrink down to nothing and are carried out of their hidey-hole as if the air was just more fluid), and the bleeder has to be only partially opened so that it holds back pressure in the lines, which is what makes the air bubbles shrink and become one with the fluid. A vacuum bleeder won’t help on those ones, as lower pressure just makes the trapped air bubbles even larger. There isn’t one method or one tool that works on everything ever made, unfortunately.
Looks a lot easier than messing around with the cumbersome motive bleeders. Imma give one of these a shot when my next brake flush comes up. Thanks for the info!