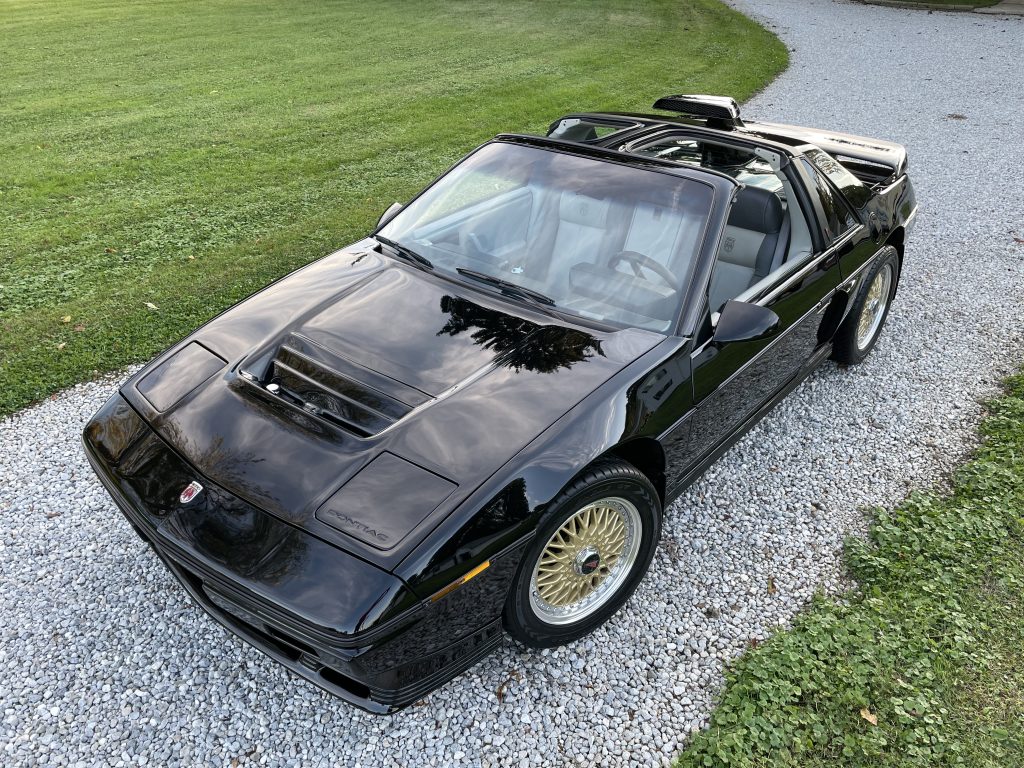
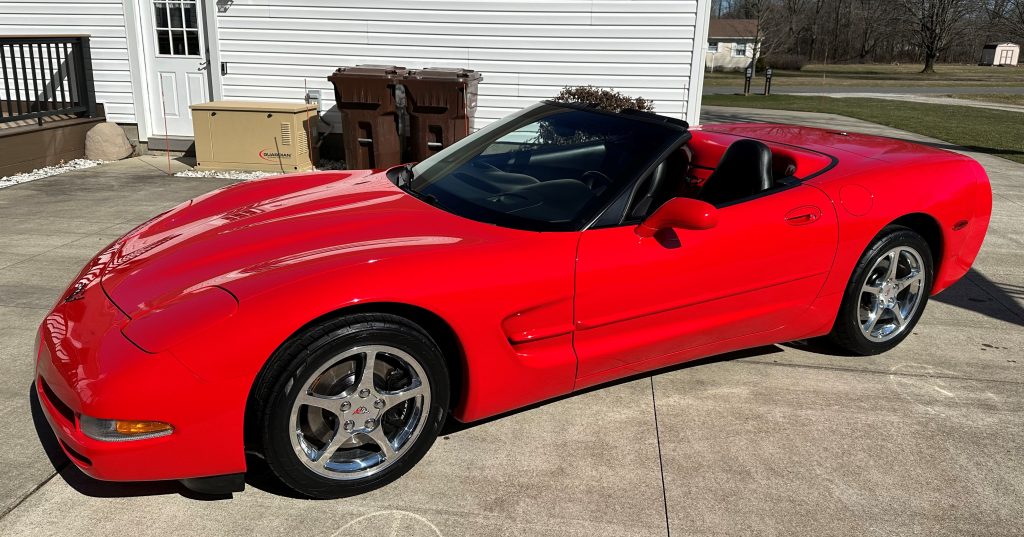
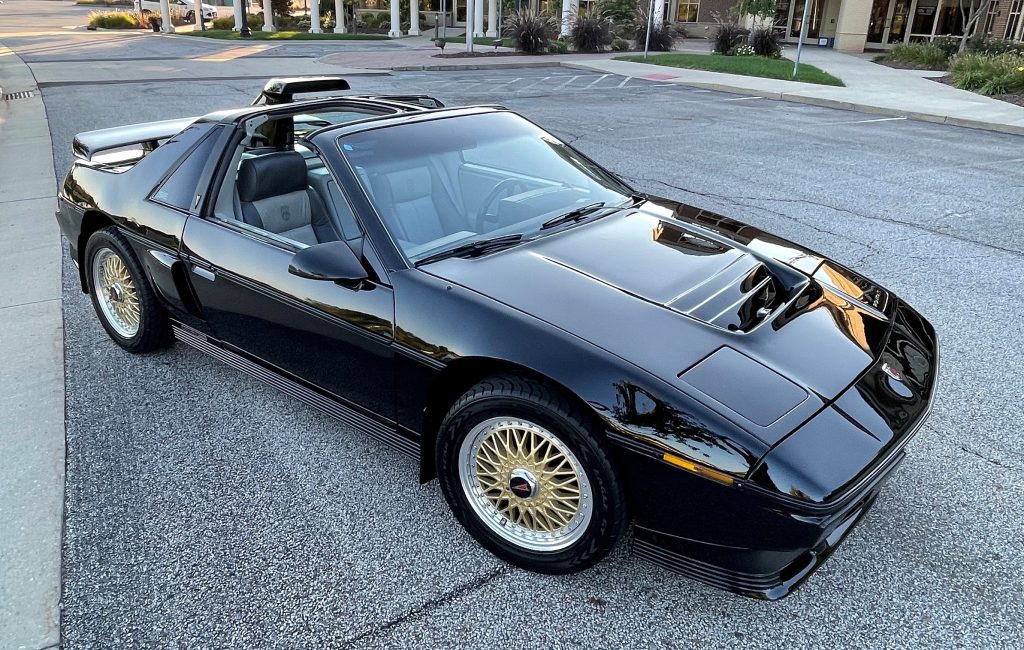
We asked Steve Swisher, one of Summit Racing’s resident car detailing experts, to walk-through his vehicle paint correction and care routine—and outline some of the products he uses to keep a mirror-like finish on his fleet of vintage and modern cars.
Though Steve doesn’t consider himself a professional auto detailer, he’s a diehard car guy (and maintains what is, perhaps, the cleanest Pontiac Fiero on the planet). That said, he explains that this is *his* personal process—one that he’s developed through his own experience.
In other words, what works for him may not work for you.
So don’t take his instructions here as a rigid guideline, rather a general set of techniques that you can use depending on your vehicle’s exact paint type, its condition, and your environment.
Note. If you’re unsure about your paint’s condition, seek professional help. Some paint can be worn thin or get too damaged to polish out.

***
5 Steps to Proper Vehicle Paint Correction
Story by Steve Swisher
***
This is the process I do for all my cars, any color. It works on clearcoat and regular paints. It works just as well on black, red, or pearl white.
Step 1 – Inspect the Paint & Clay Bar if Needed
I start by determining what is needed for the specific paint on the vehicle. Most of my cars aren’t in too bad of shape, paint-wise—but if they are, I begin with clay to clean the paint and then use Meguiar’s Diamond Cut to clean up any damaged areas.
I use Clay Magic, the original clay. It is not a polish, but it cleans the paint of any embedded materials, like road grit, dead bugs, and other stuff like that. Note that this is a more abrasive compound, and you only want to use it on paints in need of repair from deeper scratches. This is not one you will use regularly.
***
Step 2 – Start With an Initial Polish
I use 3M Machine Polish to bring back the shine and clean up the damaged areas even more. I use a six inch orbital polisher with a yellow pad. These are more aggressive pads for removing defects in the paint. This polish and the rest are not very abrasive and can be used regularly. If you keep up on your car’s paint care and maintenance from now on, you can skip these early steps in the future.
***
Step 3 – Finishing Polish with a Fine Pad
I follow step two with 3M Micro Polish. This is a finishing polish that removes any small details of the paint that are still not corrected. Sometimes I may have to go back to a more abrasive polish and work it some more. In this step I can use a yellow pad, or go with a less-aggressive white pad.
***
Step 4 – Bring Out Depth & Shine
For darker colors, including black, I follow up the Micro Polish with Black Light Polish from Chemical Guys. This adds depth to the finish, and takes a great shine and makes it even deeper. I continue with a white pad for this step. (Chemical Guys also offers a White Light Polish for vehicles with lighter colors.)
***
Step 5 – Seal & Protect
I seal the paint after the polishing job with Jet Seal from Chemical Guys. Then, if the car is a daily driver, I use Pete’s Black Pearl Paste Wax by Chemical Guys to finish it. This wax is durable and really easy to use. For show cars and weekend cruisers, I just go to the wax. Then I clean up with a Chemical Guys V07 spray detailer.
***
Tips & Techniques to Vehicle Paint Correction
Using the correct tools is important. I will polish using a three and six inch orbital polisher. (Having the two pad sizes helps when working in tight areas and creases.) Note that these machines are safe and are difficult to burn the paint—but they will do more work than you can by hand and save a lot of time.
I also use the appropriate foam pads to match the aggressiveness I need for the panel I’m working on. They are color-coded and marked on their bags. Red is good for applying wax and is non-aggressive; on the other hand, yellow is highly aggressive and good for cleaning up paint damage. Other colors have different levels of aggressiveness much like sandpaper. You can choose what you like—I often use yellow, then white, and then red.
To wipe off polish and wax I use Chemical Guys Happy Ending Towels. They work really well in my opinion and deliver a great finish. They are very soft, and leave an excellent shine.

Once you correct the paint, it is much easier to maintain moving forward—if you keep up with its care. When kept in good shape, you may discover that only steps four and five are necessary to maintain a great shine. If you let the paint’s condition go, then you’ll probably have to start over and repeat all the steps outlined above.
To dry the car and preserve the shine, I use the Metrovac Air Force Master Blaster. It is a great tool as it removes weepers and dries without the need to drag a towel on the paint. It is better than compressed air or a leaf blower. It blows warm dry air that dries faster and more efficiently. It also is great for blowing dirt and water from an engine and other areas when detailing.

Careful detailing with spray detailers and dusters will also help preserve the paint condition between washes. Remove bird droppings and bugs if you can, as they can eat into the clear surface.
One final recommendation is to have good shop lighting where you work. It keeps the flaws from hiding and often leads to better results. You want to look beyond the top shine and investigate the paint for flaws and scratches—that’s what makes some paint look better than others.
***
Vehicle Paint Restoration & Protection Product List
- Meguiar’s Diamond Cut – MEG-M-8532
- 3M Products Perfect-It EX Machine Polish – TES-7100068200
- 3M Products Finesse-It II Machine Polish – TES-7100061951
- Chemical Guys Black Light Polish (for dark paint) – CEM-GAP-619-16
- Chemical Guys White Light Polish (for lighter paint) – CEM-GAP-620-16
- Chemical Guys Jet Seal (optional) – CEM-WAC-118-16
- Chemical Guys Pete’s Black Pearl Wax – CEM-WAC-400
- Chemical Guys V07 Spray Sealant & Detailer – CEM-WAC-808-16
- Driven Race Wax Detailer- JGR-50060
- Orbital Polisher, 3 & 6 Inch
- Various color-coded foam pads

Comments