When our classic cars and trucks were rolling off assembly lines back in the day, all we needed was a basic electrical system to power an AM radio, lights and signals, the ignition system, and a heater. Some of the fancy-schmancy cars had A/C, power windows, and power convertible tops, but that’s about where the accessory list ended.
The plethora of automotive creature comforts we’ve come to rely on since then place huge demands on those electrical systems. Climate control, electric cooling fans, high-energy ignition systems, electronic fuel injection, big sound systems, and other components will make short work of that old wiring.
When aftermarket wiring harnesses arrived decades ago, they were a “one size fits all” style that worked well for hot rodders and custom builders. The rest of us were stuck with adapting those universal harnesses and switches to our classic car’s factory components. American Autowire changed all of that with its complete Classic Update Series Wiring Harnesses. The 18-circuit harnesses allow you to replace that old wiring with new stuff that can handle modern electronics. There are over 60 year/make/model-specific kits for American vehicles made from 1947 through 1990. Each uses the factory harness routing and is preassembled with factory-style plugs and connections.
Installing an American Autowire system is not difficult, but does require time, patience, and organization. You get a very detailed set of instructions to guide you along the way. It is a good idea to test each leg of the installation as you go, which helps isolate any issues that may come up.
We’re working with Dave Toth of Classic Resto Garage just outside of San Diego, California to install a Classic Update Series Harness in a 1968 Mustang. Everyone has their own approach to automotive wiring, and Dave likes a nice clean approach where it is clear where everything goes. For example, he placed the American Autowire fuse box on the far left above the kick panel and behind the dashboard for easy access. Circuits were carefully thought out and routed so they’re easy to trace if there is ever an issue. Let’s take a look, shall we?
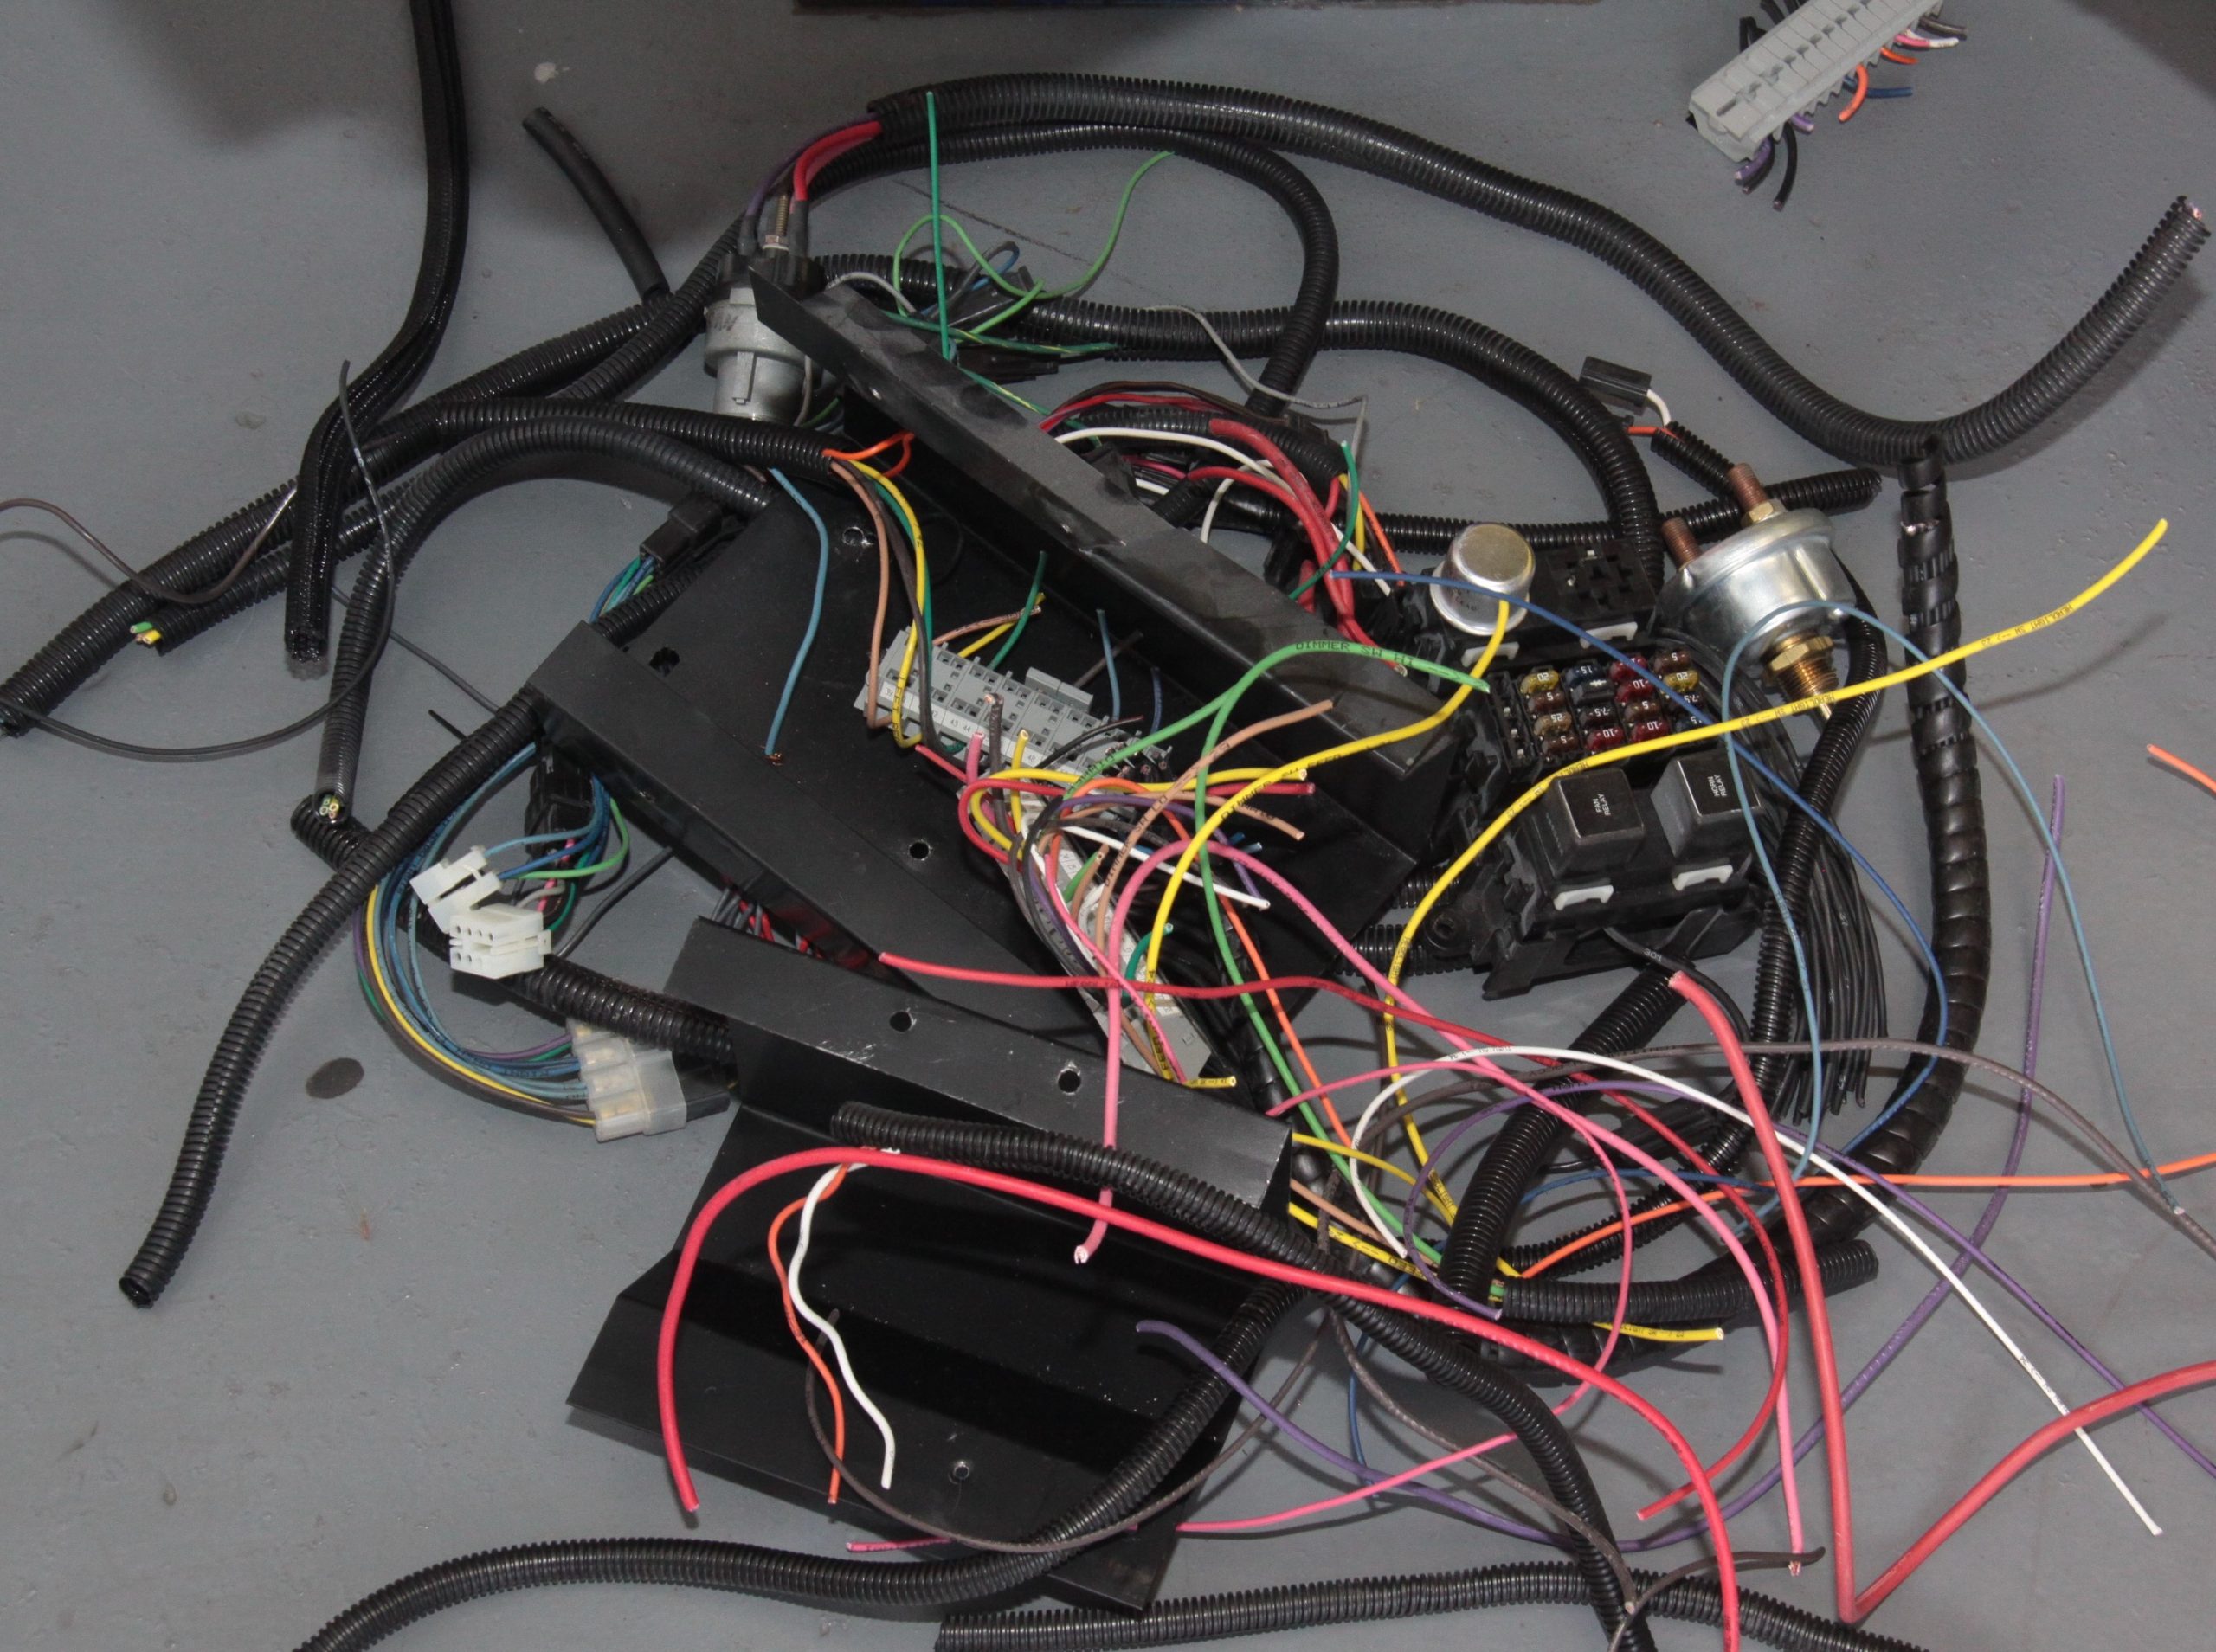
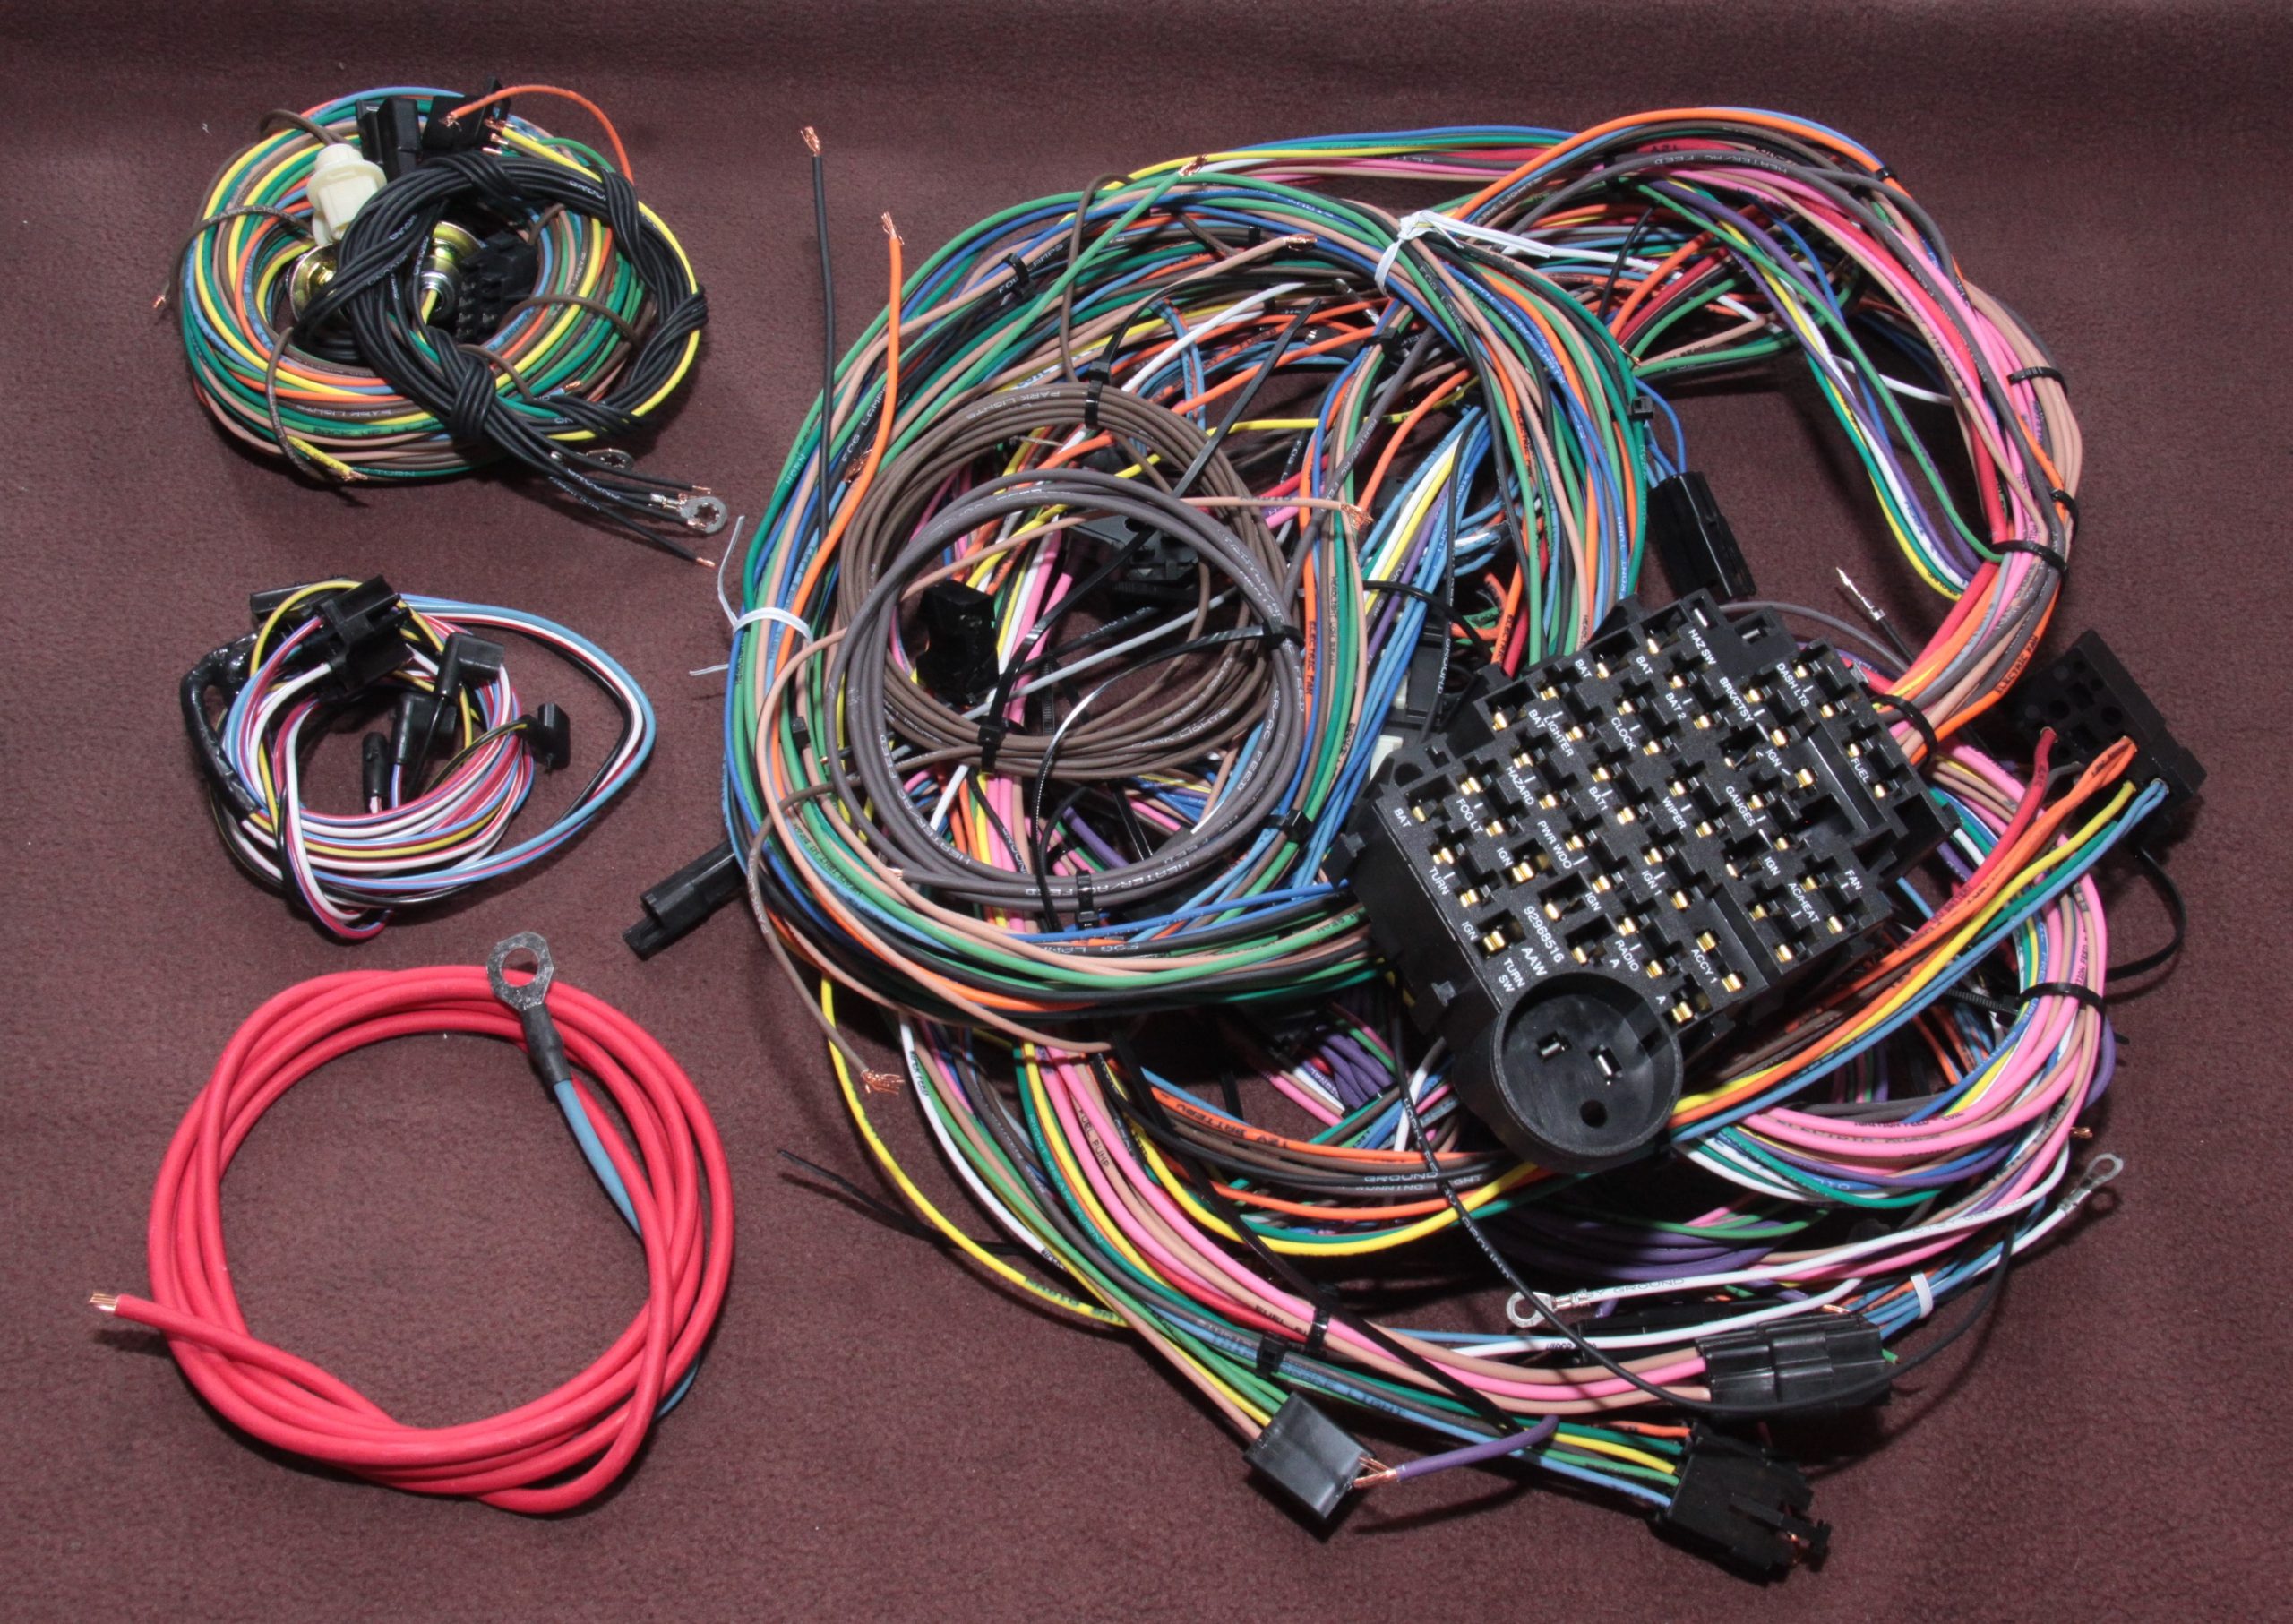
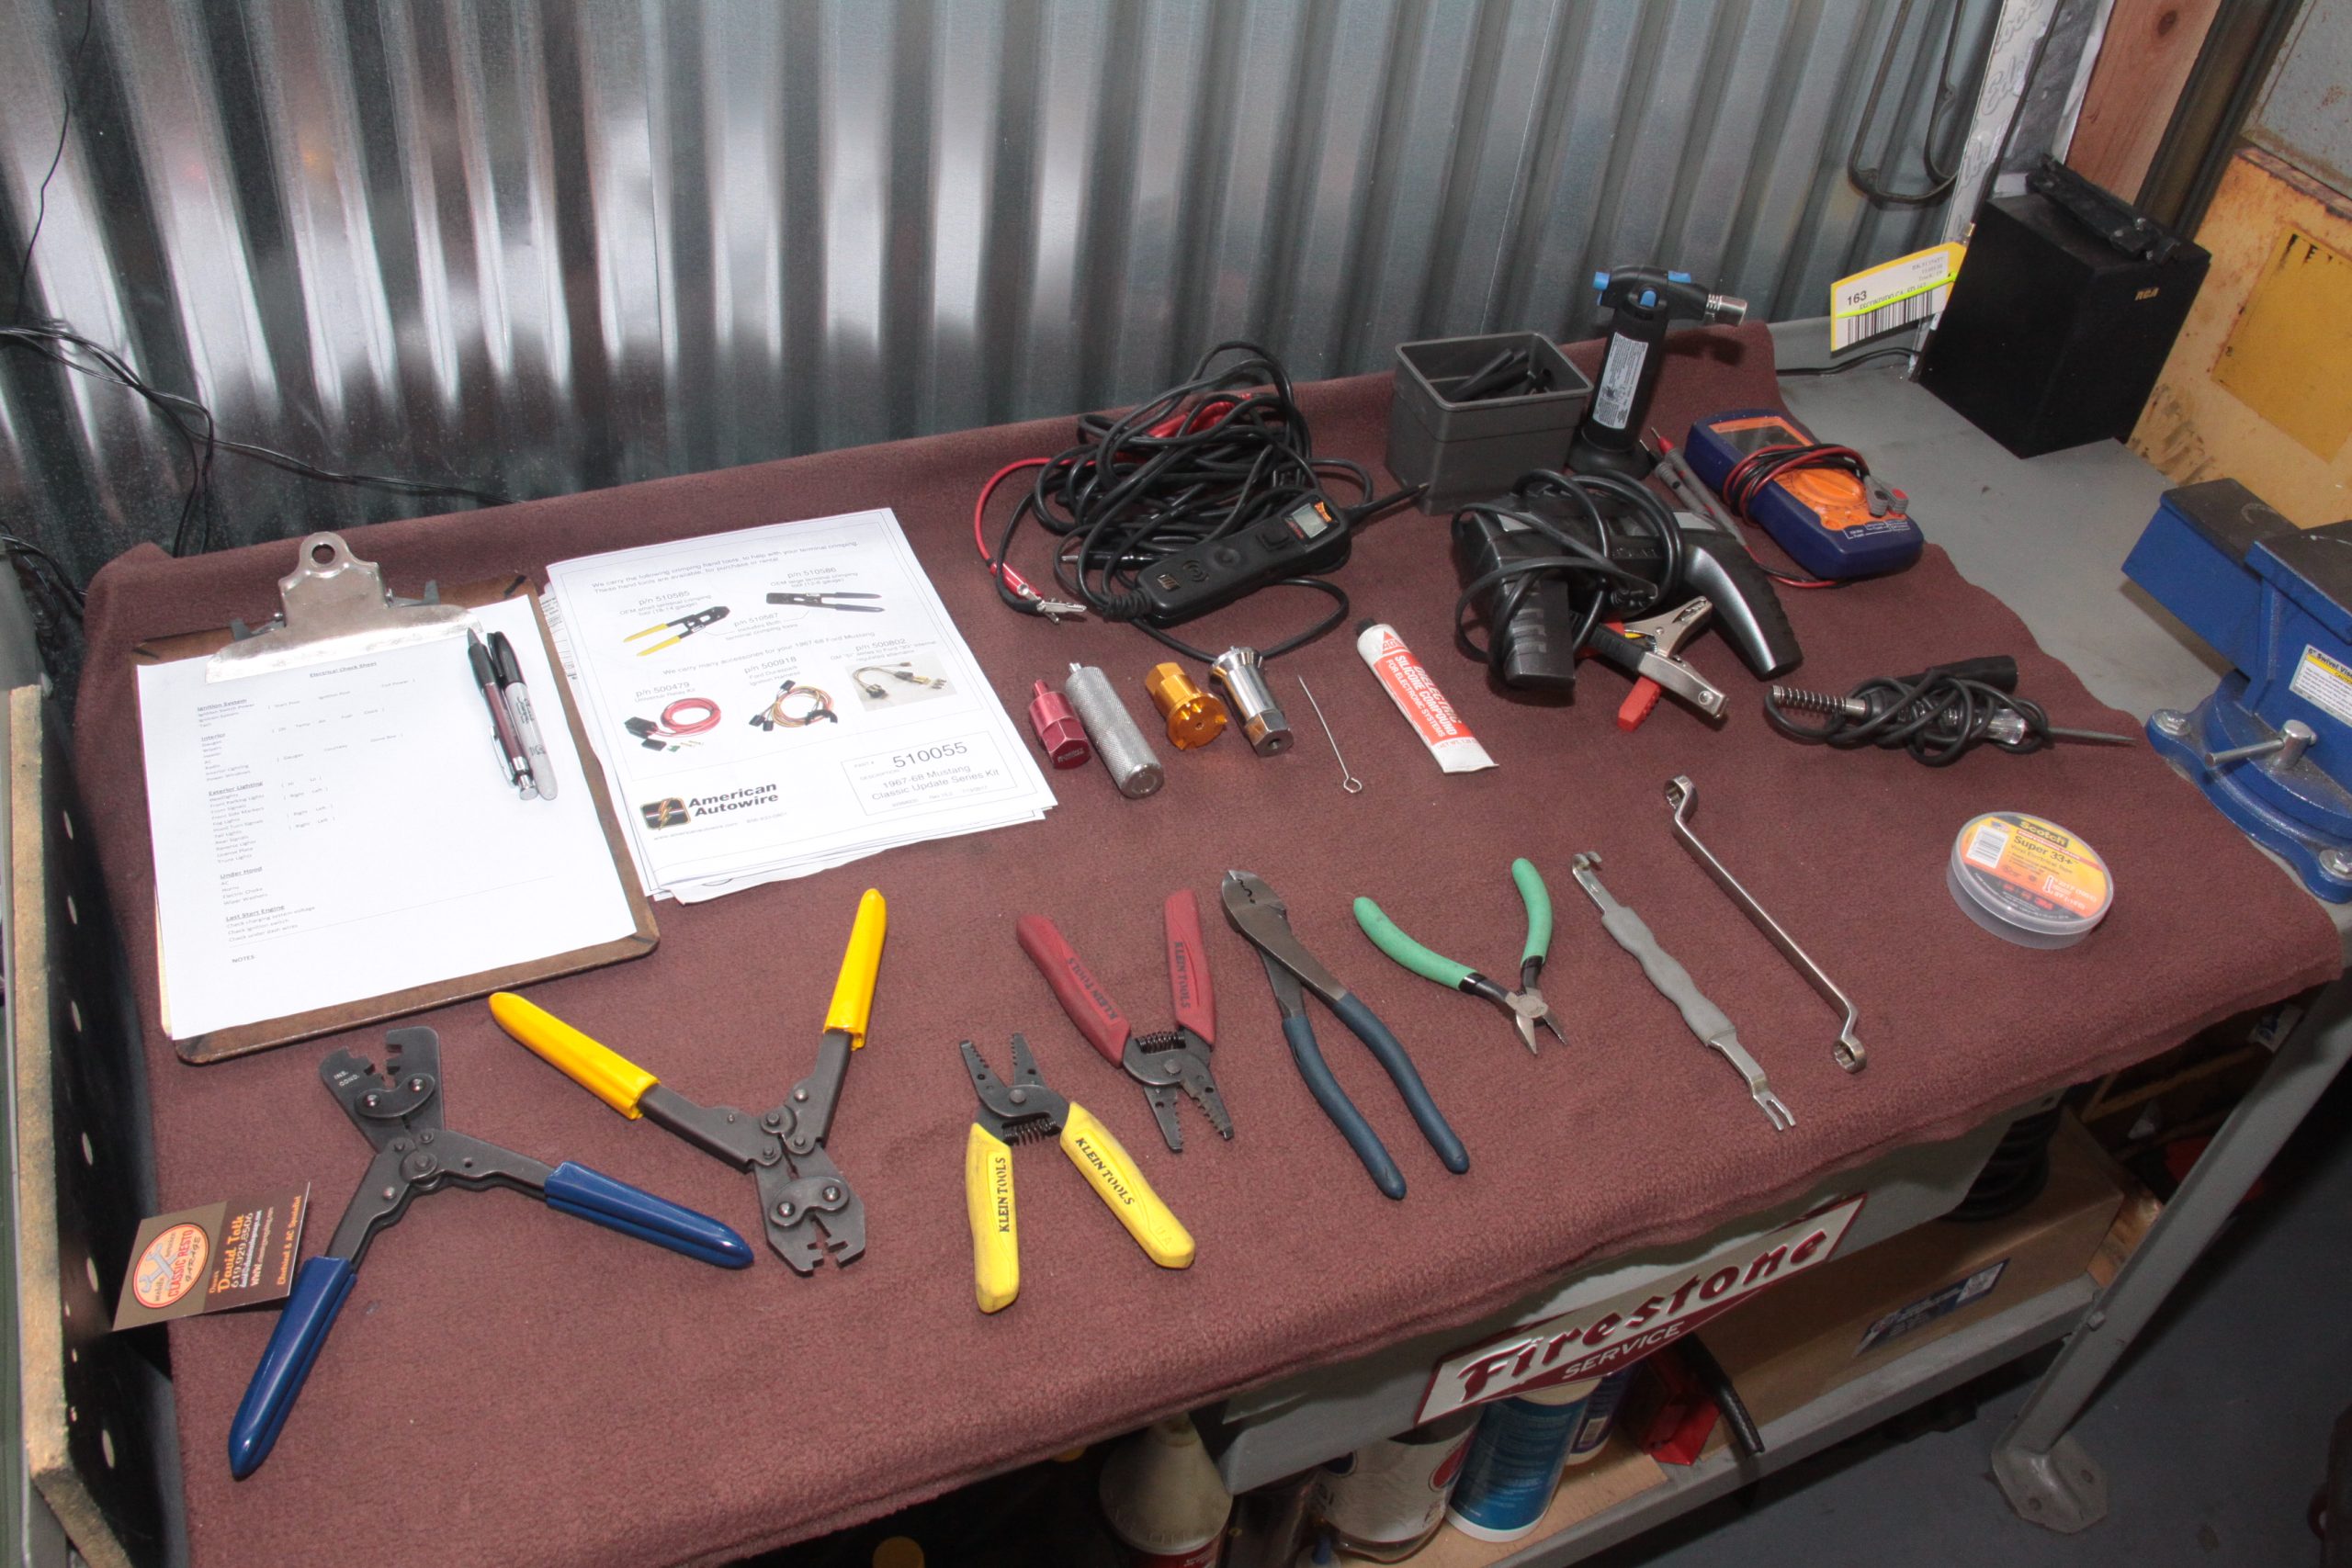
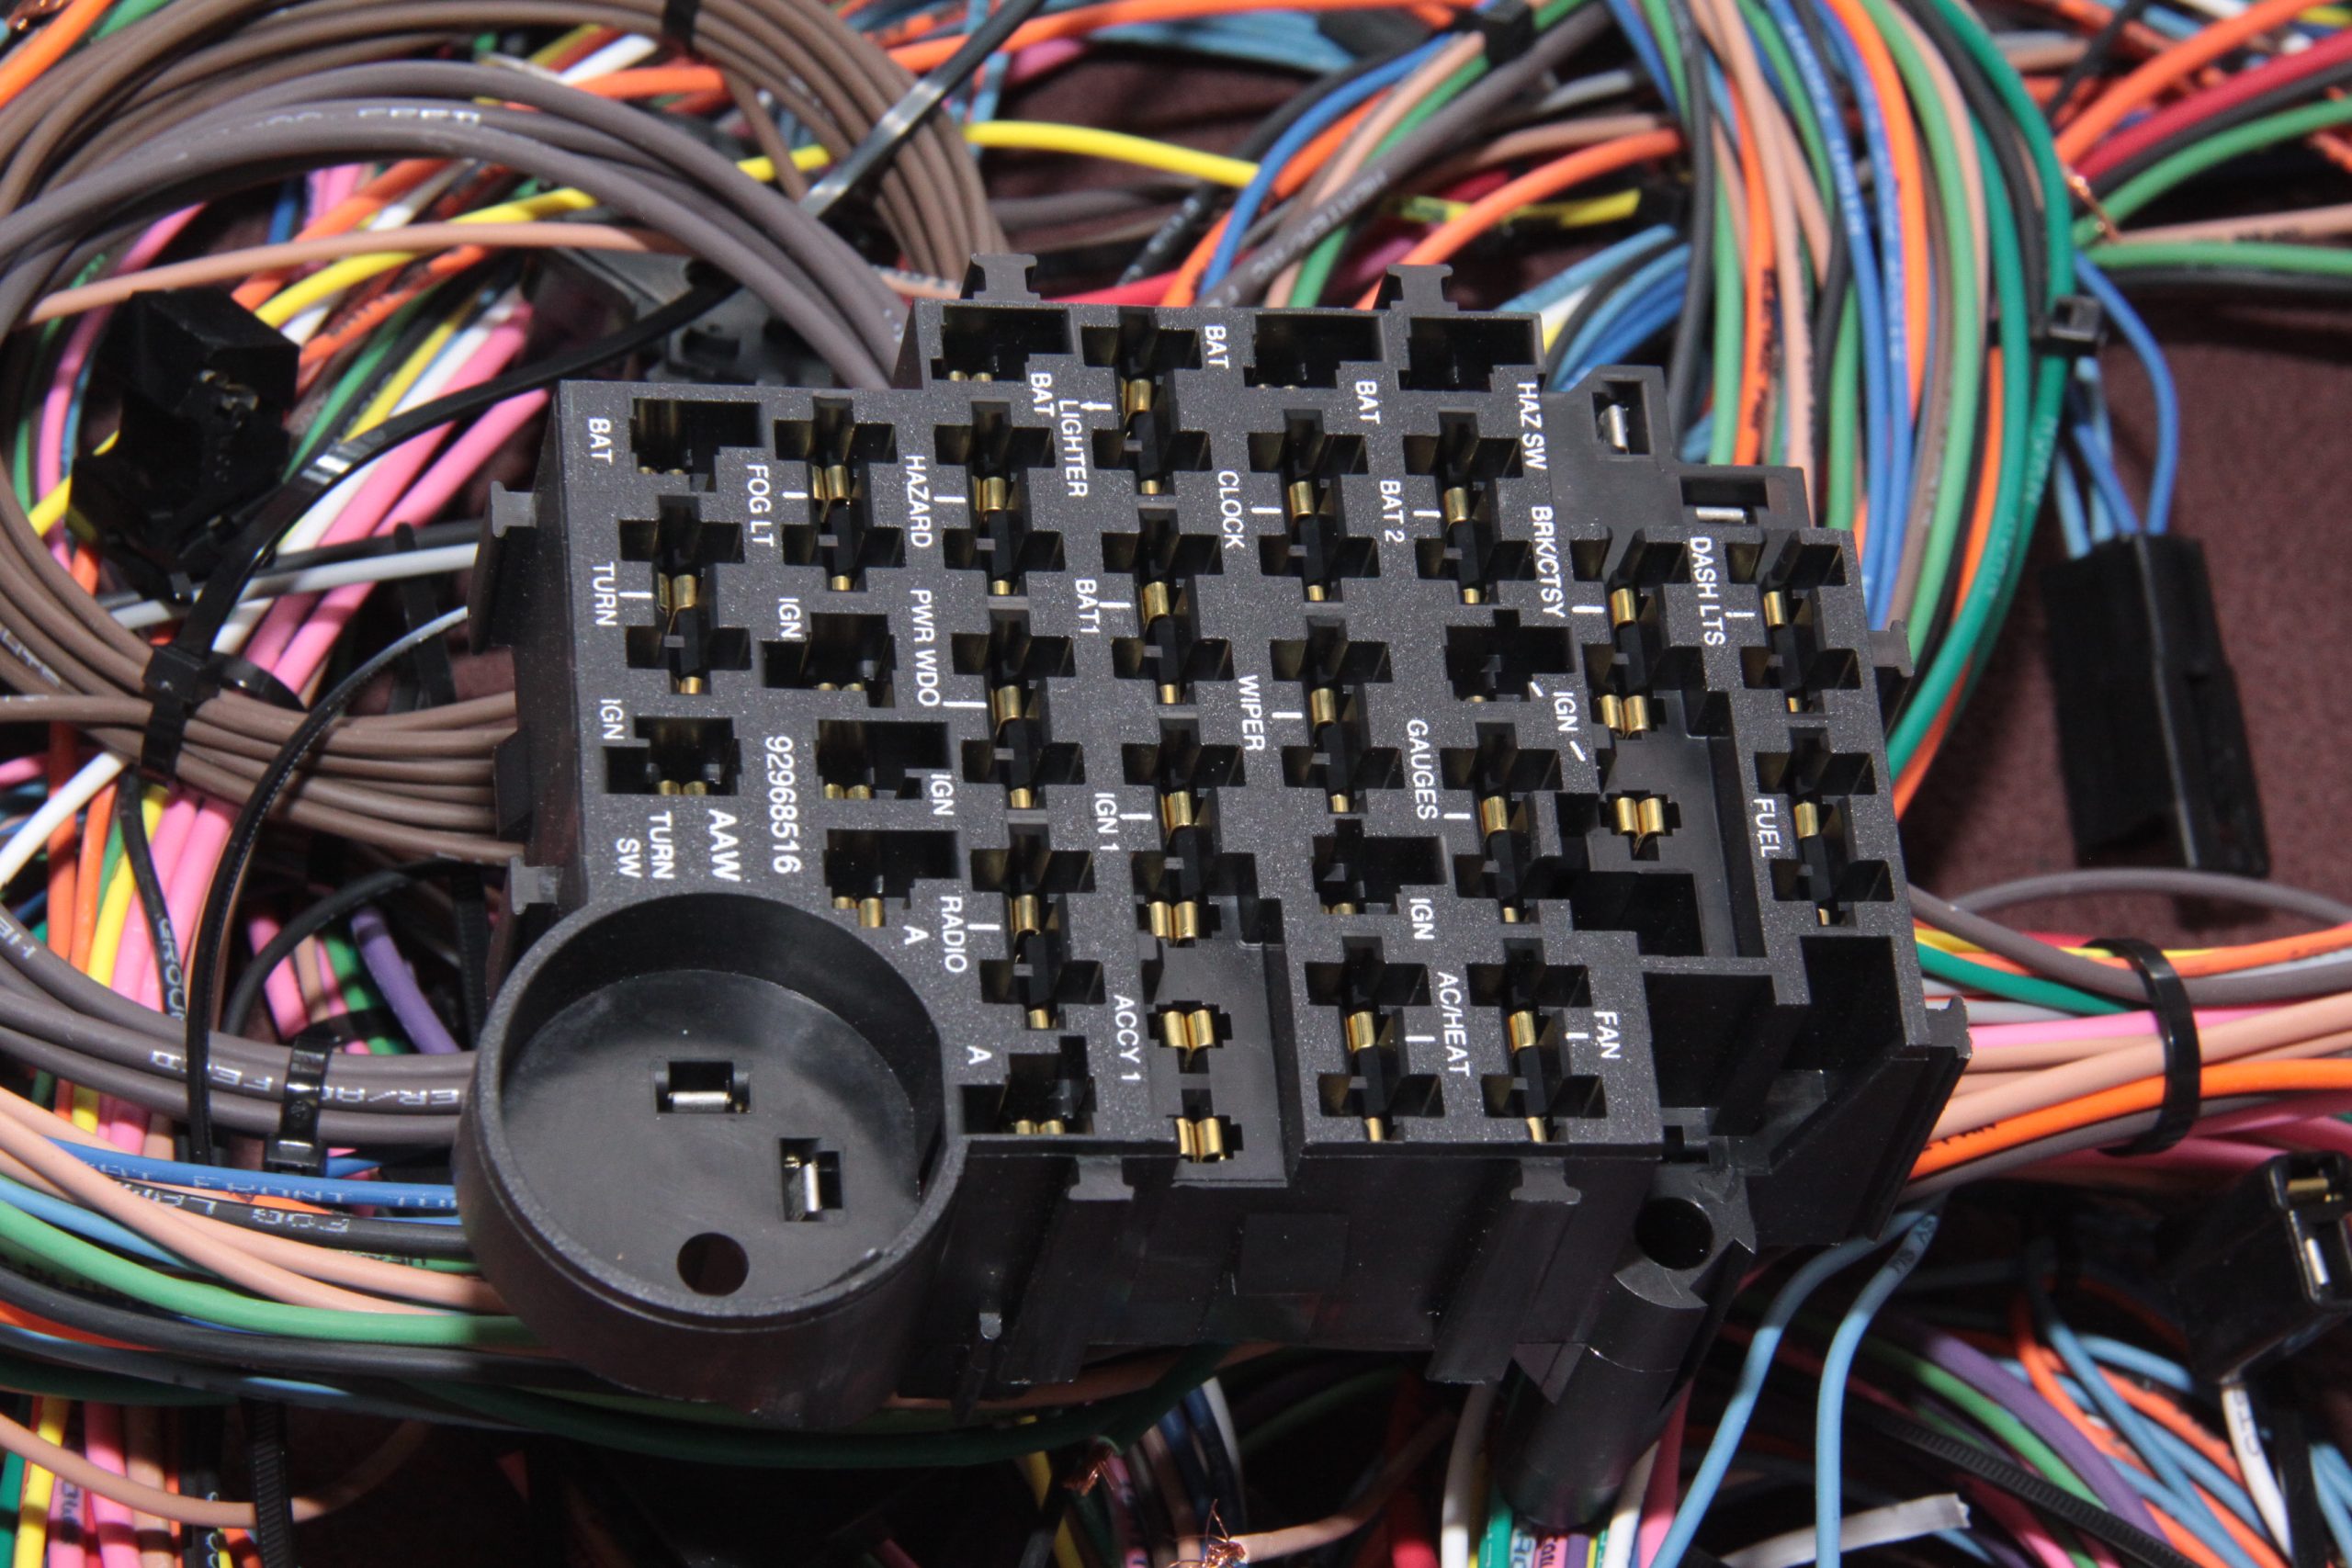
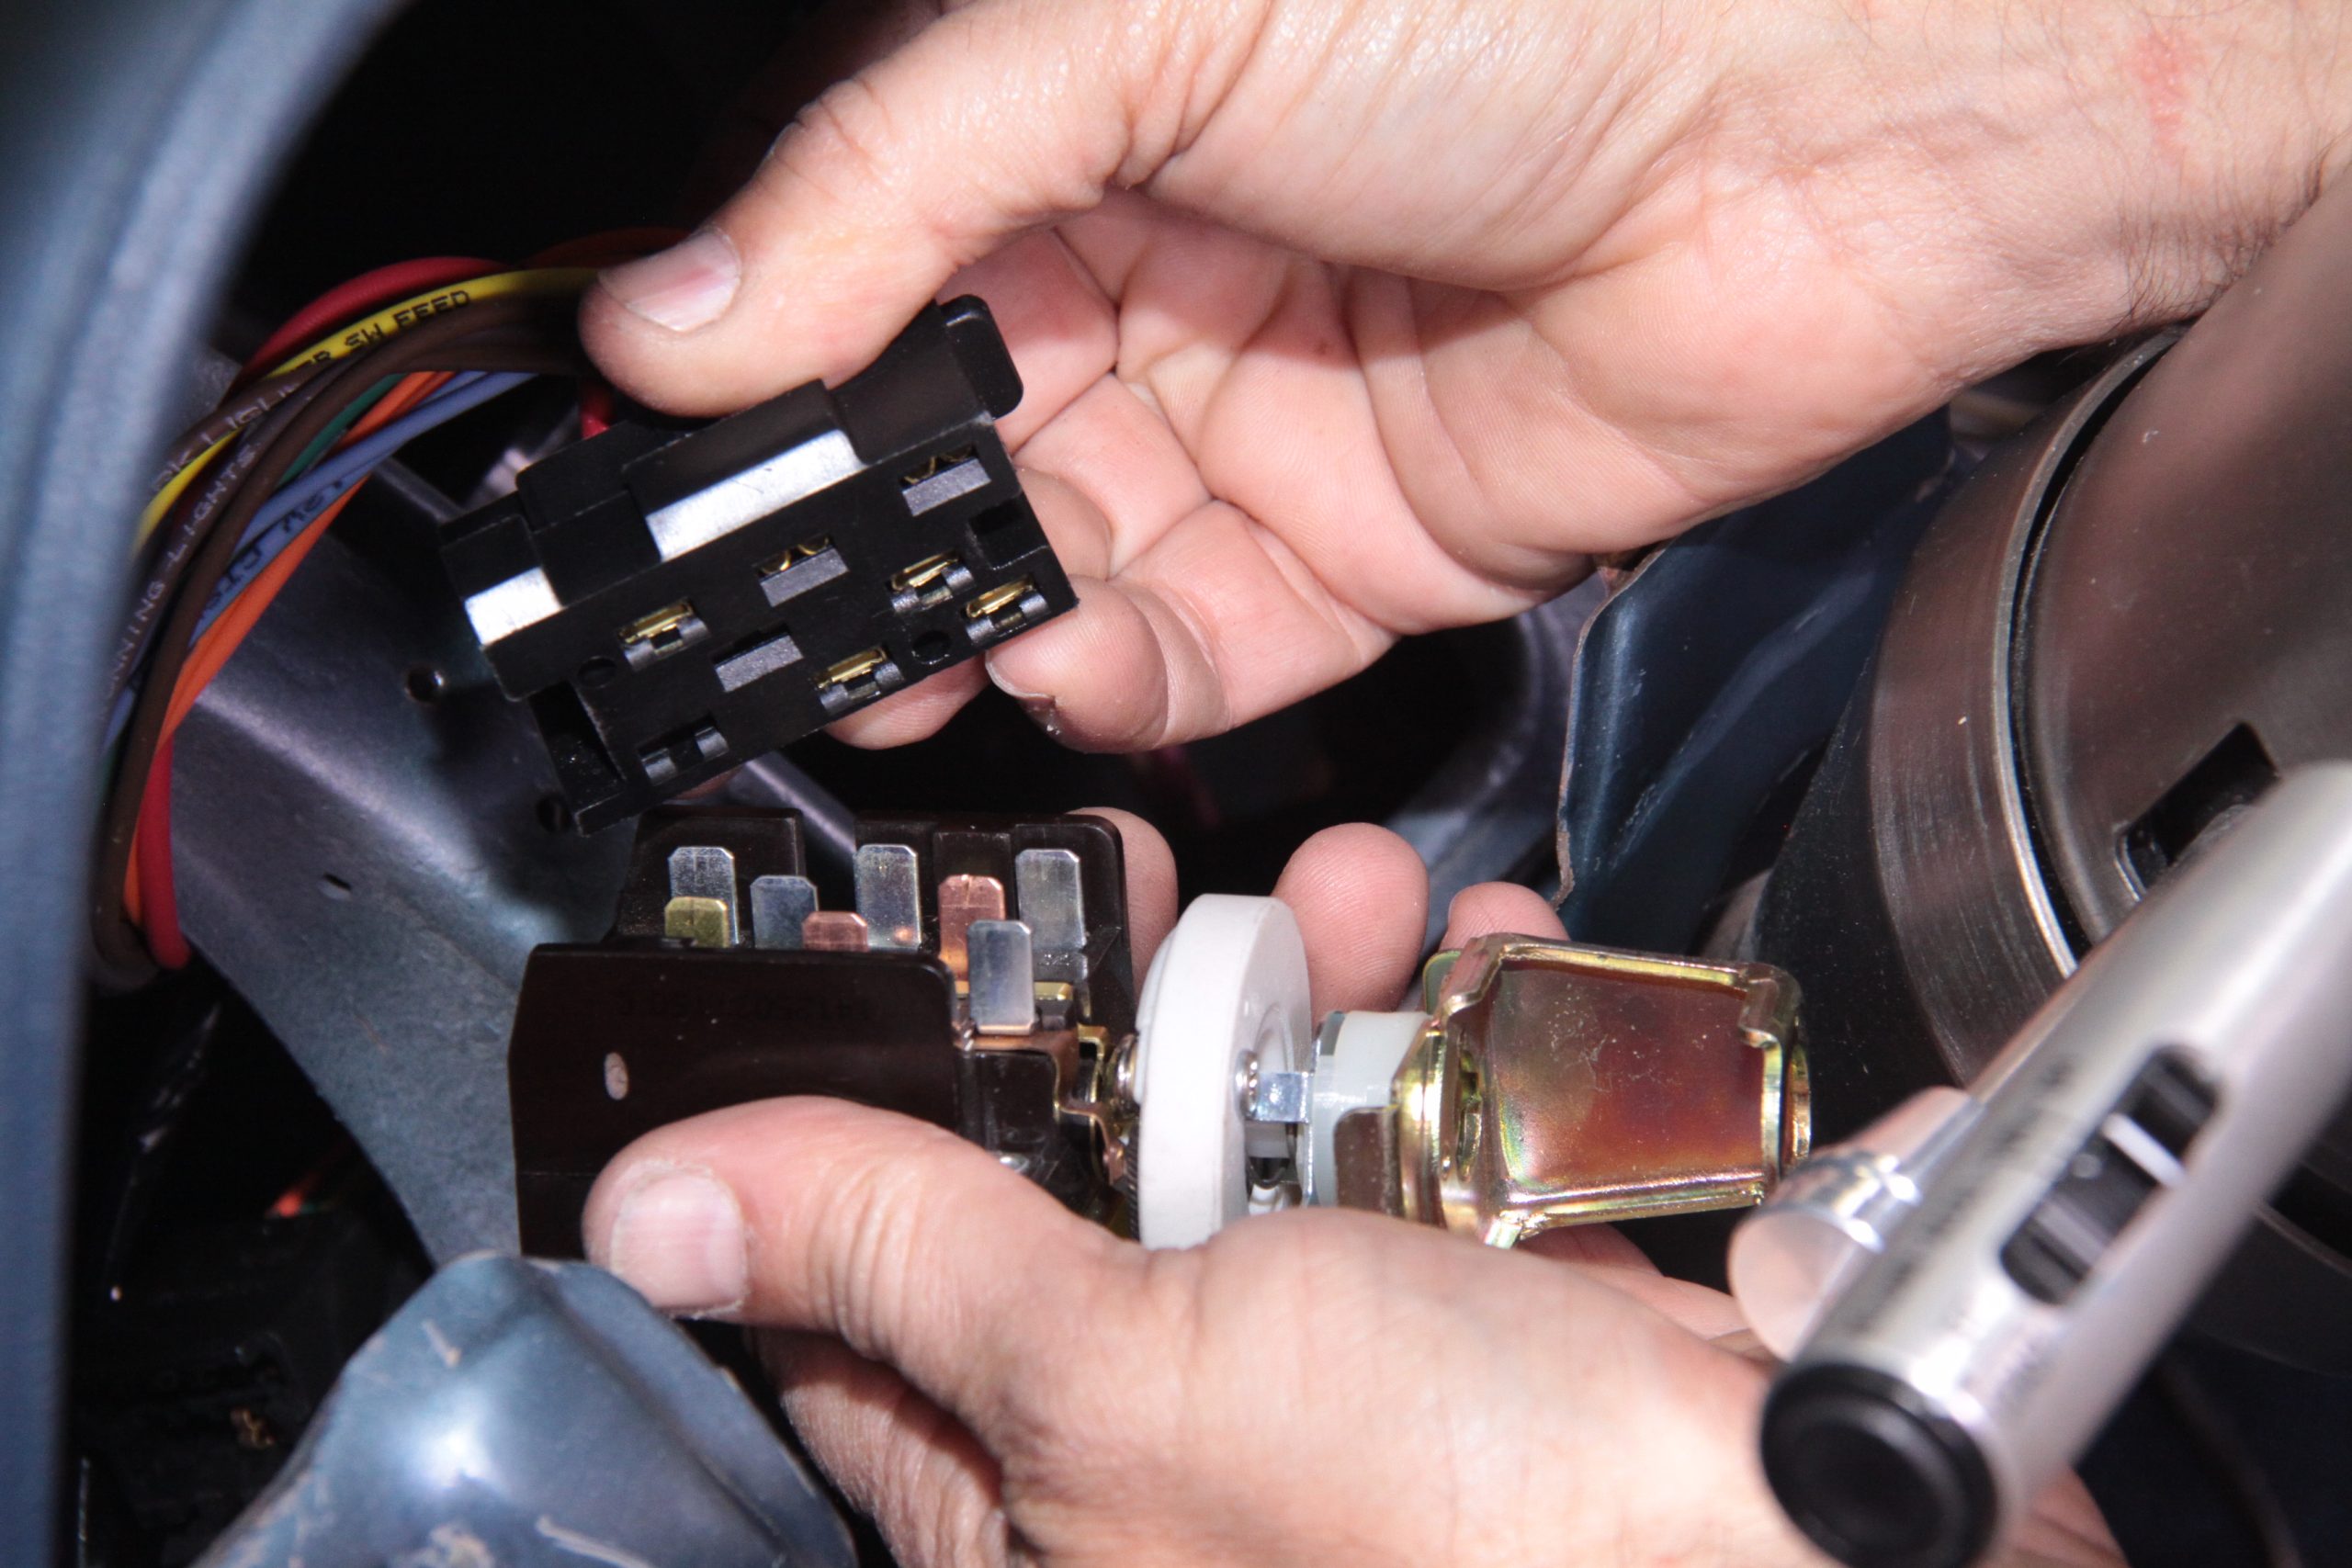
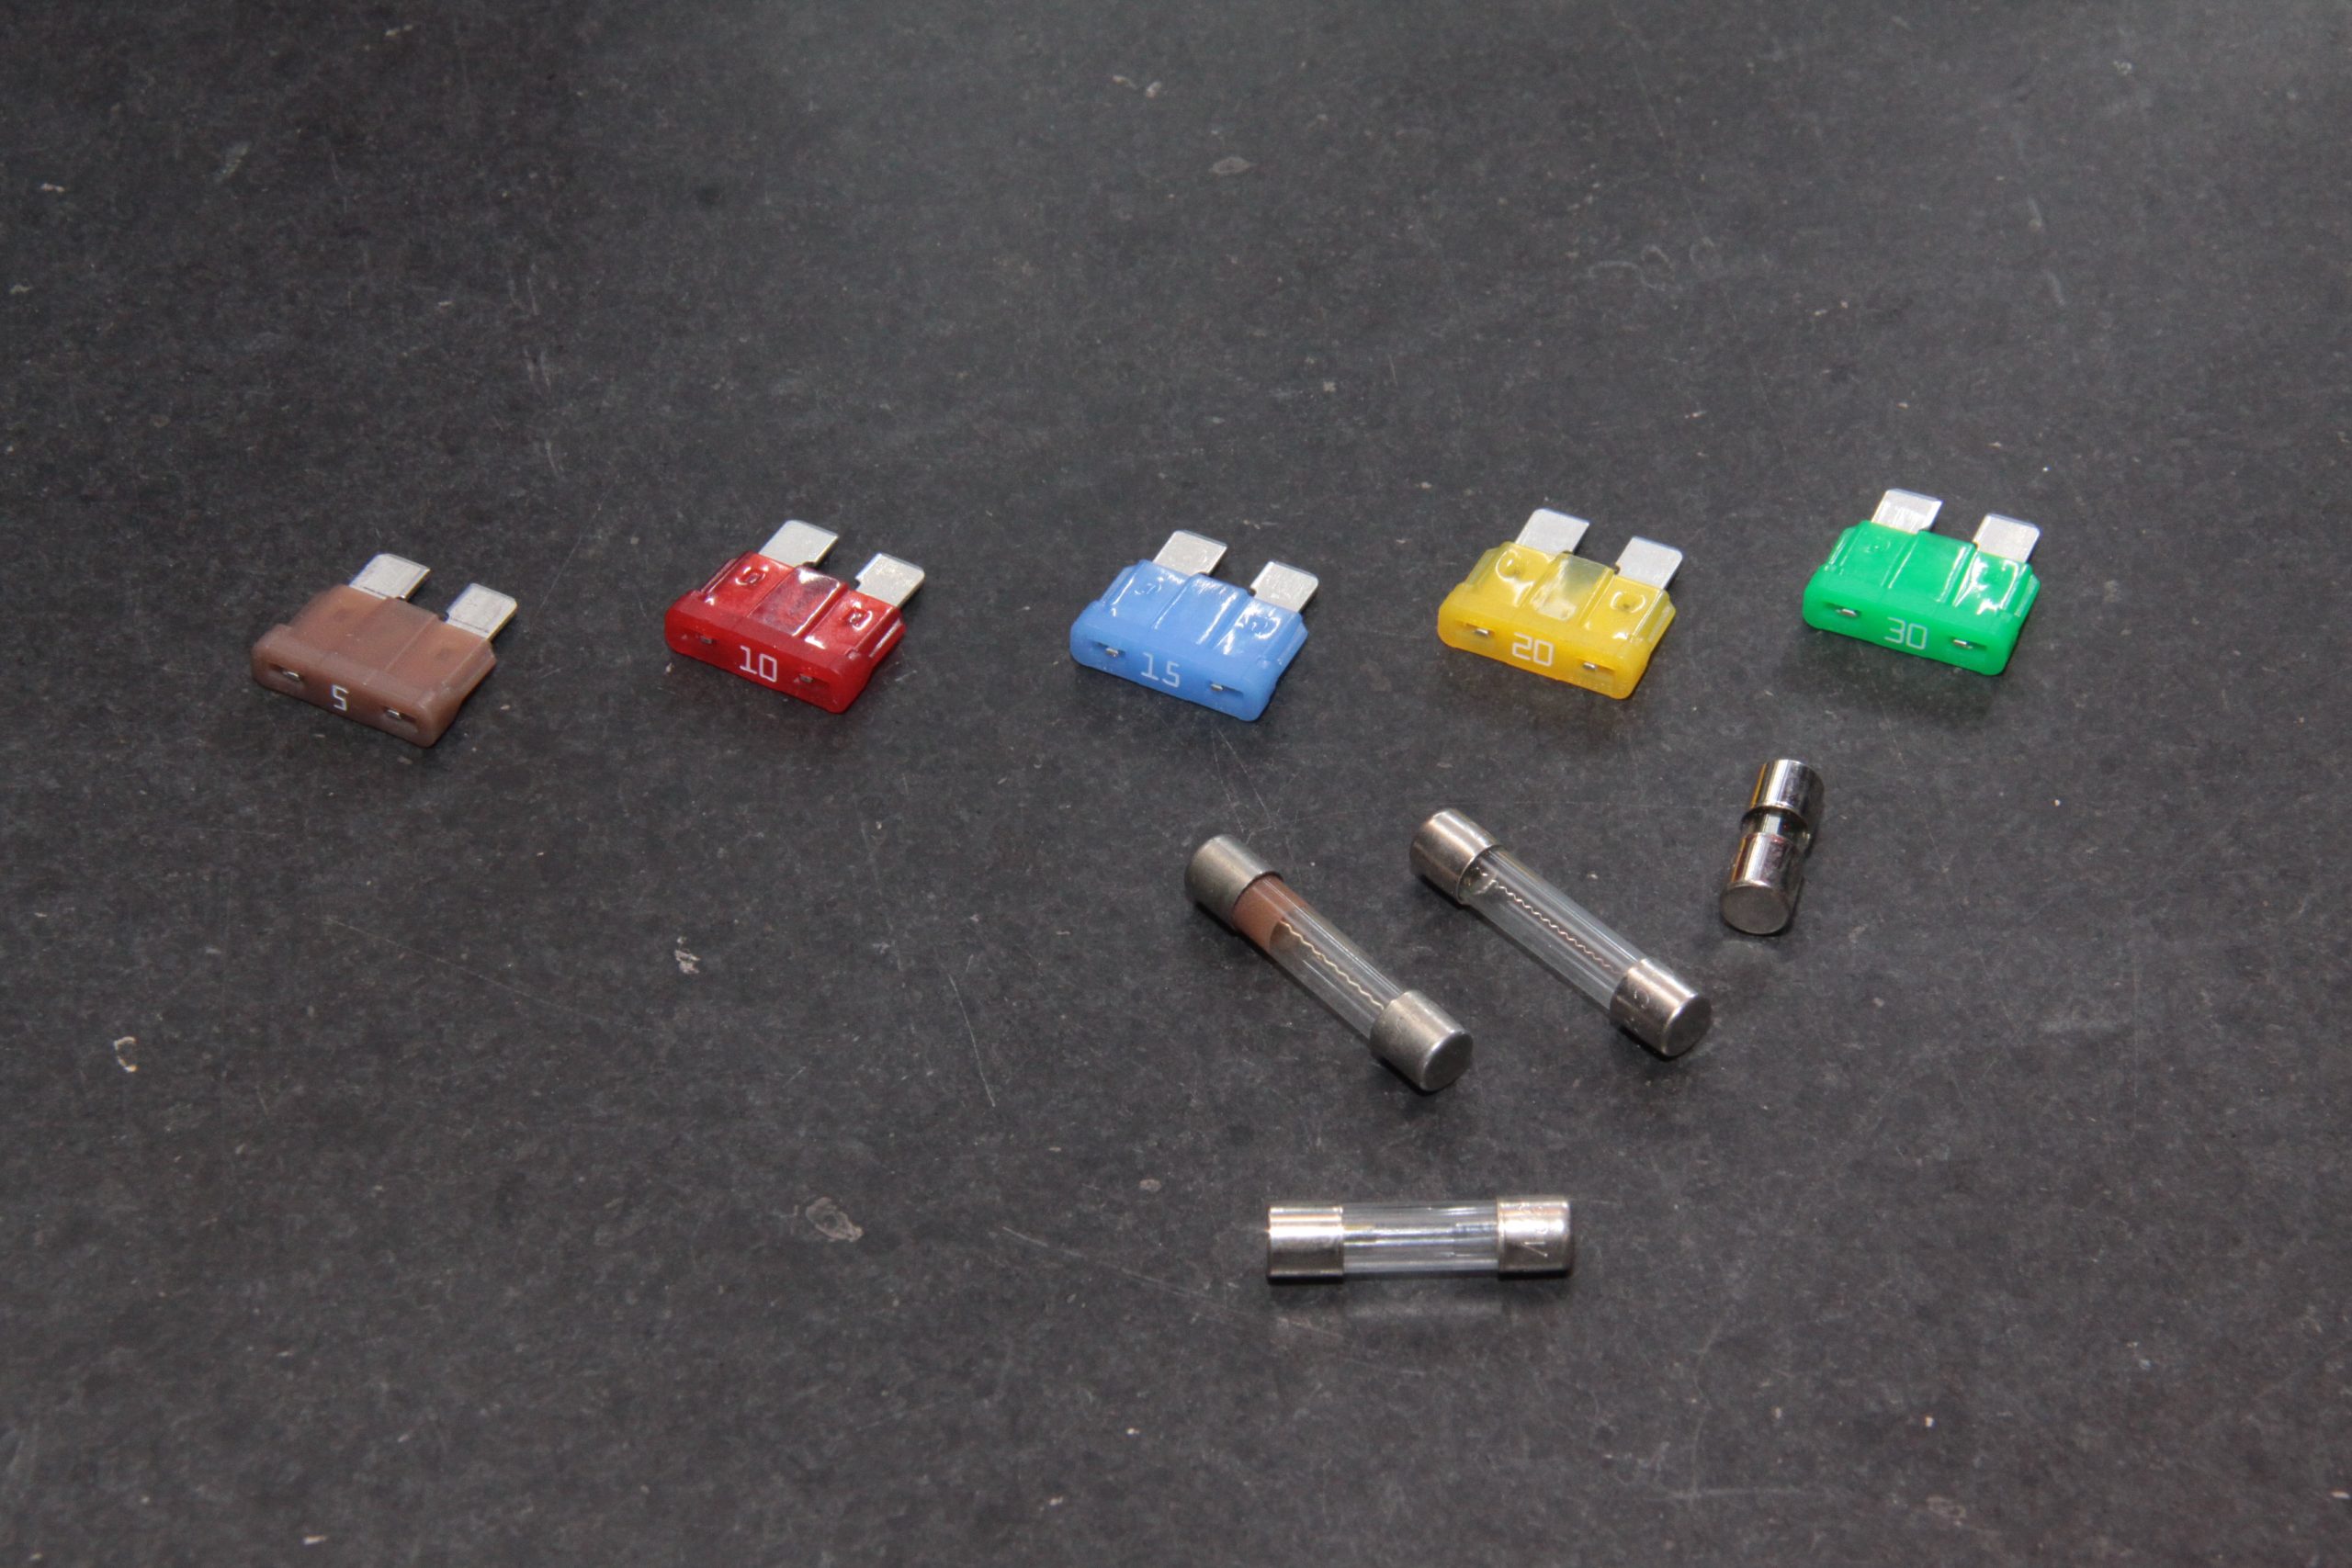
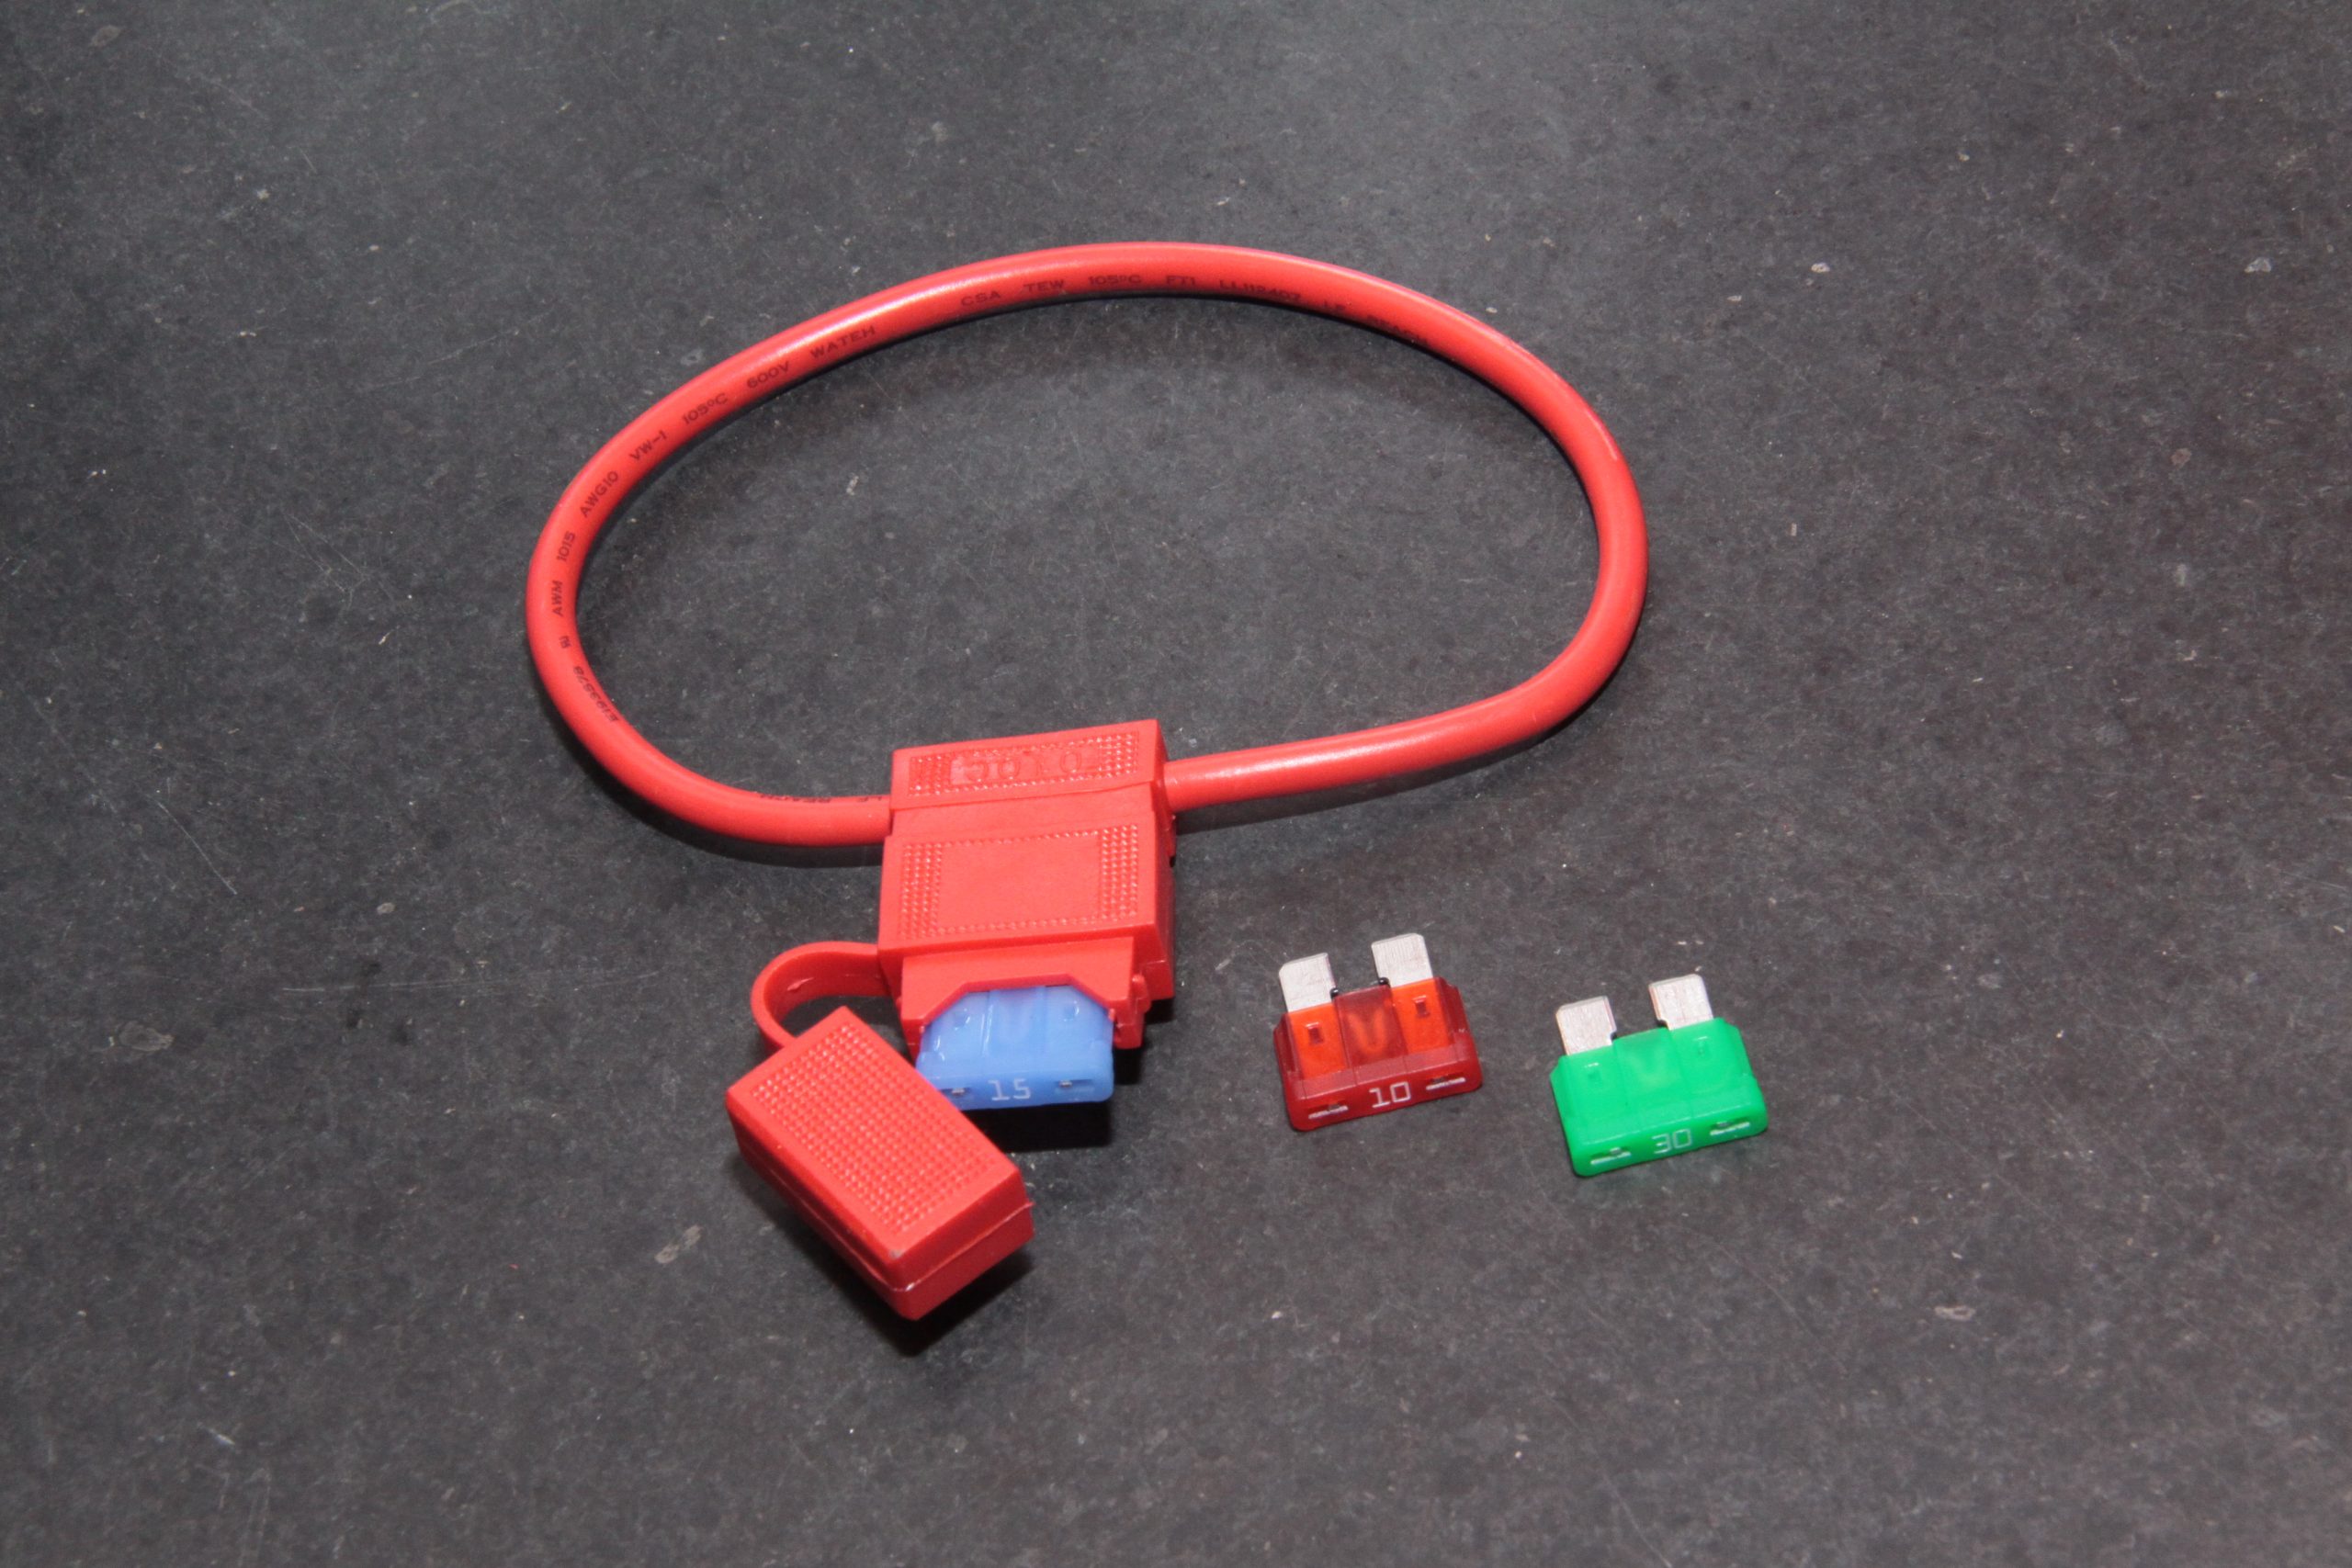
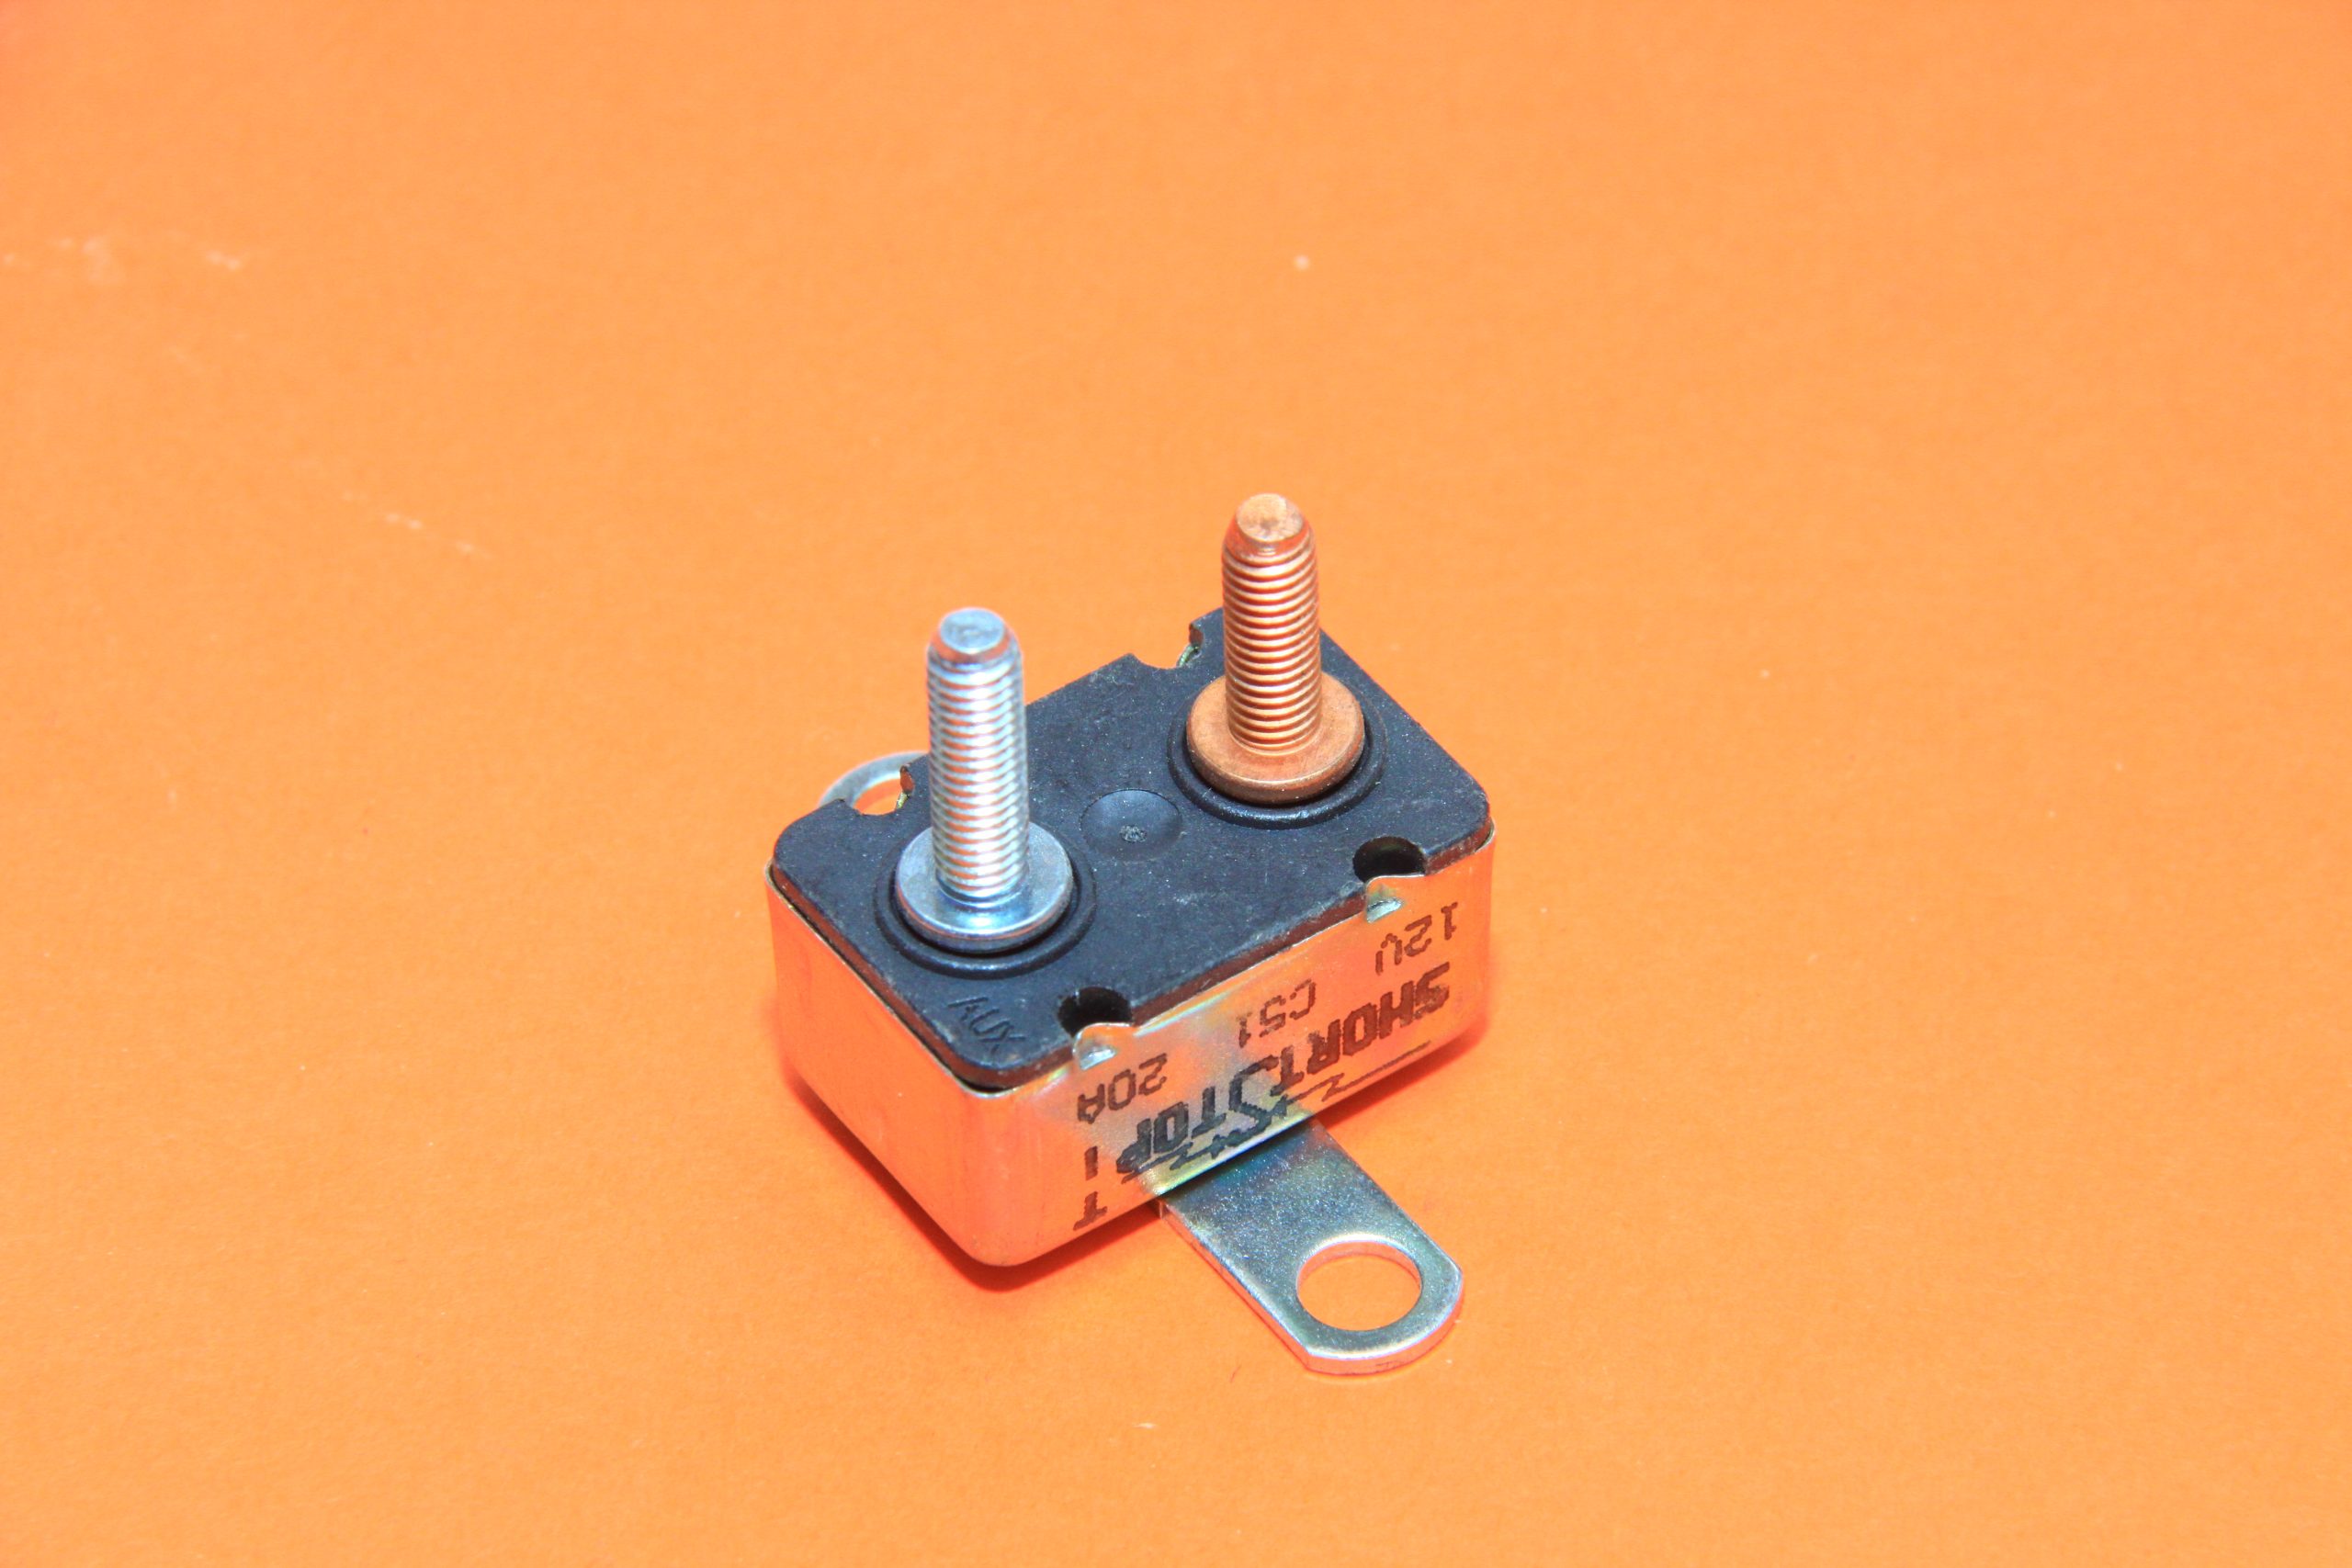
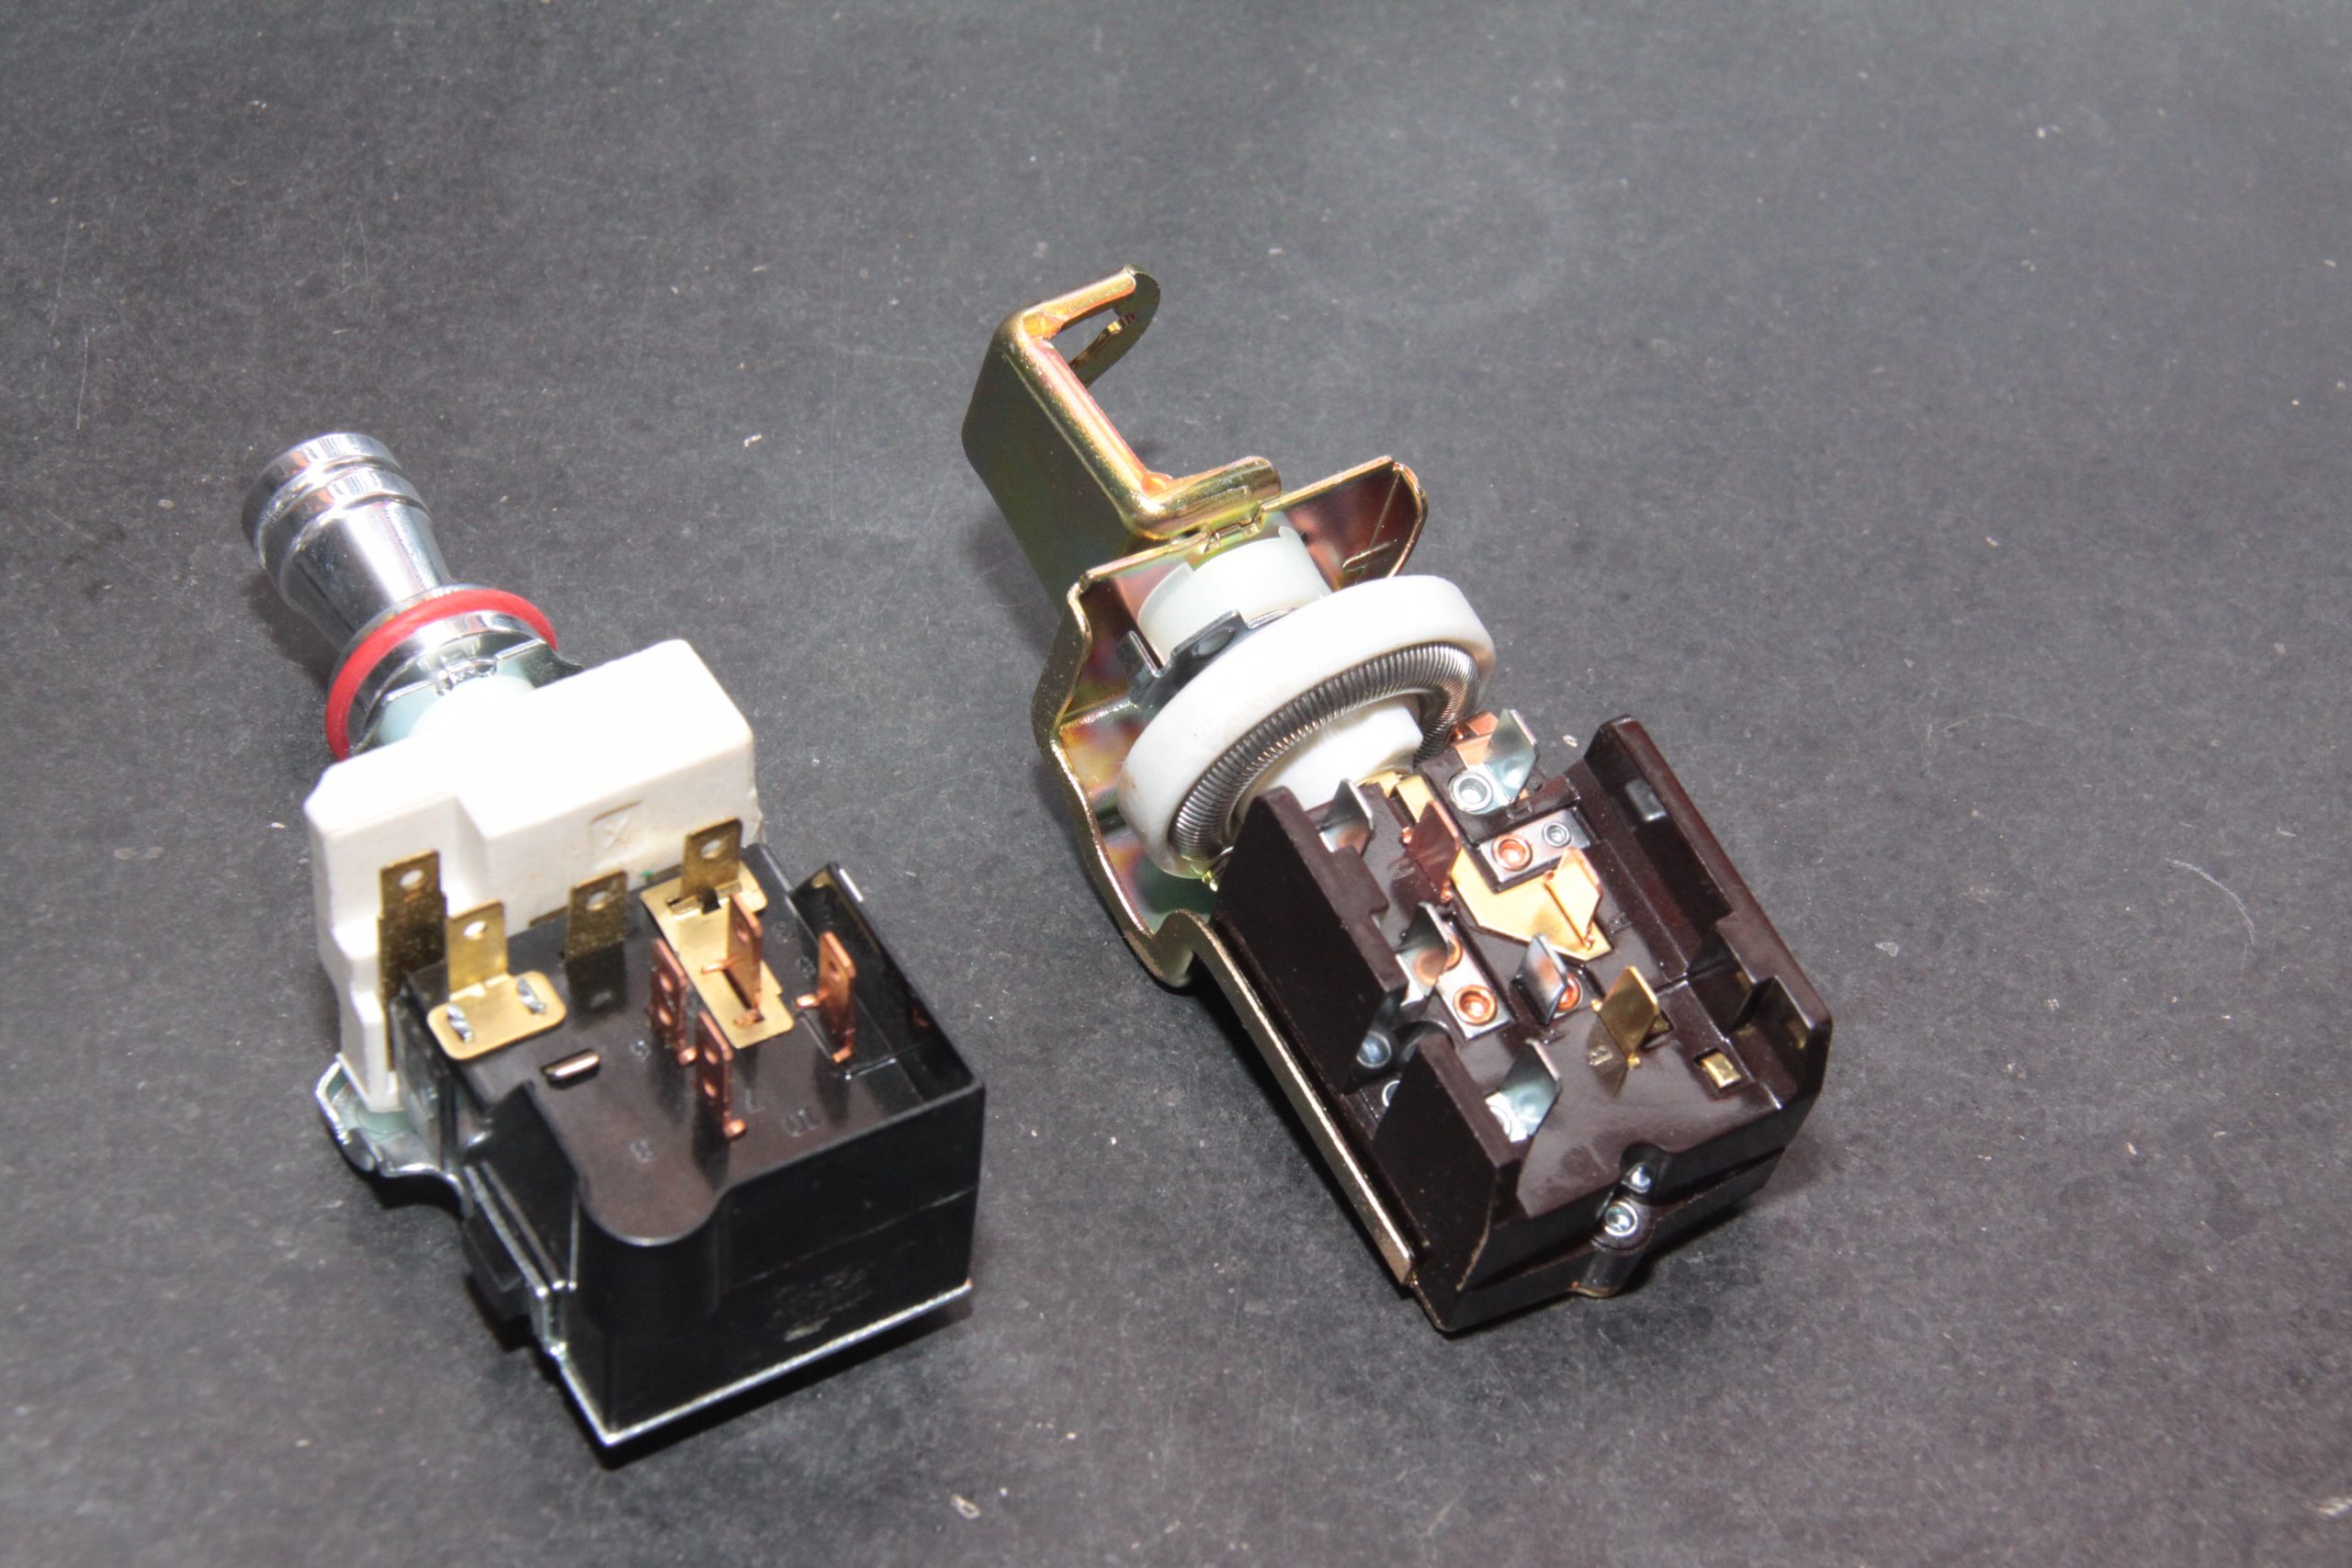
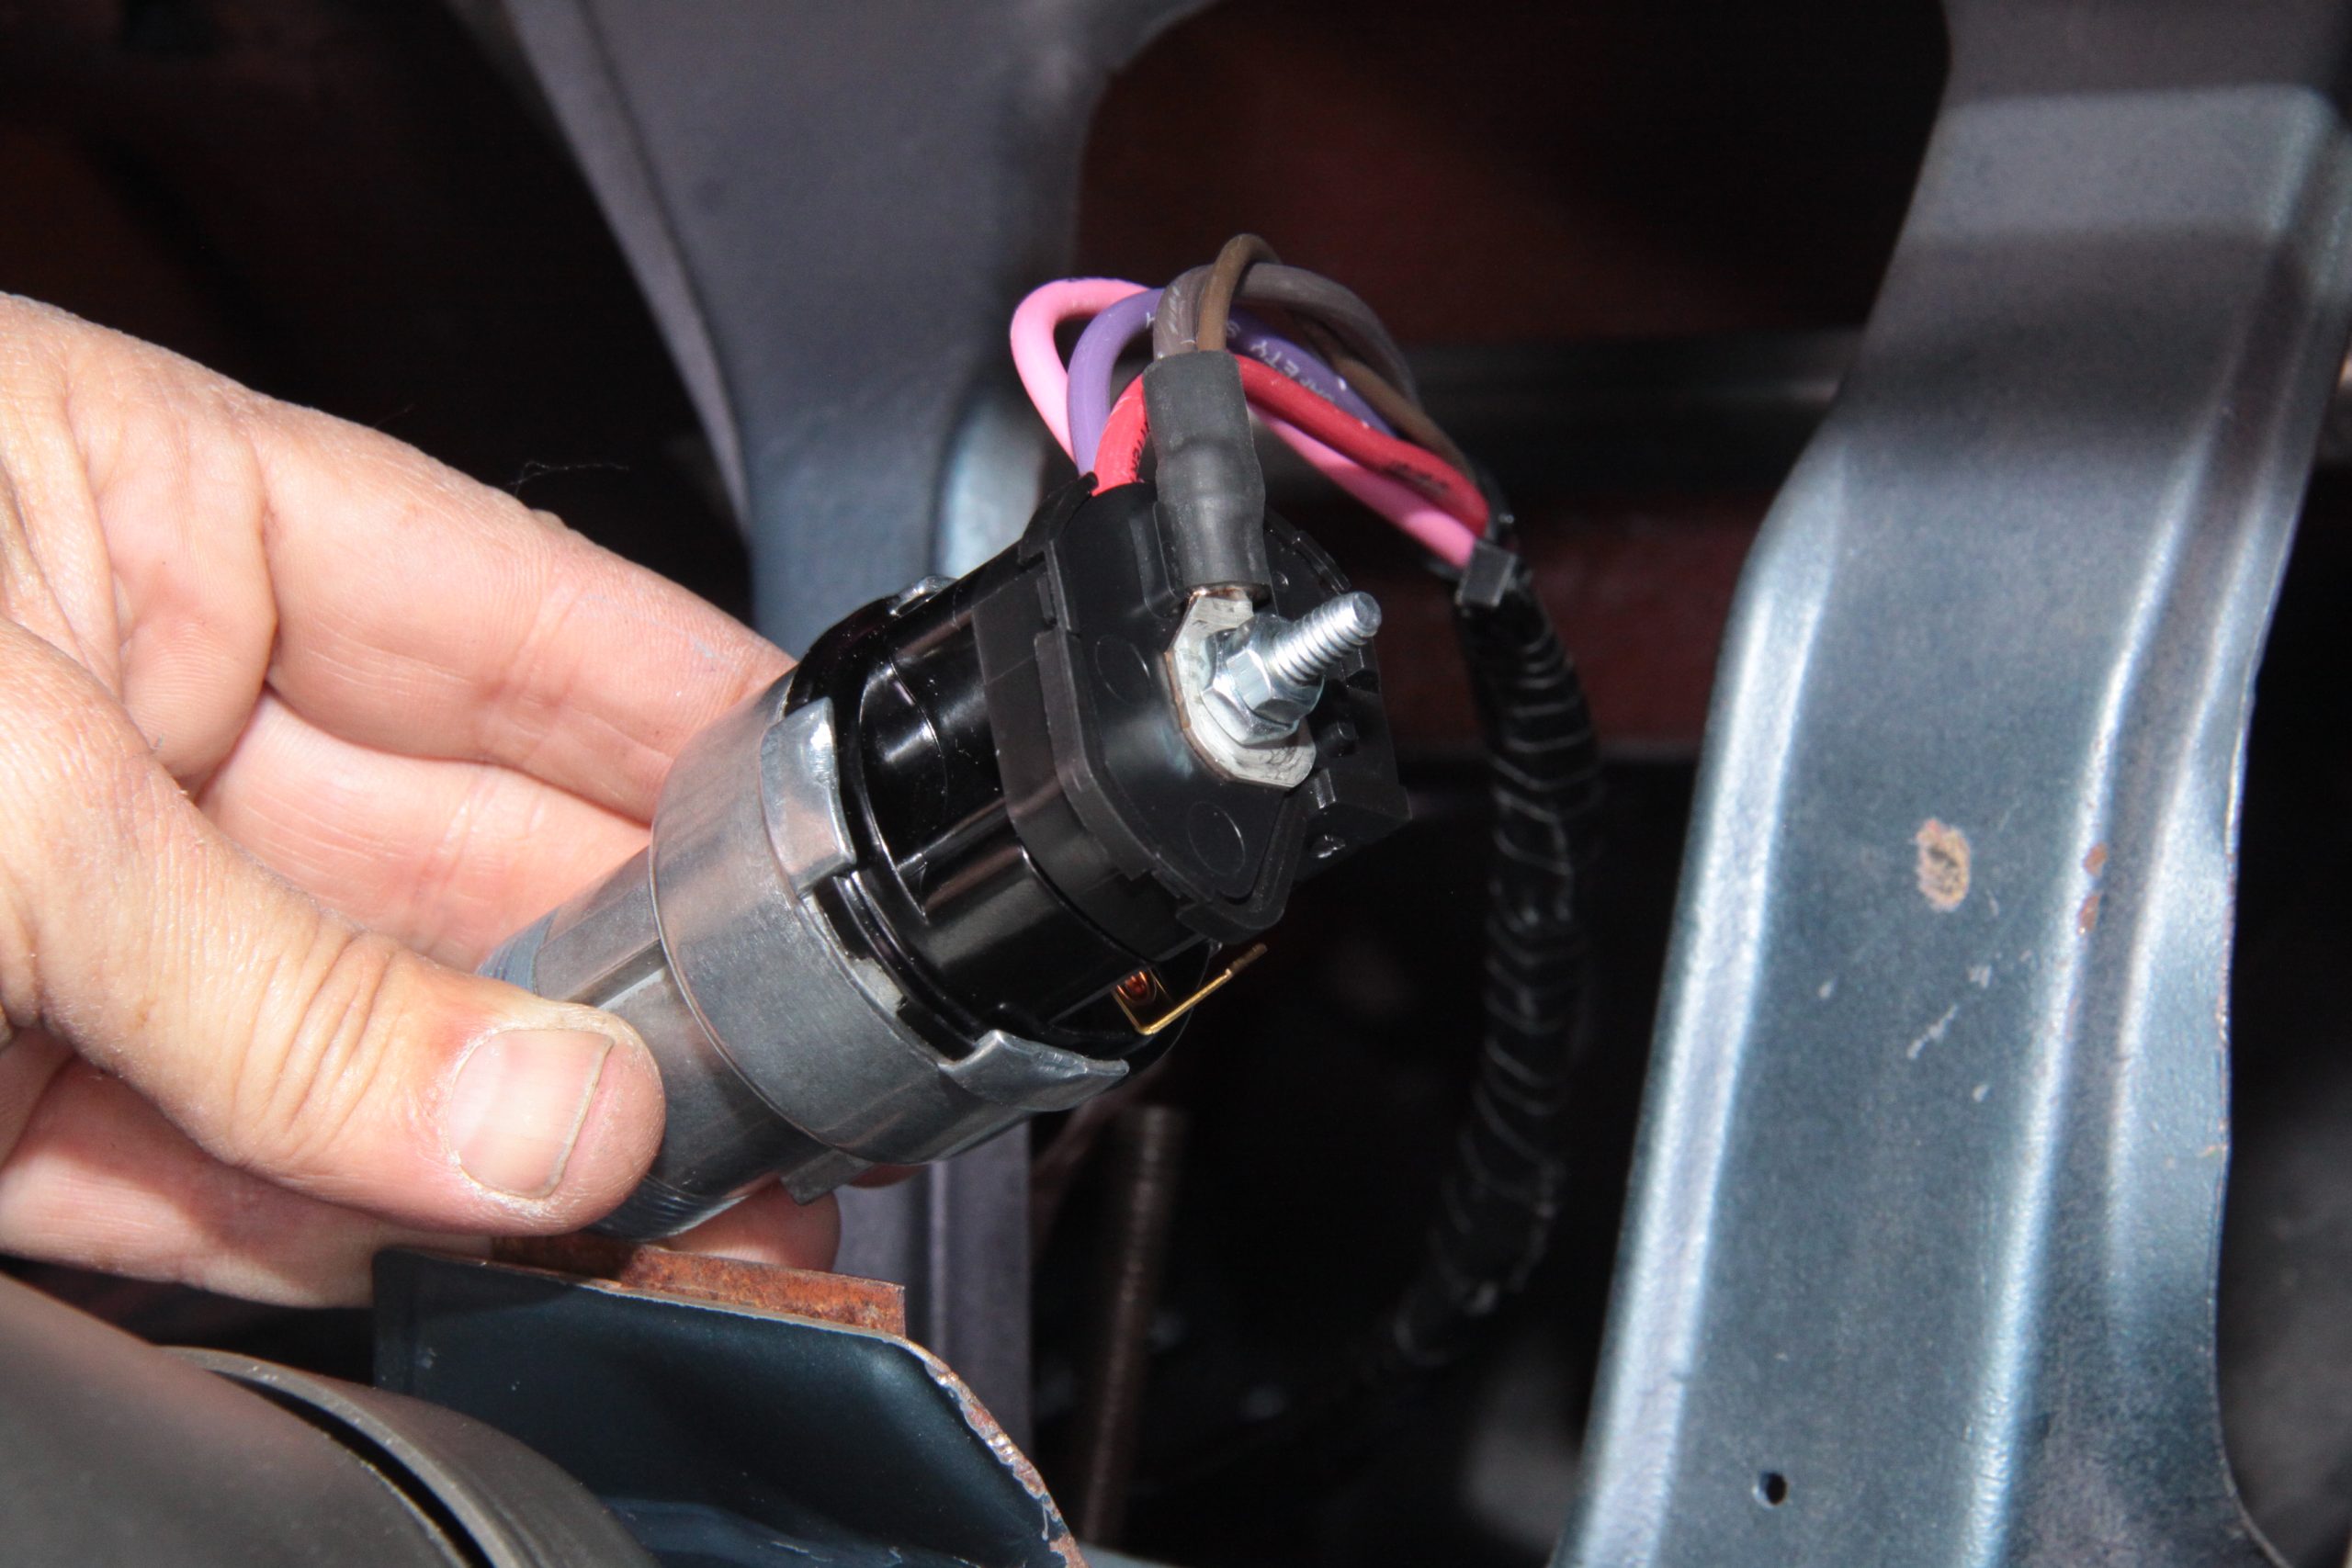
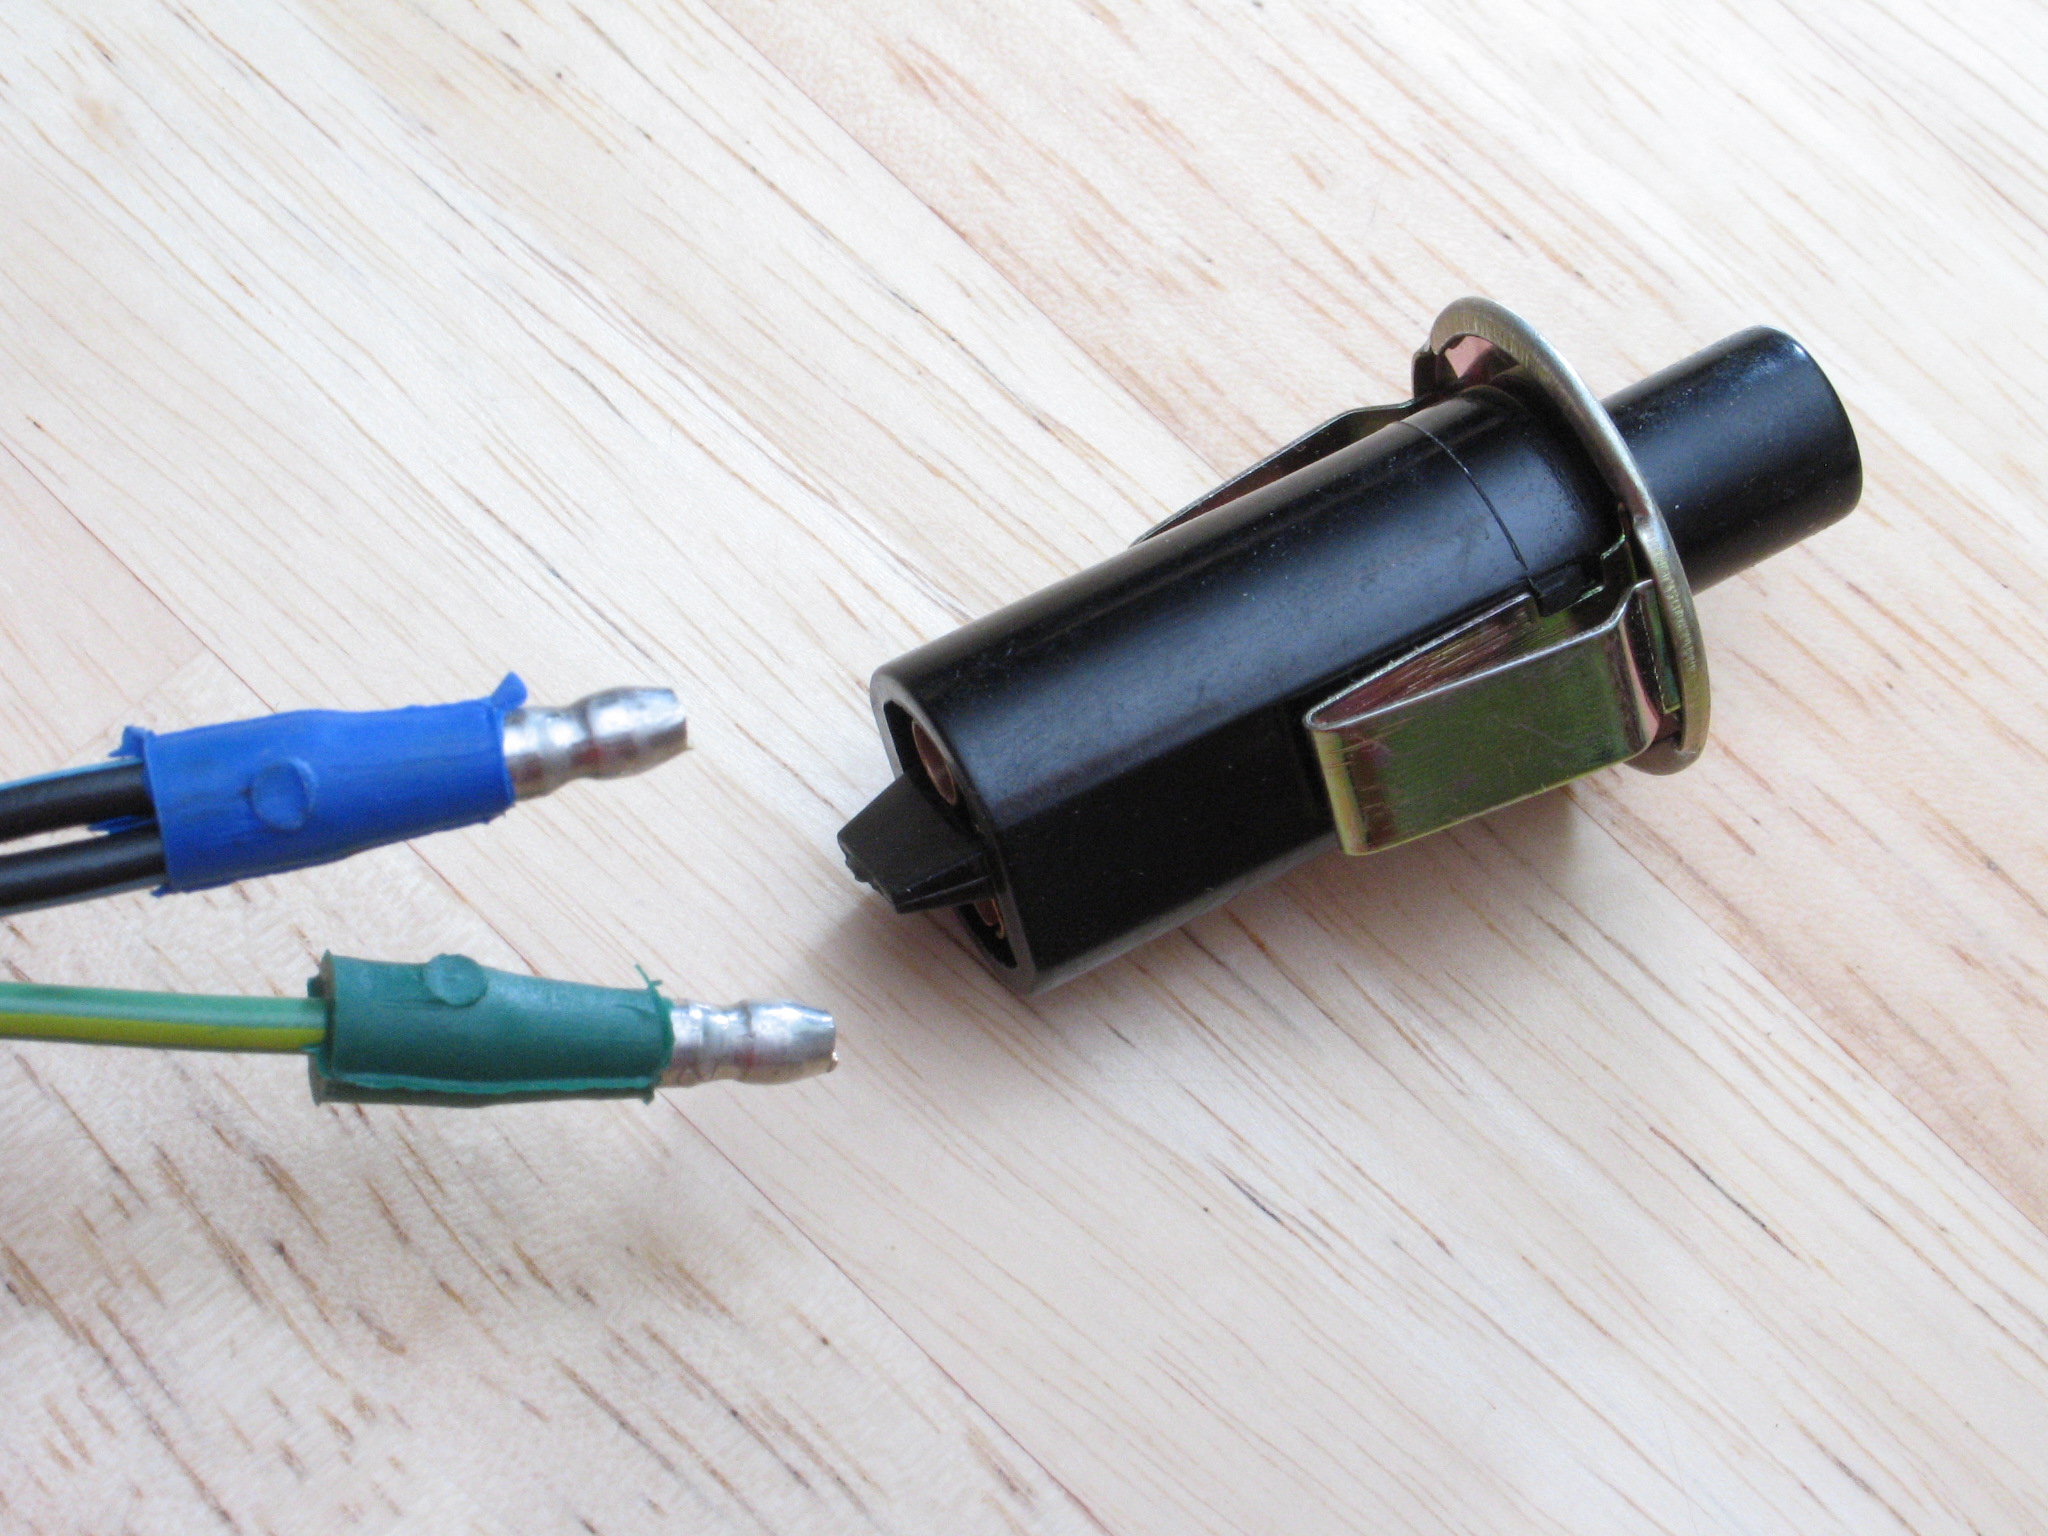
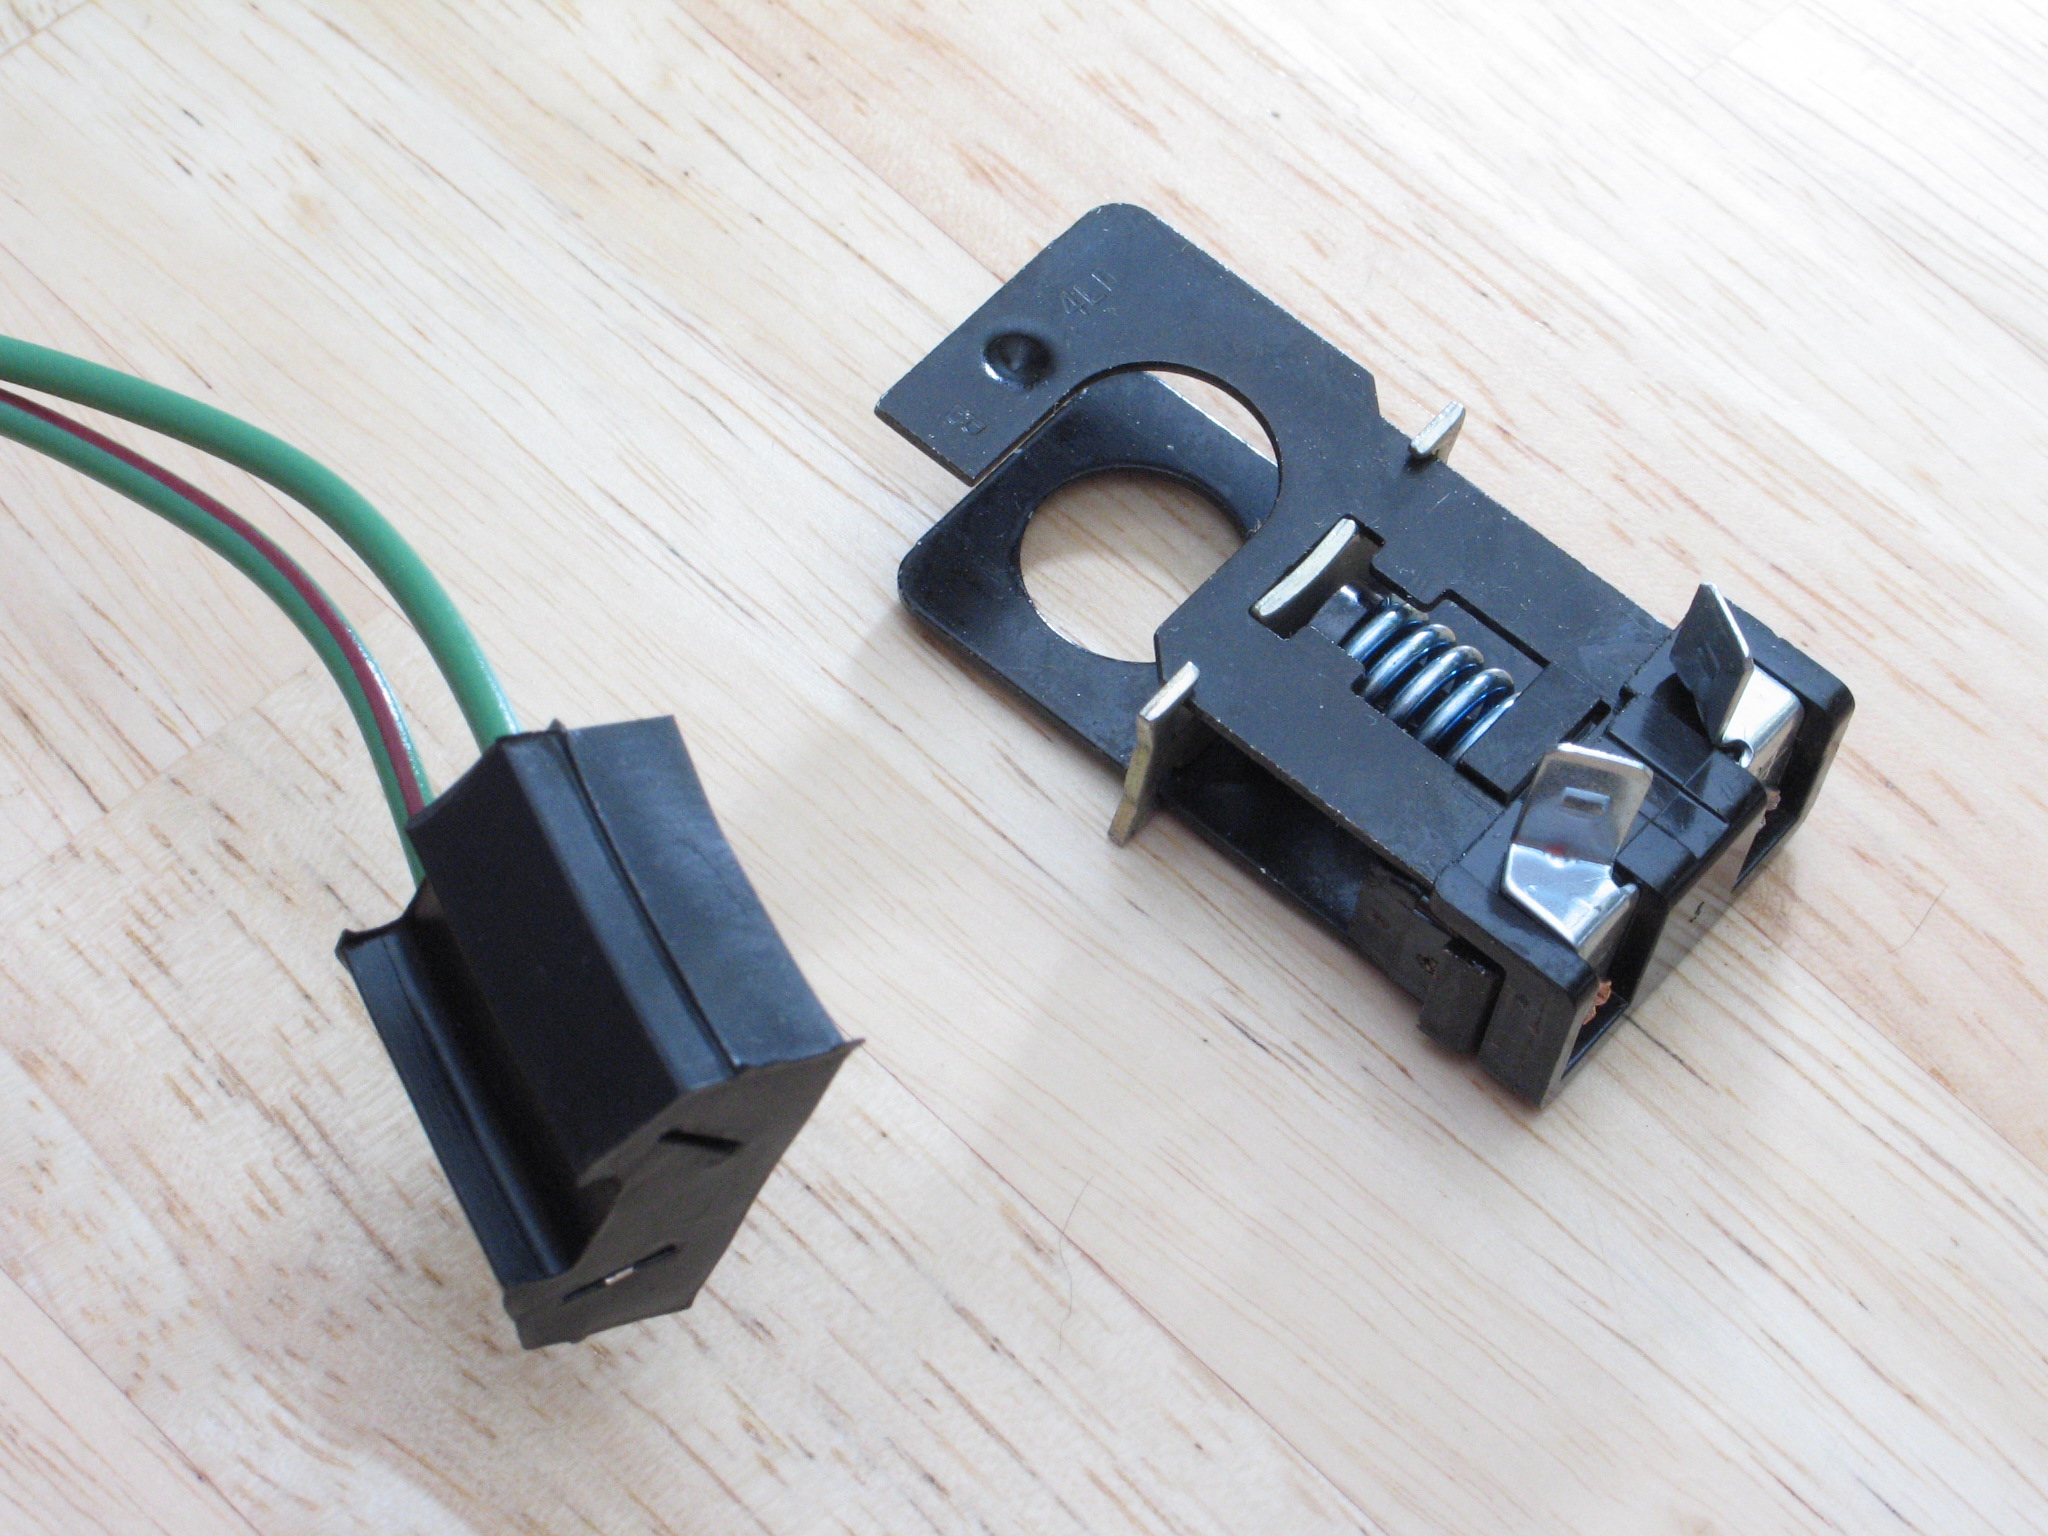
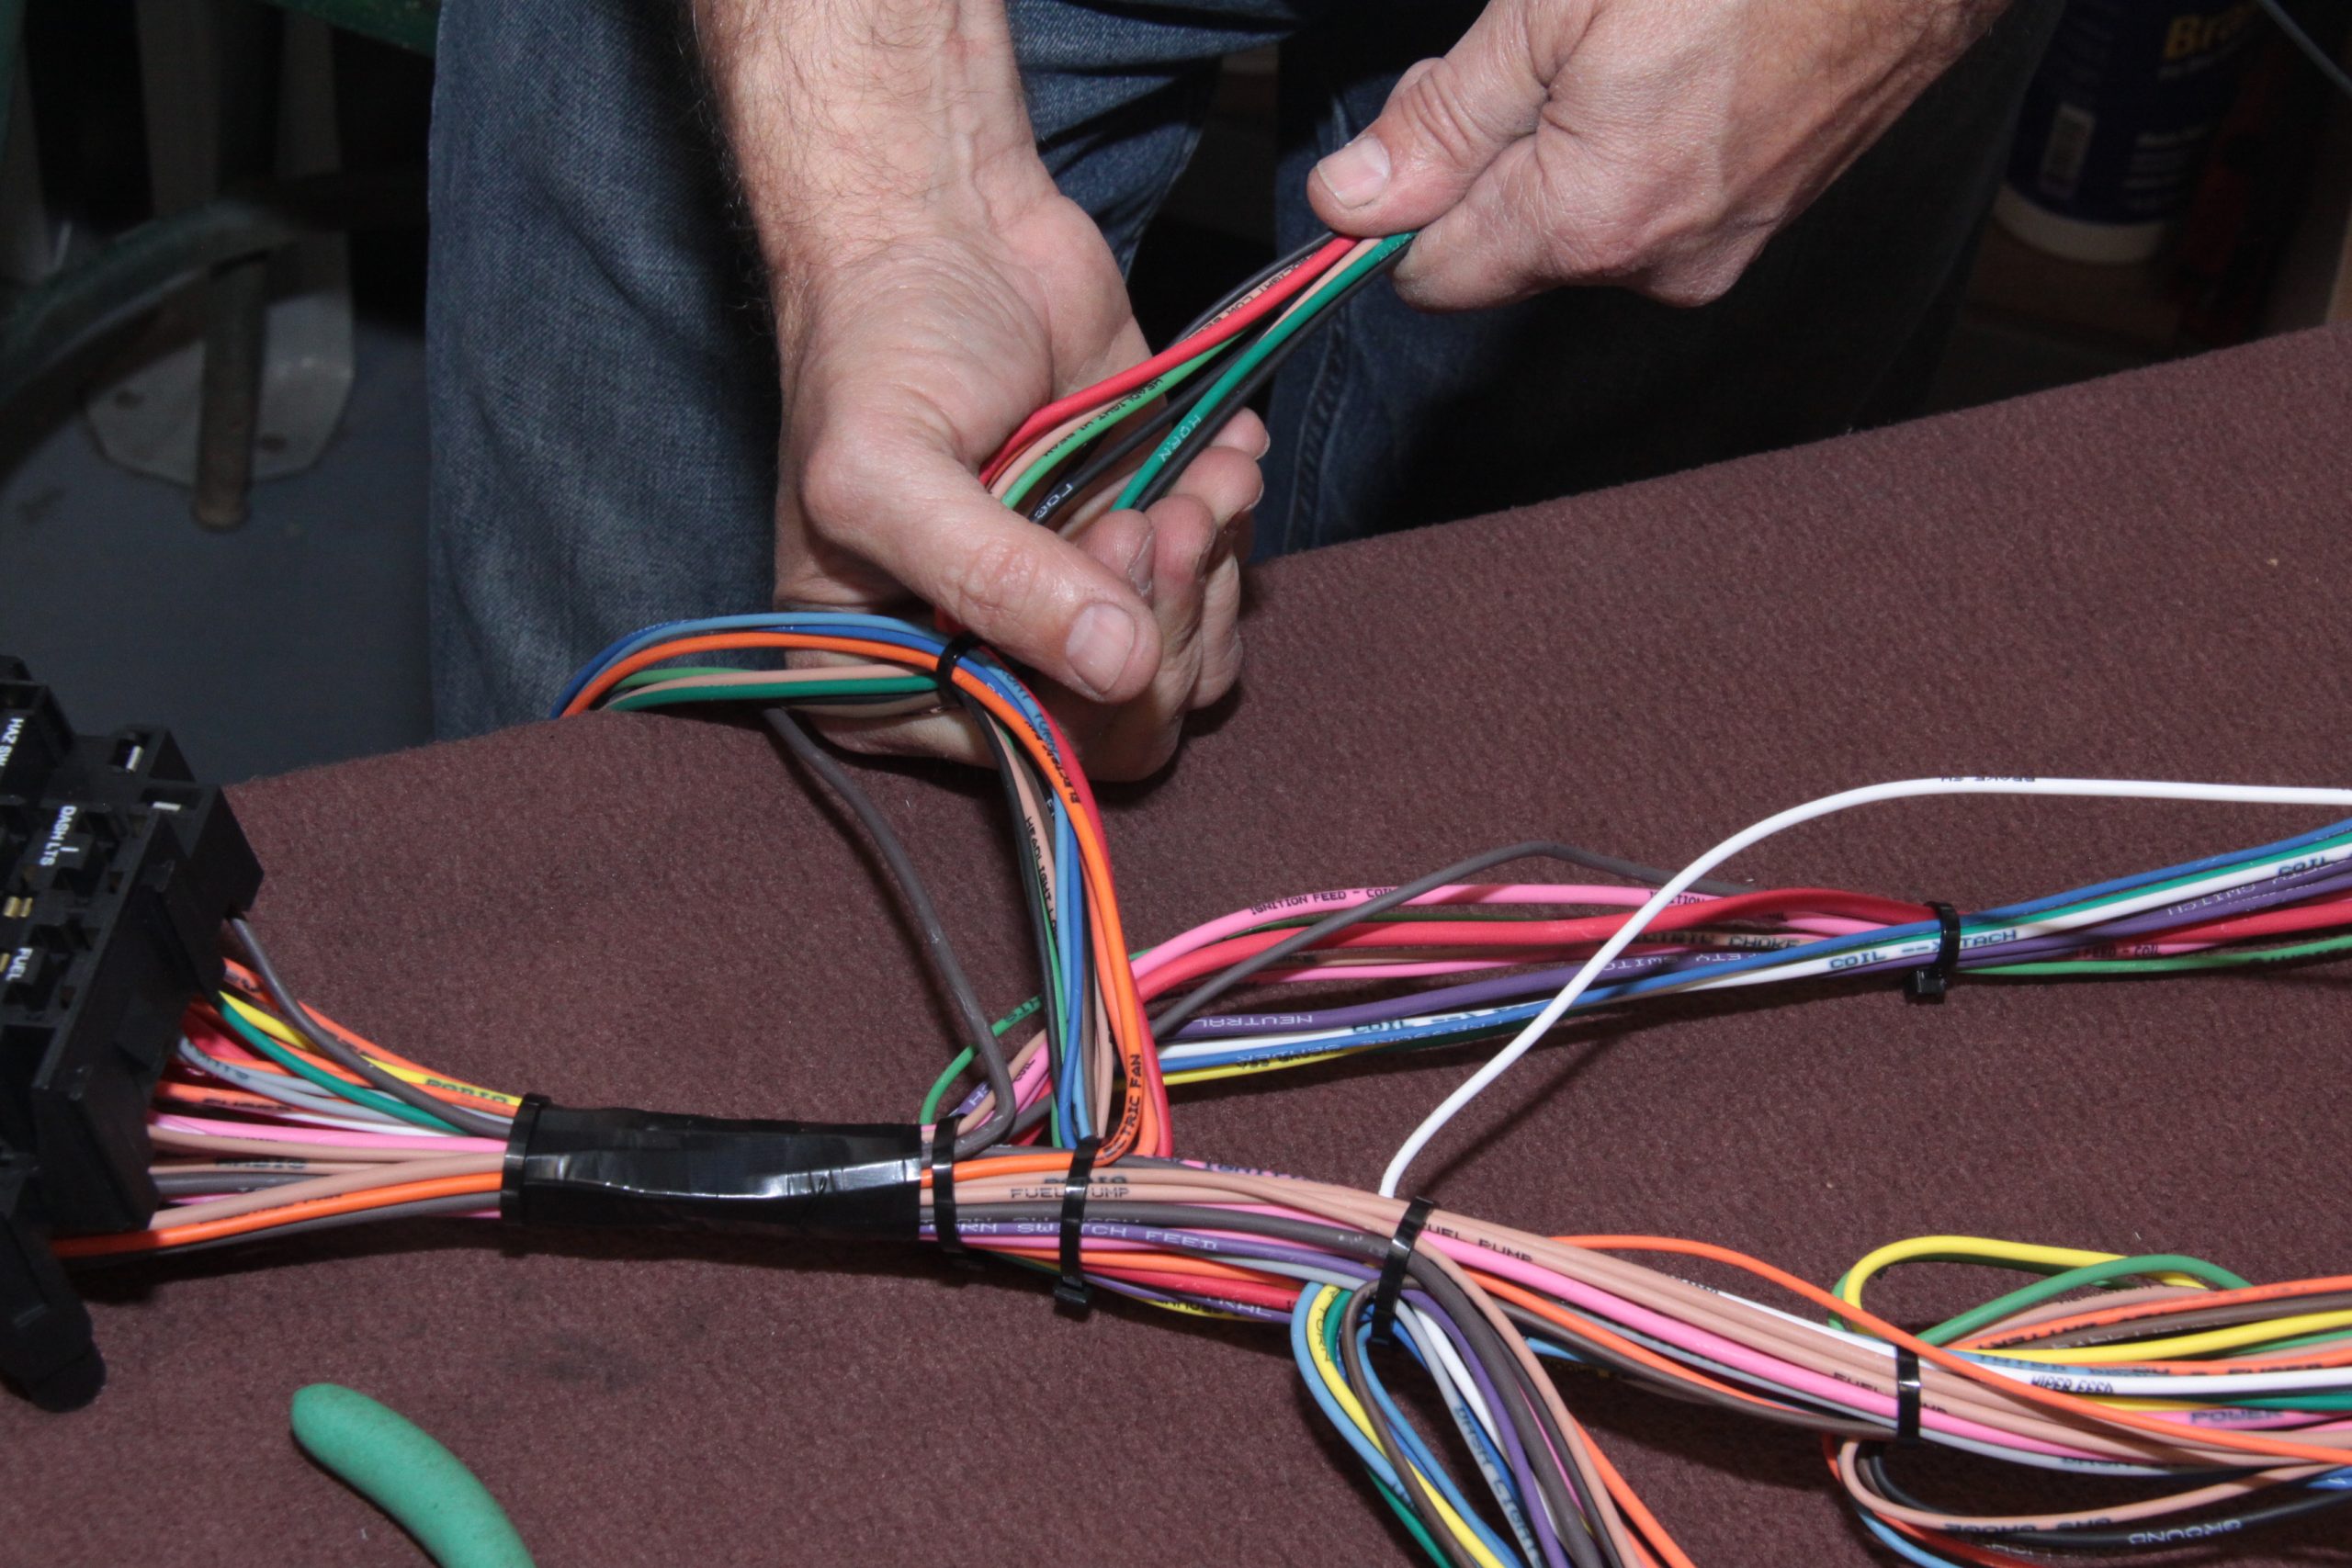
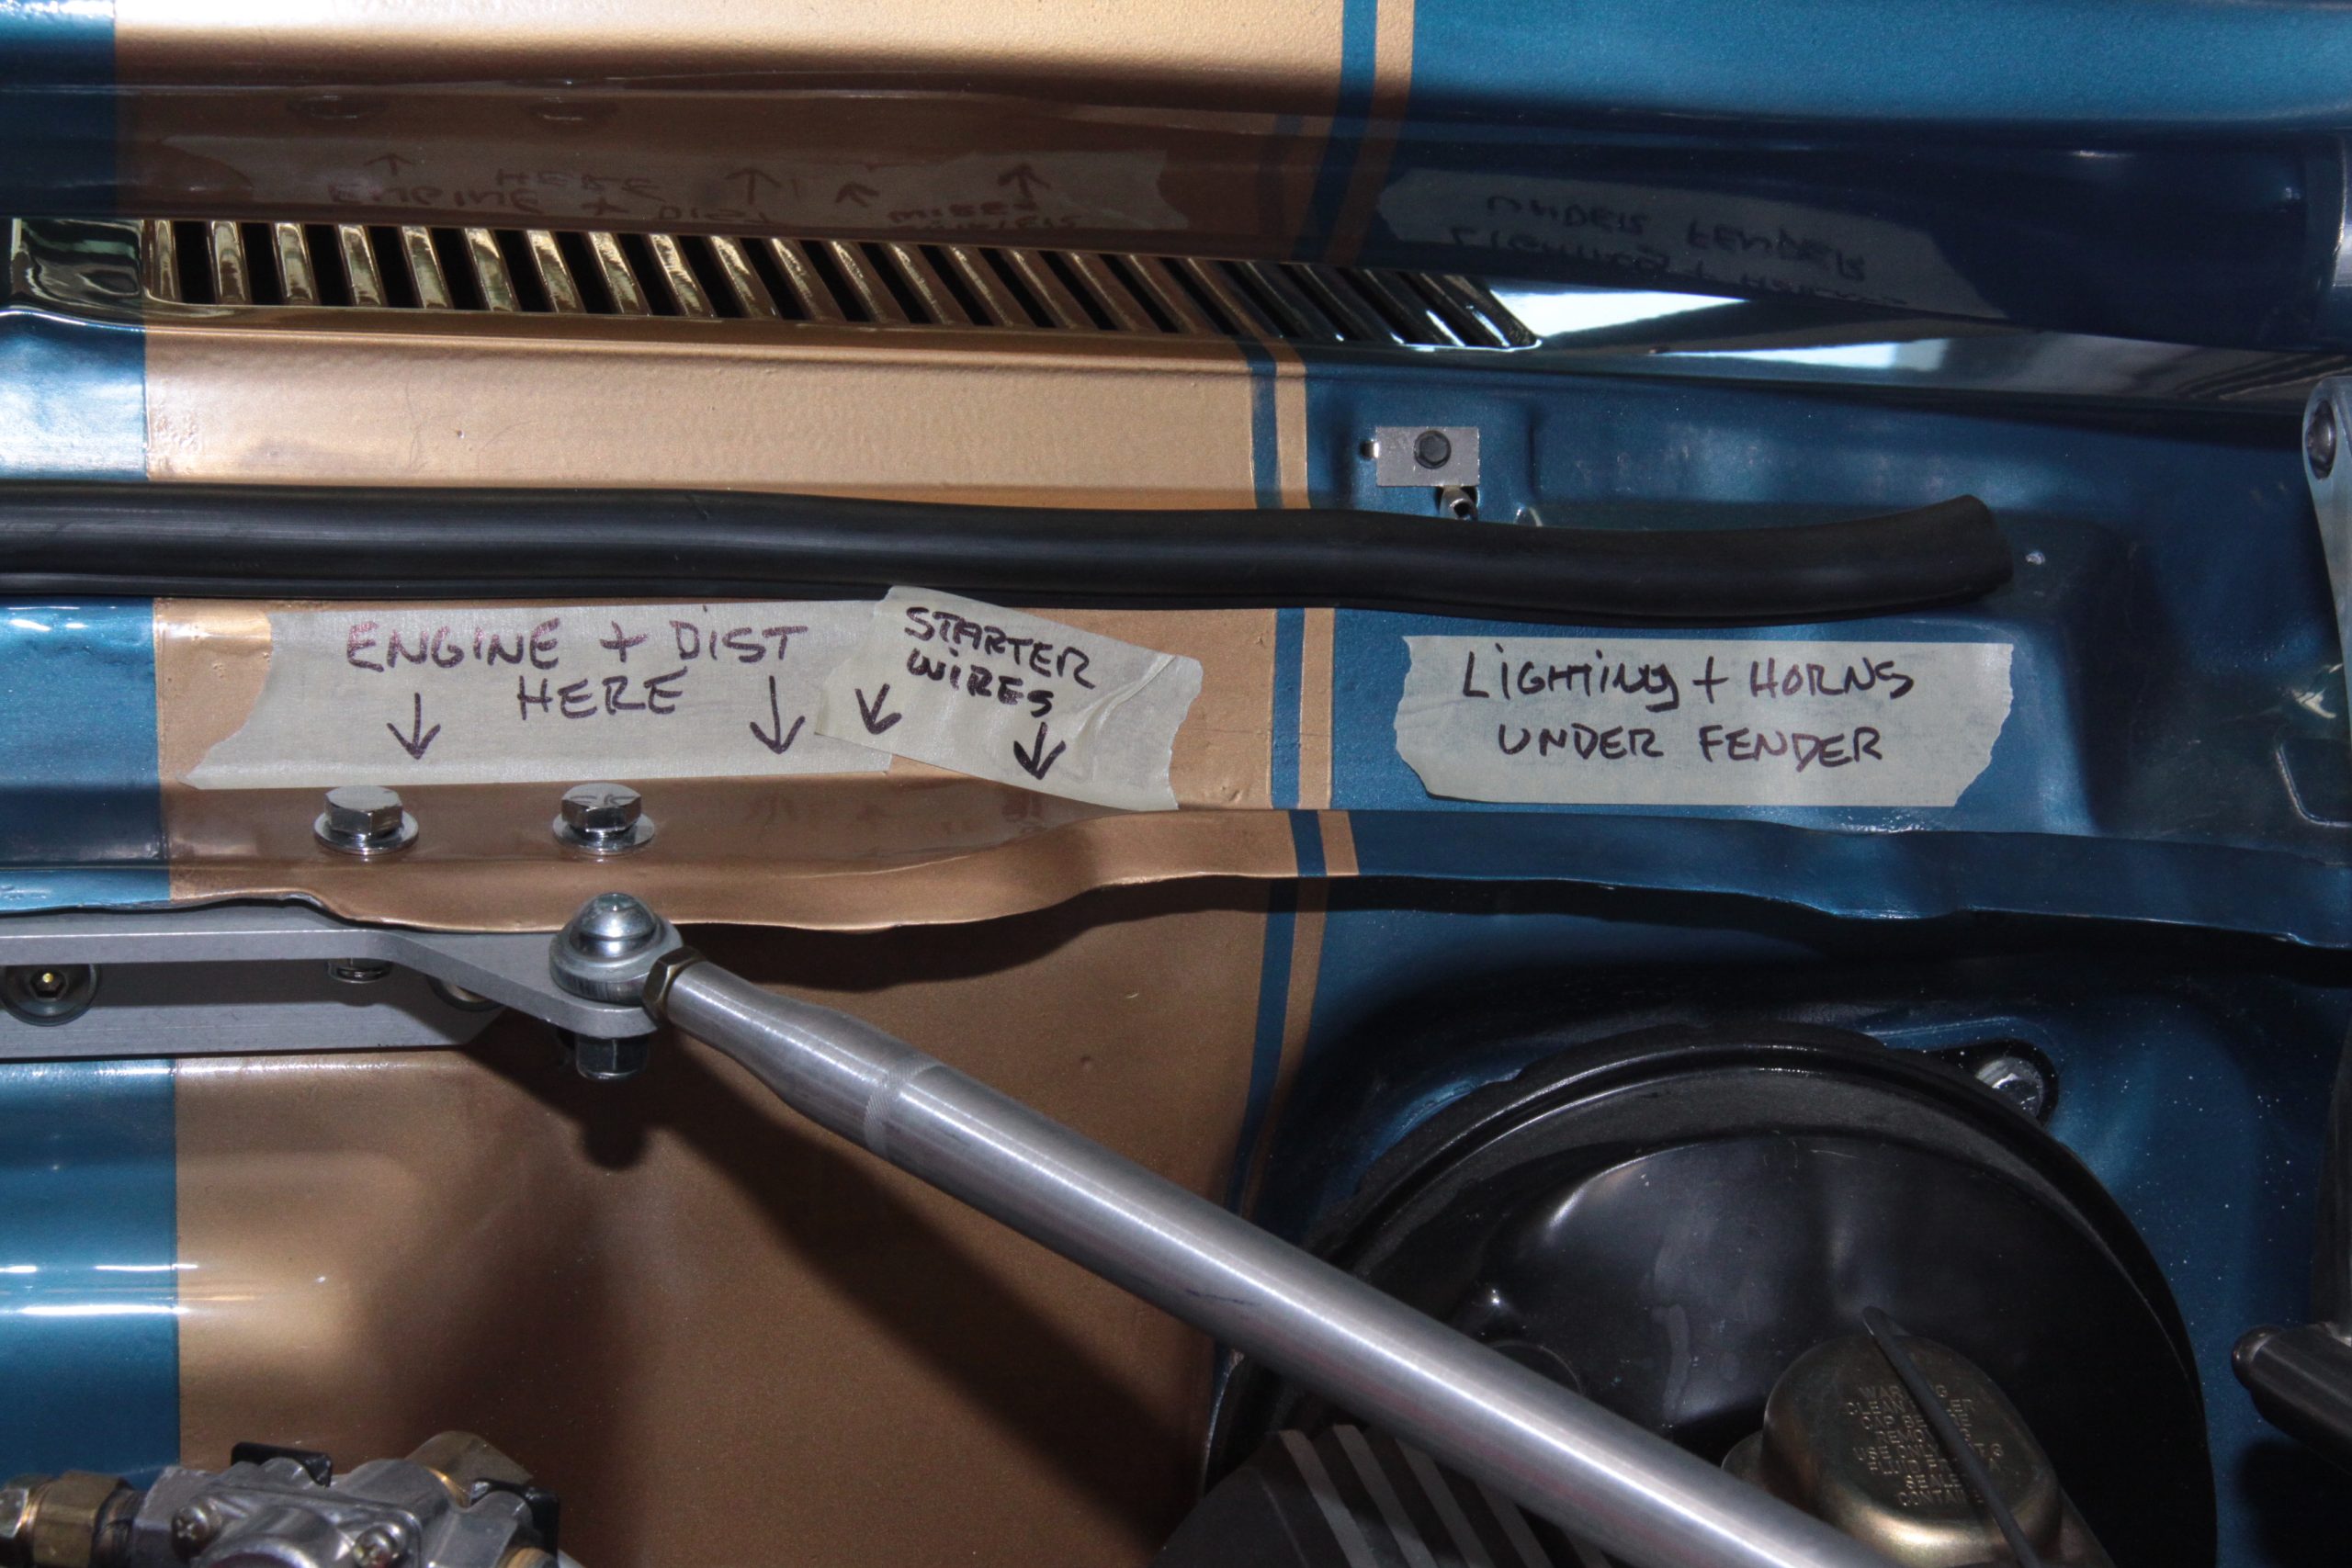
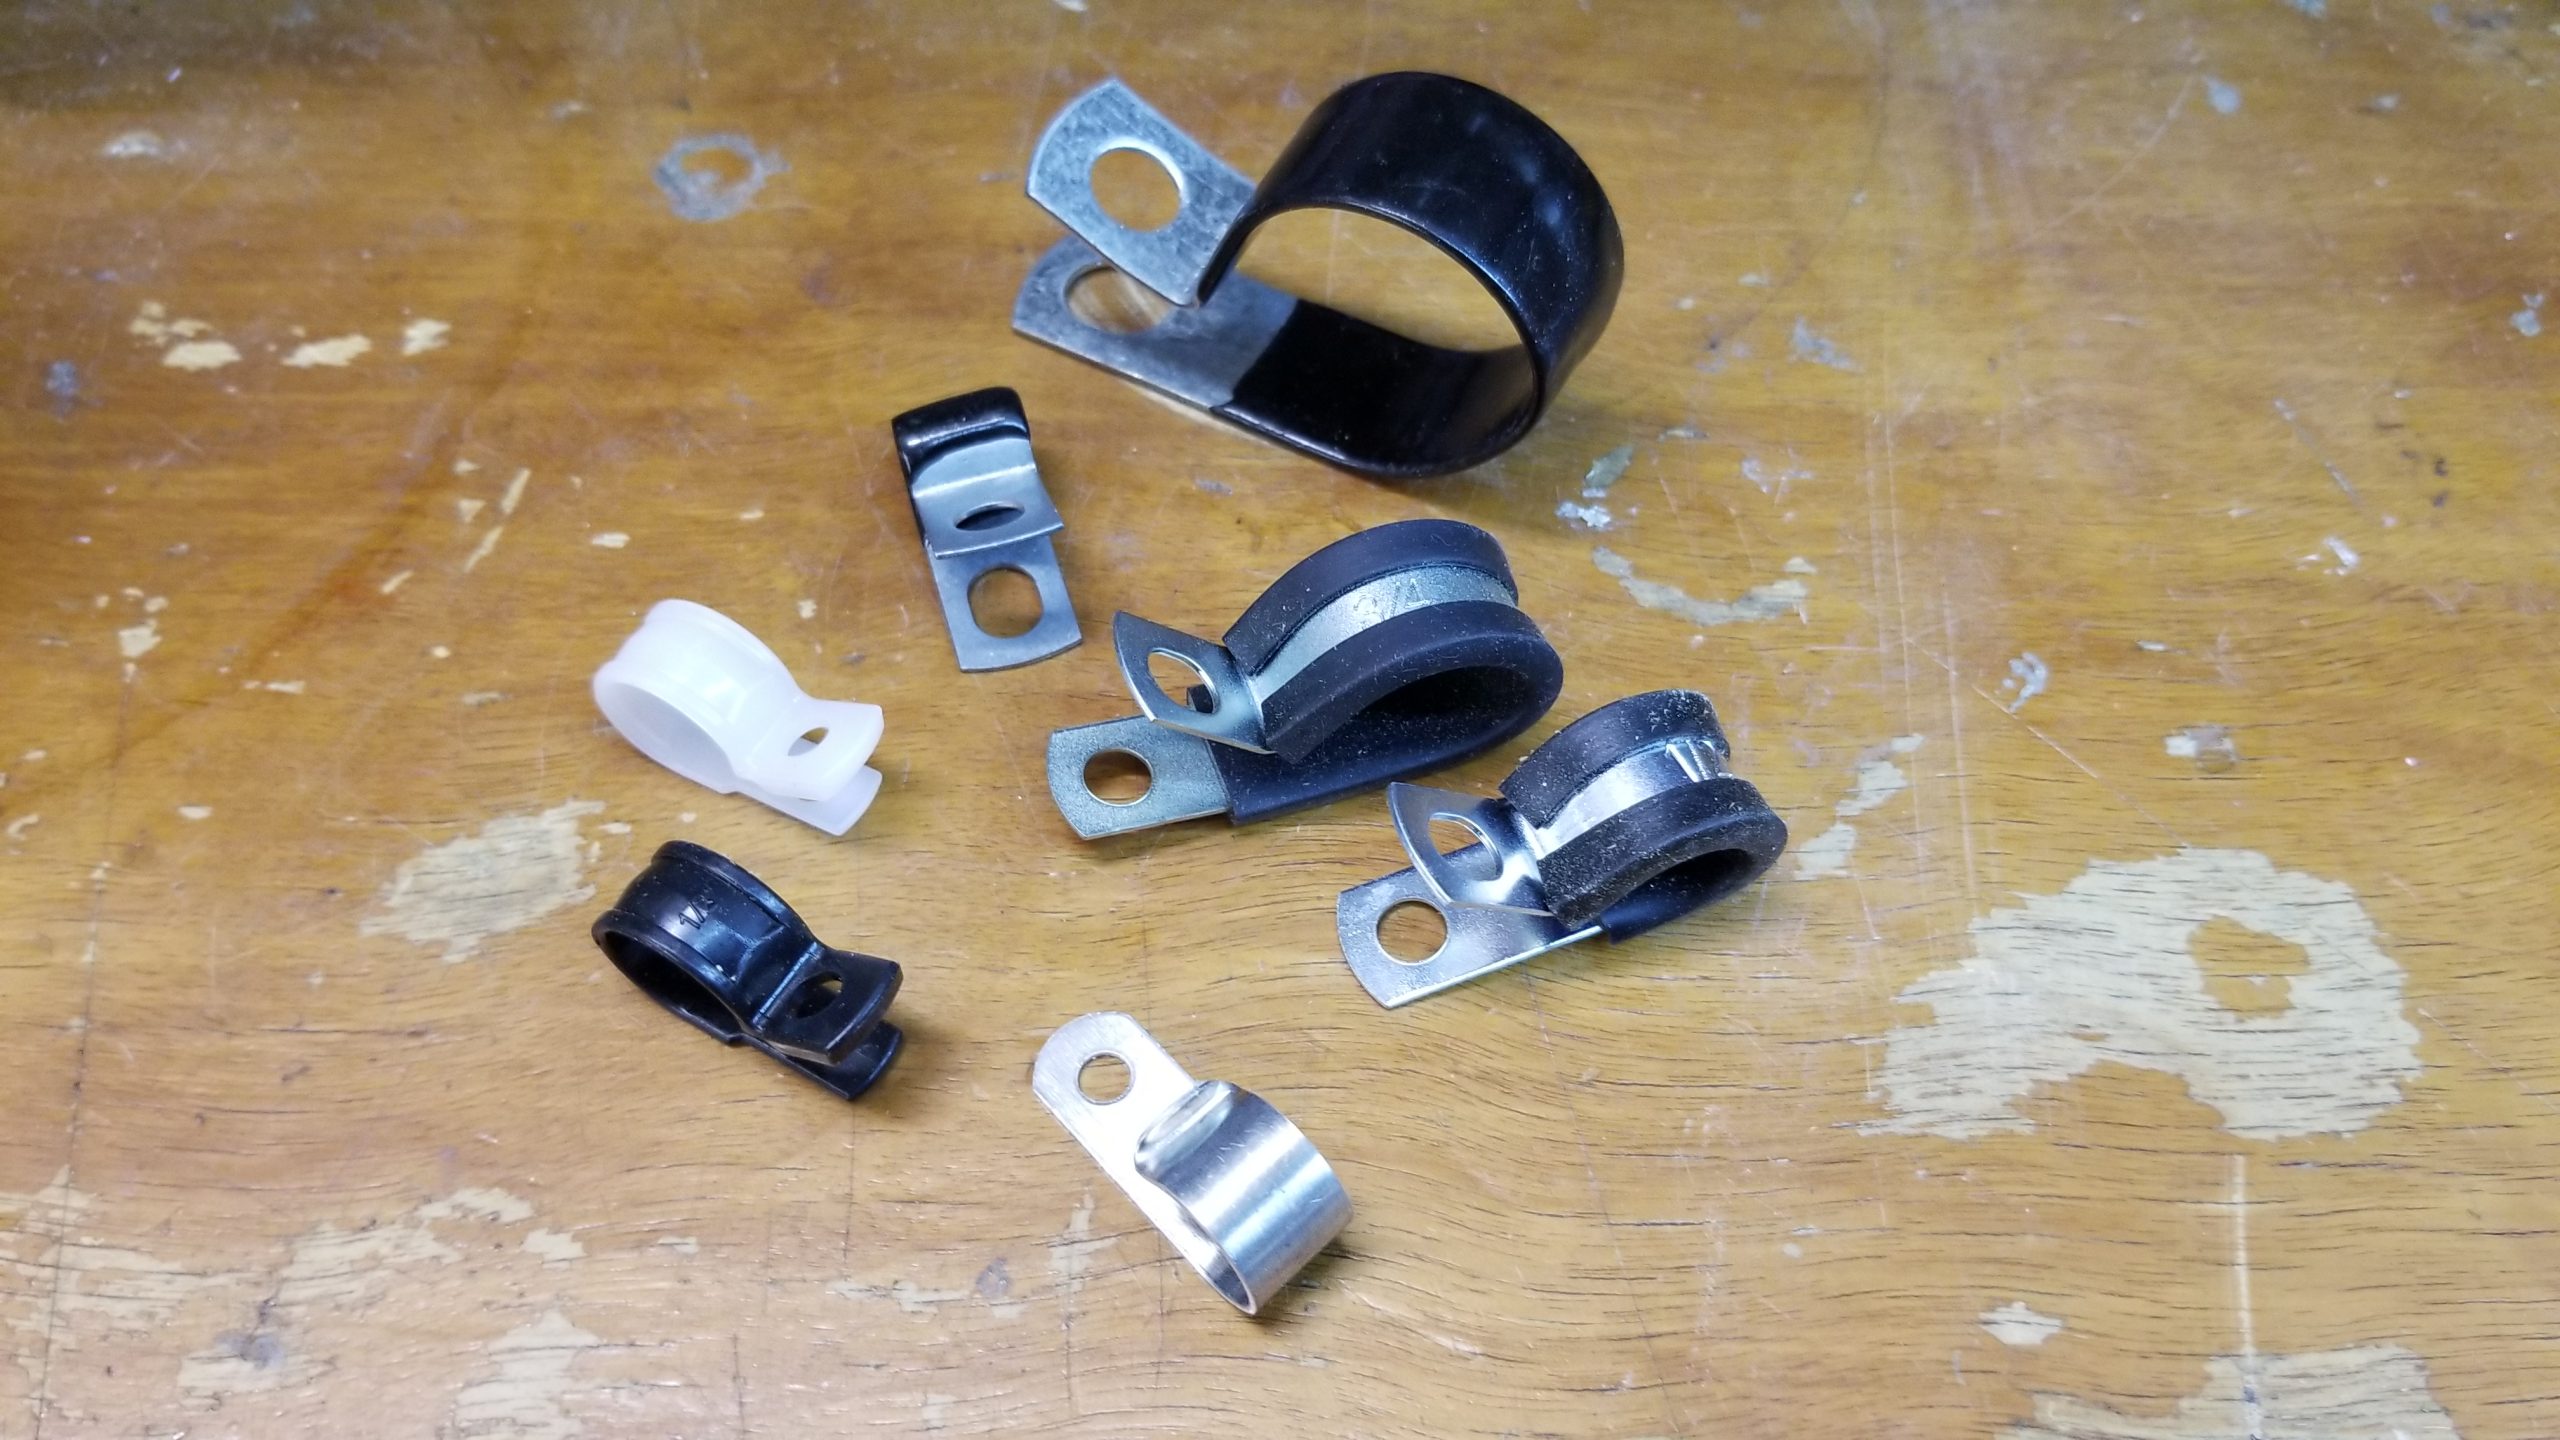
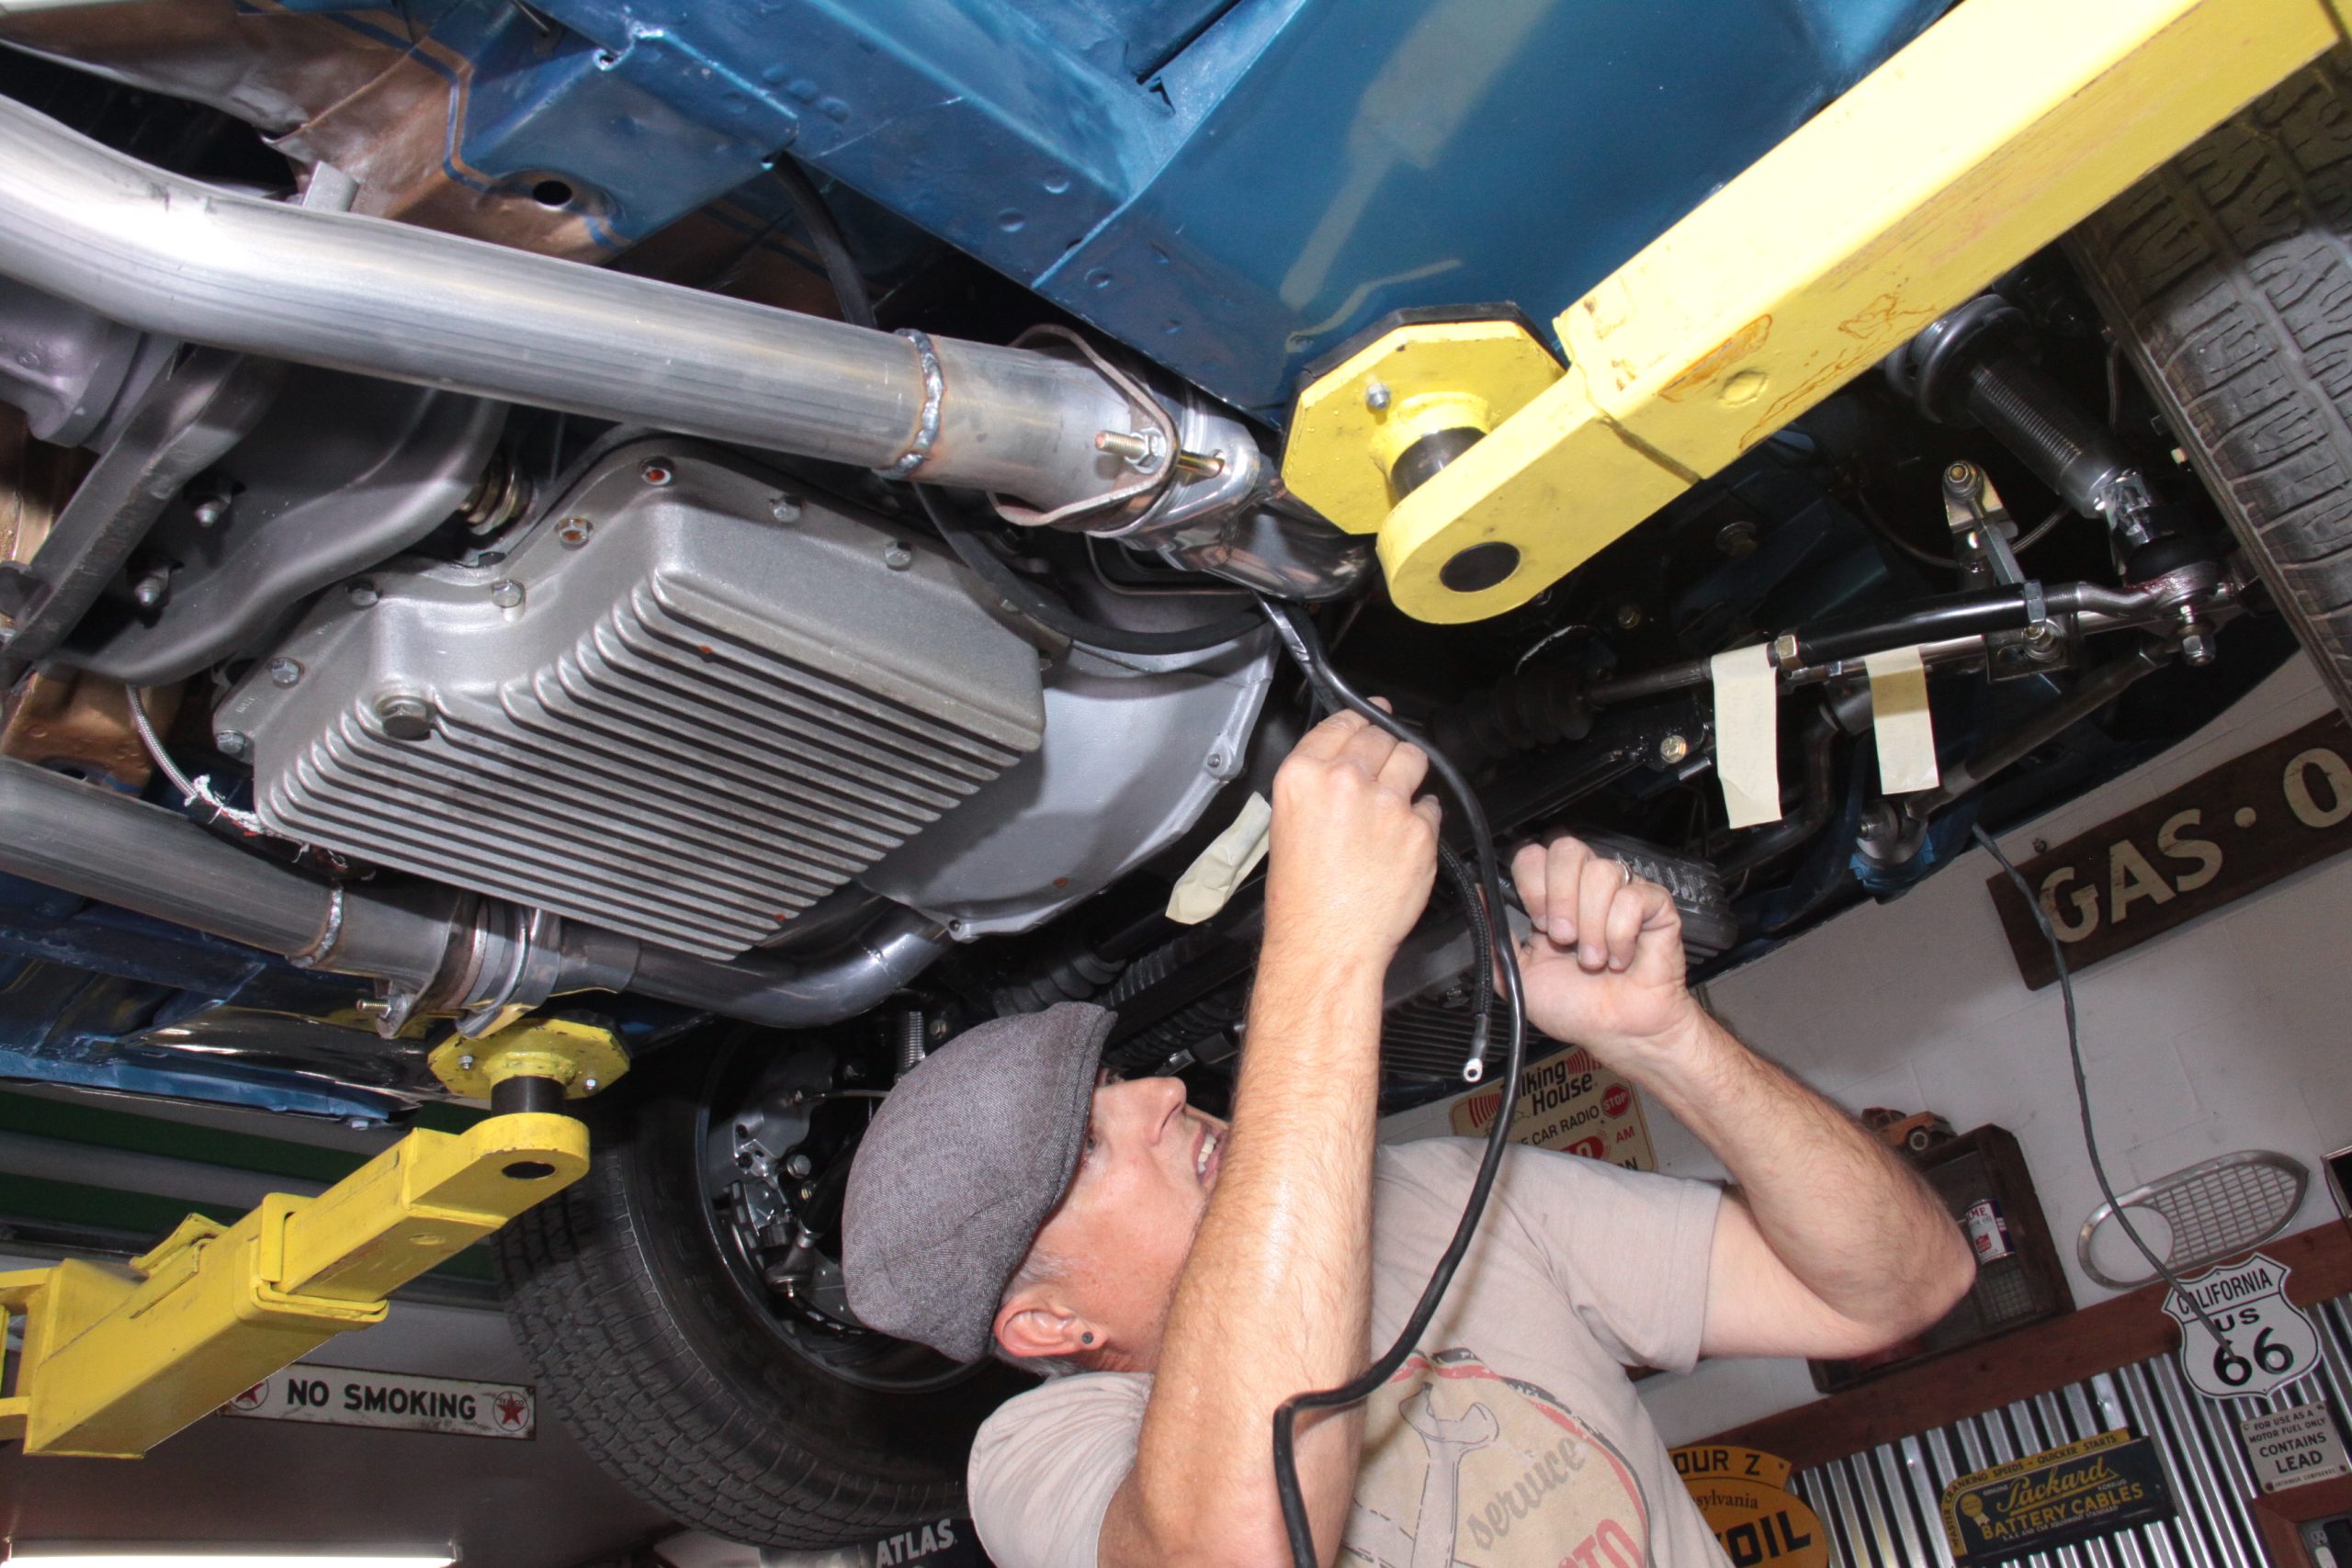
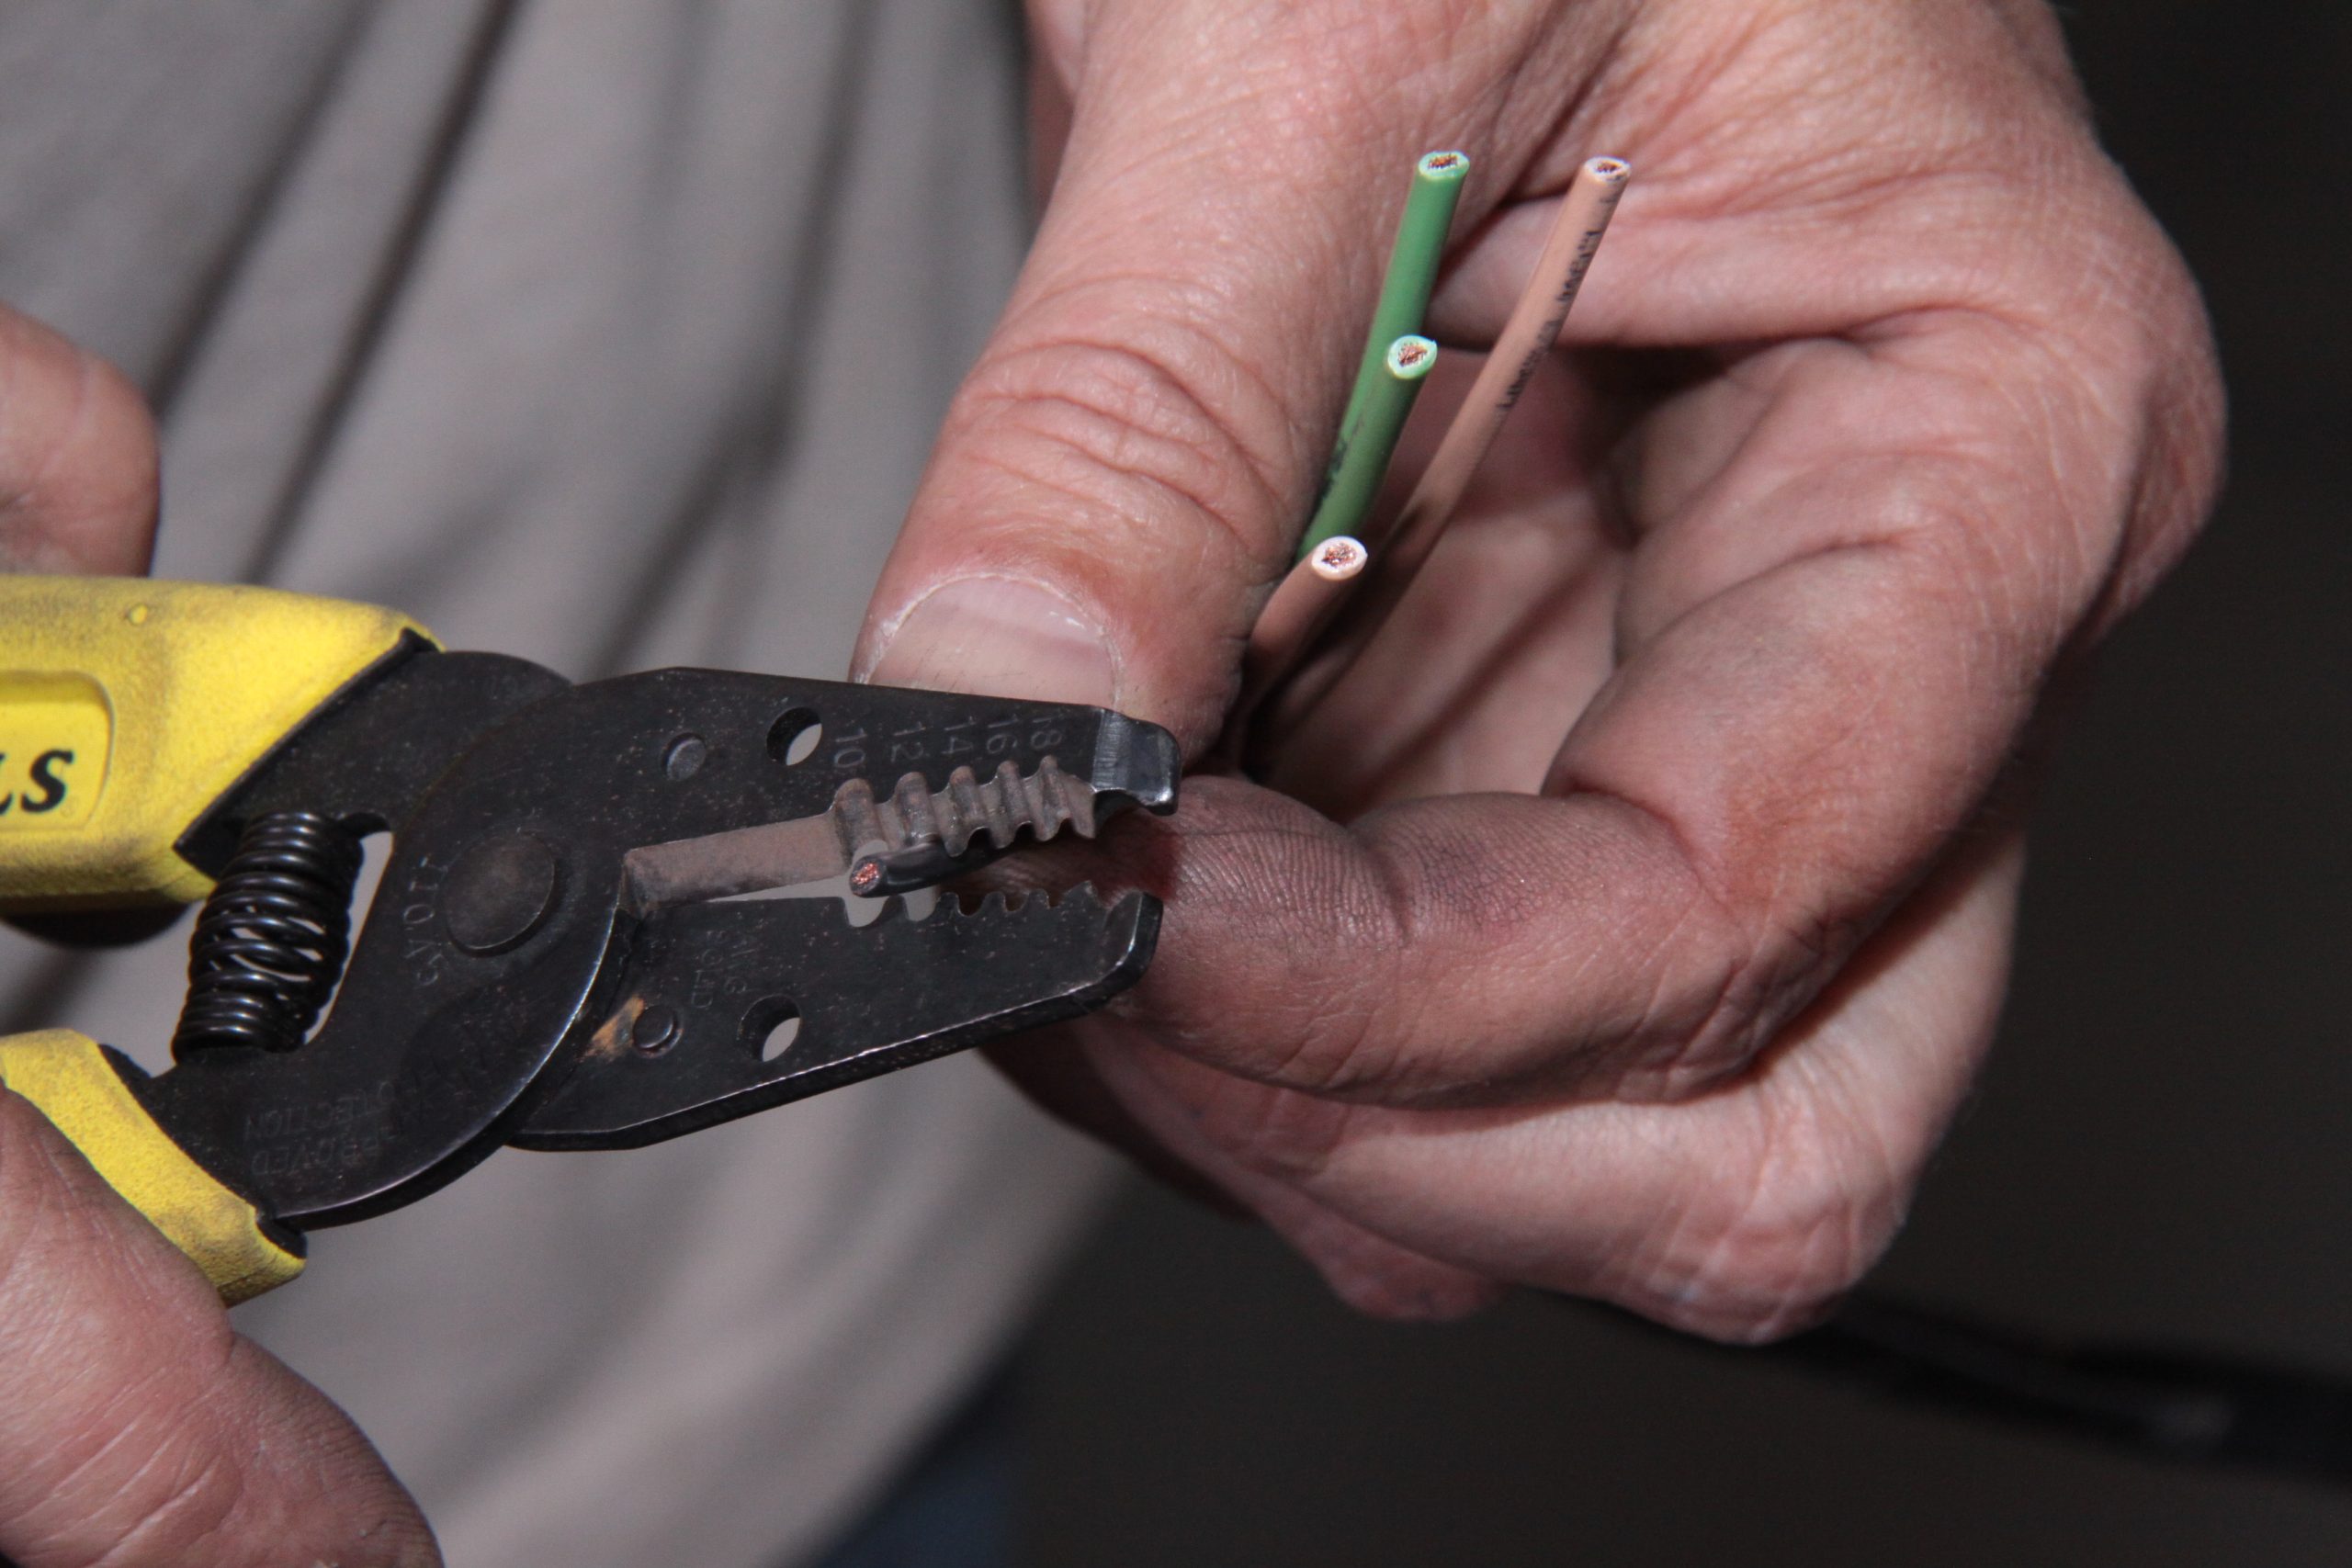
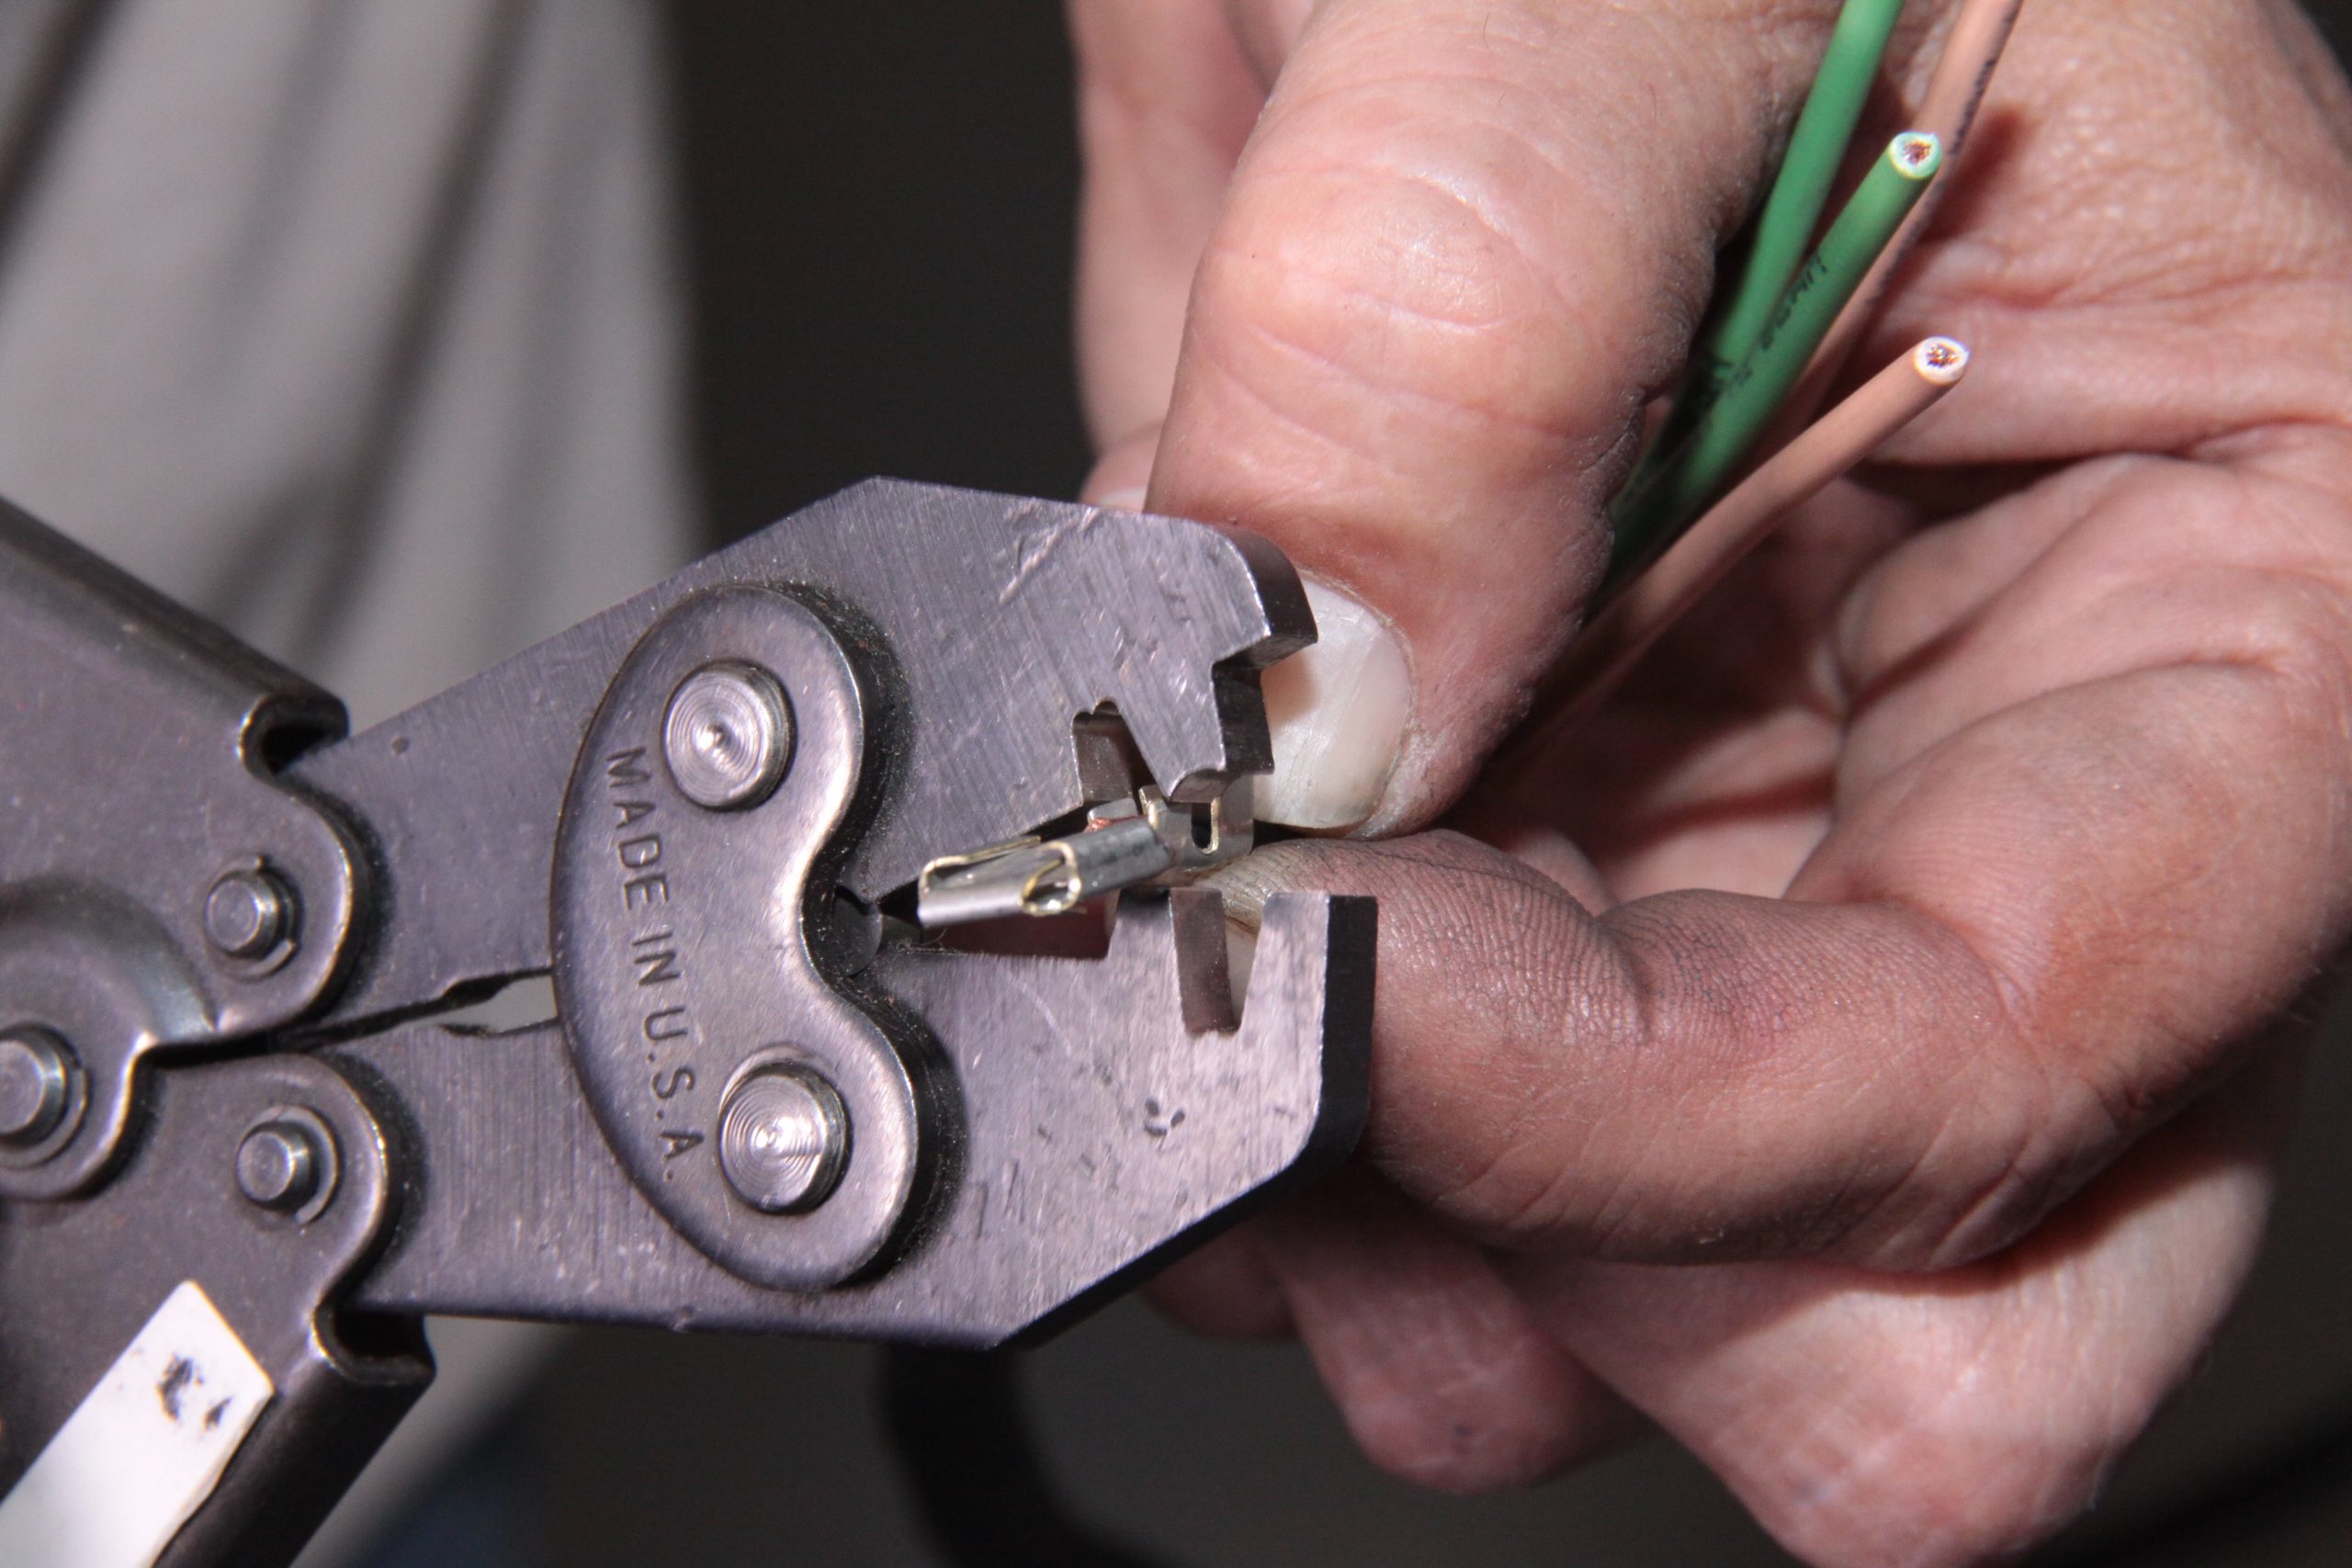
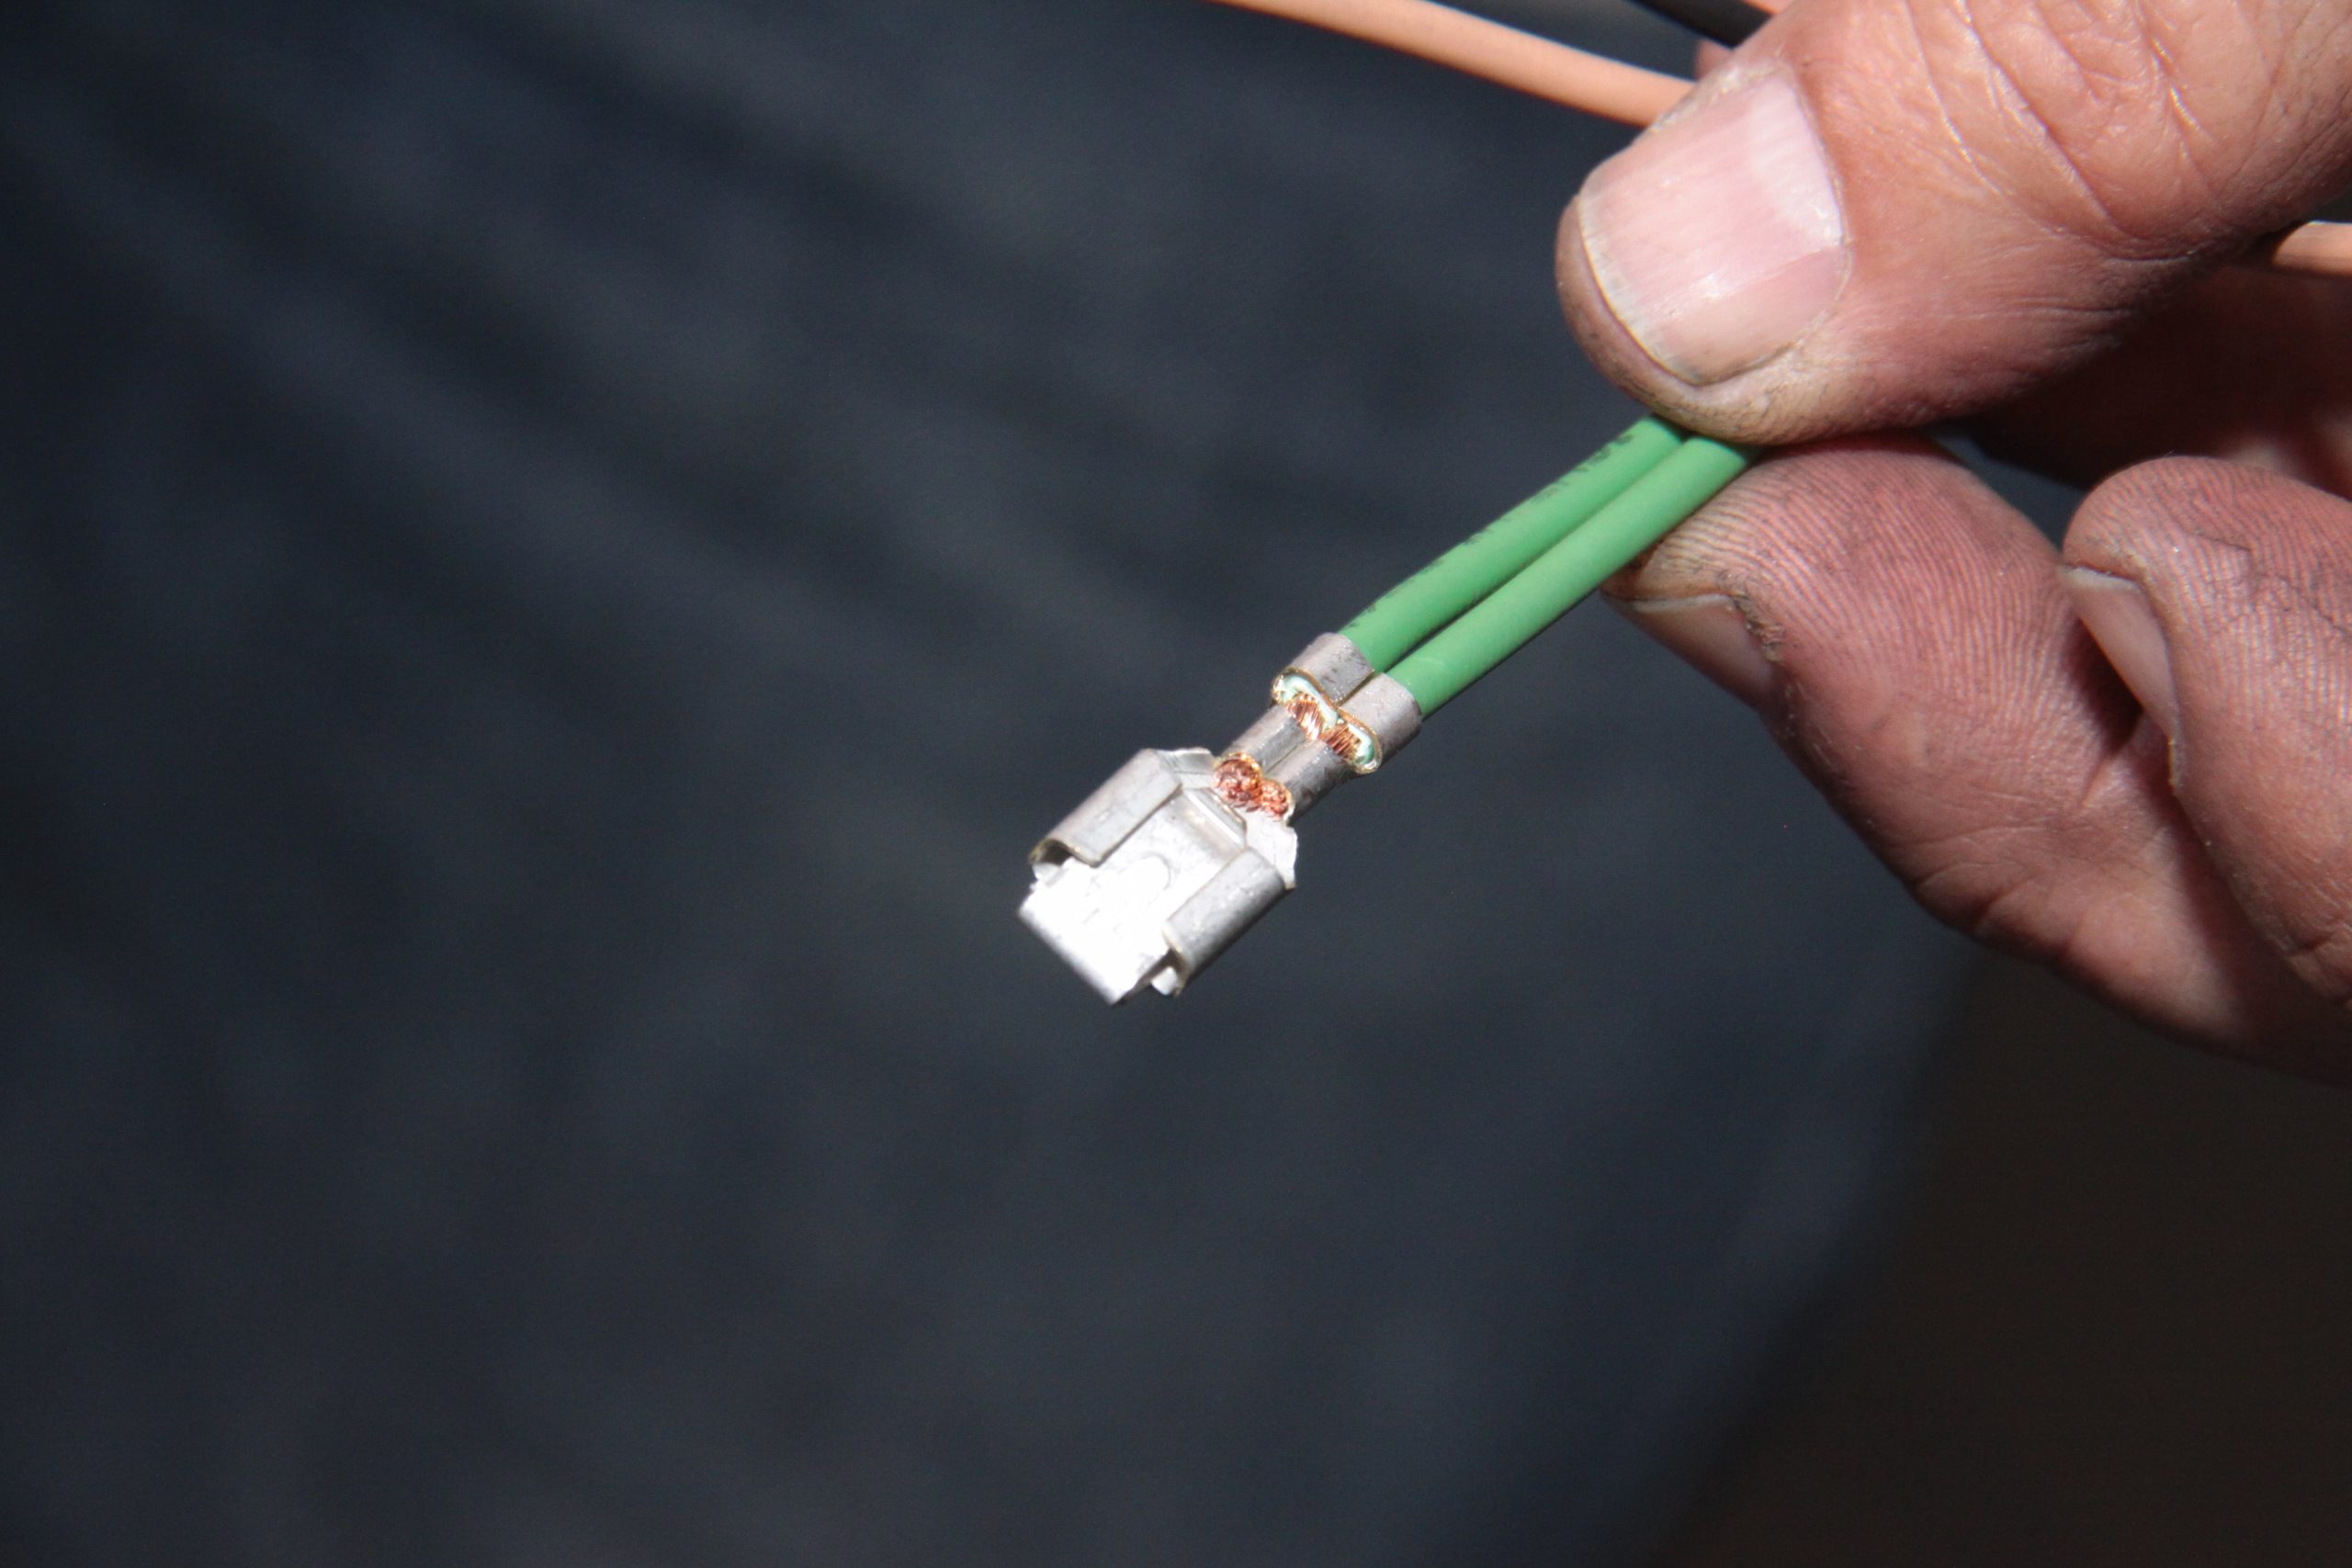
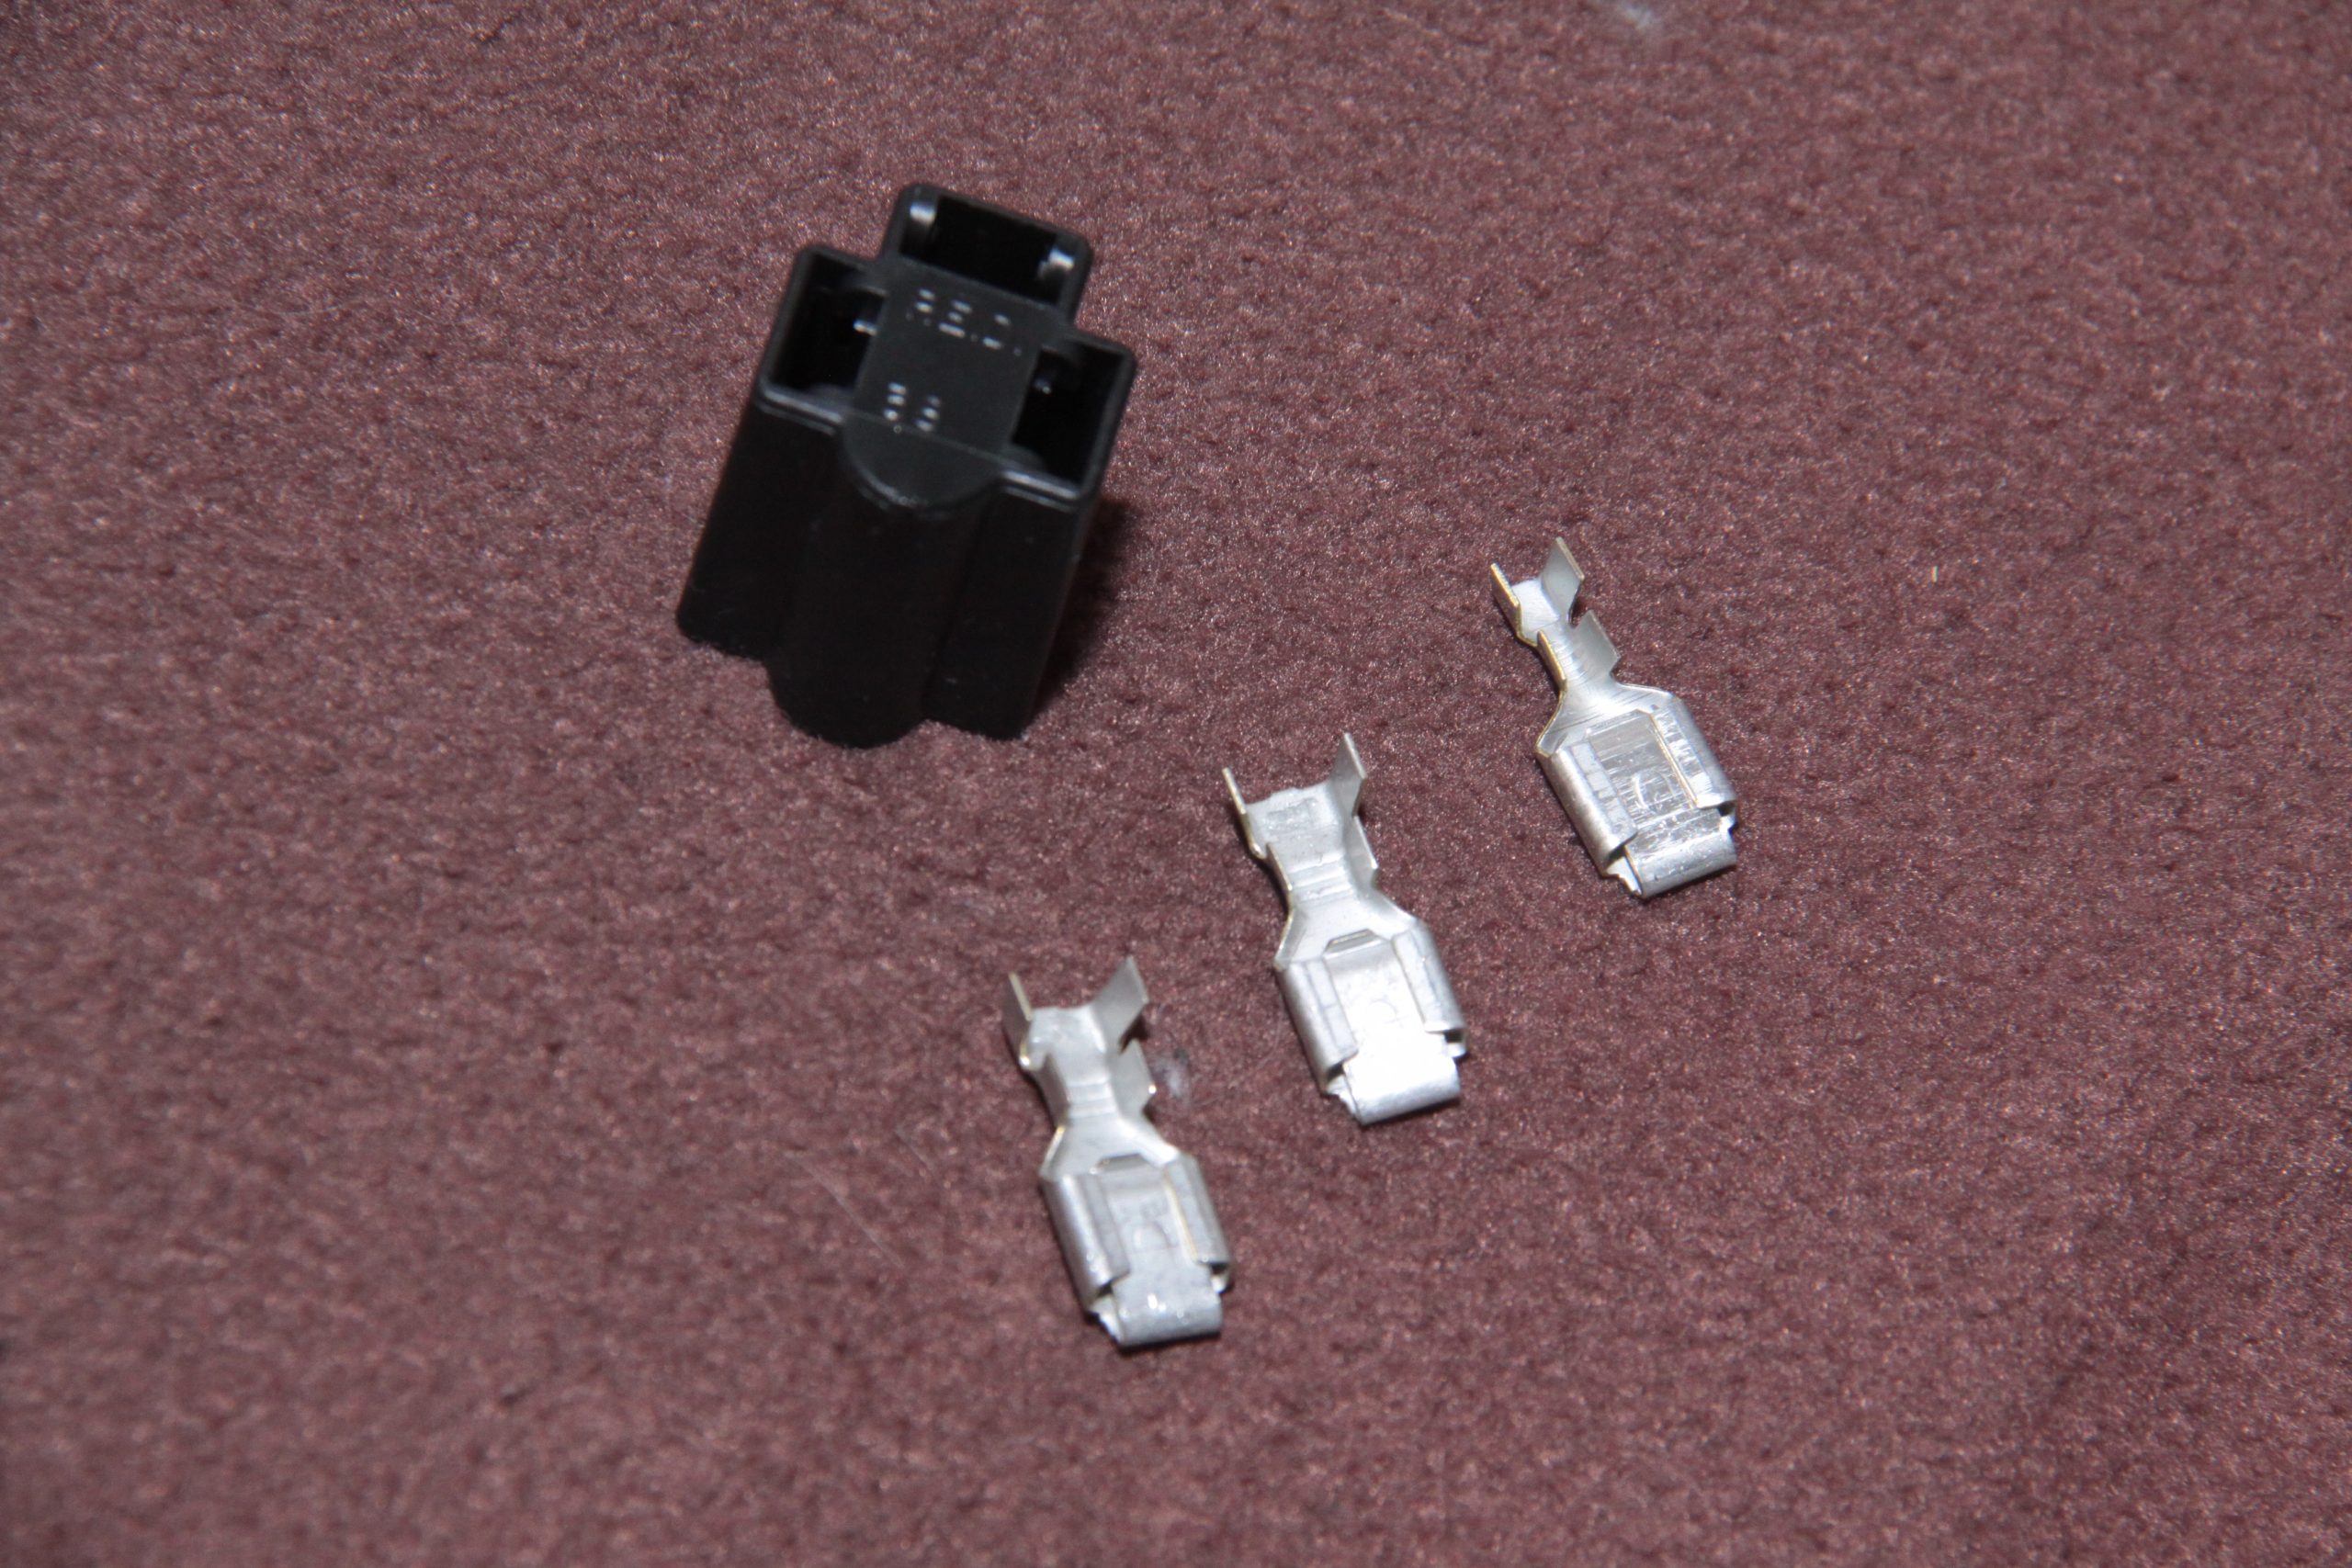
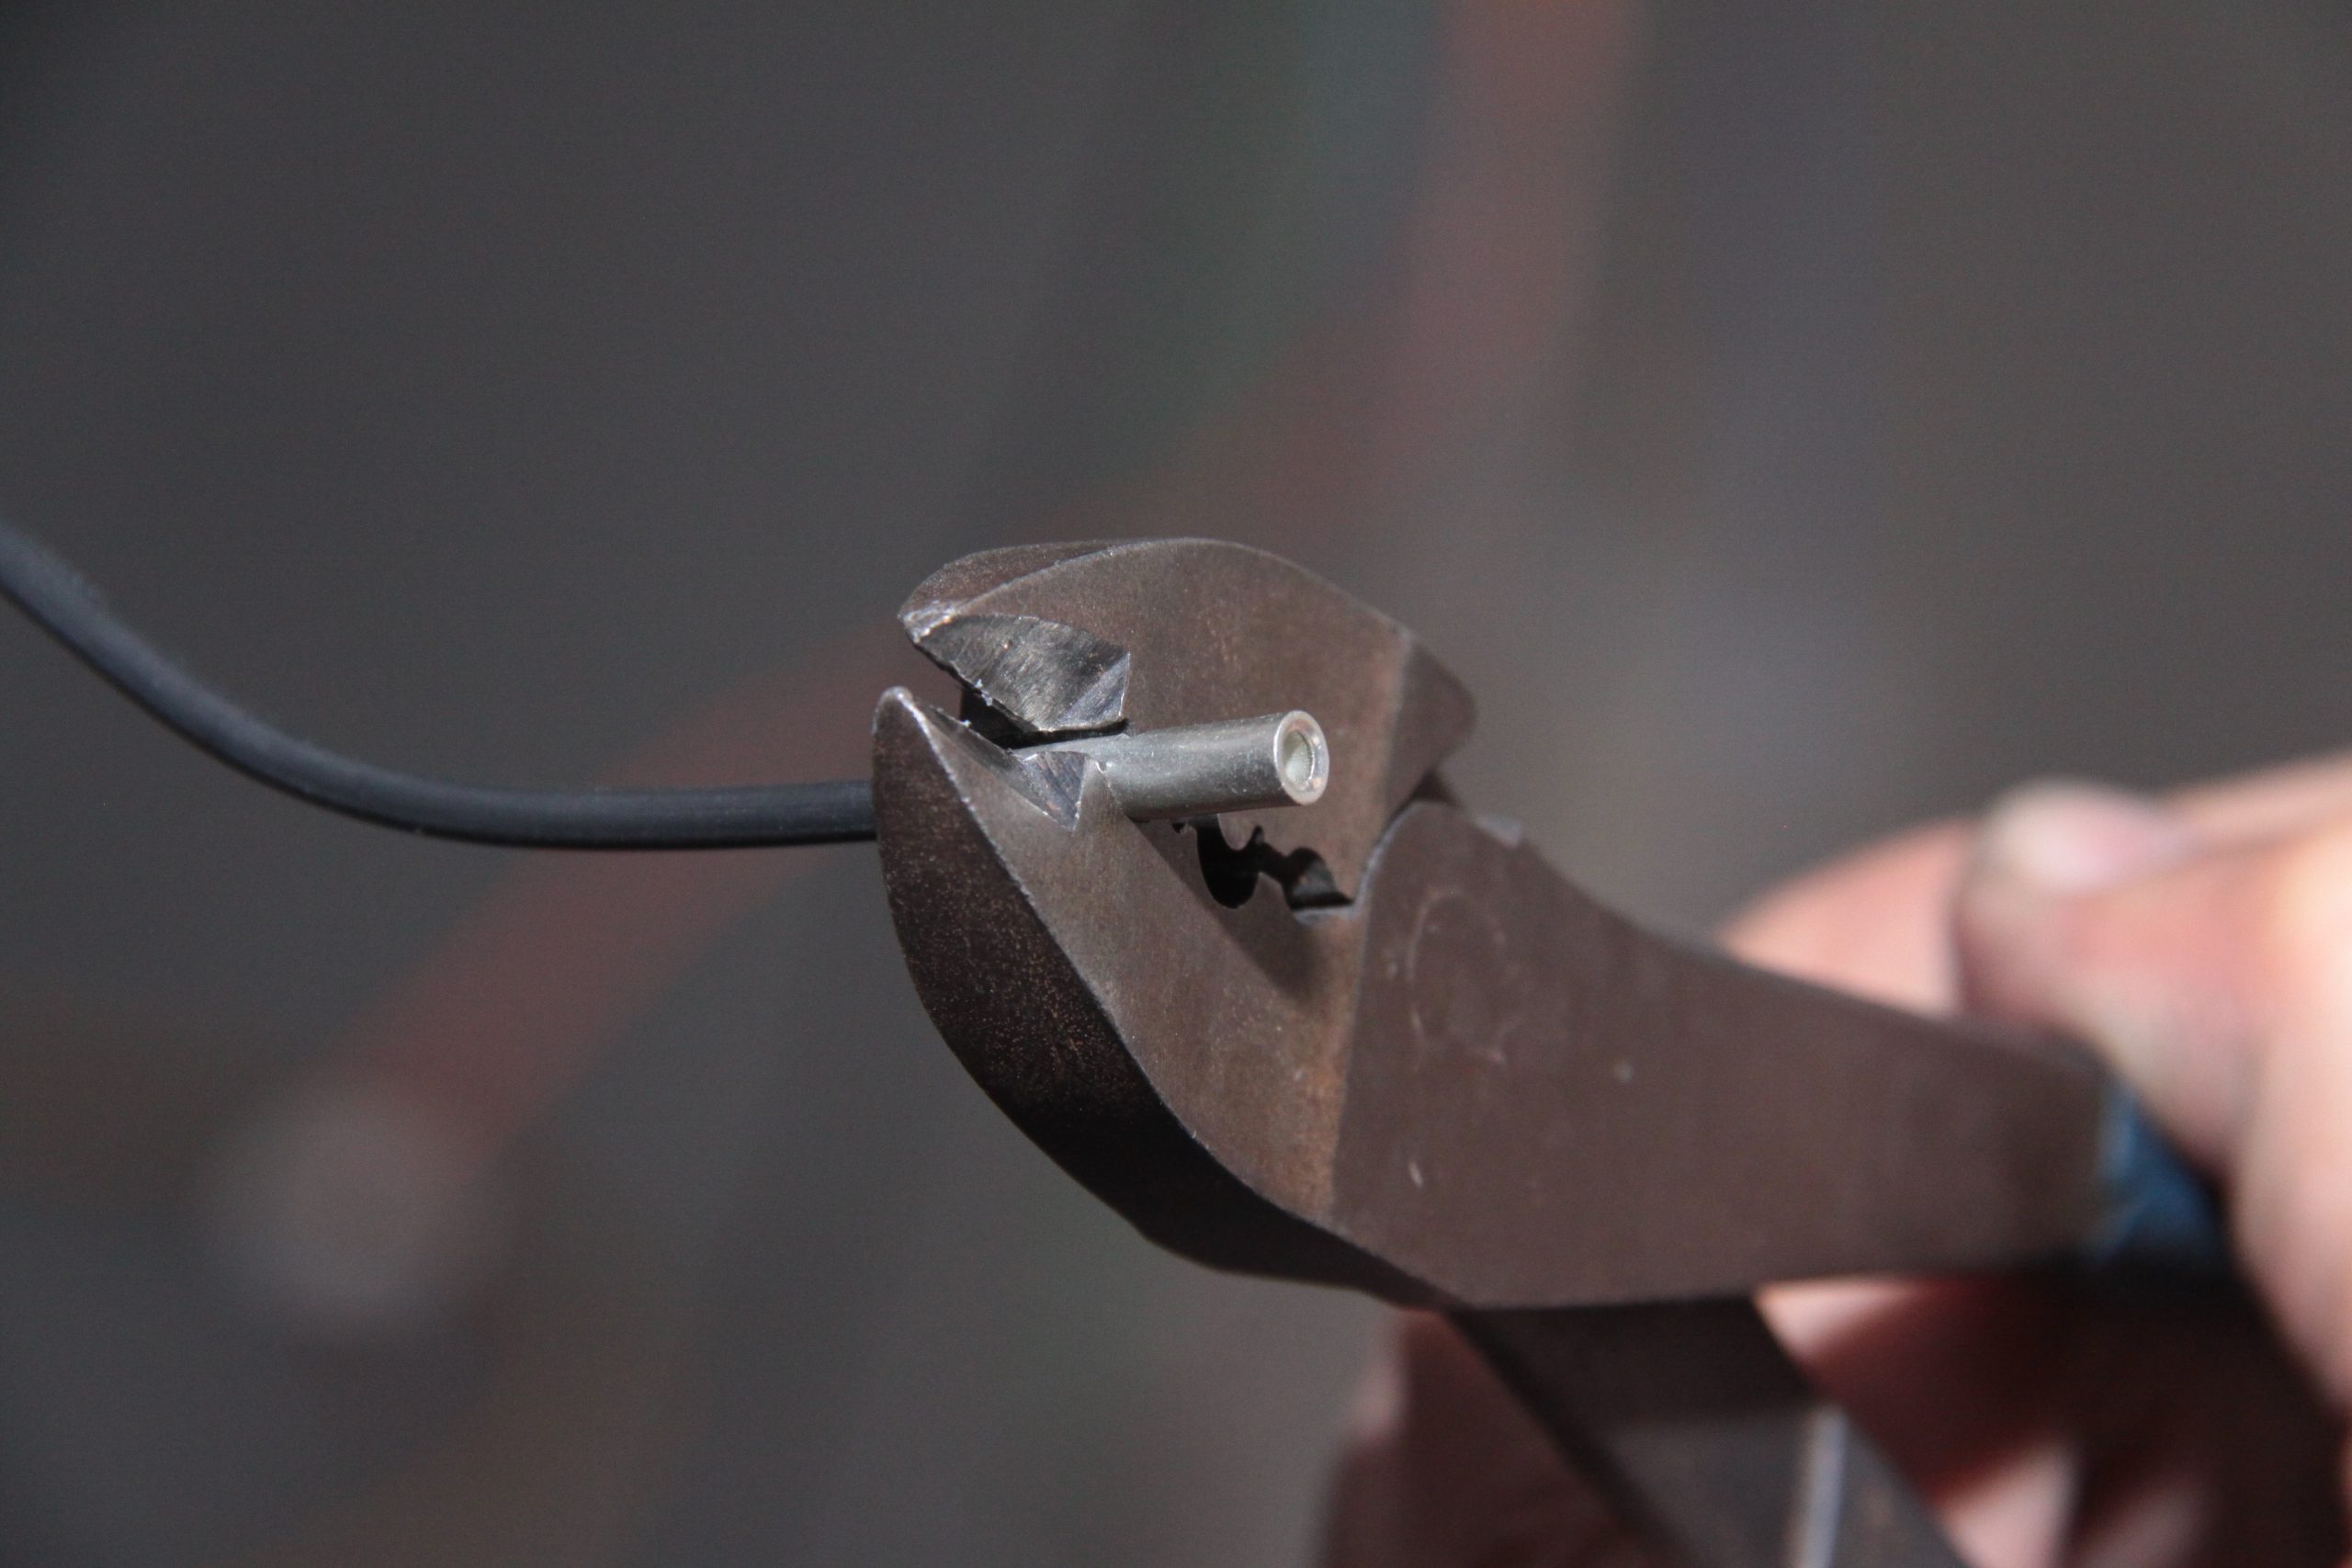
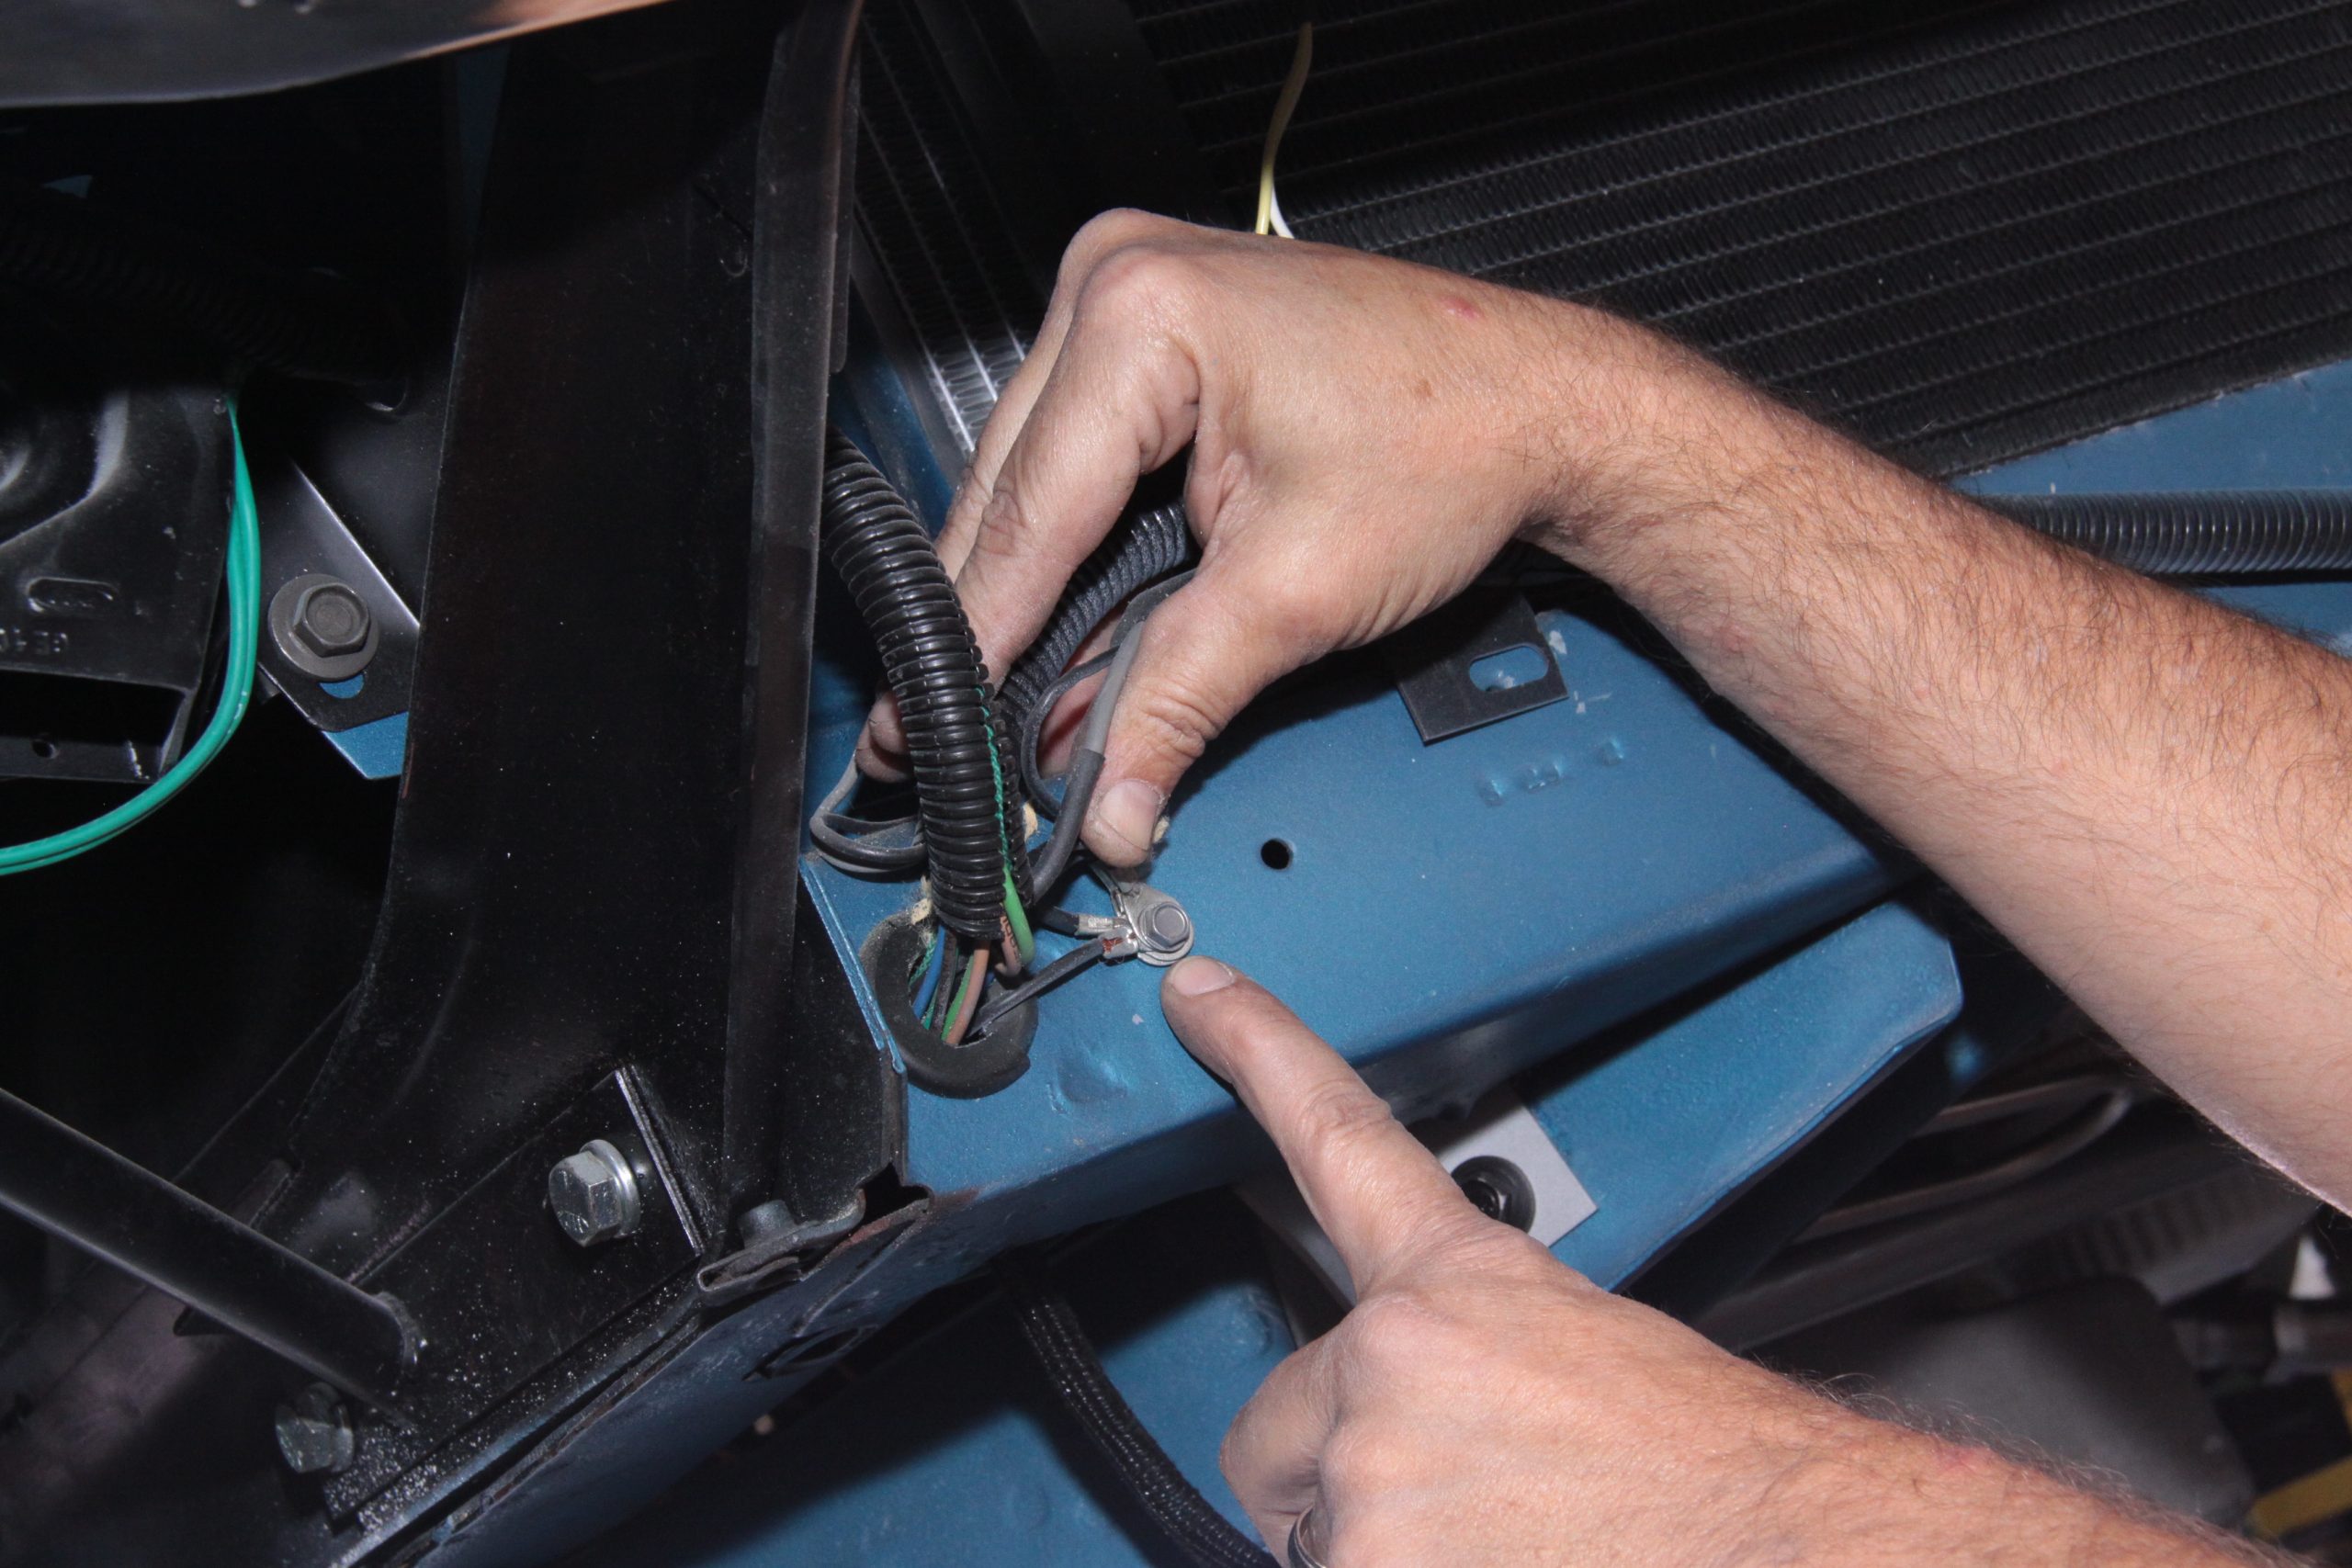
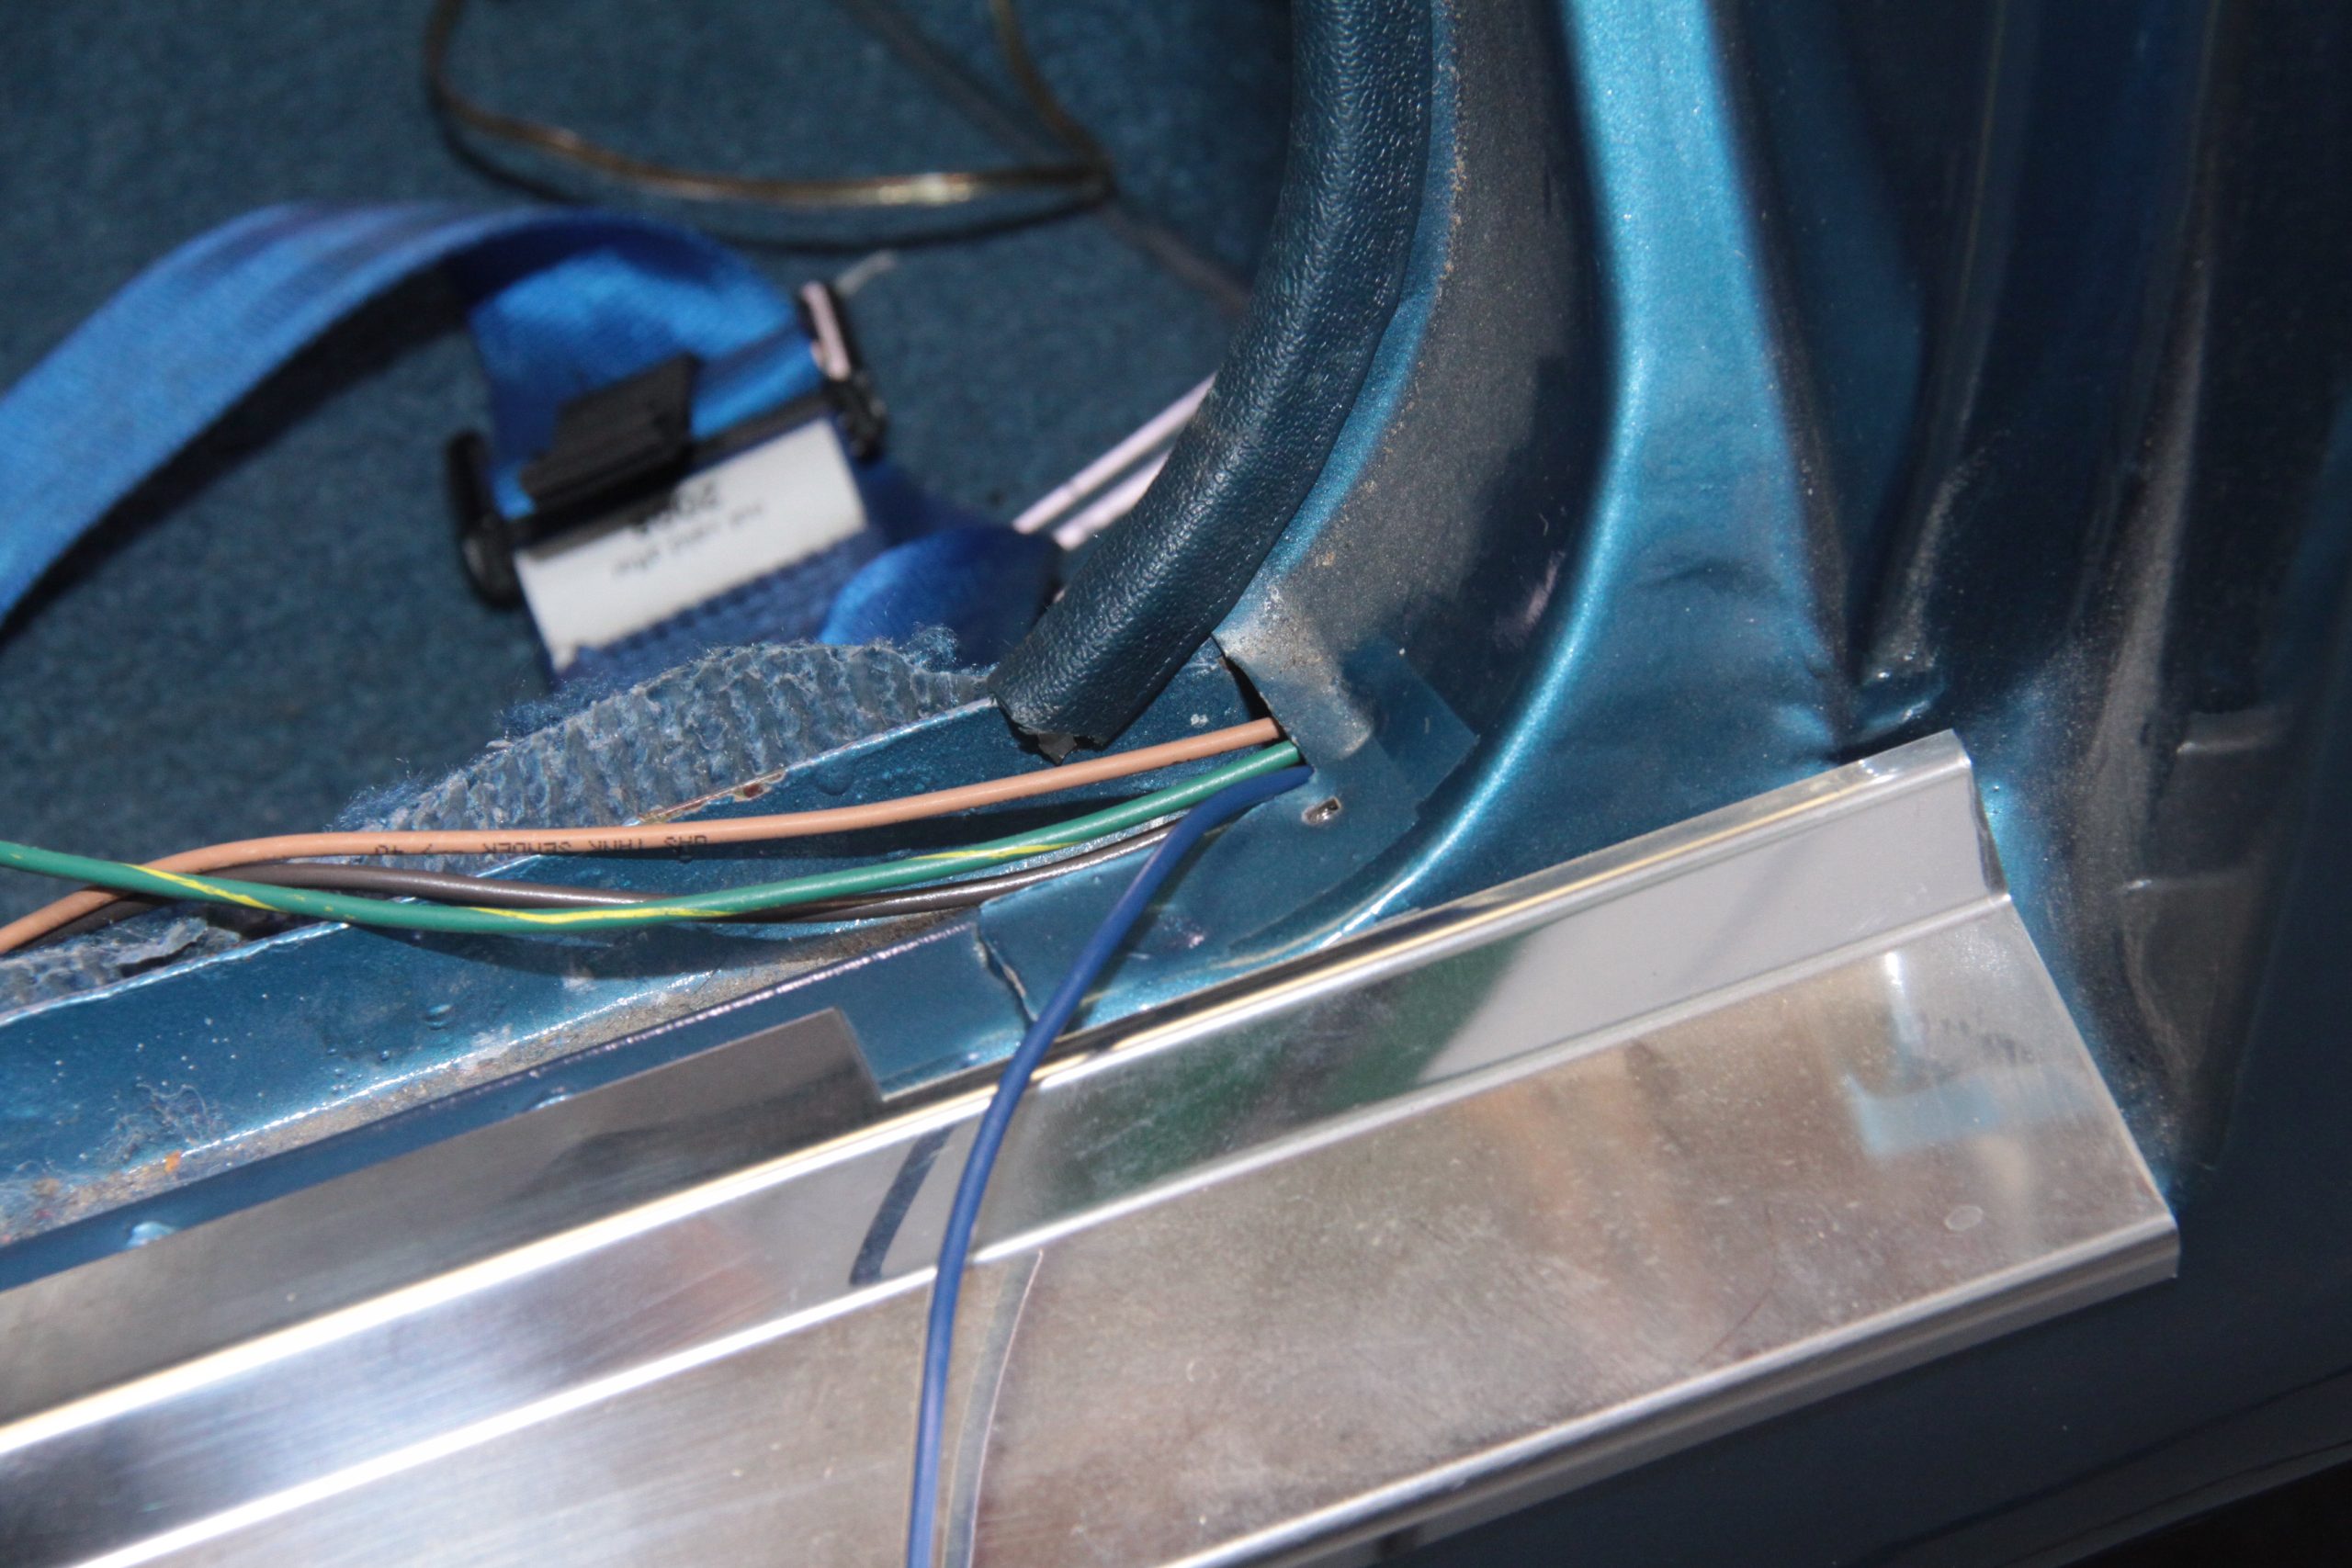
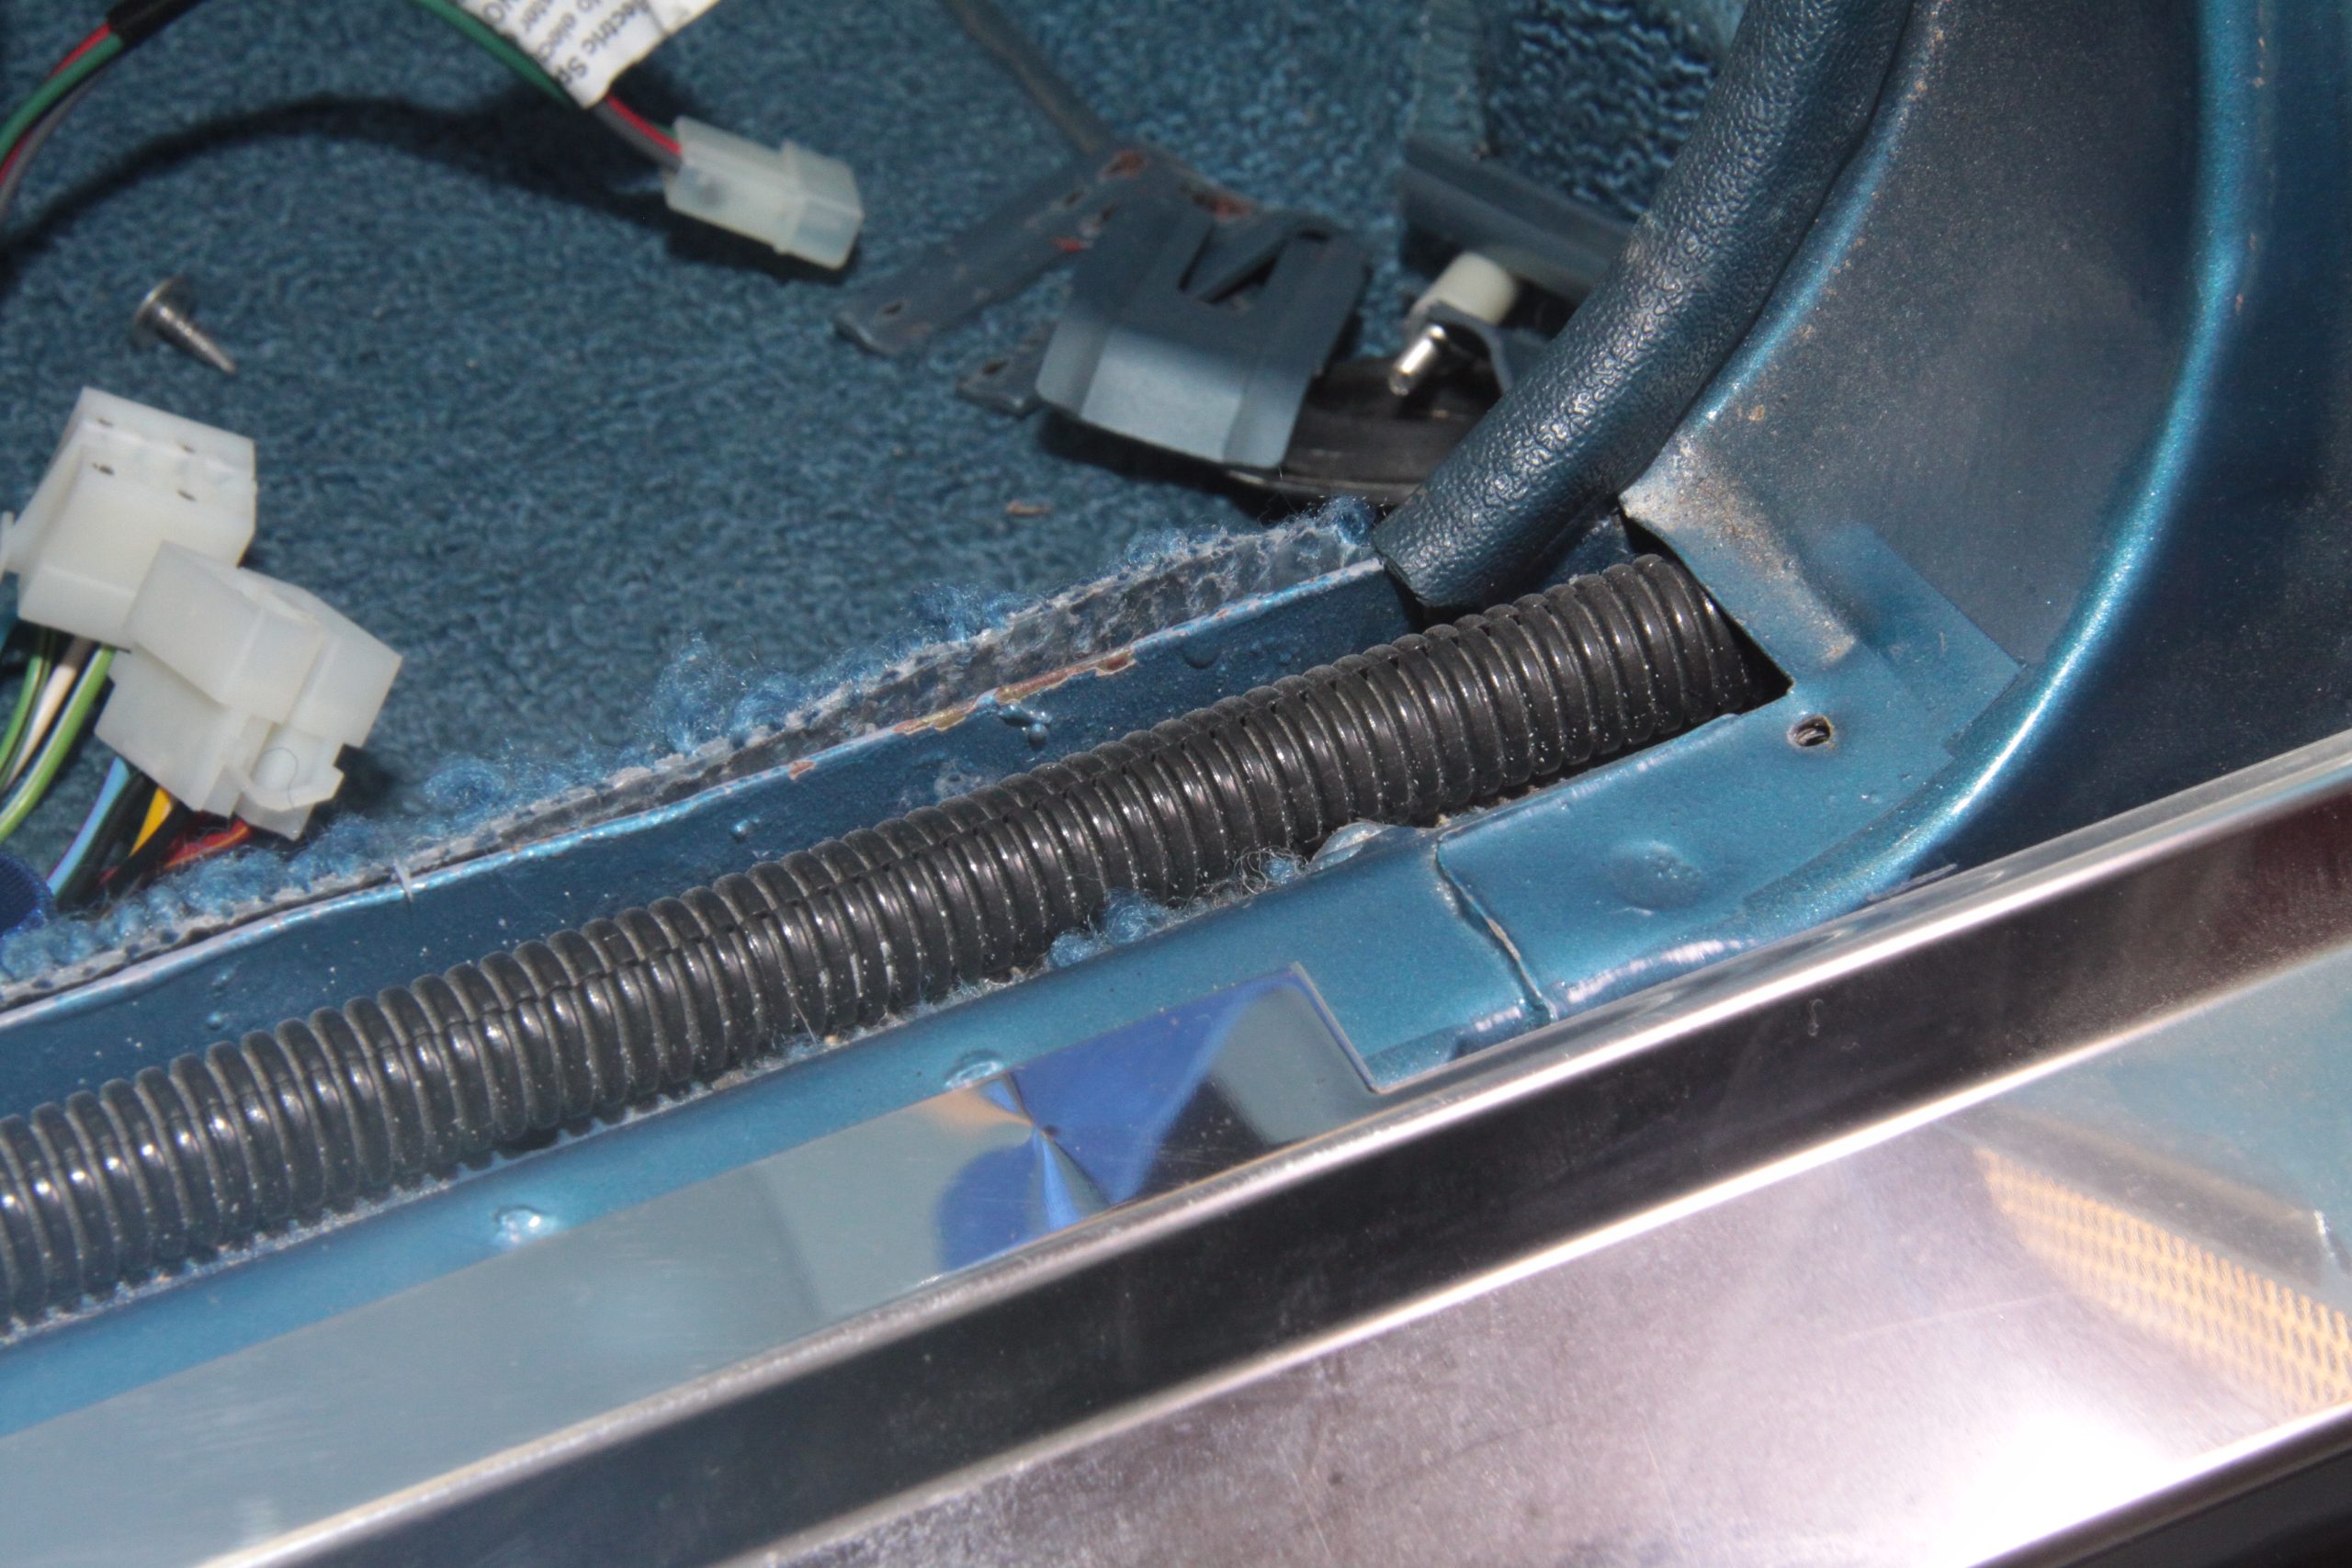
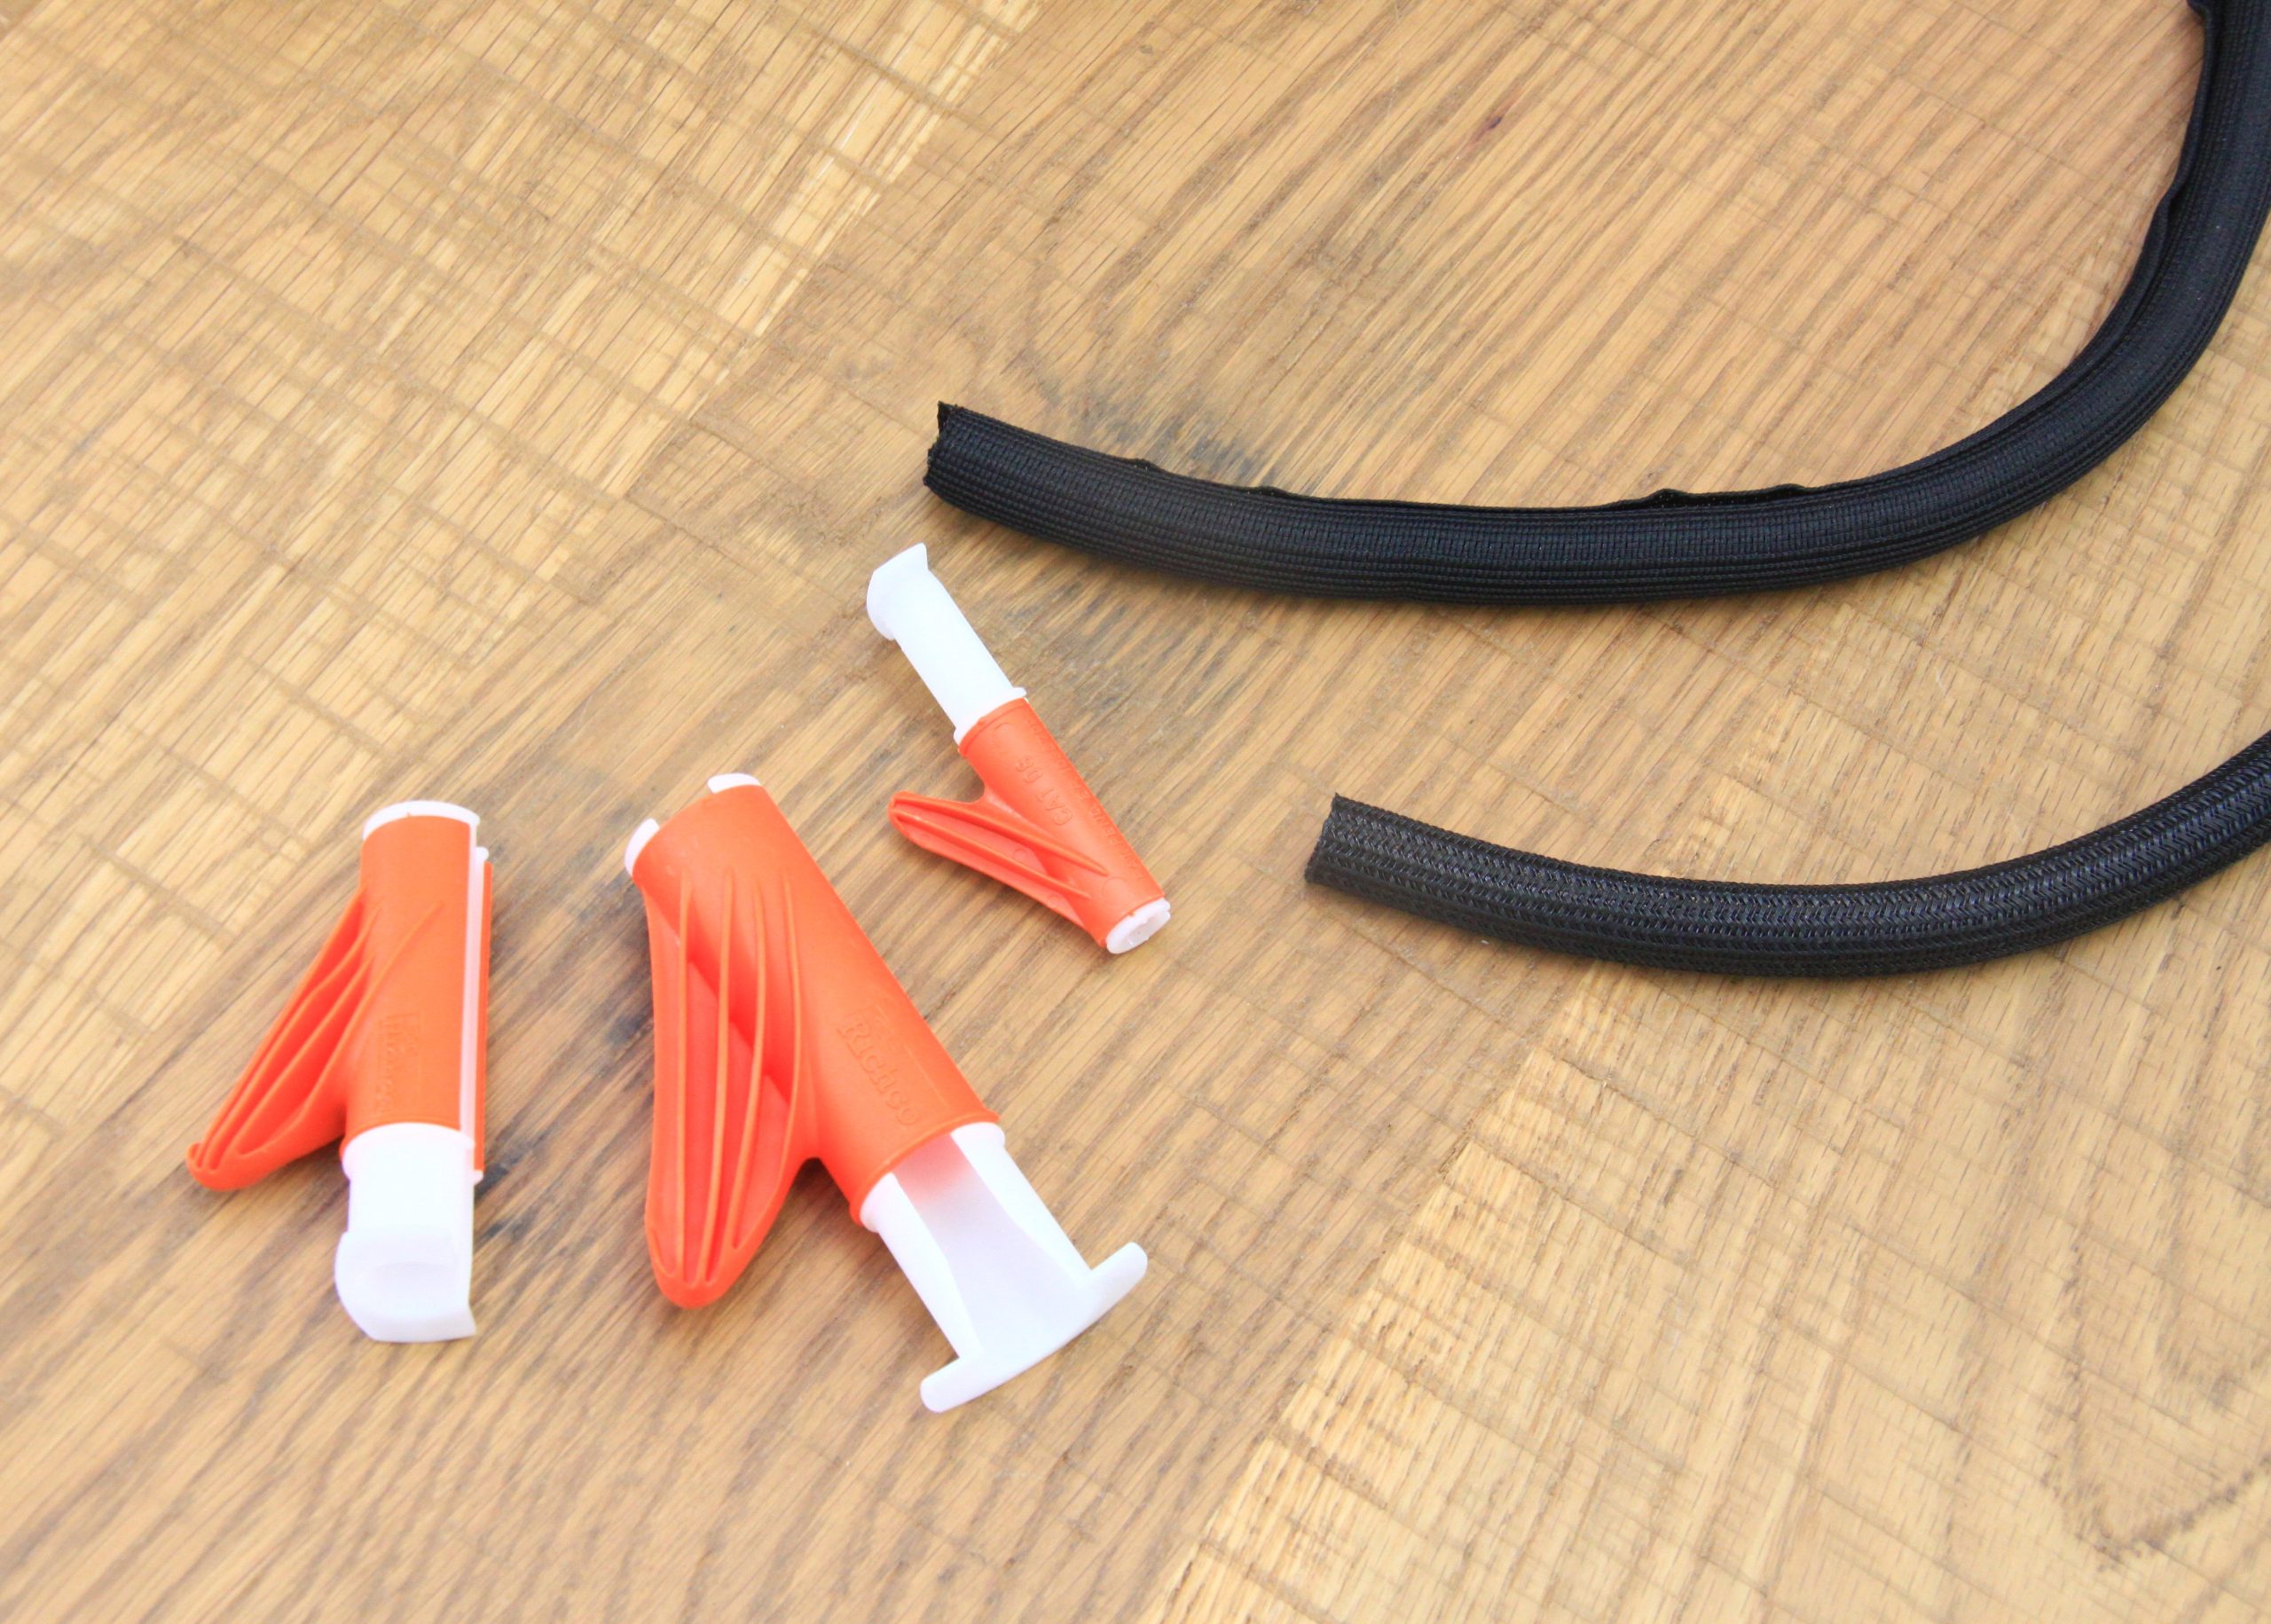
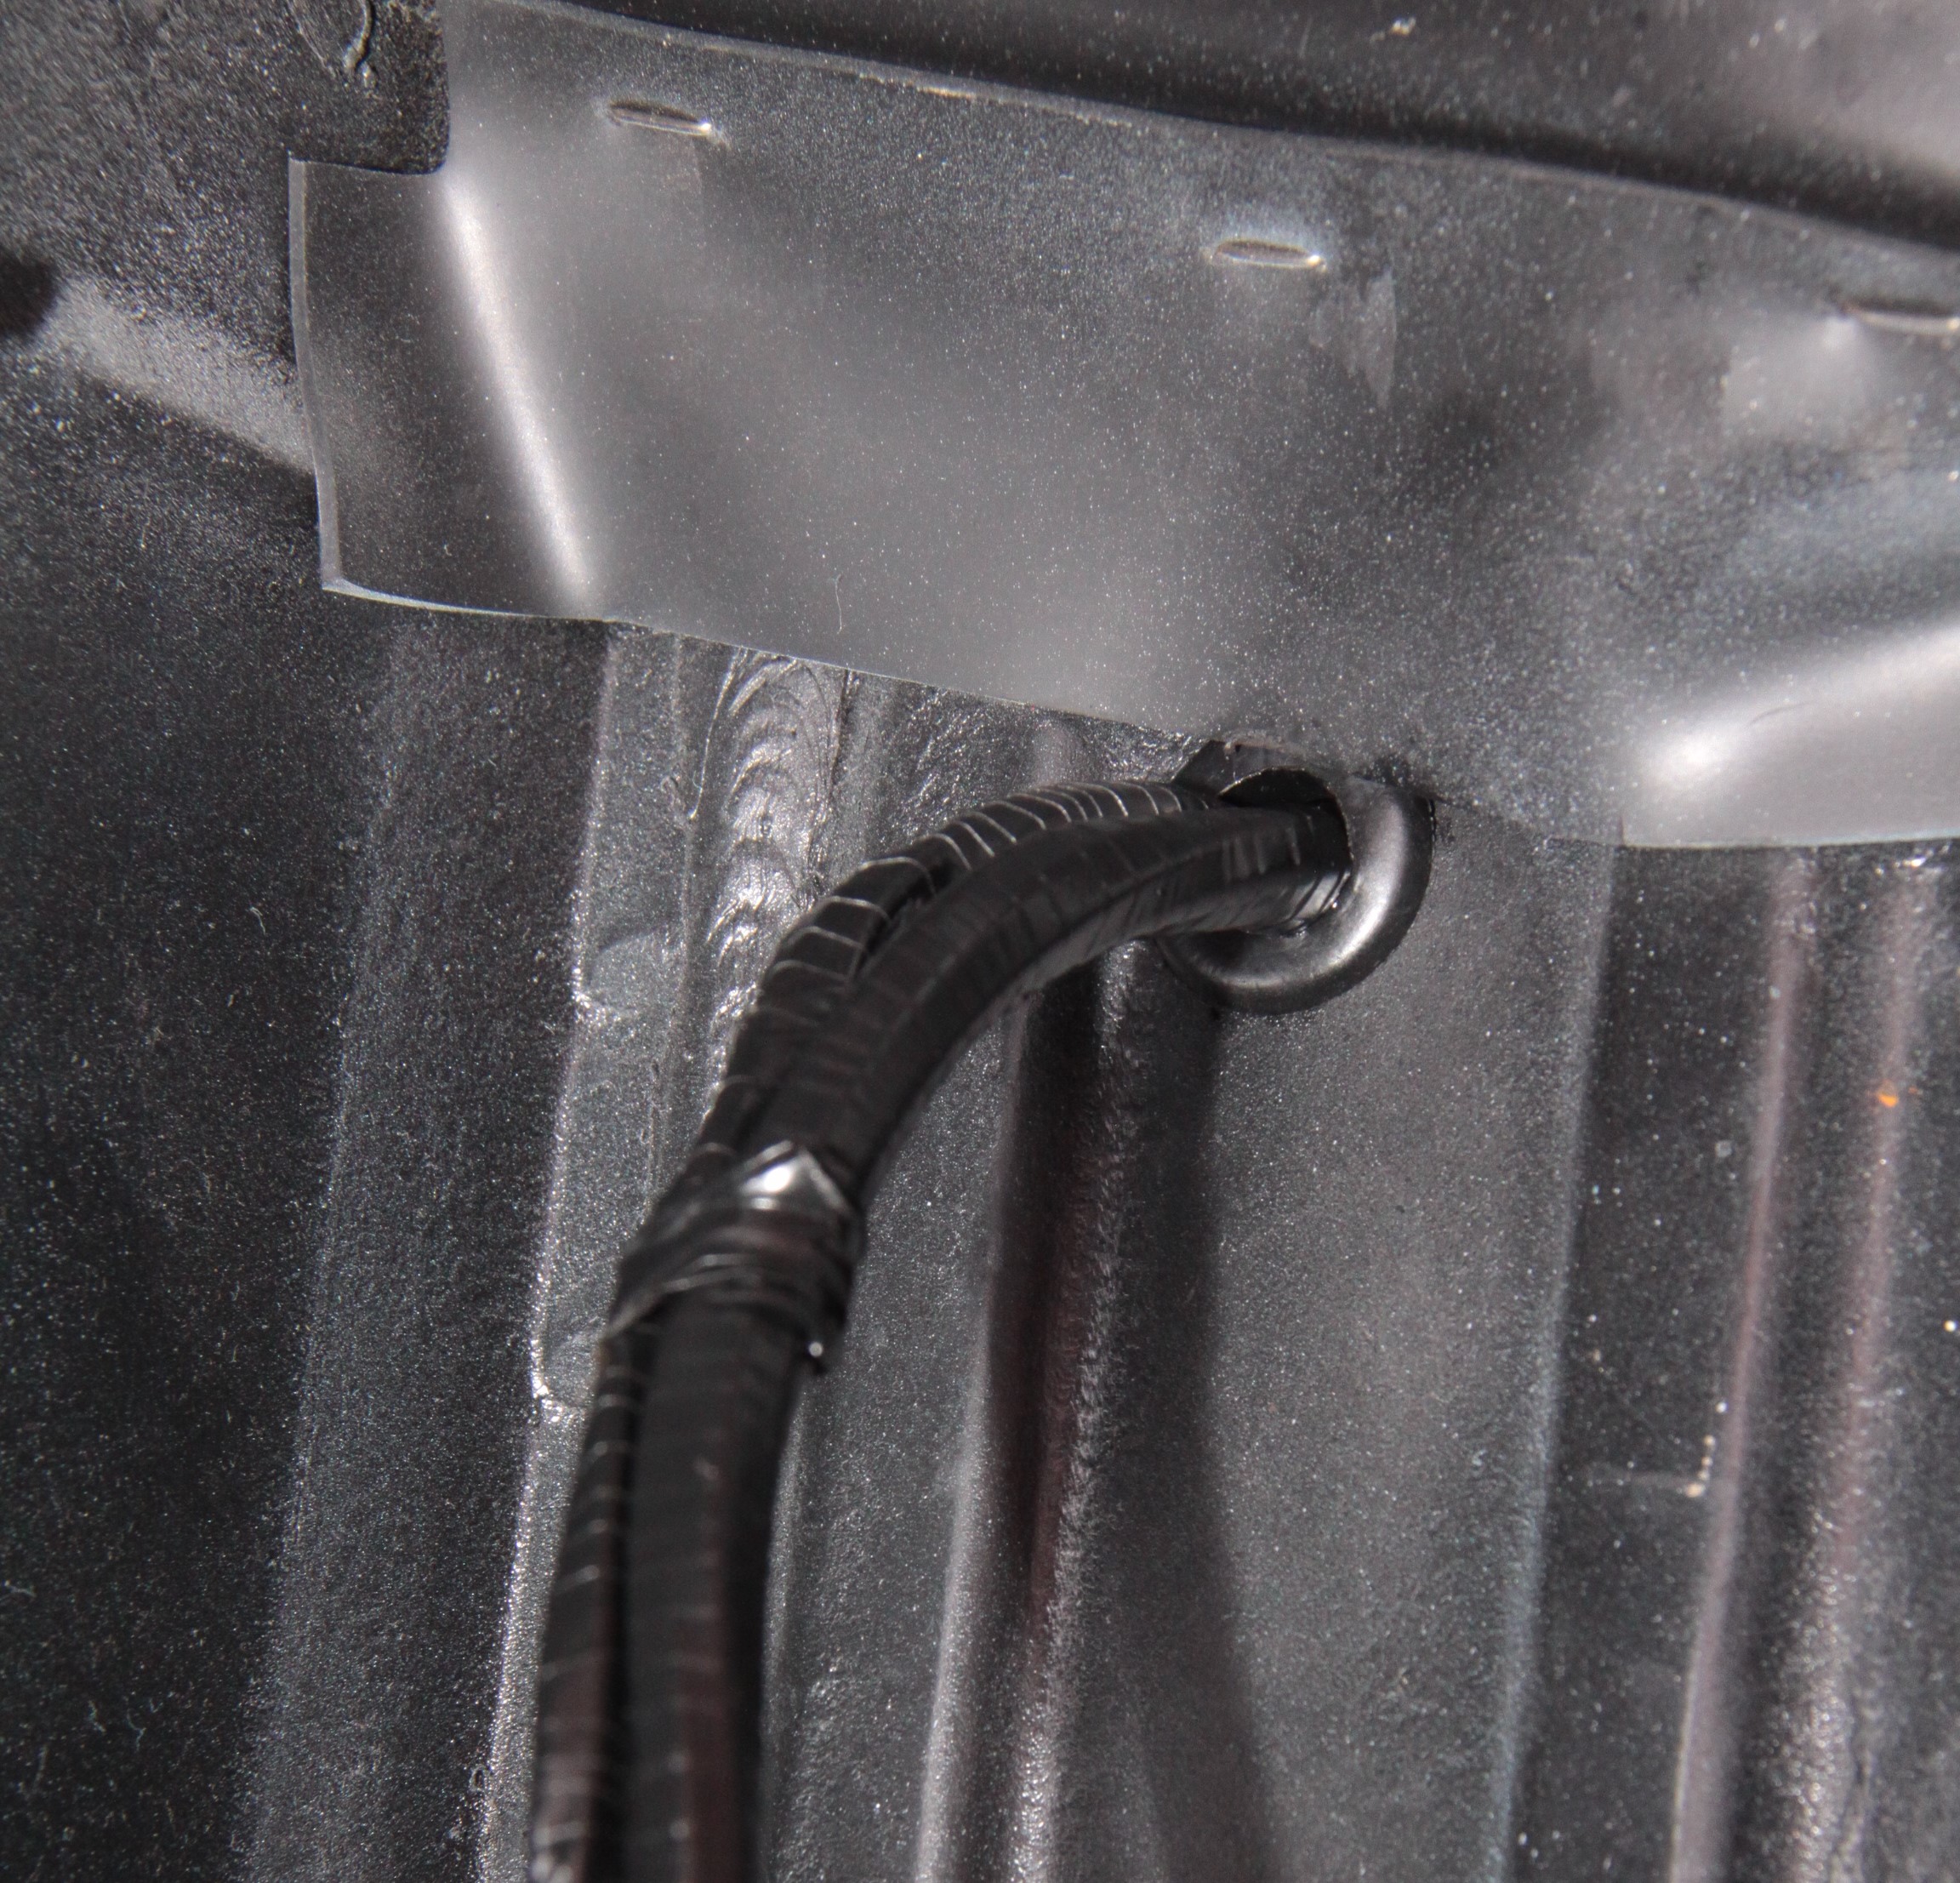
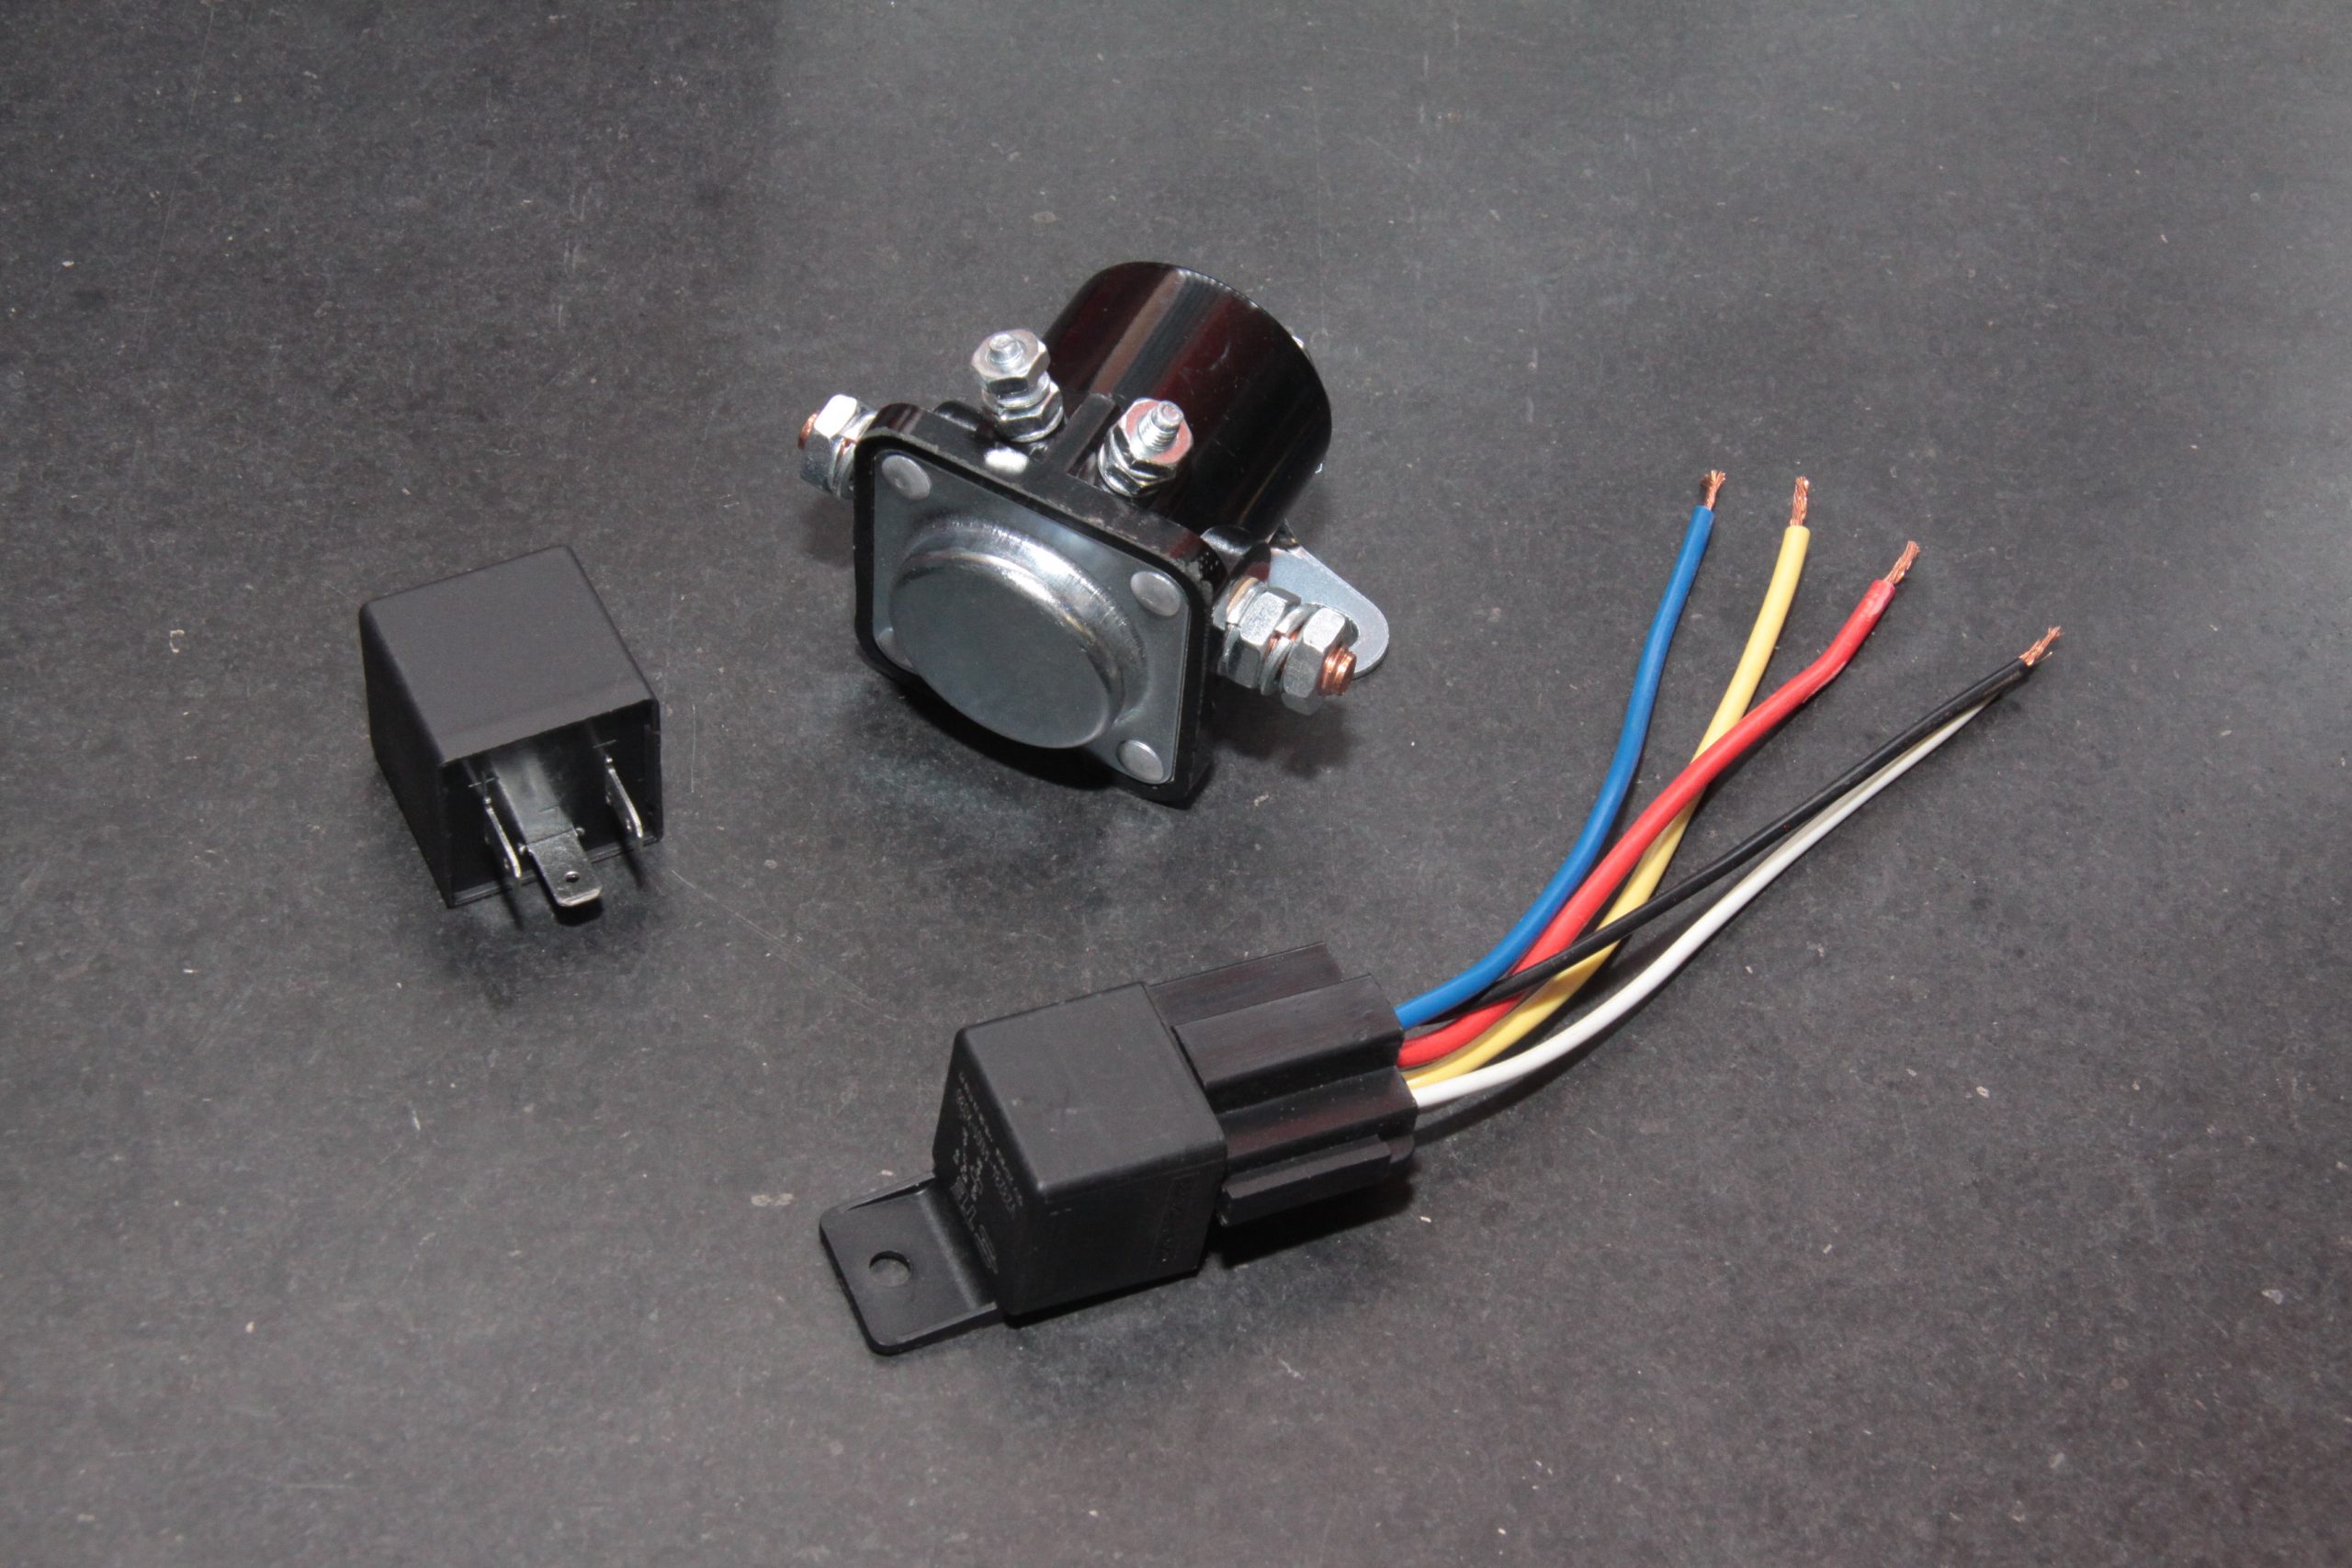
Don’t let the wiring nightmare in the lead photo scare you. Go with an American Autowire Classic Update Series wiring harness that has everything you’re going to need to replace your old wiring with new stuff that can handle modern electrical/electronic technology. Although this appears overwhelming, referring American Autowire’s detailed instructions and taking the installation step-by-step and circuit-by-circuit makes the job easier. Each wire is color-coded and marked for easy identification. (Image/Jim Smart)Before you start a harness swap (or any other electrical project), you’ll need to gather and organized the proper tools. The instructions will outline the tools you will need. If you’re in need of electrical system tools, Summit Racing has them. (Image/Jim Smart)One cool thing about the Classic Update harness is this enormous 18-circuit fuse box that incorporates a wealth of fuse and breaker locations to accommodate most every modern convenience imaginable. (Image/Jim Smart)The Classic Update system uses factory-style connectors such as this headlight switch plug to make the harness a plug and play affair. There are plug and play connectors for the windshield wipers, heater fan switch, and more. (Image/Jim Smart)Relays are high-load switches for moderate and high-amperage accessories where a switch alone cannot handle the load. Some examples are headlights, radiator cooling fans, horns, and sound systems. This bank of relays can be installed near the fuse box or in any number of convenient locations. The red lead is the primary battery wire that feeds power to the relay bank. (Image/Jim Smart)These bus bars eliminate the need to stack leads at the starter solenoid. You can run a primary lead from the battery or starter solenoid to a bus bar and feed accessories from it. (Image/Jim Smart)Fuses protect the vehicle and electrics from short circuits, overloads, and fire. The fuse gets hot and the link inside melts and opens the circuit. Fusible links, which typically run right off the battery, do the same thing. Many older vehicles used the pin-style glass fuses in the foreground. The American Autowire harness replaces those with the ATO blade-style fuses in background. They are more reliable than the glass ones and replacements are easy to find. (Image/Jim Smart)Inline fuses should be used whenever circuit protection doesn’t exist for an accessory. For example, when power comes directly from the battery or ignition switch, use a fuse or circuit breaker at the source. We also suggest using a fusible link between the battery and the main wiring loom in the interest of safety. Vintage Chrysler vehicles were always big on fusible links at the battery for circuit protection. (Image/Jim Smart)Circuit breakers are popular alternatives to fuses and come in several amp ratings. They automatically open the circuit when there’s an overload or short circuit. They’re most commonly used with air conditioning compressors, fog lamps, or other high-amperage devices. (Image/Jim Smart)These are the taillight harnesses from the American Autowire Kit. They have factory-correct sockets and connectors. (Image/Jim Smart)Headlight switches incorporate on/off circuit protection, which cycles the headlight off and on to at least get you to a safe stop. When headlight switches grow old and contacts become corroded and dirty, resistance grows, heat builds, and they cycle off and on. Install a new headlight switch when you rewire. While they can handle high amperages, using a relay is a good idea. (Image/Jim Smart)Like headlight switches, ignition switches develop corrosion issues and become ineffective over time. This is a Ford ignition switch. The center post becomes live when the ignition is on or in accessory mode. You can connect additional circuits off of this post. However, always have circuit protection—either a fuse or a circuit breaker—right off the ignition switch. (Image/Jim Smart)Door courtesy lights are activated via door switches like this one. They either send power to the courtesy lights or connect to ground to complete the circuit. (Image/Jim Smart)This is a Ford brake light switch, which is actuated by brake pedal movement. Some vehicles have a brake light pressure switch at the master cylinder. Because pressure switches can become a hazard with they age, it is best to convert to a pedal-operated brake light switch. (Image/Jim Smart)Dave Toth of Classic Resto Garage tells us it is best to isolate each segment of the harness with respect to how it will be routed to the circuit before installation and final wire wrap. Each segment is zip-tied and wrapped with electrical tape as shown. (Image/Jim Smart)Dave writes important reminders of what goes where on masking tape and puts them in their respective locations. It’s an idea you should use too. (Image/Jim Smart)Dave does an initial wrap with electrical tape for a more stock appearance. (Image/Jim Smart)There are variety of clamps available to secure a wiring harness. Adel-style clamps like these are available in bare metal, cushioned, and vinyl coated. For more light-duty installations, nylon clamps work well. (Image/Jim Smart)The harness should be routed well away from the headers and exhaust system. Use a temperature-resistant wire wrap to protect the harness from heat. (Image/Jim Smart)When preparing wire for connections, a good pair of wire strippers does a nice clean job and eliminates the risk of injury from a runaway razor blade. Strip approximately 1/4- to 3/8-inch of insulation from the end of the wire. (Image/Jim Smart)A quality crimping tool will ensure a solid, professional-caliber connection. Make sure the wire is fully seating in the connector before crimping to ensure a solid connection.A quality crimping tool will ensure a solid, professional-caliber connection. Make sure the wire is fully seating in the connector before crimping to ensure a solid connection. (Image/Jim Smart)This is a two-wire connector where two leads are crimped into a single spade connector. (Image/Jim Smart)Multiplex plugs group multiple connections in a single housing. The American Autowire harness has OEM-style multiplex plugs as required for the vehicle. (Image/Jim Smart)Butt connectors can be crimped or soldered. It’s a good idea to use heat shrink to protect the connector from corrosion. (Image/Jim Smart)We see this all the time—connectors that are not fully seated. Always make sure the connector pins are not exposed. (Image/Jim Smart)Because the car body is the negative ground side of the circuit, grounding is crucial to proper electrical function. Make sure to (carefully) remove paint or coatings at the ground point so the screw or bolt touches bare metal. (Image/Jim Smart)Never run wiring bare like this due to the risk of chafing and short circuits. Wires need to be wrapped and protected either with electrical tape or other wrap material. (Image/Jim Smart)Convoluted plastic wire tubing is very effective and were used by the OEMs to protect wiring. They’re easy to use and will outlast your restoration. (Image/Jim Smart)Painless Performance offers PowerBraid (right) and ClassicBraid (left) wire wrap. PowerBraid is more of a performance/restomod type of wire wrap. ClassicBraid offers a more factory appearance with a tighter knit. The orange installation tools make installation easier. (Image/Jim Smart)Rubber grommets must be used where the harness passes through a steel panel. This eliminates any risk of chafing or cutting that will cause short circuits. (Image/Jim Smart)Summit Racing carries American Autowire electrical components like solenoids, relays, switches, impact (inertia) switches, and others to complete your wiring harness installation. (Image/Jim Smart)
Jim Smart is a veteran automotive journalist, technical editor, and historian with hundreds of how-to and feature articles to his credit. Jim's also an enthusiast, and has owned and restored many classic vehicles, including an impressive mix of vintage Ford Mustangs.


Comments