Our project vehicle—a 1995 Toyota Land Cruiser named “Beast”—had 250,000-miles on the original engine. There were signs of a head gasket leak, a known issue with these engines at high mileage. Because replacing a head gasket is a major hassle, we thought we’d run a few tests first to confirm.
So there we were–Lisle combustion leak detector, Sierra Marine digital compression tester, and Total Seal dual gauge leakdown tester in hand–when the engine outright quit. As in, it wouldn’t start and was making the kind of noises that tell you not to turn the key again for fear of doing more damage.
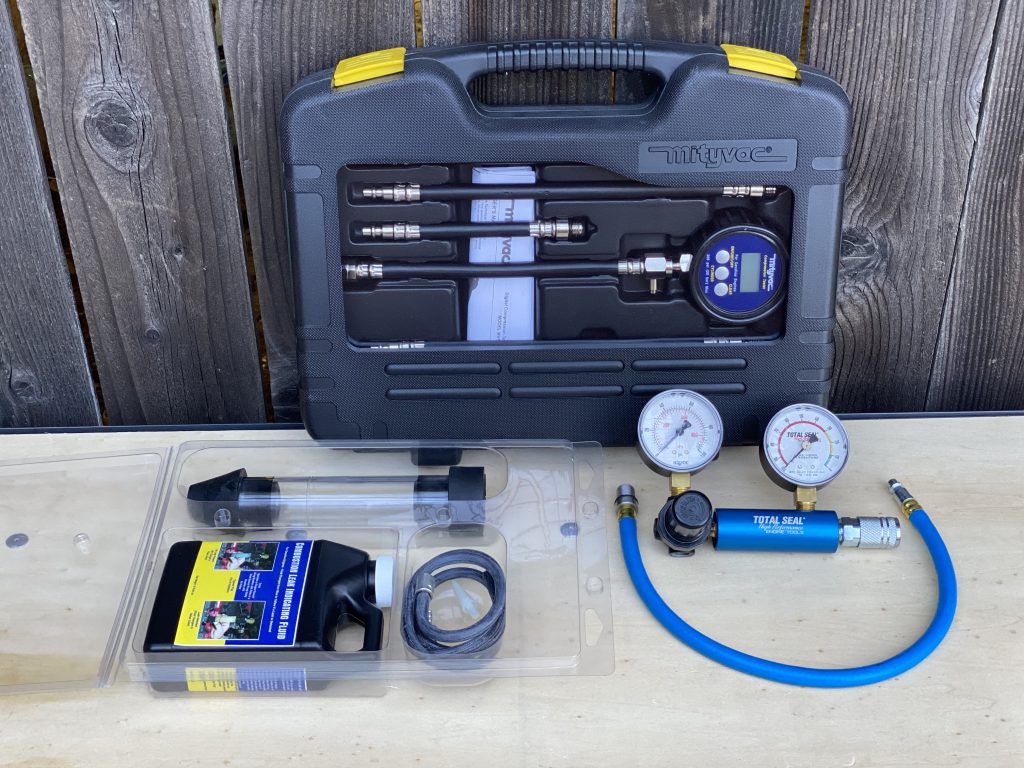
Truth be told, we were planning on a soon-ish rebuild anyway, so this wasn’t completely out of the blue. It just came a little sooner than we expected. To speed things up and cover all the bases, we bought a second 1FZ-FE engine. That way, the donor engine could be in line at the machine shop while we pulled the original. We didn’t anticipate any major issues with the donor engine, which was taken from a clean-running ‘96 LX 450 for a diesel swap.
The donor has 170,000 miles on the clock, making it one year and 80,000 miles newer than the original powerplant. Although we could just roll the dice and swap it in, we’d rather be safe than sorry so it gets the full treatment. Even if there are issues, we figure that if we start with two complete engines, we can build at least one that’ll get us down the long, long road ahead.
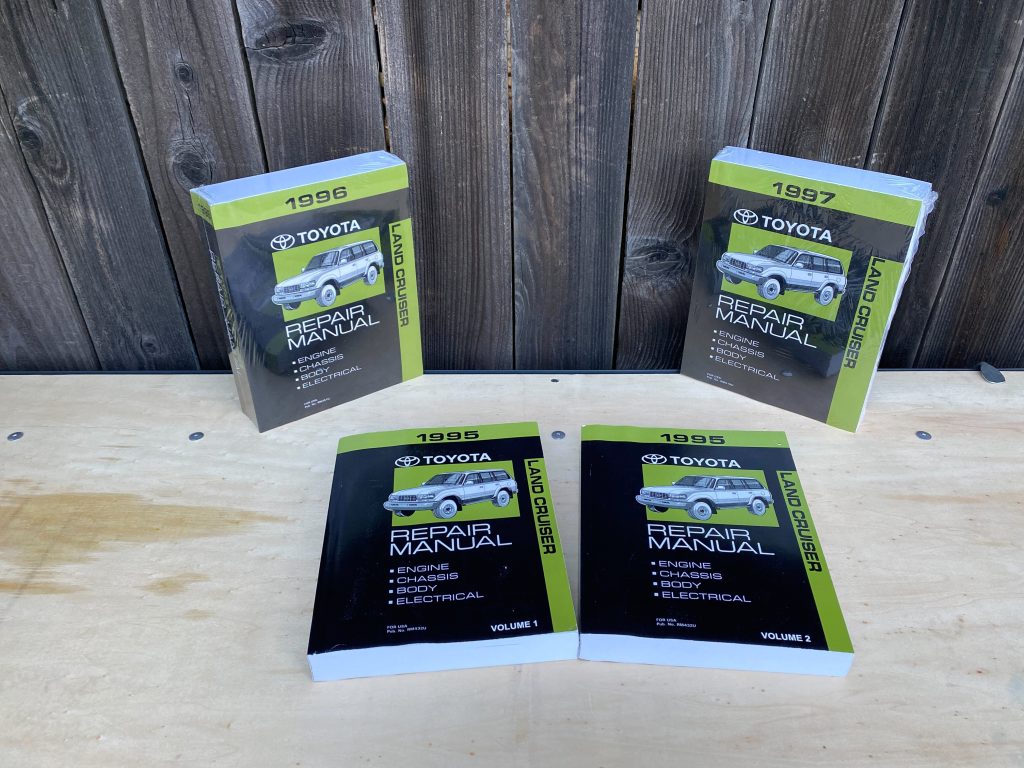
Note that the last-gen 1995-97 FZJ80 Toyota Land Cruiser and the 1996-97 Lexus LX 450 are actually the same vehicle, with a few more bells and whistles on the Lexus. These were the last solid-axle Cruisers sold in America. The Beast is technically a ’95 Land Cruiser, so we picked up the official 1995 Toyota Factory Service Manual (and the 1996 FSM, and the 1997 FSM for good measure) from Bishko Automotive Literature, which publishes thousands of service manuals, going back over a century.
Tooling Up
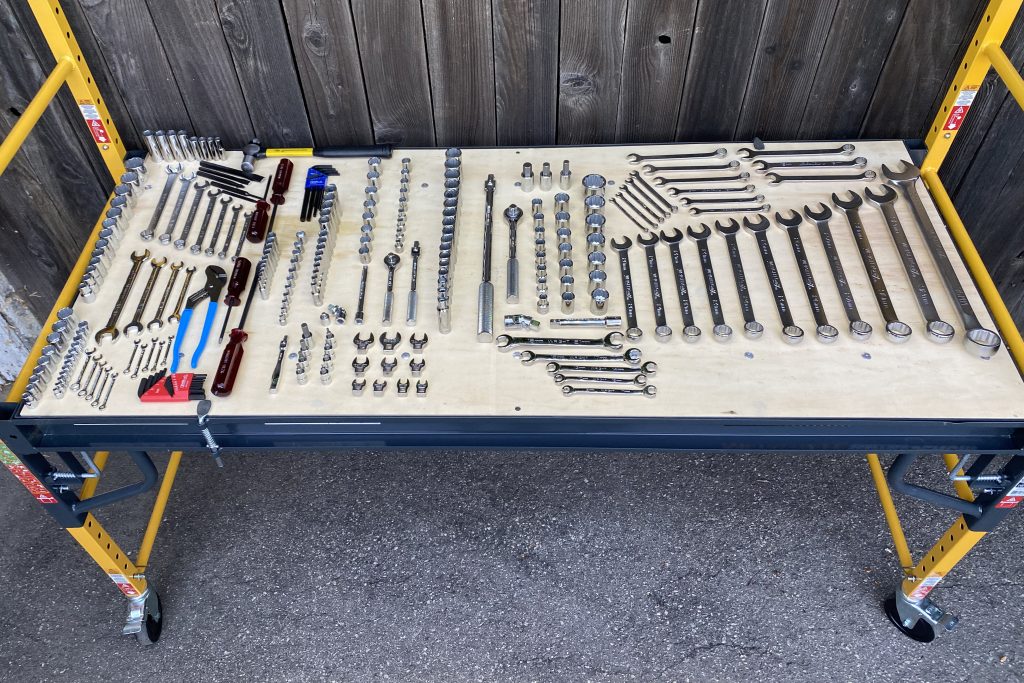
Because this is the first serious work we’ll be doing at the project Cruiser’s location, we had to tool up for this and future jobs. For hand tools, we chose the American-made Wright Tool hand tool set 161 (standard) and hand tool set 189 (metric). Land Cruiser hardware is metric, but most of the accessories we’ll be adding later are SAE, so this should cover just about everything. We expect these tools to last several lifetimes. The photo above gives you some idea of standard vs metric sets—everything to the right of the screwdrivers is metric.
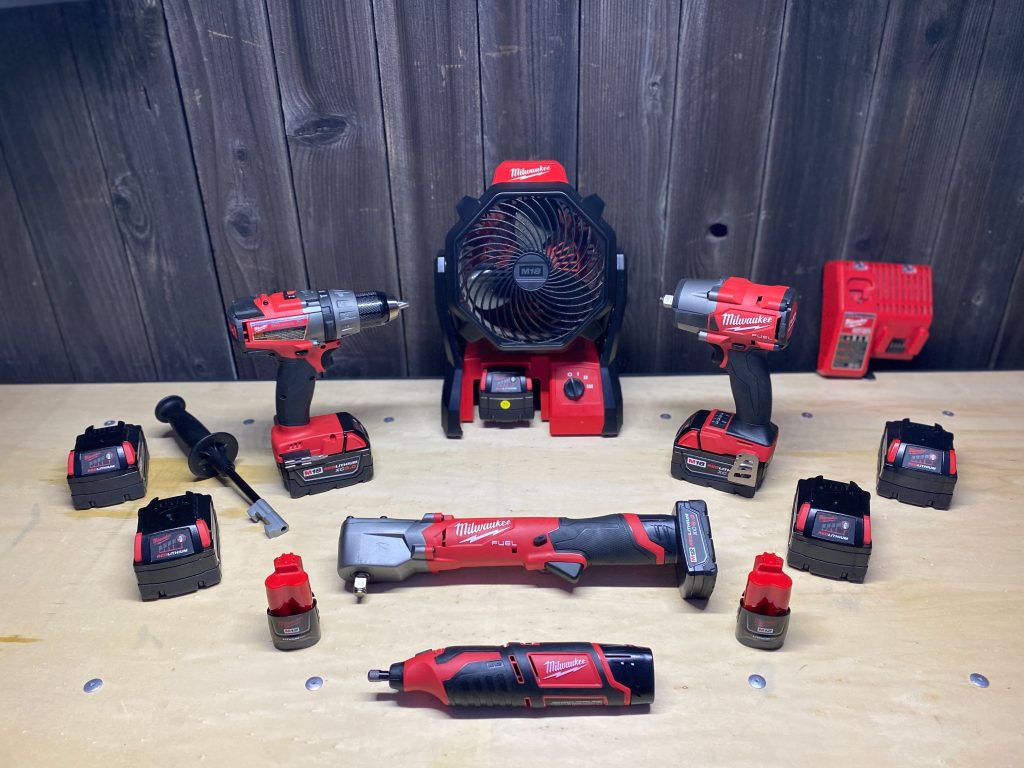
For power tools we went with Milwaukee’s M18 Fuel ½-inch mid-torque impact wrench, M12 ½-inch right angle impact wrench, M18 Fuel ½-inch Drill/Driver, M12 rotary tool, M18 Jobsite Fan, a bunch of XC5.0 batteries (cheaper in pairs), a few M12 XC batteries (also cheaper by the pair), an M12 XC6.0 compact battery, and—finally—a dual M18/M12 charger to keep them all humming happily. Note that the impact wrenches come in friction ring and pin-detent versions; we went with friction ring. Some tools are available in kits that include batteries and charger for a lower combined price, so have a look around the Summit Racing website.
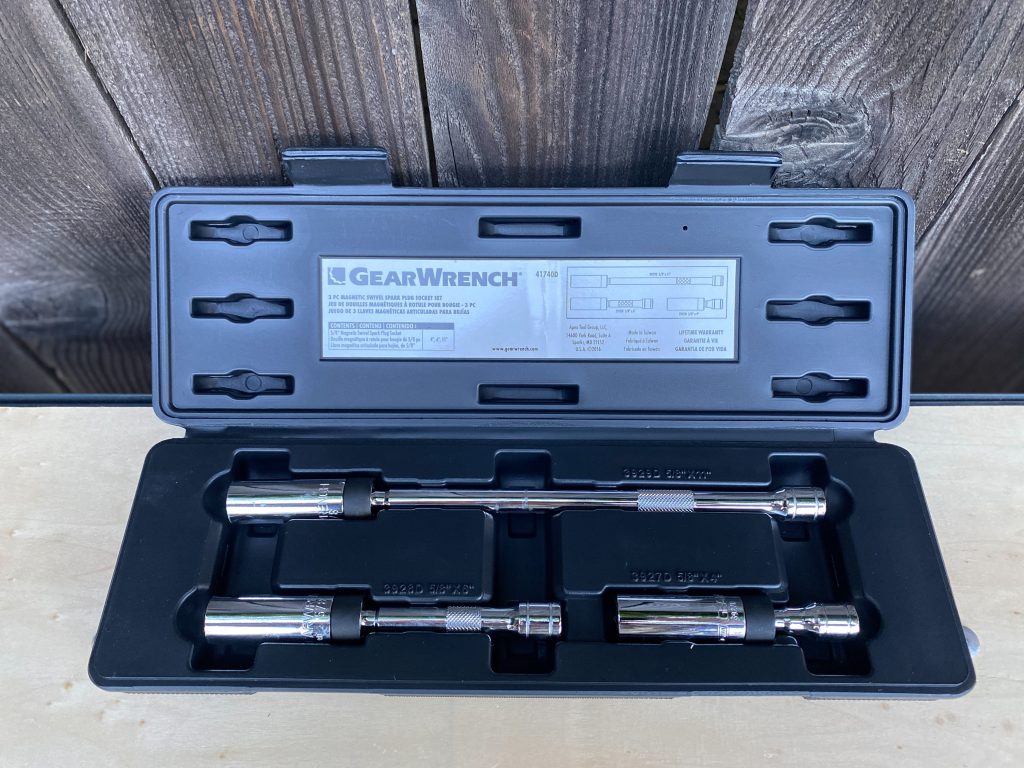
We also picked up a GearWrench magnetic swivel spark plug socket set in 5/8, which (at 15.875mm) is so close to the plug’s 16mm that it makes no practical difference at this torque level. If you’ve ever had to fish out a plug after a socket came off or a plastic insert pulled out, these are the ticket.
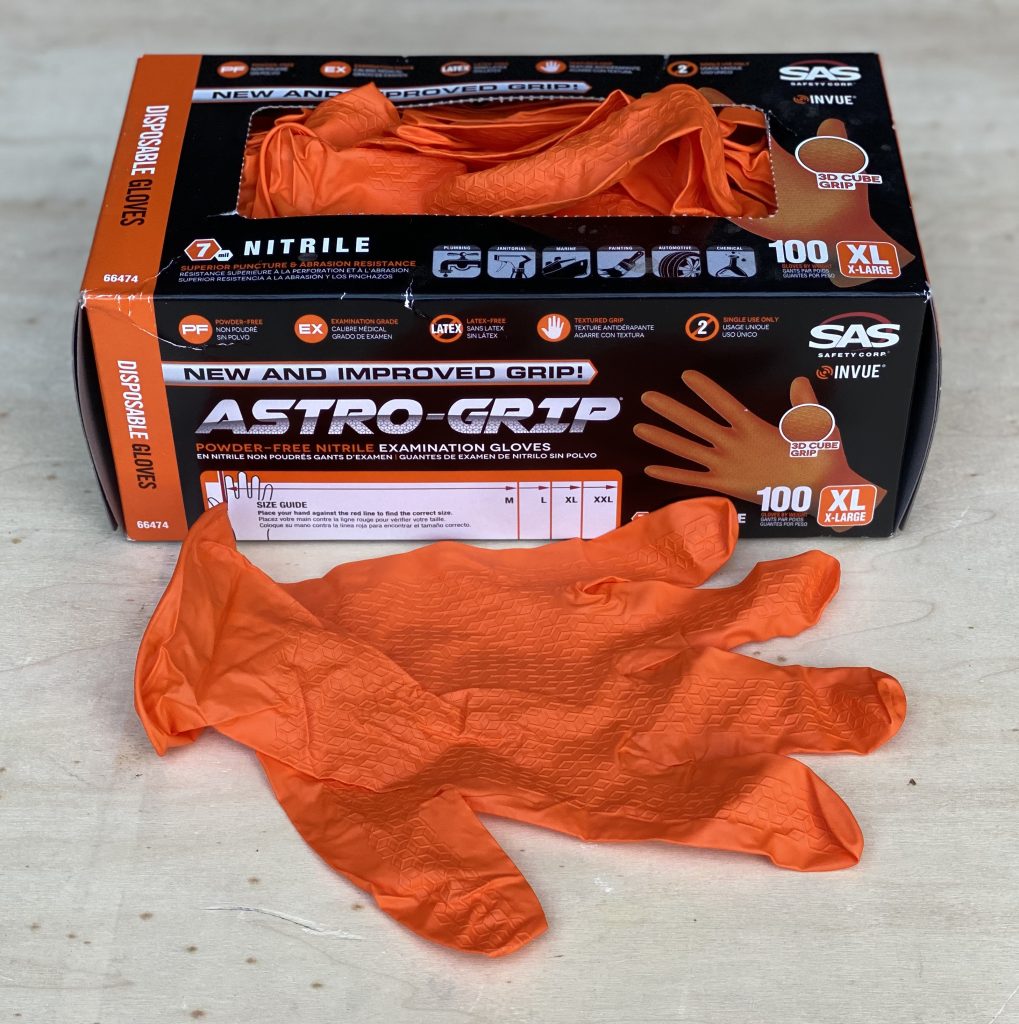
Hands will be kept clean and grippy with SAS Safety Corp’s Astro Grip nitrile disposable gloves (6mil thick!).
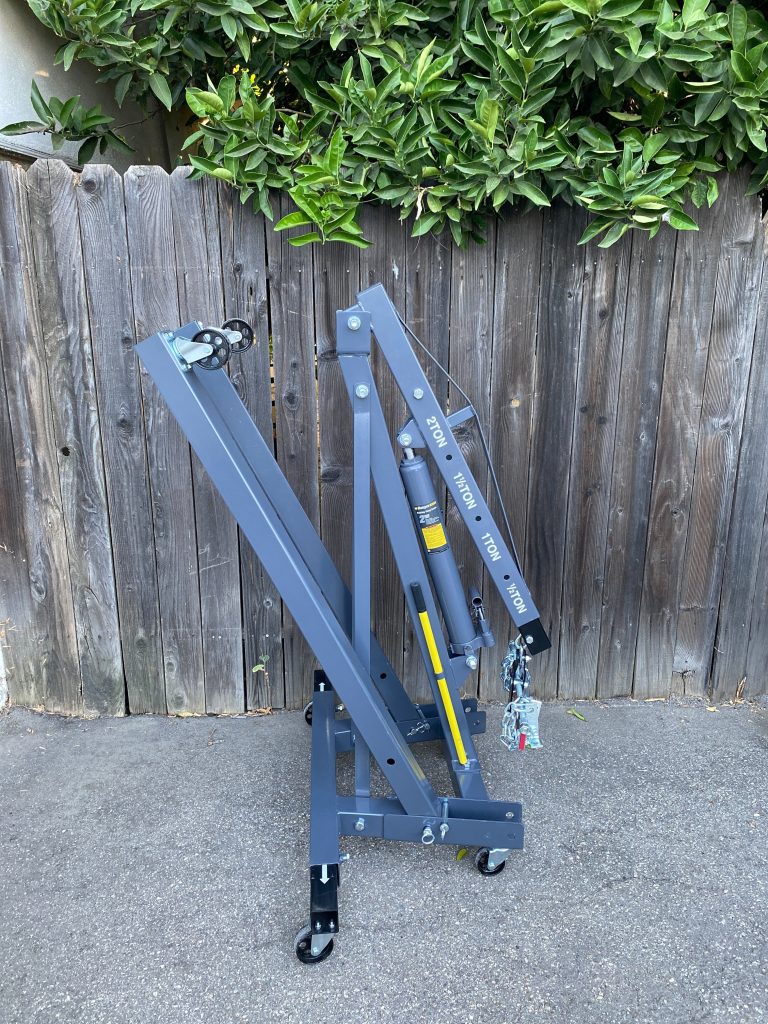
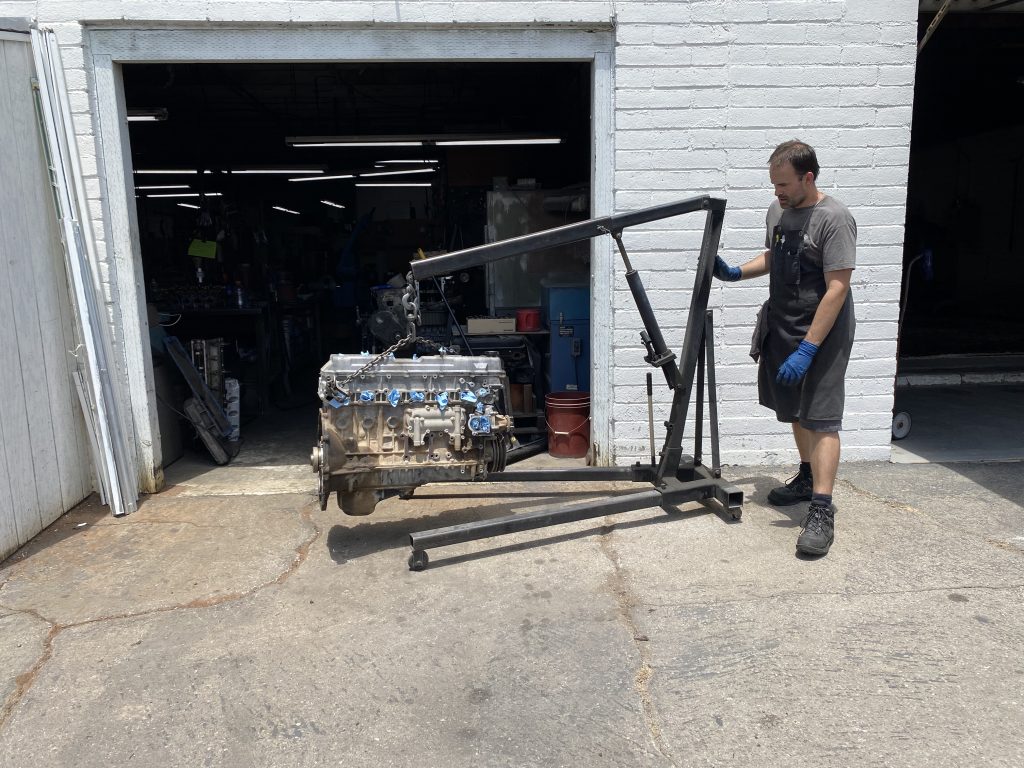
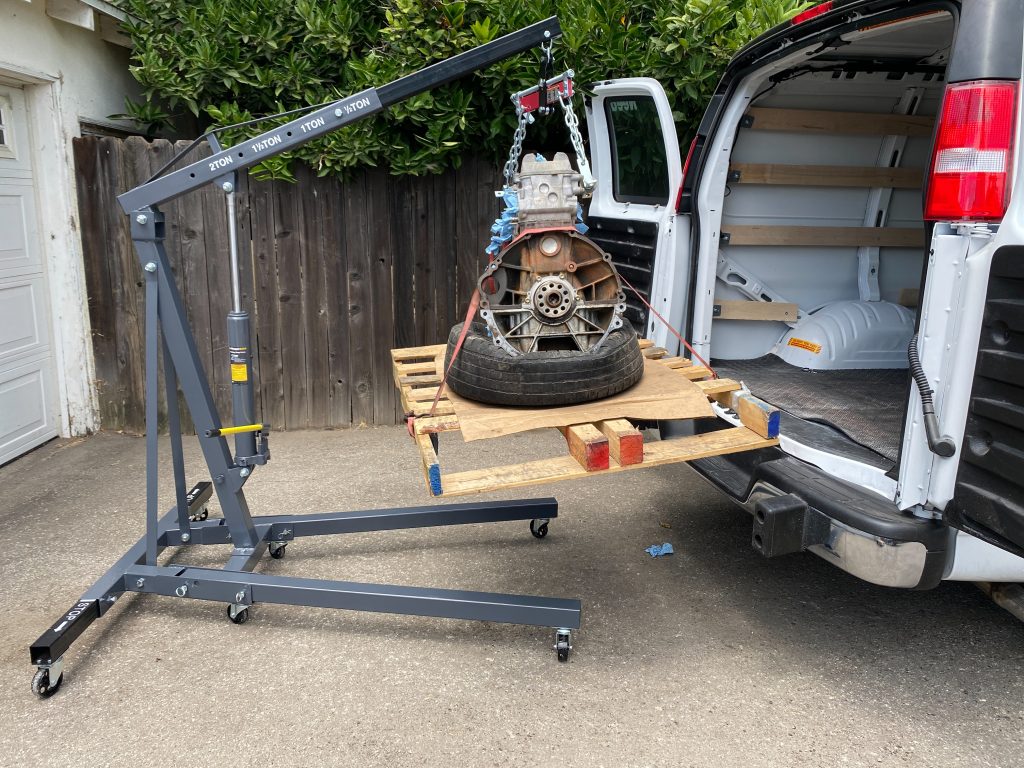
We’ll use a Ranger 2-ton folding shop crane and a Powerbuilt engine load leveler for the heavy lifting…
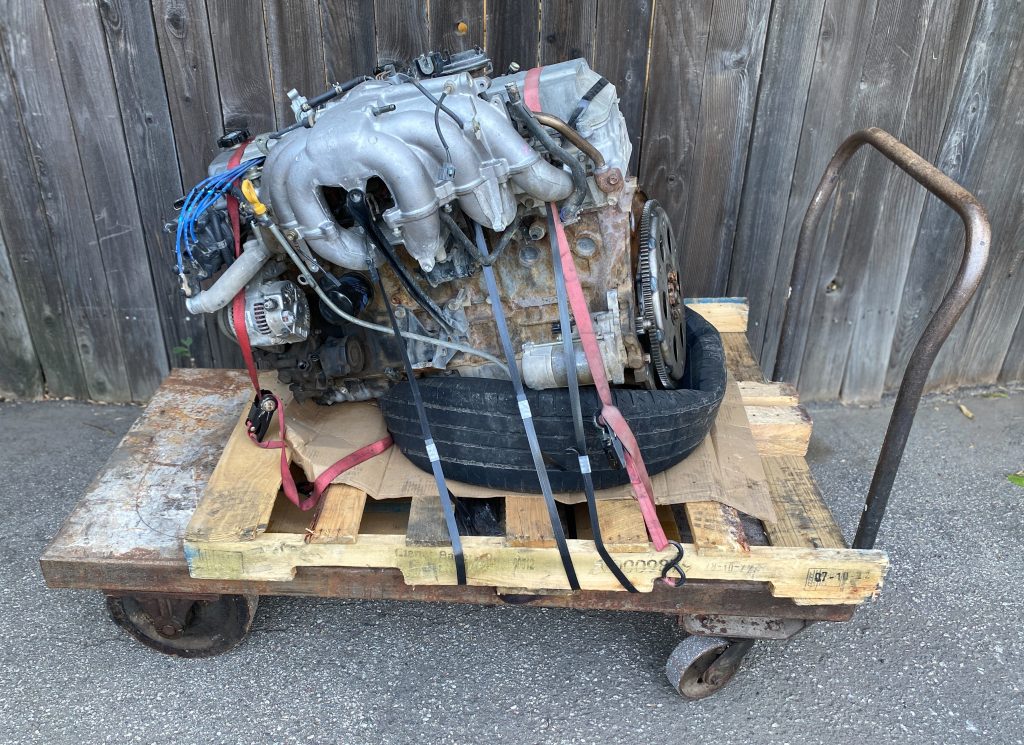
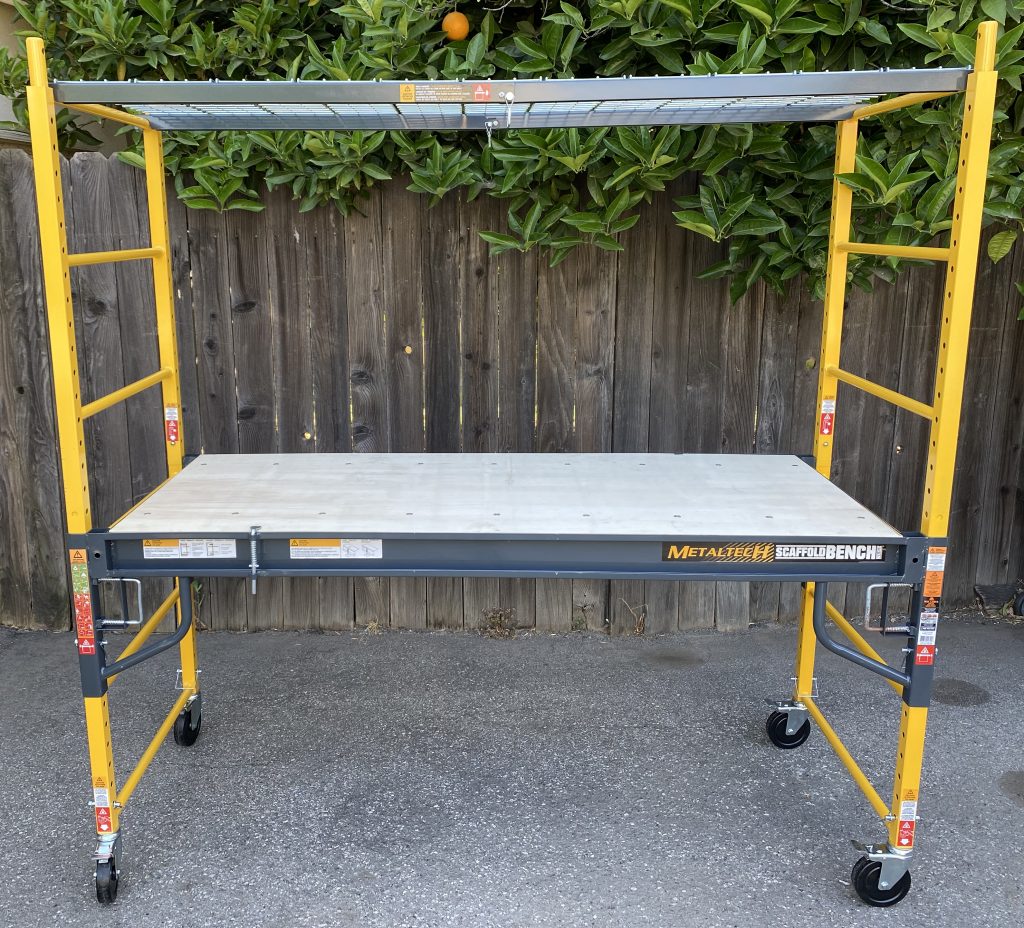
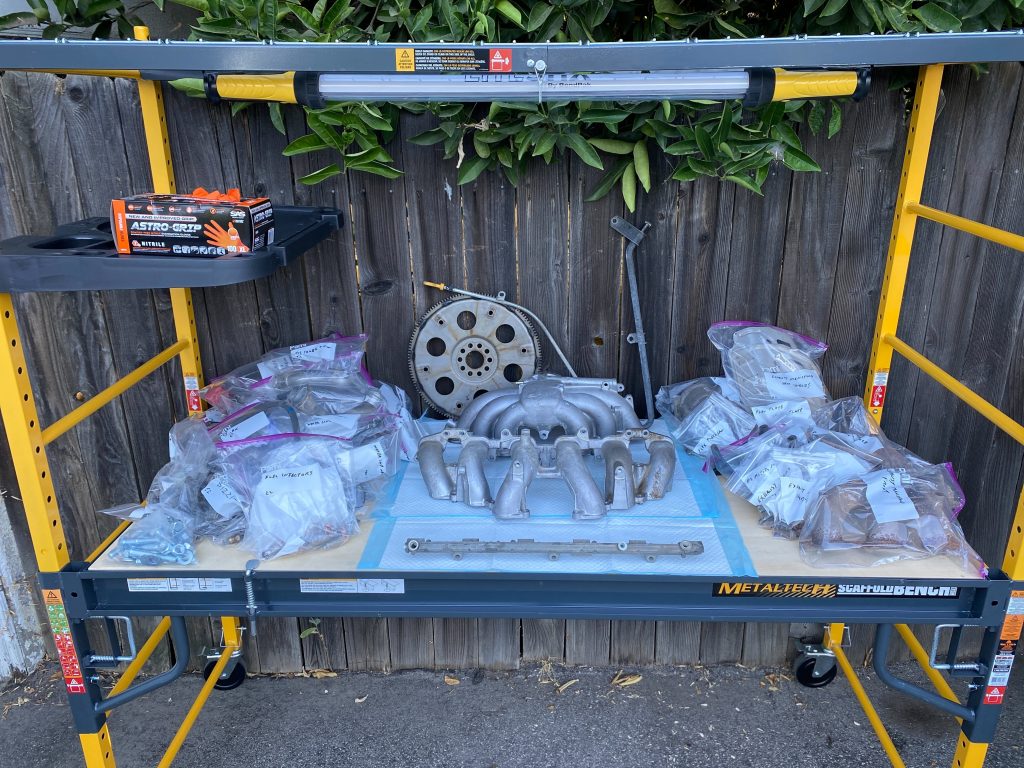
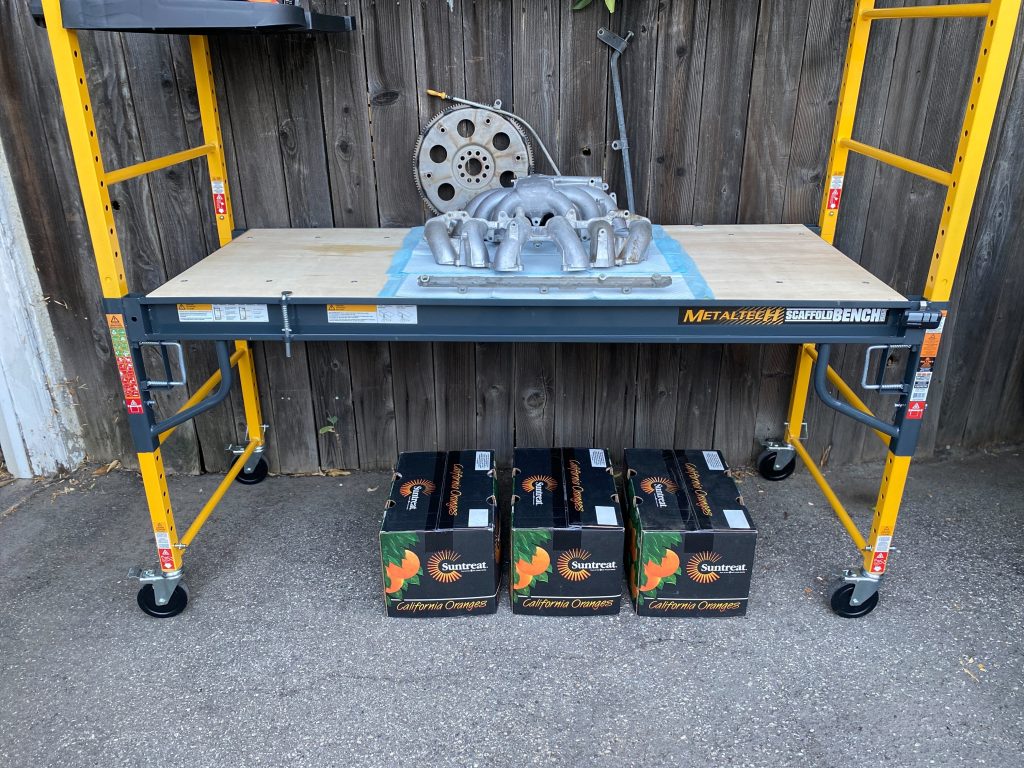
A Metaltech 4-in-1 adjustable-height rolling scaffold workbench to cart things around the work area and keep things close-at-hand. And a giant prehistoric shop cart with iron wheels, the origin of which is lost to time.
Tearing Down
The donor engine came fully accessorized, so between it and the OG engine, we now have two of almost everything. De-accessorizing is easy when the engine’s already out—provided you have the right tools.
Which we now do.
As far as we know, everything’s in working order, and we’d like to keep it that way. So we’re handling everything with care. Our machine shop—Martin Davidson’s Automotive Machine Shop—wants a stripped-down long block with valve cover, pan and water pump, and a few other things still in place, so that’s what we’ll give them.
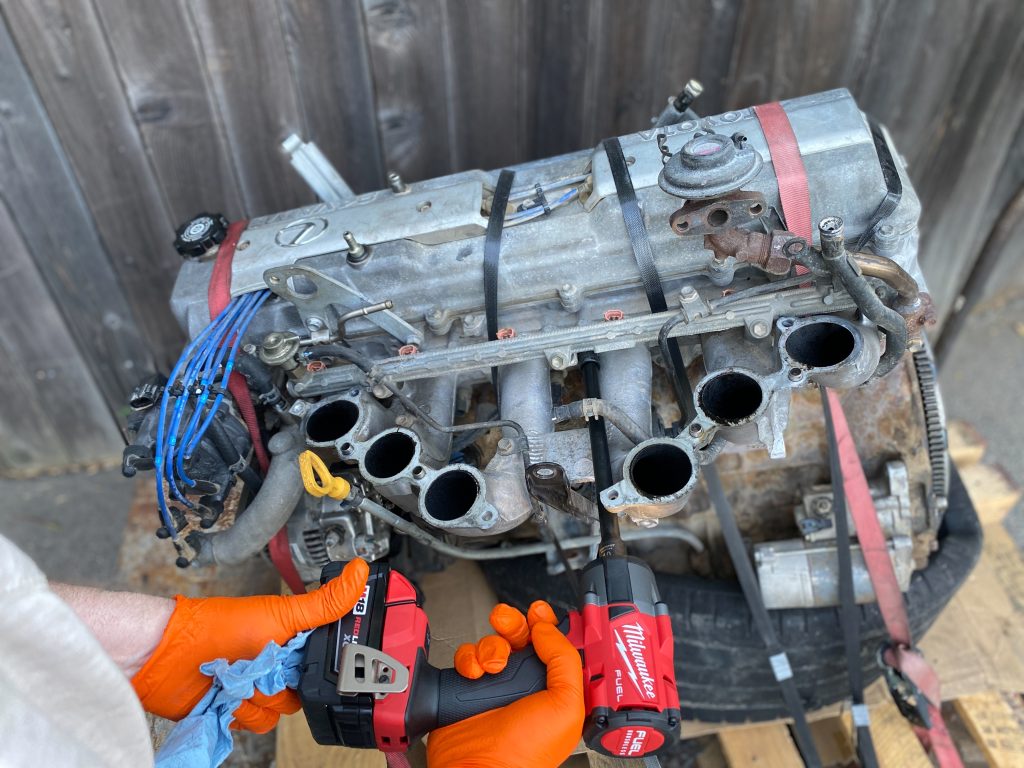
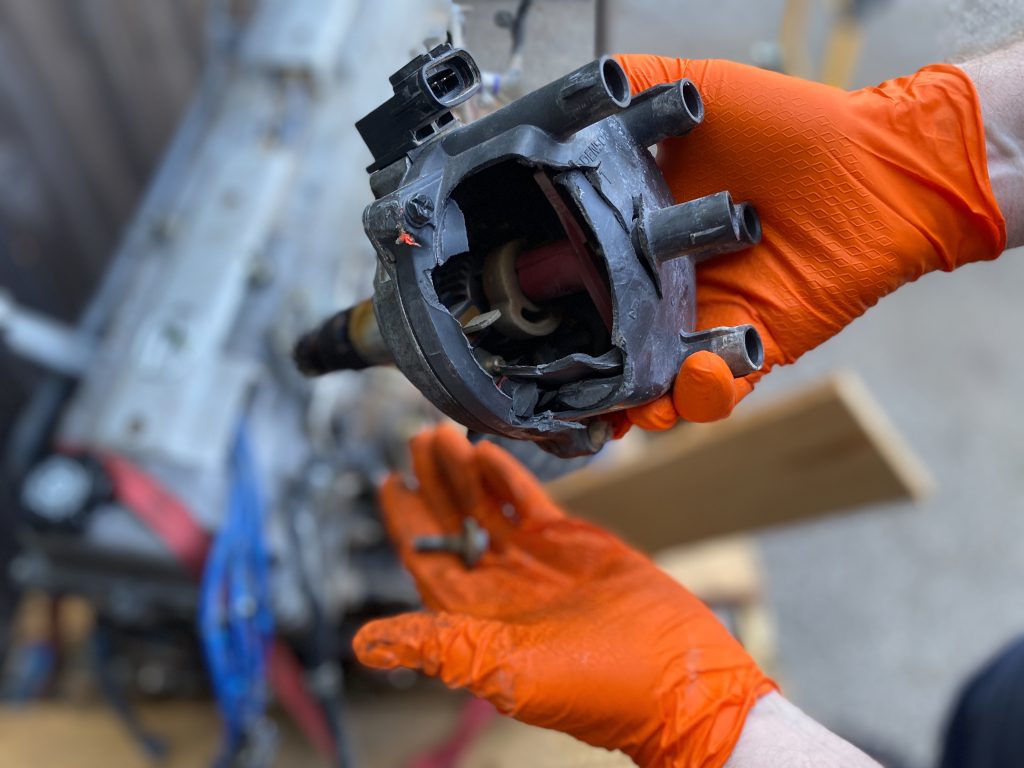
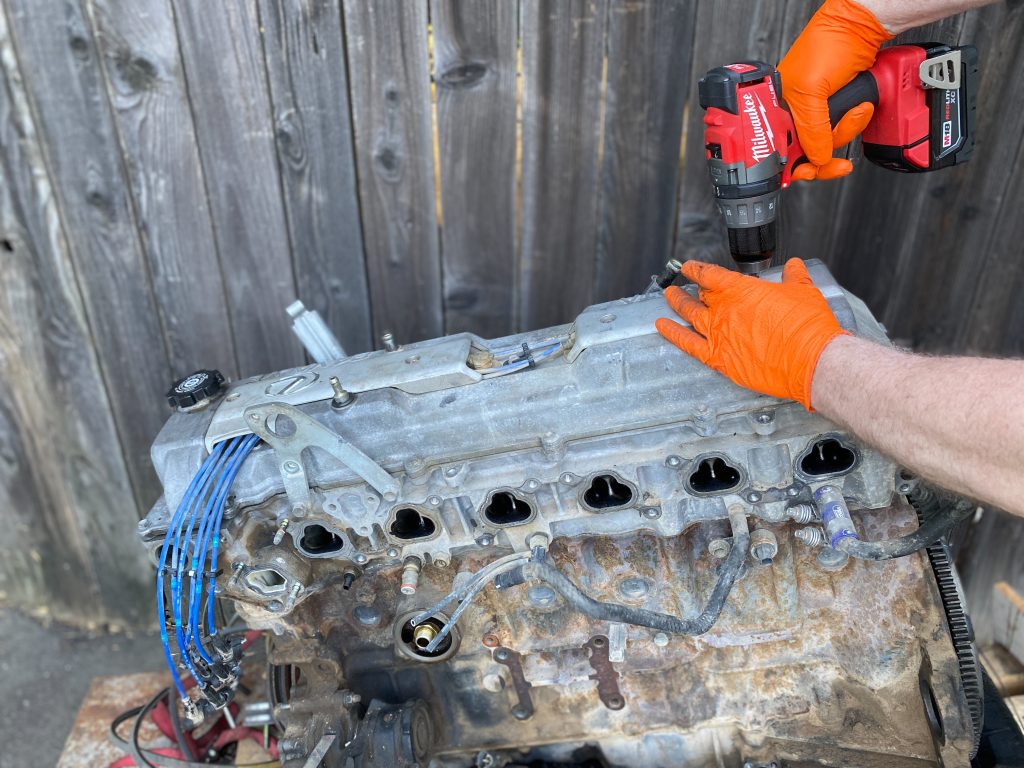
After checking to make sure the engine is properly drained, we start with the driver’s side, removing intake (including fuel pump and rail with injectors), throttle body, alternator, dizzy (which has a nice big hole bashed in the cap), oil filter, power steering pump, starter, sensors, dipsticks, brackets, water/vacuum/fuel lines, motor mount, etc.
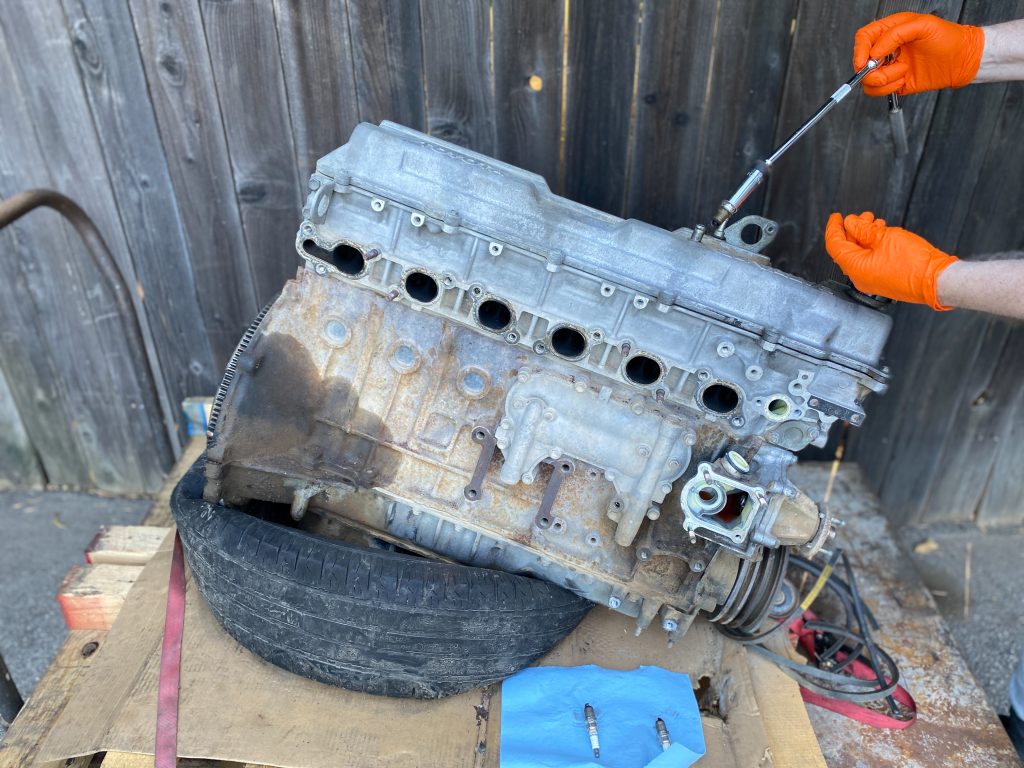
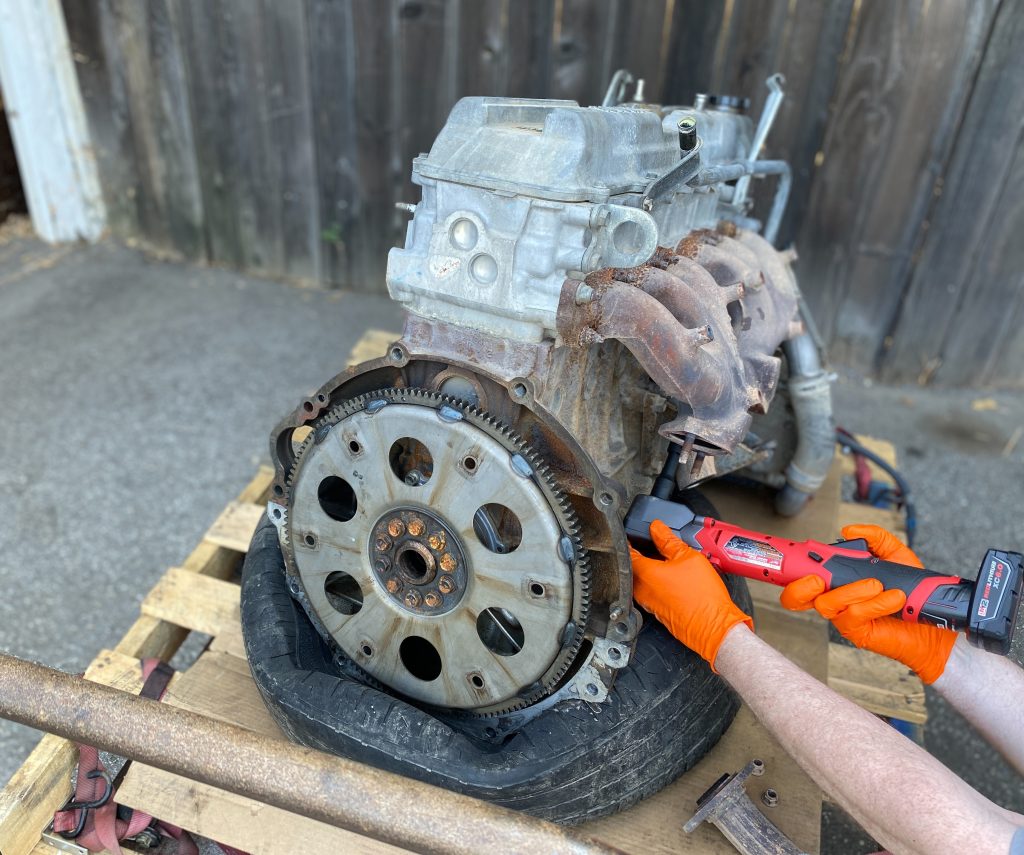
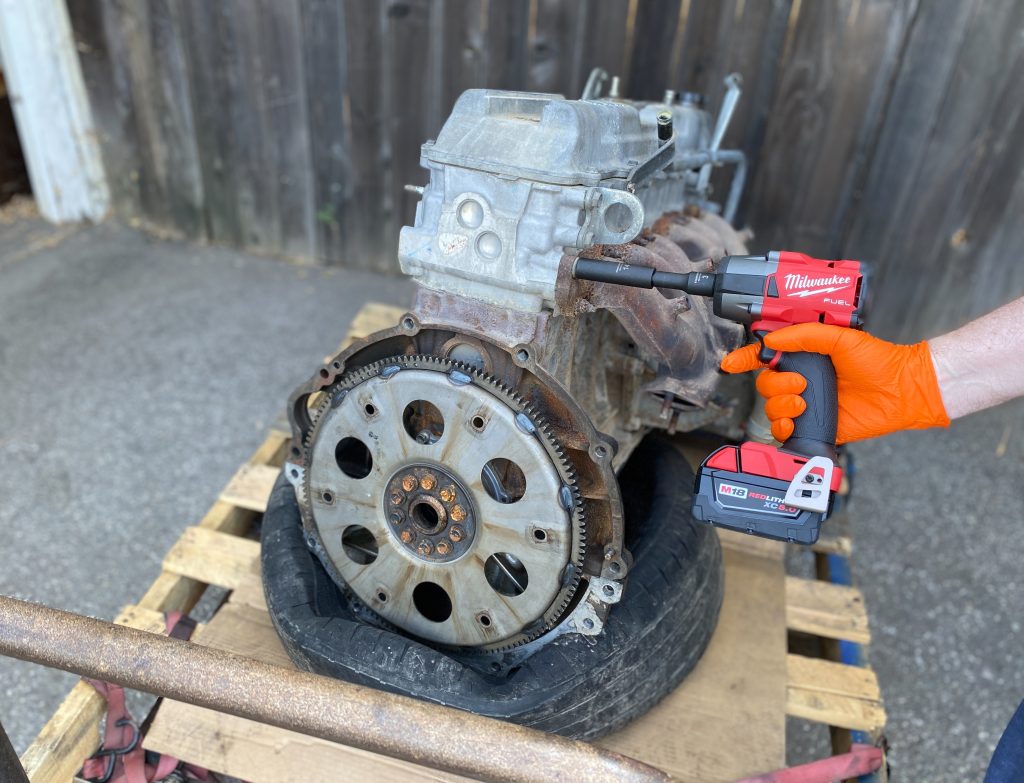
Moving to the hot side, the first thing we do is remove the heat shields—both of which are cracked near the bolts. Next come the exhaust manifolds, which do not go gently into that good night. The hardware is corroded, and appears to be fused to the manifolds. Same for the hardware on what’s left of the exhaust pipes. It’s no mystery why the engine’s previous owner sawed through those pipes.
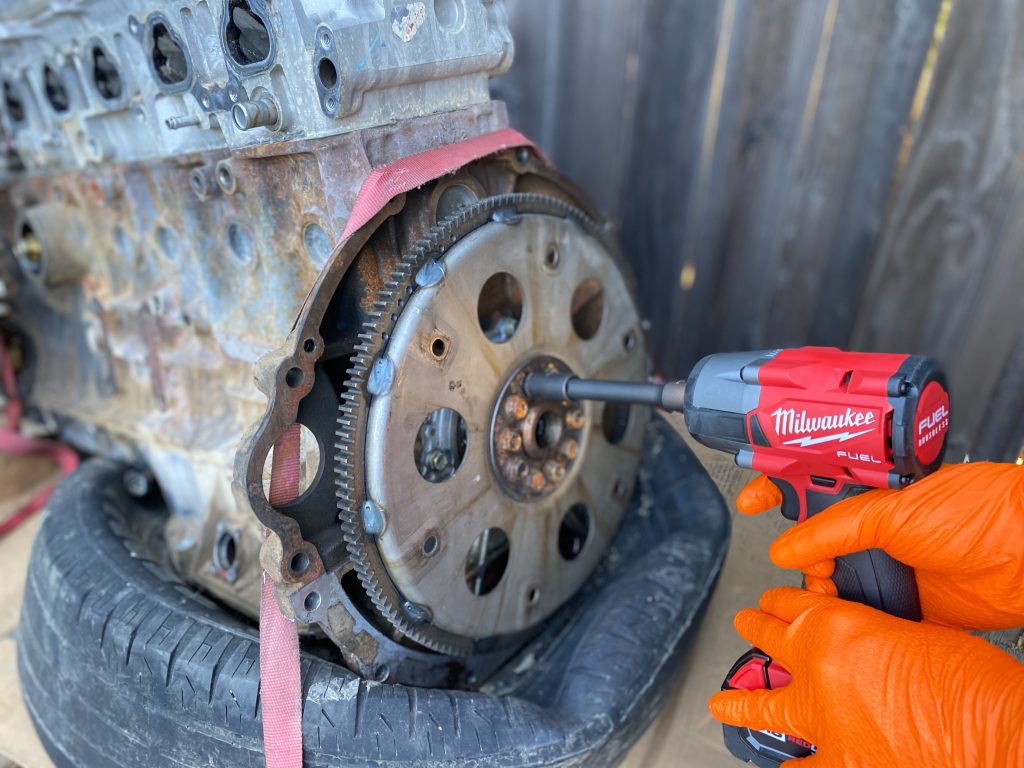
For a moment, we wonder whether these nuts may be too much for our medium-duty impact tools—but the Milwaukees come through with flying colors. None of the exhaust hardware is reusable; studs and nuts are goners. We’ll add them—and new heat shields—to our parts list. The exhaust manifolds themselves appear solid, but it’s hard to tell because they’re heavily corroded on the surface.
We’ll reserve judgment until after cleanup.
Coming to the rear, the flex plate bolts are almost as hard to get off as the exhaust nuts, but seem in better shape. We’ll have another look at those too, after cleaning. We also removed some water pipes and the thermostat housing.
Organization
Everything we take off the engine is sorted, laid out and photographed with hardware, bagged, labeled, and readied for cleaning or replacement. Well, not quite everything is properly sorted, as we now have a few loose bolts, and we’re not sure where they came from. Also, there were a few bolts missing from the engine when it showed up at our door. But with the field service manual and a second engine to look at, we’ll figure it out.
Plus, we took photos–lots of them!
We set a camera on a timer to photograph the teardown.
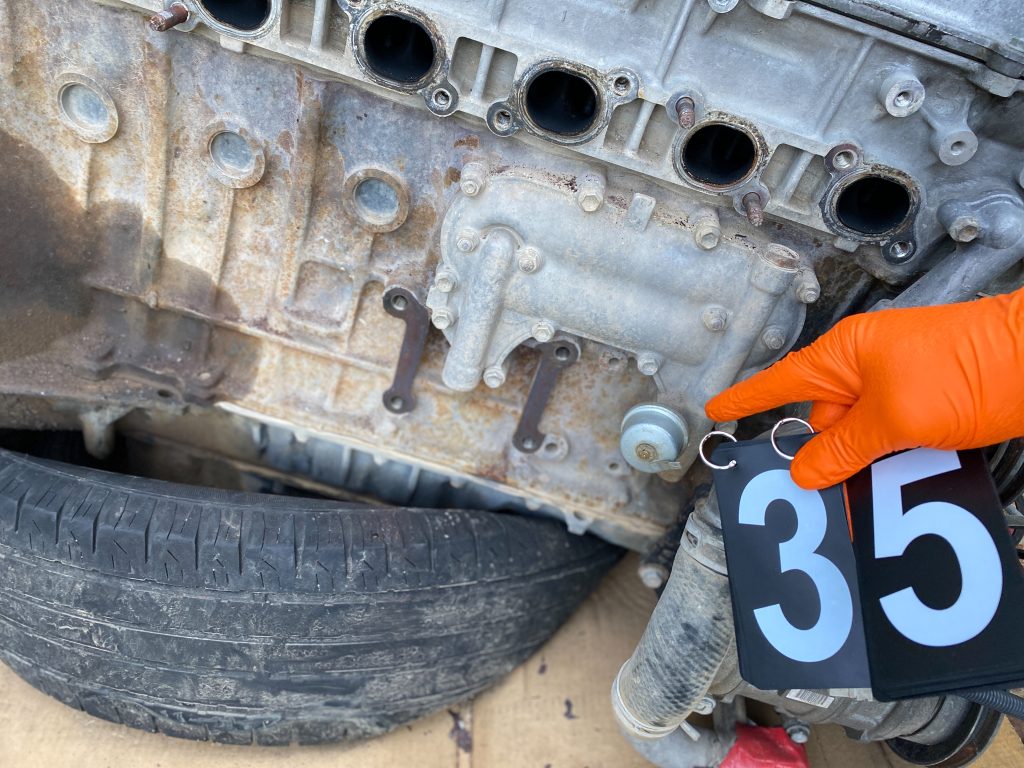
The bad thing about this is, we wound up with something like 3,000 photos to look through (so far!). The good thing is, if we ever forget what goes where, we can always look it up. Occasionally, we used numbers in photos of specific parts for later reference, and marked the numbers on the parts bags.
Almost everything fits inside a few fruit boxes from the local supermarket, with the heavy items on the bottom. After we stuff up the holes with shop towels, our new-old engine is ready for transport.
Load Up & Delivery
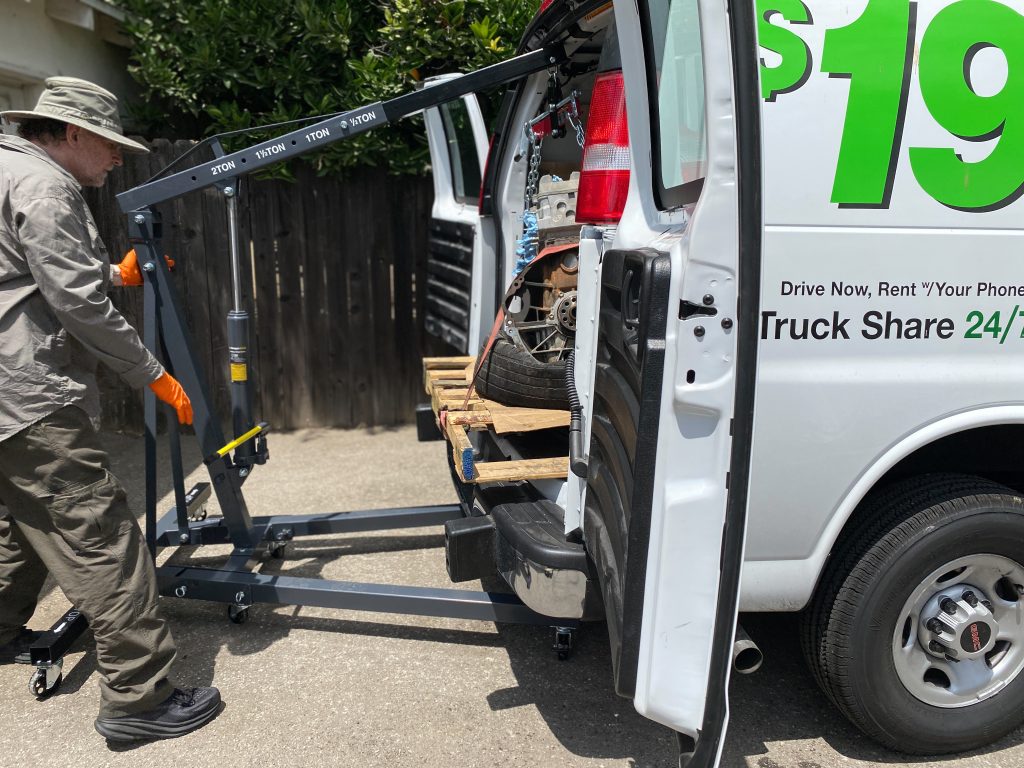
We rented a van to take the block to the machine shop.
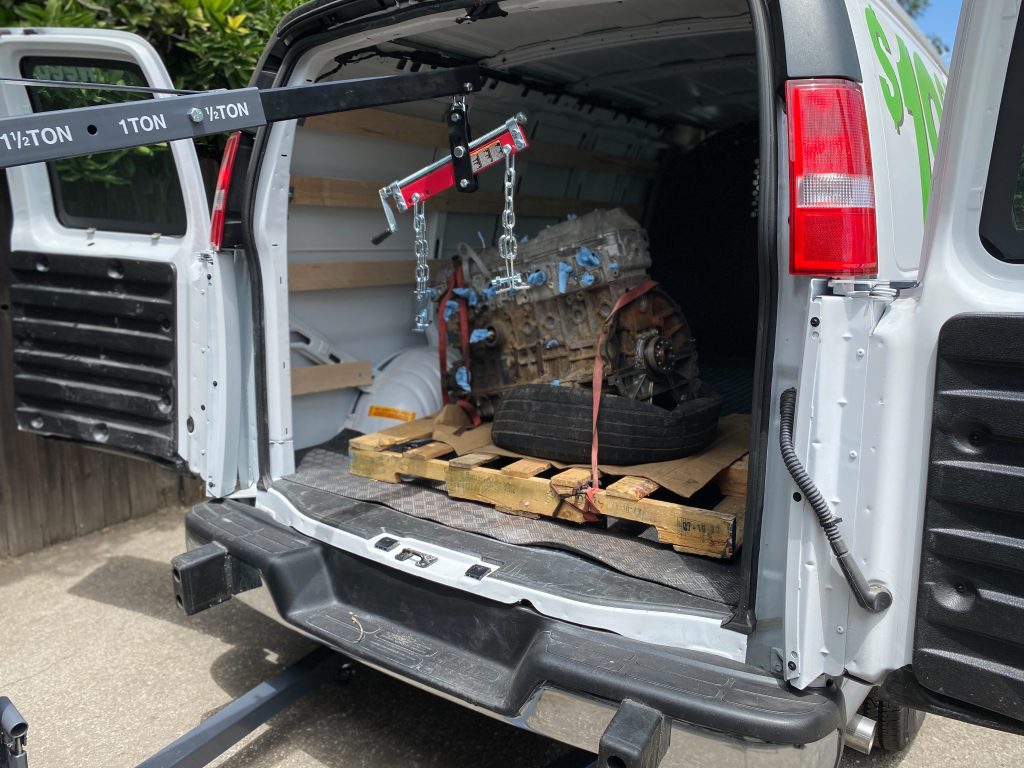
To load up our van, we used our folding Ranger shop crane and Powerbuilt load leveler. Hot tip: When using a van instead of a pickup, do not extend the crane boom all the way, thinking this will get the engine farther into the van. What it actually does–unless you have a very short chain–is force you to lower the boom to fit it inside, and then shove the engine in by hand because whatever it’s sitting on is now scraping the floor.
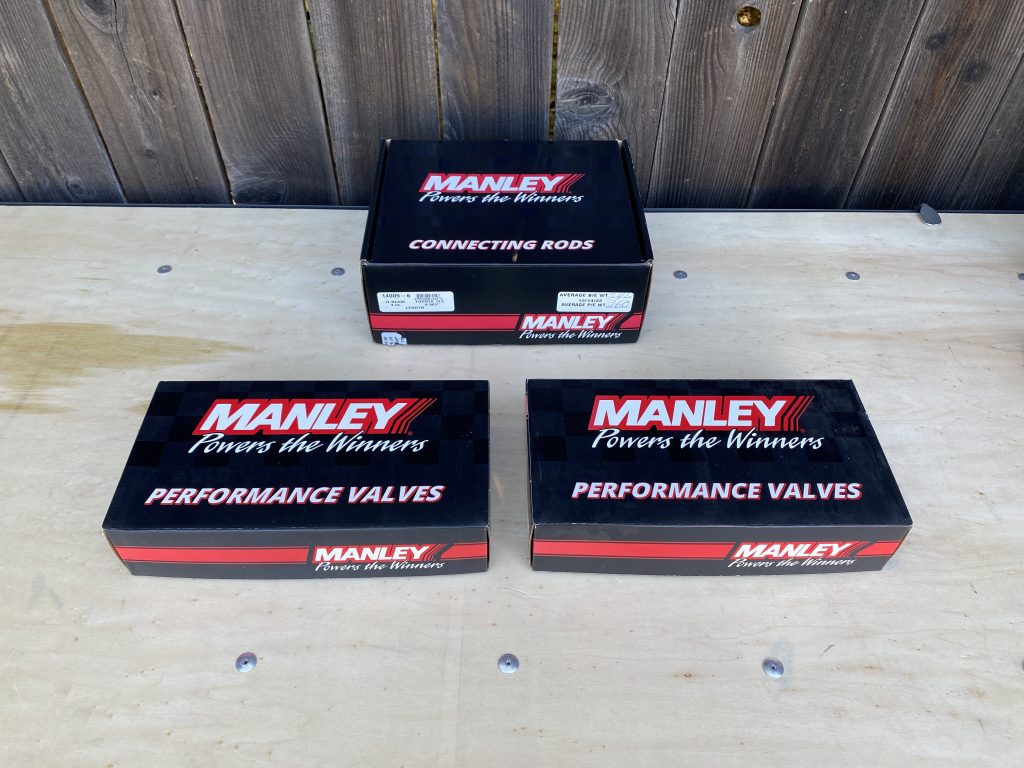
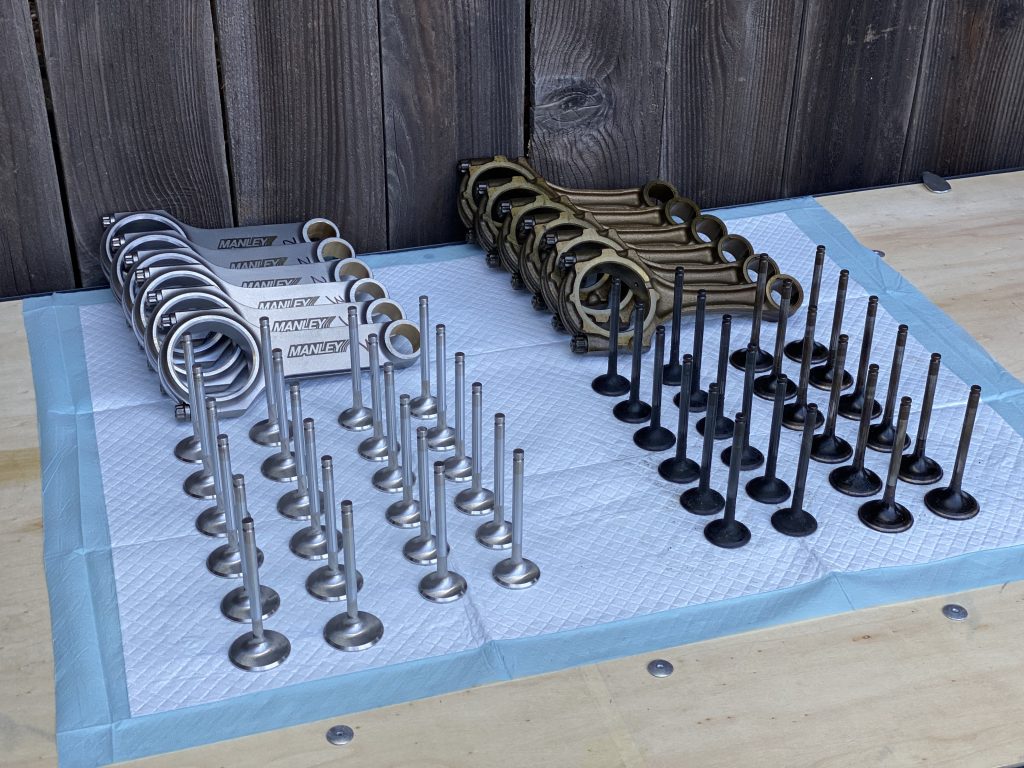
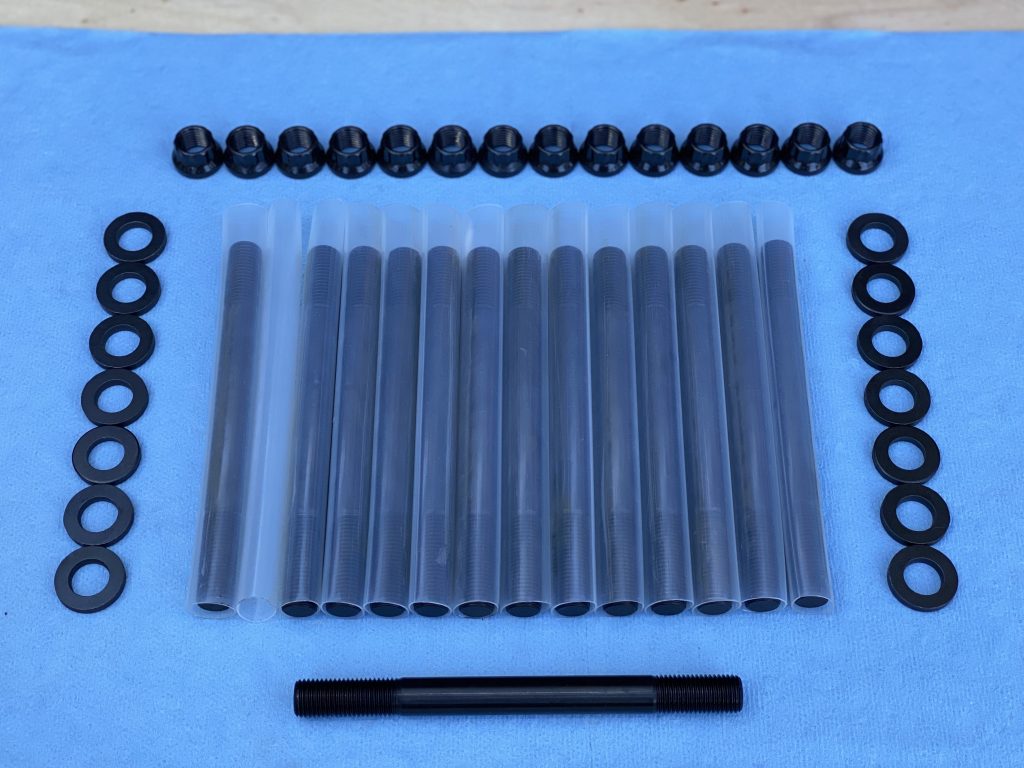
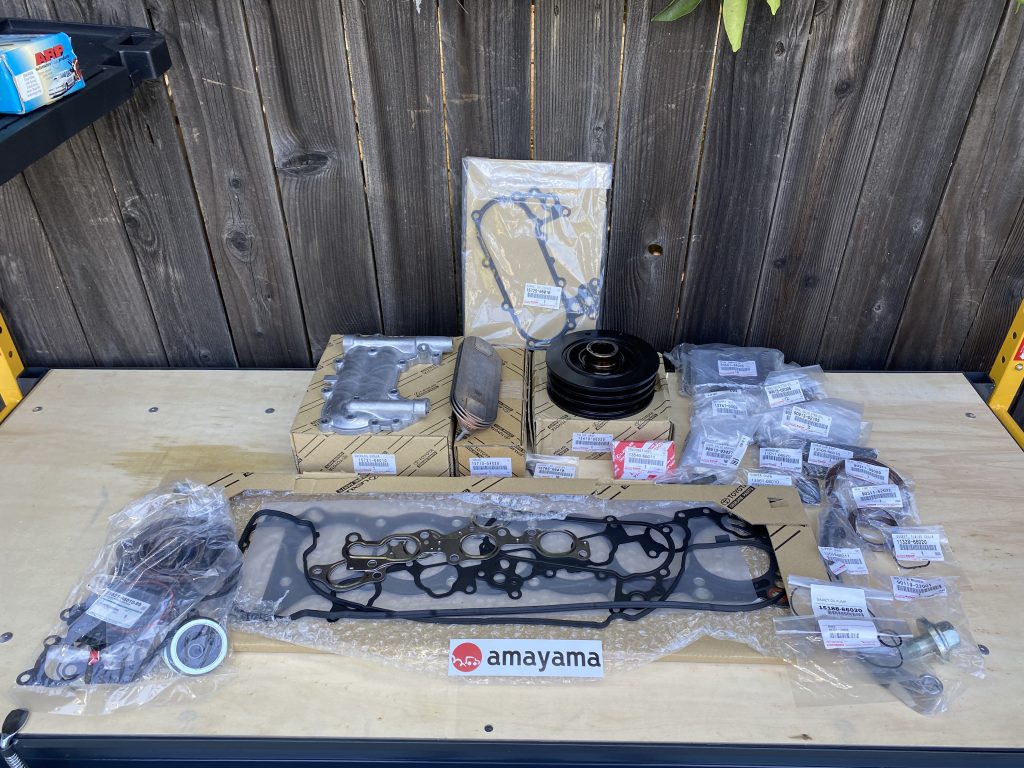
We also pack up any parts we’ve gathered to this point for the shop to install: Manley, ARP, and plenty of OEM Toyota parts sourced from Japanese auto parts supplier, Amayama.com.
Kyle Williamson, owner of Martin Davidson’s Automotive Machine Shop, takes charge of the engine and checks the parts. The next time we see this engine will be for teardown and inspection.
Truck Prep
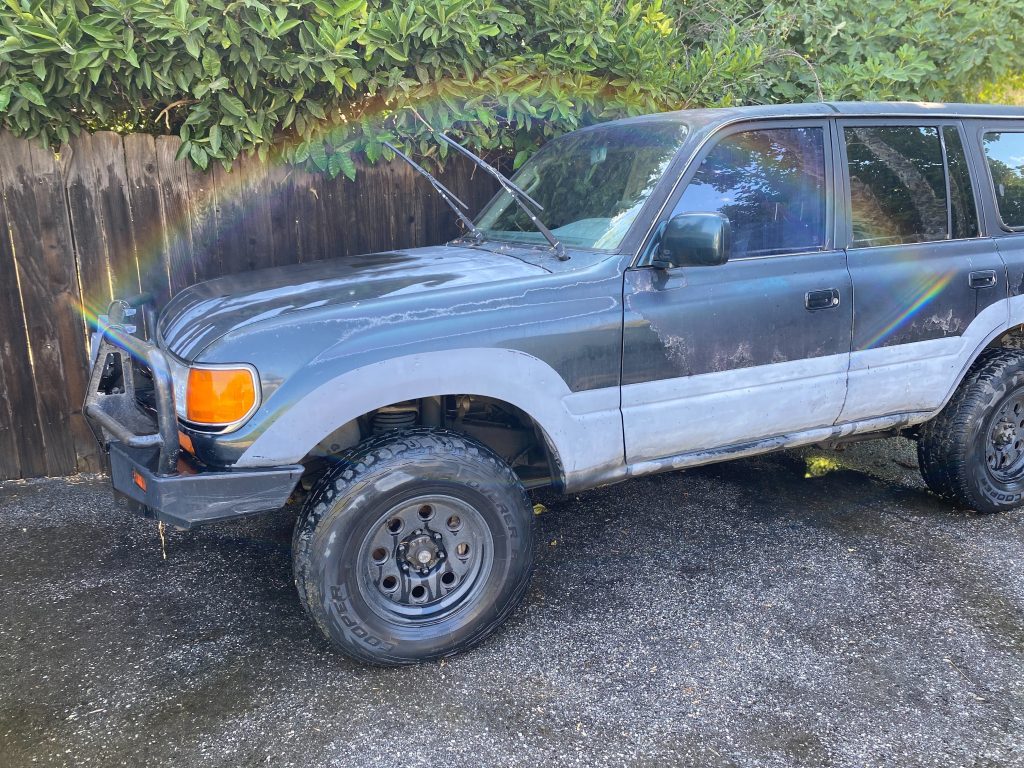
While we have the van, we thought we’d move the project Cruiser closer to the garage. There’s a lot to be done while we’re waiting on the shop, and we’d rather work on a paved surface in the shade. After a not-so-quick hose-down to get rid of leaves, dust, and assorted debris, we found ourselves in a sort of “movie moment,” looking at a Land Cruiser-size rainbow.
We’ll take this as a sign that whatever Overland Gods there may be, have smiled upon us.



Comments