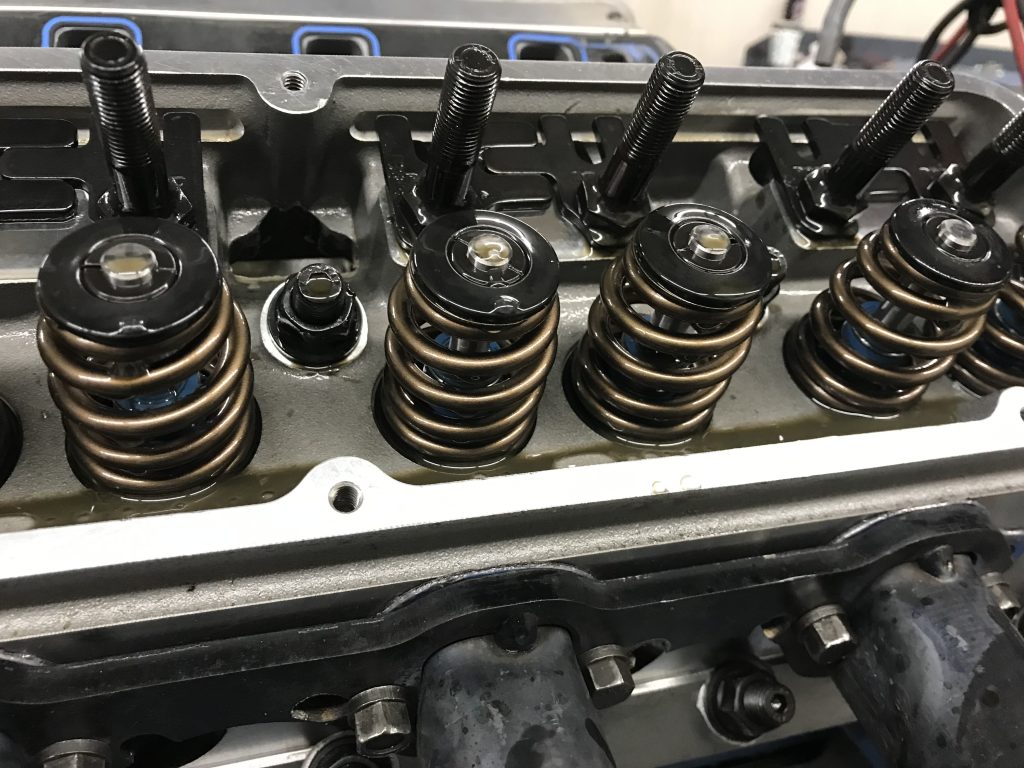
Valve springs are the highest stressed component in your engine. That’s why companies like COMP Cams and Summit Racing stress the importance of properly handling your valve springs before, during, and after installation. We consulted COMP Cams for some handling tips to ensure maximum spring life.

- First, double check to make sure your springs are correct for your application. DO NOT MODIFY YOUR VALVE SPRINGS IN ANY WAY TO FIT YOUR ENGINE.
- Never place your valve springs in a vise, grab them with pliers, or hit them with a hammer as this will damage the surface of the spring and possibly cause the spring to fail.
- Handle the springs as little as possible to prevent damage or dropping.
- When separating double or triple springs, use only a durable plastic object that cannot harm the shot-peened surface of the spring. Never use a tool or hard metal object like a screwdriver!
- The surface is the most critical part of the valve springs, so give the surface of the springs a once-over to look for any rust or corrosion that could compromise durability.
- Do not clean valve springs with acidic or evaporative cleaners. This causes rapid drying and promotes the formation of rust on the surface, which can cause catastrophic failures. Most valve springs are shipped with a rust preventative coating that should remain on the spring throughout engine assembly.
- Wear gloves when handling springs to prevent acids and oils on your hands from corroding the wire.
- Keep the springs oiled at all times. When installing springs, use valvetrain assembly spray to ease assembly and improve the life of the spring.
- Work smart by using the right tools for the job. The proper tools and hardware, including a good-quality valve spring compressor tool, will ensure the springs are installed with as little stress as possible
- To properly break in your newly installed valve springs, run your newly installed valve springs through one heat cycle at a maximum of 1,500-2,000 rpm until the engine warms up and then let your engine cool down.

David, I had no idea that valve springs could be so fragile and would need careful attention when handling them. My wife and I want to have an entirely new plumbing system installed in our brand new house this upcoming month. I would like to have a valve installed that is very easy to use and manage.
It’s for motors not plumbing
<=== shakes head
What a gooch
I’m rebuilding a new engine and need to cut the spring’s seat deeper and width (+.080 deep, +.264 width). How can I Calculate the right wall thickness to avoid broke it?
I’m making the machining in iron heads
Pay someone else
I never knew valve springs required a break in. If I install a new flat tappet cam kit and the cam requires a break in procedure of 2000-2500rpm for 30 minutes how do I perform the valve spring break in procedure?
<=== shakes head
Bon we have a runaway here, do you have something we can jam in the inlet air manifold passage to kill the engine
Bon shakes head
whipping from hair causes engine to stall
On this picture we see a single spring and a dual spring.
What spring is intake and what spring is exhaust?
Hey Angelo, while this picture was taken before I got to OnAllCylinders, if we follow the basic rule that intake valves are typically slightly larger than exhaust valves, it looks like the dual spring on the right with the orange index stripe is the intake valve.