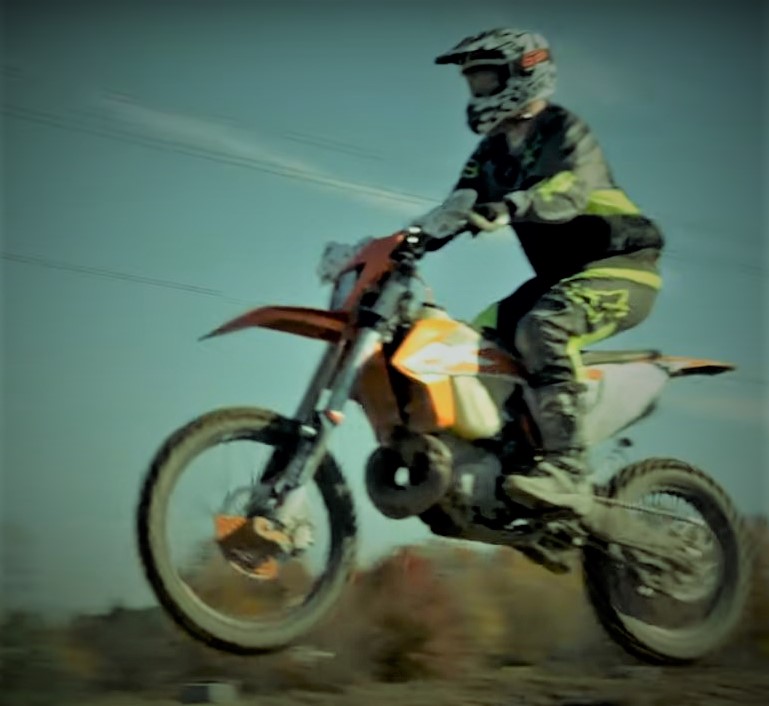
Setting suspension sag properly prior to making bike modifications is the most important thing you can do to ensure peak handling performance from your dirt bike.
Too little sag, and your bike will be prone to topping out. Too much sag will have your bike bottoming out more frequently.
It’s important because you need your sag set to properly determine whether your spring rate is correct for your height and weight.
(Editor’s note: Be very careful with your measurements. Check them twice. We’re dealing in millimeters, and care is required.)

…
Free sag – the amount of sag of the bike under its own weight.
Static sag – the amount of sag with the rider and gear on board.
…
1. Place your bike on a work stand with the wheels off the ground and the suspension fully extended. Measure the front and rear suspension to determine their length.
2. Get the rider in full gear and in proper riding position onto the bike. He/she (or you) will need supported by an assistant or two, or a clamp.
3. Lift the front end until the suspension is fully extended then let it settle under the rider’s weight. According to Race Tech founder Paul Thede, you should measure from a fixed object (like the beginning of the slider) to where it enters the fork wiper. Thede recommends taking three different readings and averaging them. Once you subtract this number from your fully extended measurement, you’ll know your static sag.
4. In the absence of a mark to measure the rear suspension, you can use a piece of tape with a line on it, so long as it’s placed directly above the axle.
5. Instead of eyeballing the center of the axle, choose the top inside edge of a hollow axle.
6. When adjusting preload, remember that adding preload lessens static sag. When the locking ring has been loosened from the adjusting ring, the black mark makes it easy to keep track of how far the ring has been turned.
7. Keep track of the number of turns on the fork. It’s important that you adjust both legs the same amount.

Comments