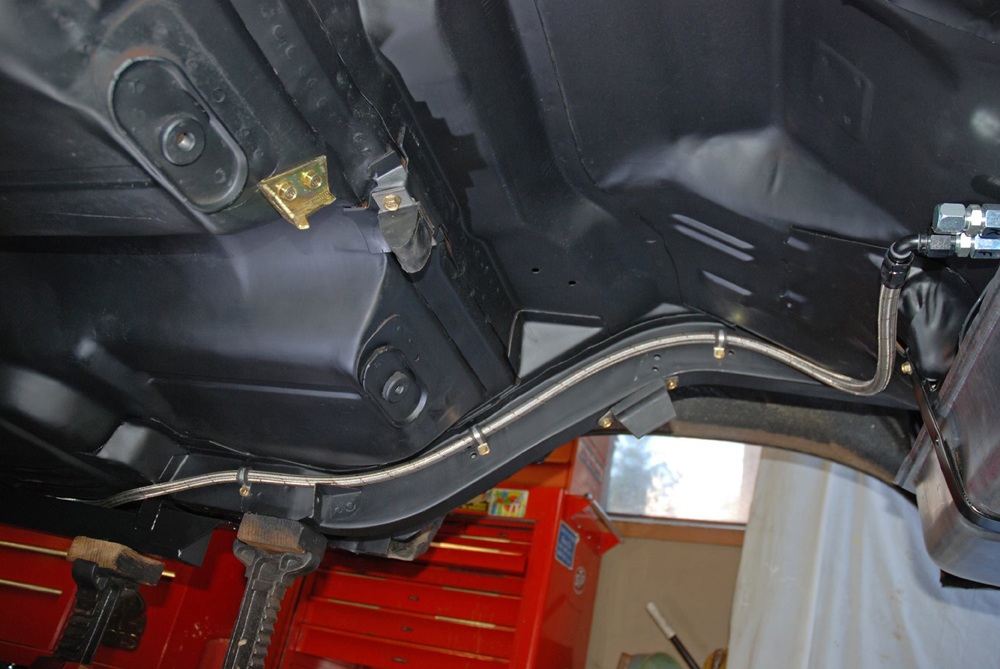
There have been plenty of articles penned on how to assemble AN hose (and hose ends).
The process is pretty straightforward. Get it wrong and you’ll have a leaky fitting. Get it right and you’ll have a good-looking and equally functional component. In between, you can mar the fittings, leave unsightly (and potentially faulty) gaps, and generally make a mess. And it’s not like the pieces are inexpensive either!
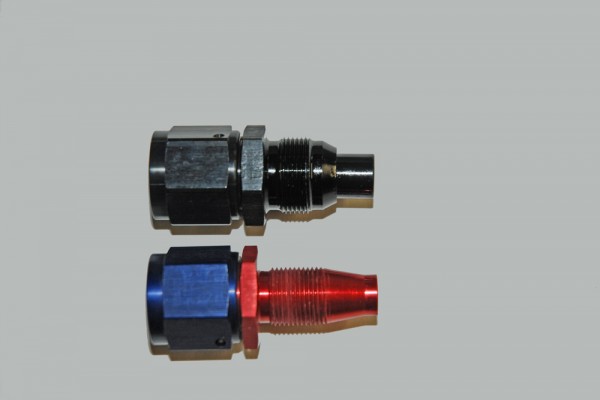
There are several different types of quality hose ends available on the market. One is a tapered style; the other is a cutter style. The cutter style hose end is considered by many in the racing biz to be more secure than the tapered style. We’ve used both, but the truth is, there are some misconceptions when it comes to assembling cutter style hose ends. Once those are out of the way, then cutter hose ends become almost as easy to assemble as the tapered style.
The cutter style (such as the Earl’s Swivel Seal fitting shown in the slide show) assembles in a slightly different manner than the tapered style and many people are assembling them wrong. If you lock the hose with the socket (tube nut) end into a vice and try to assemble it, you’ll encounter grief (more in the photos). Instead, lock the cutter end of the fitting into the vice and as you push the hose on, engage the threads. This way, there’s far less chance of the hose backing out. Another bonus is there seems to be less of a chance getting a wayward rubber “flapper” in the line (we’ve made up lots of these hose ends using this method and we’ve never encountered a loose piece of rubber in the line).
Another potential issue with cutter style hose ends is tools. You should use a proper set of AN fitting vice jaws (Earl’s Performance has a nice one – see the accompanying photos and check out the Summit Racing catalog). They’ll lock the fitting in place without damage, allowing you to properly engage the fitting threads. As far as we’re concerned, another of the must-have tools is the Koul Tool. This unique tool eliminates the hard struggle of assembling hose ends. Just insert the socket into the tool, twist in the hose, and socket assembly is complete in less than 10 seconds.
The final challenge when assembling cutter style hose ends is actually getting a clean cut on the hose before you attempt to assemble it. Years ago, we’d tightly wrap the hose with duct (racer) tape, clamp it a vice, and cut it with a fine tooth blade hacksaw. It works, but you’ll still end up with some frayed edges. Instead, try using an angle grinder fitted with a cut off wheel. It’s way faster, cleaner (less stray braids), and makes a nice straight cut. However, if you do have a crooked cut or encounter some wayward braids, don’t bother trying to trim them with hand tools. Instead, simply dress the hose end(s) on a bench grinder.
So how does all of this stuff actually go together?
For a closer look at how to handle those “difficult” cutter hose ends, browse the slide show below:


When testing water pipe for leaks we never use air for more than 5 psi. Air is compressible and a test ball, or in the case of the fuel line a hose end, that slips off can cause considerable damage to persons and objects. I would reconsider suggesting an air test at double operating pressure without some restraint device to keep the hose end from launching at warp speed into someone or something.