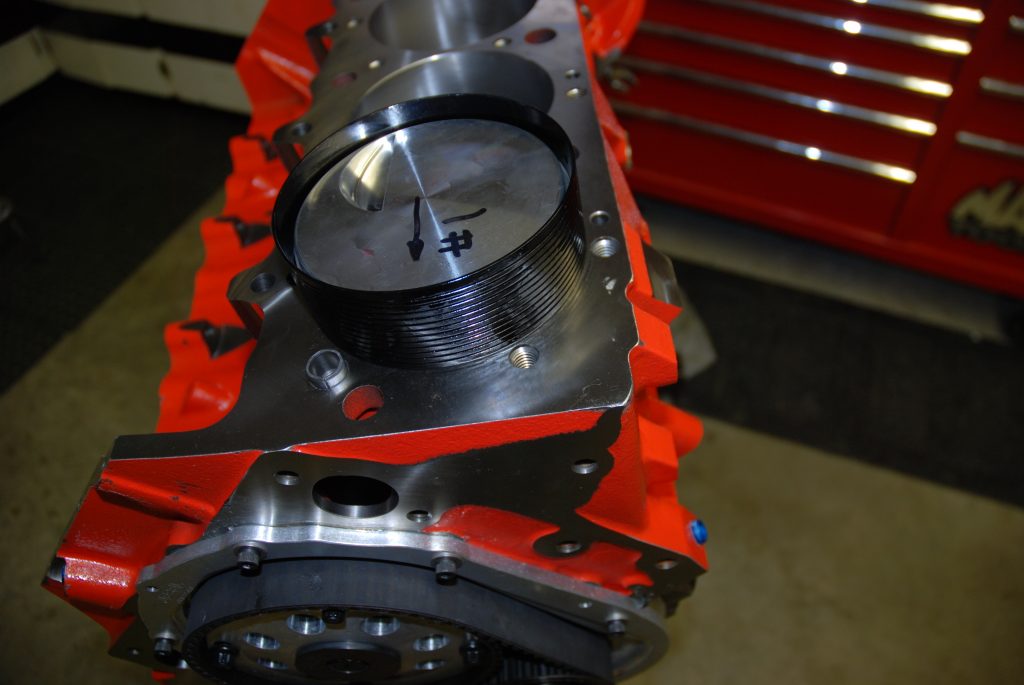
When installing pistons, the first step is to wipe the cylinder bores with a clean, lint-free towel, and apply a small amount of conventional (non-synthetic) oil to the walls.
It’s a good idea to oil the wrist pins and piston rings as well. There’s a caveat here though: You don’t need to drench the piston in oil. You only need sufficient oil to lubricate the rings as they pass through the piston ring compressor.
Generally speaking, there are two common types of ring compressor formats on the market: Expander types where the tool is clamped over the piston and you tighten it in place or a tapered job where the rings are progressively tightened as the piston is pushed through it into the bore. In either case, the idea is to coat the compressor with oil (again, it doesn’t have to be dripping wet).
Rotate the crankshaft so that the crank rod journal is at Top Dead Center for the piston you’re installing. Place the piston/ring compressor combination over the cylinder bore. You have to be positive the piston is correctly oriented.
For example, if the piston is domed, the dome is on the outside of the block or the valve notches are at the top (nearest the lifter valley). Additionally, be sure you’ve assembled the piston-rod combination correctly so that the chamfer on the connecting rod (and rod bearing) faces the fillet radius on the crankshaft. Finally (and as mentioned previously) double check the oil ring(s) to ensure the expander ring end gaps haven’t overlapped.
If the connecting rod is equipped with press-in bolts cover them with protectors (the inexpensive plastic jobs work fine) or use a length of rubber tubing over the studs. The idea here is to prevent the rod bolts from damaging the crank during installation. We also coat the connecting rod bearing with assembly lube.
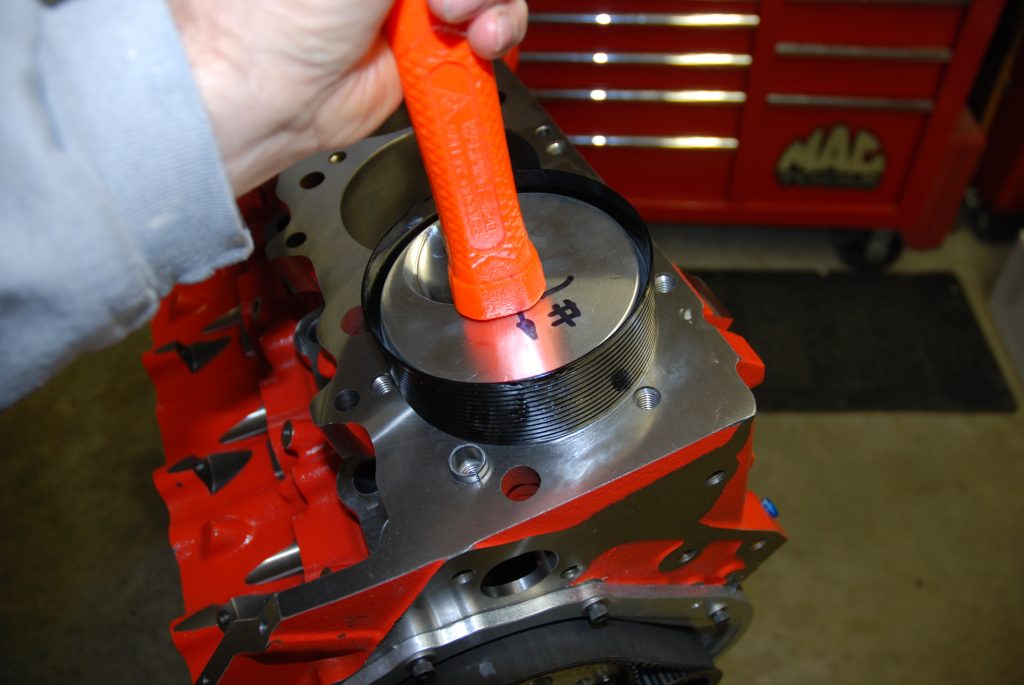
At this point, you should be able to push the piston and rod assembly into the bore, simultaneously guiding the rod so that it falls in place over the crankshaft rod journal.
In most cases, you can hand push the piston in. In others, a very light tap with the handle end of a dedicated piston hammer works well (more on this later). The need for excessive force means the oil ring isn’t installed correctly.
But let’s rewind to the ring compressor part of the equation. What’s hot and what’s not?
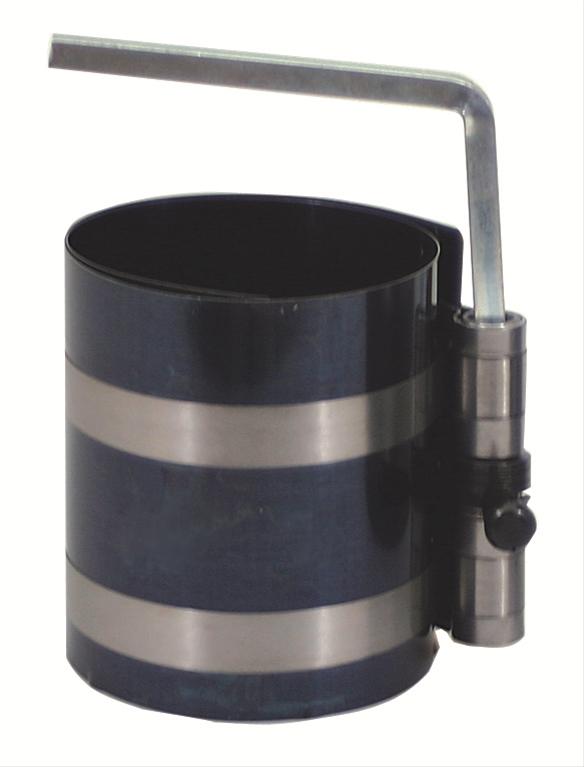
At the bottom end of the scale are the band-style adjustable ring compressors. Here, the assemblies are designed to expand to fit most common automotive and commercial engine bore sizes (the Lisle example shown in the accompanying photos expands from 3.5-inches all the way out to 8.00-inches).
There are other examples available that range from 2.125-inches in diameter to 5.00-inches in diameter. This style of ring compressor is inexpensive (under $15), but they can be slightly “shaky” to use. The walls of the band clamp are sharp and can slice your fingers if you’re not careful.
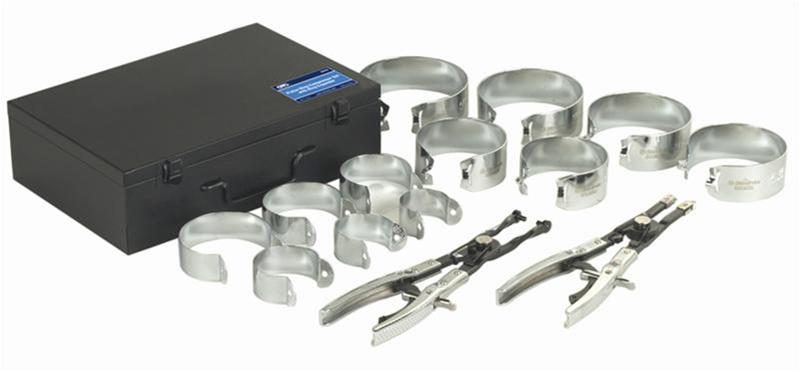
There are ring compressors that work with a dedicated band clamp for each cylinder bore. They’re designed for a set of pliers to attach to the band clamp. This allows you to grip the compressor as you tap the piston into the bore. The jury is out when it comes to performance of this type of compressor, but the design has been available for a long time. There are OTC kits and other kits available that cover a wide range of bore sizes.
Use a Tapered Ring Compressor to Make Piston Installation Easier
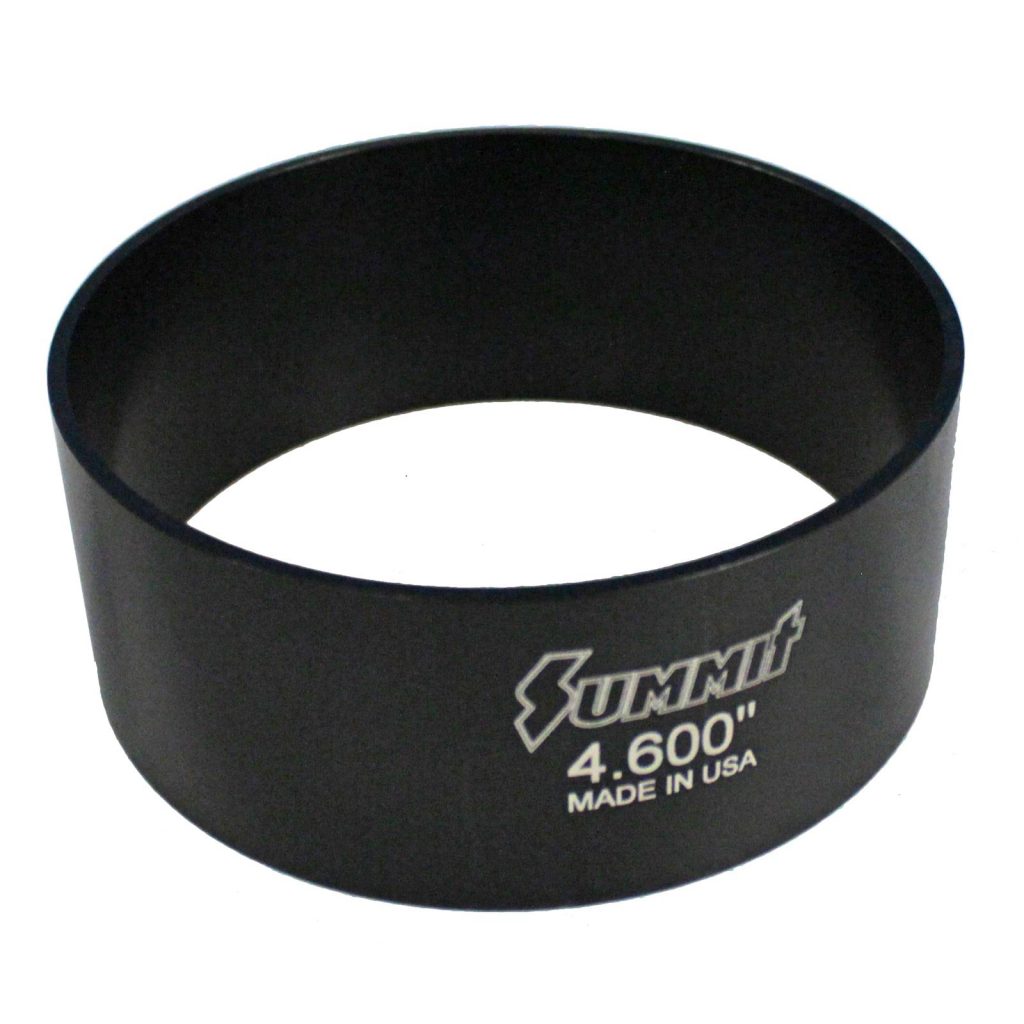
An easier way to install pistons is with a tapered ring compressor.
Here, the ring compressor is machined from aluminum with a tapered internal shape. This allows the rings to compress gently as the piston is pressed (or tapped) into the cylinder bore. Some of the better quality examples have a positive grip on the outer surfaces that allows you to hold the compressor solidly as you work the piston into the bore.
Internally, many tapered designs are honed to size. Some designs are hard-anodized for longevity.
The downside to a tapered ring compressor is that you need a different compressor for each bore size you work with.
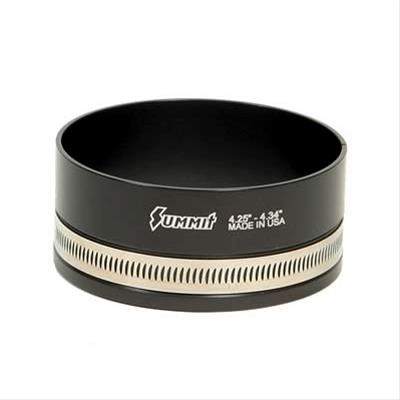
Finally, Summit Racing offers a series of adjustable tapered ring compressors. These are essentially split tapered ring compressors with a large band clamp on the outside. In use, you insert the piston and ring combination, tighten the clamp to fit and then drive the piston into the bore. The format doesn’t allow for huge dimensional changes, but they will typically have an adjustment range of 0.100 to 0.150-inch or so. That means if you go up in bore size on a build, you won’t need to buy a new ring compressor.
Even the most expensive tools prove priceless when you’re getting a new engine done right. See the accompanying photos for more info:

The tapered one is the way to go have not used the adjustable tapered one but will buy one next time I don’t have proper tapered one I like to have my crank journal at bottom of block when I install piston keeping my hand on rod as I tap in keeping a eye on the job when rod is square to crank and 1/4″ away l turn crank back up to rod.
WTF are you saying here man?
YA, WHATS ANY OF THAT GOT TO DO WITH PISTON RING COMPRESSORS? Quantum physicists? Trust fund babies? Are you reading the same article?
Good call Mike. Looks like we missed a spam post. We’ve flagged it. Thanks for the heads up.
I’m installing a new piston in a small bore engine (35mm) . The new piston and rings will obviously have to be installed from the bottom of the block as there is no separate head. My question is there any considerations in doing this . Can I tap on the bottom of the crank shaft journal carefully to move the piston into the cylinder block? also, I can’t find a supplier that offers that small of an adjustable band
style ring compressor. Any suggestions ?