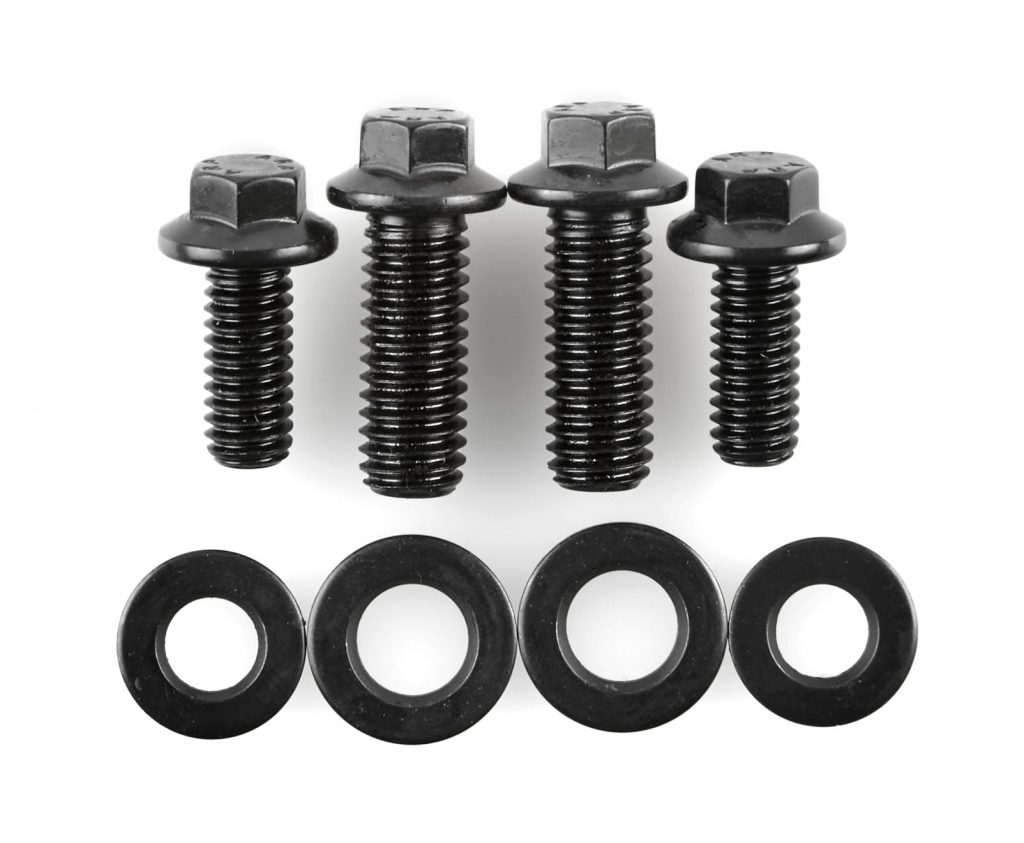
Your vehicle’s engine bay is a high-stress environment, with a lot of heat, vibration, and other cyclic loading forces that increase as you add horsepower. That’s why you want to use high-quality fasteners.
Unlike hardware store-grade, low-carbon steel fasteners that will bend or break under stress, engine-spec fasteners are made from steel alloy or stainless steel that’s better than aircraft-quality material. That means they’ll handle the extreme stresses that are common in performance and race engines.
But it’s not just about bolt material and construction—proper installation is critical. If a fastener is installed too loose or too tight, you can end up with broken parts and busted bolts.
The folks at ARP know a lot about this topic, and they’re happy to explain some of the terms and science behind engine fasteners, check it out:
Clamp Load & Bolt Stretch
Think of a fastener’s material as a spring—it will always try to ‘rebound,’ or return to its original length. When you apply torque or rotate a fastener a specific amount, it will stretch. That preloads the fastener, putting it under tension. This tension creates the fastener’s clamping force, or clamp load. The amount of clamp load a fastener will generate depends on the thread diameter and the material’s mechanical properties such as tensile strength and ductility.
When a fastener is overtightened or stretched beyond its rating, it reaches its yield point. It won’t try to rebound to its original length and cannot apply the proper clamping force. The result is parts coming loose and/or a loss of seal between parts like a cylinder head and an engine block. ARP’s rule of thumb is if you measure a fastener and it is .001 inch or longer than its original length, replace it.

Friction
Since most fasteners are installed in blind holes, a torque wrench is used for the majority of engine assembly work. Torque is required to overcome friction between the fastener and the material it is being threaded into. When a fastener is first tightened, friction is at its highest point and the clamp load is low. As the fastener goes through several tightening and loosening cycles, friction decreases and clamp load increases. Eventually friction reaches a certain level and remains consistent.
Using the right assembly lube is vital to overcoming friction. ARP’s testing shows that using motor oil or moly lube typically requires five to seven torque cycles to achieve proper clamping force. That’s why ARP strongly recommends using its Ultra-Torque Assembly Lube. Using Ultra-Torque means a fastener needs to be torqued just once to be within five percent of ARP’s recommended preload. That eliminates the need for multiple torque cycles and maintains consistent preload through all subsequent cycles from machining through final assembly.
Using Ultra-Torque can also equalize clamp load among a group of fasteners, like you’d find in a cylinder head, main cap, and connecting rod bolts or studs. That reduces issues with cylinder bore distortion, piston ring seal, and poor head gasket sealing.
Burrs and debris in the bolt holes can significantly affect the amount of torque required to achieve the recommended fastener clamp load. Use thread chasers in all bolt holes to clean the threads to minimize friction. Surface finish also affects the amount of friction. For example, a black oxide finish friction properties are different than a polished finish, so it’s important to follow ARP’s torque recommendations for each type.
Measuring Connecting Rod Bolt Stretch
Connecting rod bolts are a special case. If a rod bolt is installed without sufficient clamp load, every revolution of the crankshaft will cause the bolt to stretch and relax. Over time, this cycle can cause the bolt to fail due to fatigue, just like a paper clip that is bent back and forth by hand.
To prevent this, rod bolts must be correctly installed so their clamp load is greater than the load caused by the rotating assembly reaching Top Dead Center during each revolution. The best method is to use a stretch gauge to measure bolt length before installation and periodically measure length as you tighten it. When the bolt reaches the required length within a specified range, the correct clamping force has been achieved.
Follow this method and your rod bolts will go years without failing.

I just skimmed through this but cleaning and lubricants should be stressed in proper torque/tension requiement directives. Dry surfaces will increase friction and reduce the final tension while lubricating with the wrong product could reduce the friction putting the fastener into that yield condition you point out.
Hey Kevin, check out the paragraphs under the “Friction” heading, Alan talks about the importance of a quality assembly lubricant.